How to Sew a Romantic Tiered Dress Out of an Old Bedsheet

In this tutorial, I'll be showing you how to sew a tiered dress, including how to create a DIY tiered dress pattern. This romantic cottagecore dress is tiered and flounced, with a tie at the back and puff sleeves. I actually made it out of an old bedsheet I got at the thrift store!
It's not quick DIY, but the results were exactly what I wanted.
Tools and materials:
- Bedsheet or fabric
- Lining
- Elastic
- Scissors
- Ruler or measuring tape
- Sewing machine
- Marking chalk
- Paper
- Pins
- Needle and thread
- Iron
1. DIY tiered dress sewing pattern
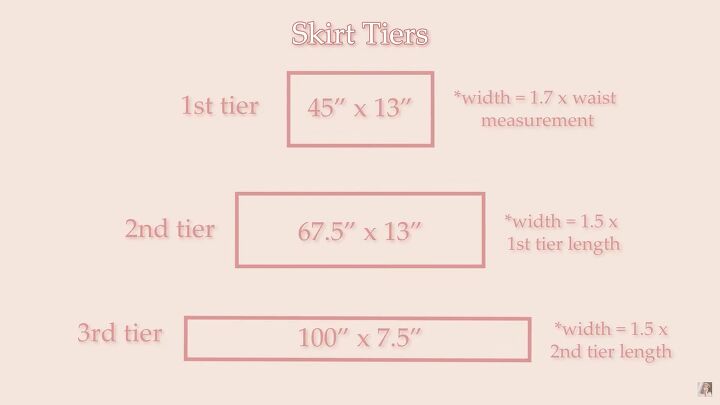
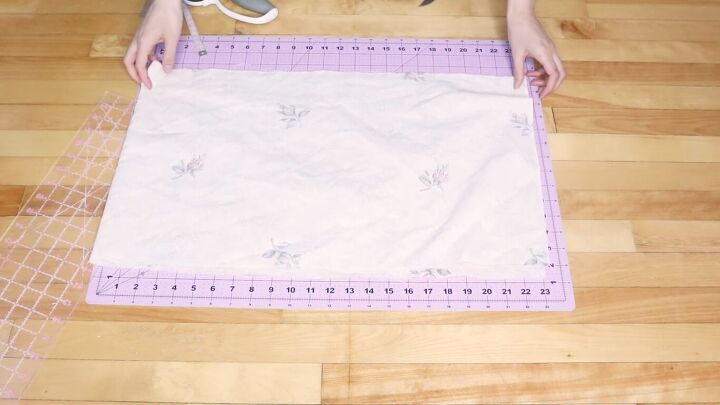
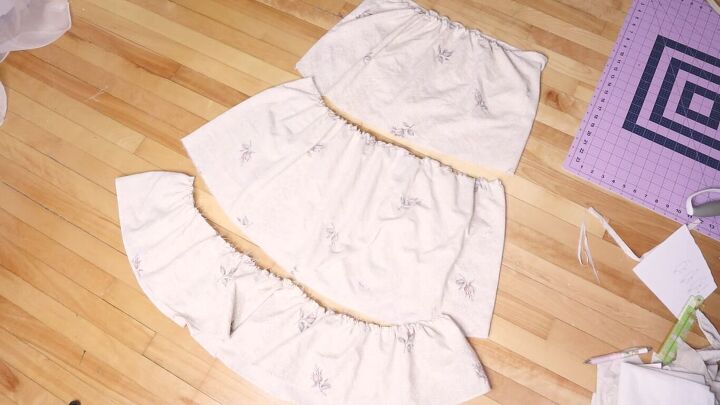
Lay out the sheet on a flat surface. Measure, mark, and cut the skirt tiers into rectangles in these sizes:
- First tier: 45 x 13 inches (114cm x 33cm)
- Second tier: 67.5 x 13 inches (172cm x 33cm)
- Third tier: 100 x 7.5 inches (254cm x 19cm)
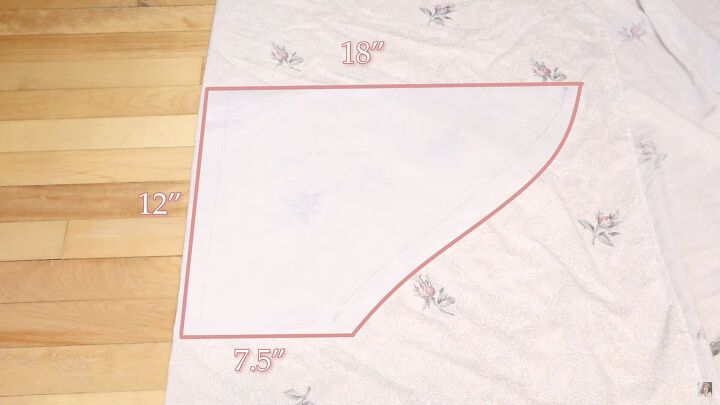
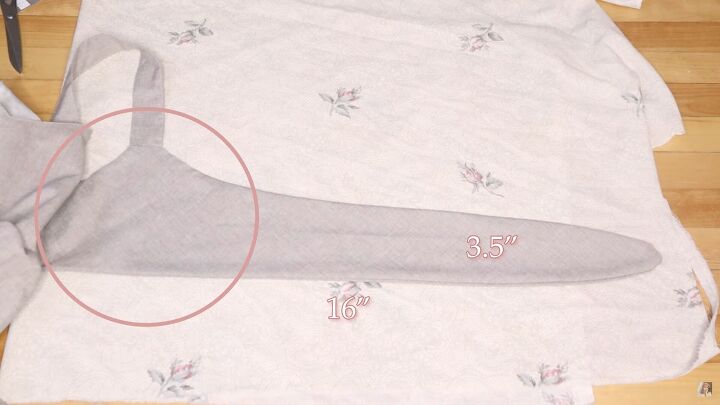
Measure, mark, and cut a paper pattern in these measurements for the sleeves:
- Height: 12 inches
- Width 18 inches
- Edge: 7.5 inches on the bottom
Make a curve from the edge to the top.
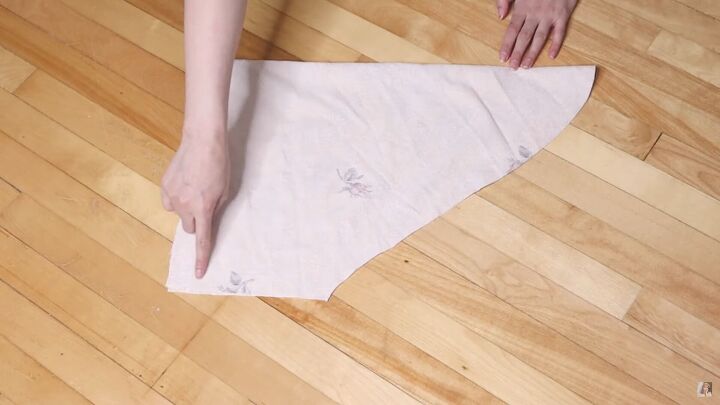
Once you have the pattern, place it on top of the fabric and cut one sleeve. Use the fabric pattern to cut the second sleeve.
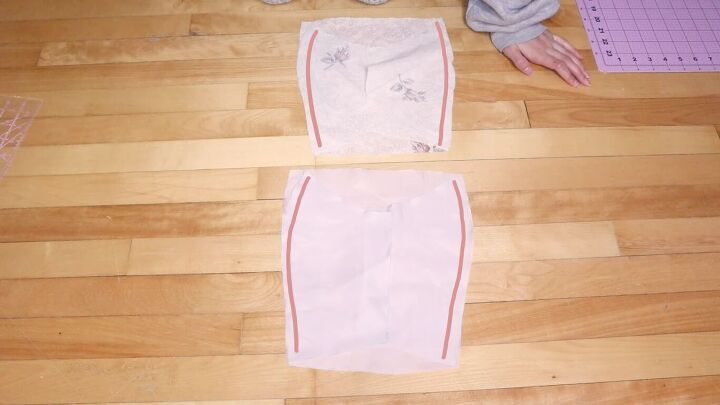
2. Cut the bodice
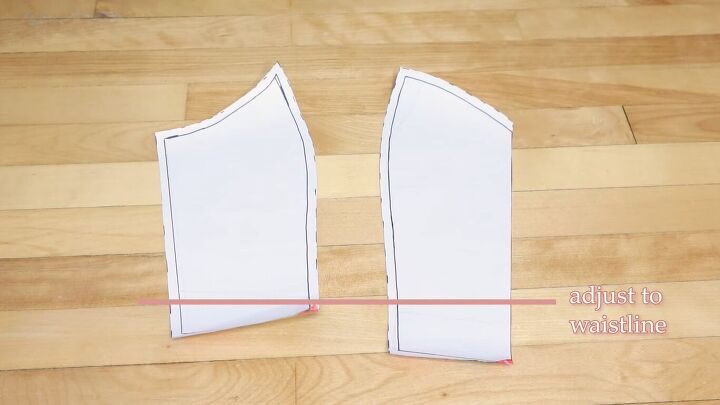
I used a bodice pattern I made previously for a DIY corset thrift flip, which was drafted using a top that fit me well. I adjusted the pattern to my waistline and made the neckline straight. You can use a blouse that fits you well as an alternative.
Cut out the bodice pieces, mirror the pieces, and cut out the same in the lining.
3. Make the back
For the back, I traced a tie I already had on the back of a dress I own. If you don't have one to hand, trace the side piece of the corset pattern and elongate it to a rounded rectangle, as pictured. Add ½ inch seam allowance. Cut 4 of these pieces.
4. Sew the bodice front
Place the side pieces to the front, right sides together. Pin in place and sew. Repeat this step for the lining.
Lay the lining and main fabric right sides together, pin and sew only the top seam of the center front. Flip so the seam is hidden inside.

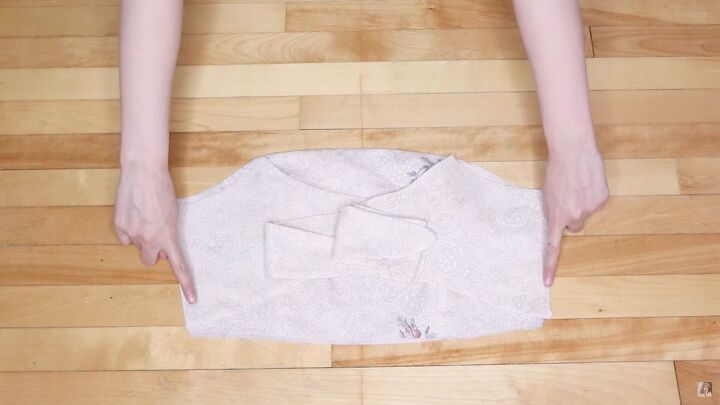
5. Sew the back
Place the back tie pieces right sides together, but only pin and sew the “ribbon” section. Thin out and snip small slashes in the seam allowance on the curved end to make it easier to lay flat.
Now, flip it inside out, using a BBQ skewer or another long pointy object to get the right side on the outside. Iron all the pieces.
6. Sew the back ties to the bodice
Now lay the back pieces on the front, and sew the side seams together. The bodice is done!
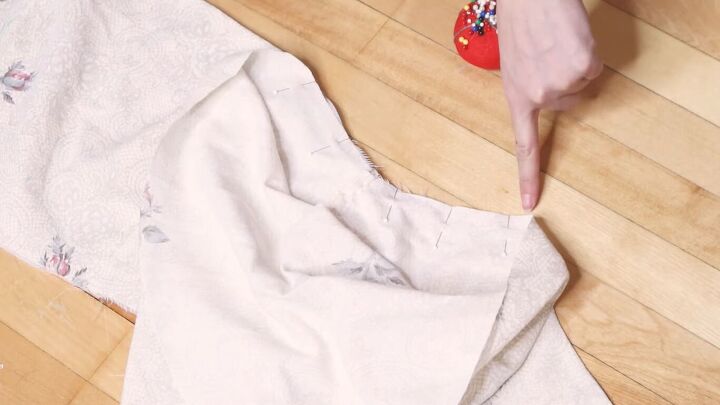
7. Make the puff sleeves
Fold the sleeves right sides together and sew the inner seam or the shortest part of the sleeve. Pin the bottom of the sleeve to the arm hole, leaving a 1½ inch (3.8cm) seam allowance for the casing. It will overlap.
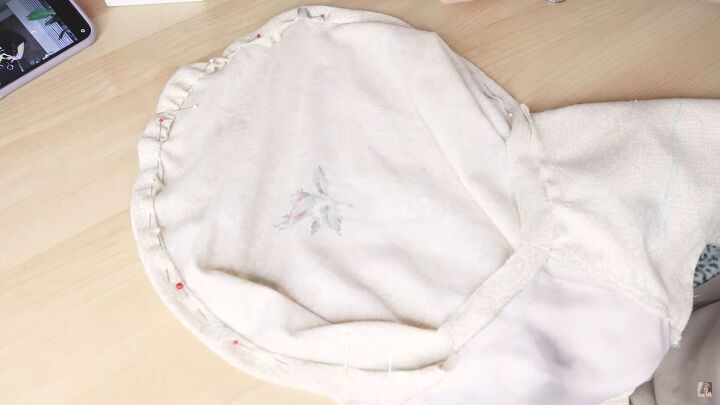
8. Make the casing
Fold the edge of the sleeve twice so it is about ¾ of an inch. Pin in place and sew, leaving the ends open to thread the elastic through.
Also, make a casing for the hem of the sleeve around ¼ of an inch.
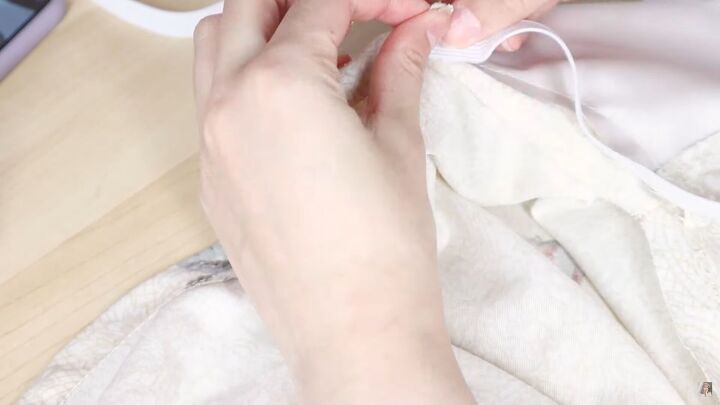
9. Insert the elastic
Measure and cut the amount of elastic you need for your shoulders; I used 15 inches (38cm) and the width was ½ inch. For the sleeve hem, I measured a length that fit well around my arm, then halved the elastic to make it a ¼ inch wide.
Use a large safety pin to pull the elastic through the casing. Try it on to adjust the elastic as needed. Mark with pins, and then sew everything in place.
10. Make the skirt tiers
Fold the fabric with the right side facing in and sew the side seam to make a loop. Repeat for the other two tiers.
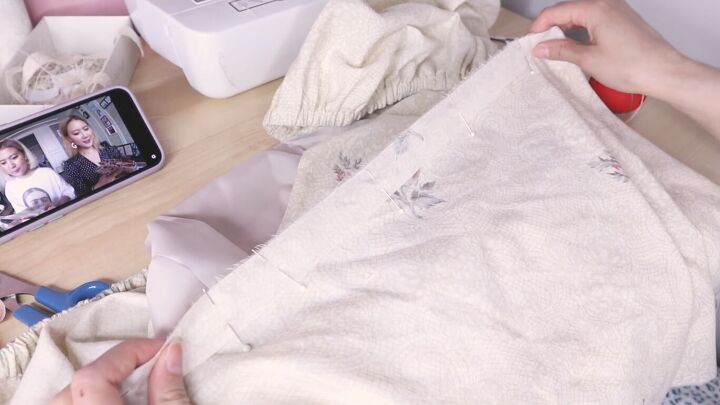
On each tier top, sew a basting stitch to gather the fabric. For the first tier, you only need to add a basting stitch to the front because we'll add elastic to the back.
Hem the bottom of the third tier with a skinny double hem.
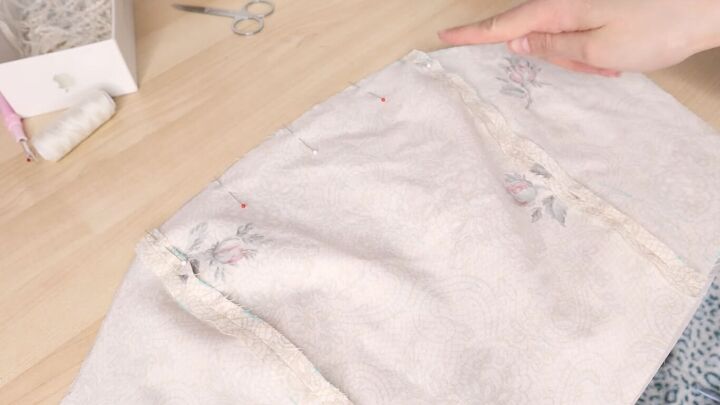
11. Gather the fabric
Gather the fabric by pulling the basting stitches, so that it makes soft folds. On the first tier leave the back straight and ungathered for the elastic.

12. Assemble the DIY tiered dress
Flip the first tier to the right side. Sew it to the bodice.
To make the casing for the back elastic, cut a long strip of fabric about 1 inch wide and as long as the back. Pin it to the back. Sew the edge at ¼ inch. Fold it up and then fold it in twice to create a casing. Sew as close as possible to the edge.
Insert the elastic through the opening until it reaches the other end. Pin it and sew it down.
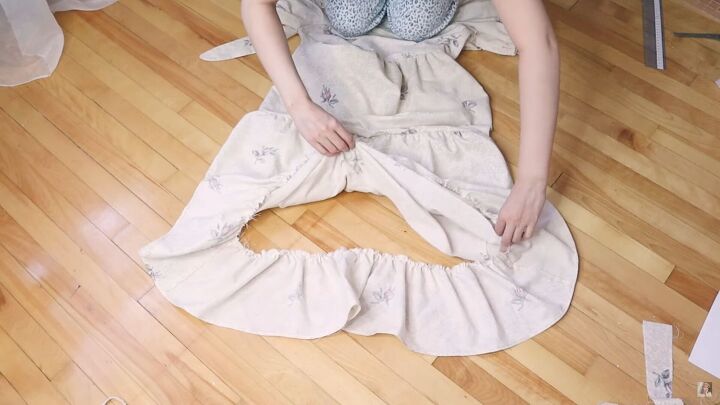
For the second and third tier skirts, put them right sides in, and adjust the ruffles so that they are perfect. Pin in place and then sew.

How to sew a tiered dress tutorial
When you put on this dress, with the puff sleeves, back with the bow, and soft gathered skirts, you’ll feel so summery and romantic. I hope you enjoyed this tutorial on how to sew a tiered dress let me know what you think of this DIY tiered dress in the comments.
The author may collect a small share of sales from the links on this page.


Comments
Join the conversation
Wish we could really see the dress!
Very pretty