How to Easily Make Your Own Halter Dress - Bodycon Style

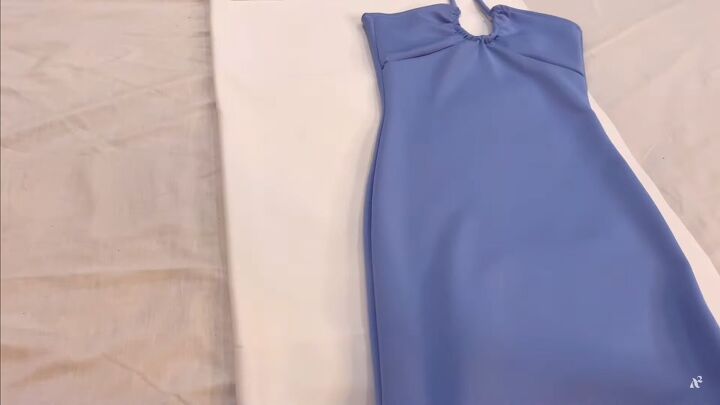
A bodycon dress is simple, elegant, and flattering for any shape or size! You can customize this easy-sew halter dress to your body and it will become a wardrobe staple. Here’s what you’ll need to make a halter top dress that will look gorgeous and never go out of style!
Tools and materials:
- Your own bodycon dress as a template or see our previous video
- Self-finished stretchy spandex type fabric
- Scissors
- Measuring tape/ruler
- Marking chalk
- String
- Sewing machine
- Pins
- Iron
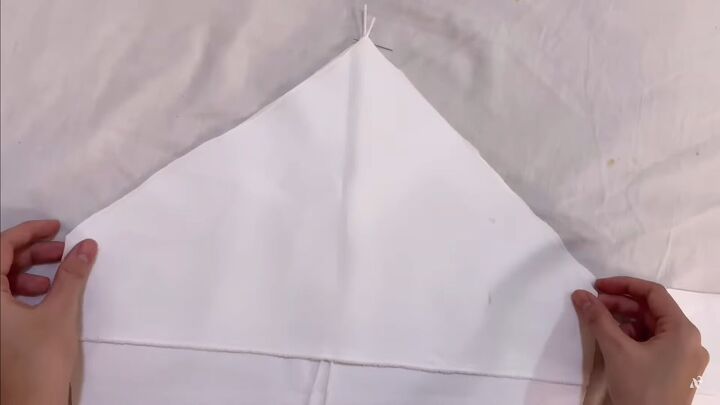
1. Make the pattern
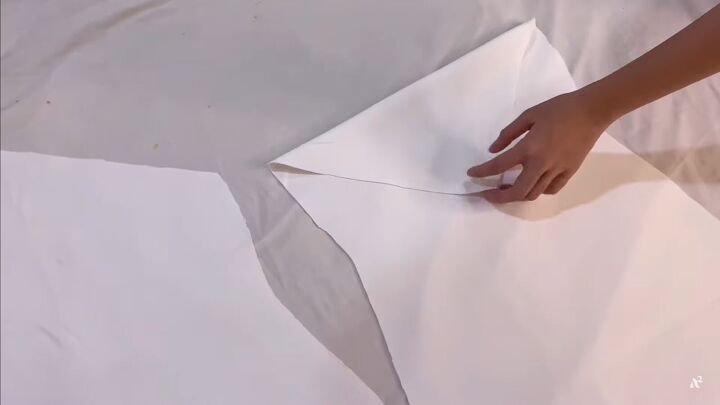
Fold the fabric in half. Lay a template dress that fits you well on top of the folded fabric. Trace the dress leaving ½-inch seam allowance all around.
Or see our DIY bodycon dress tutorial to see how we made the blue dress, which has a similar silhouette.
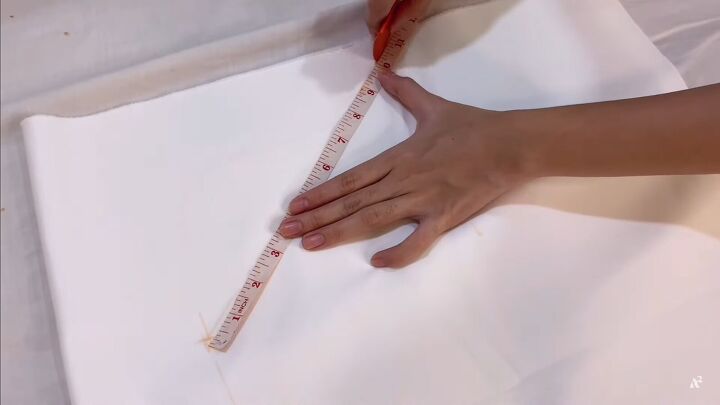
At the top of the dress, mark an upside down “V” shape. Find the middle point at the top of the dress and mark 7 inches away from it. Make sure the sides are the same length. Connect them together to form the V shape.
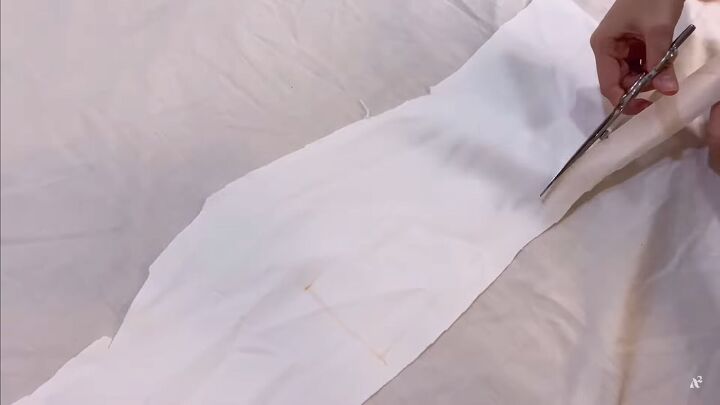
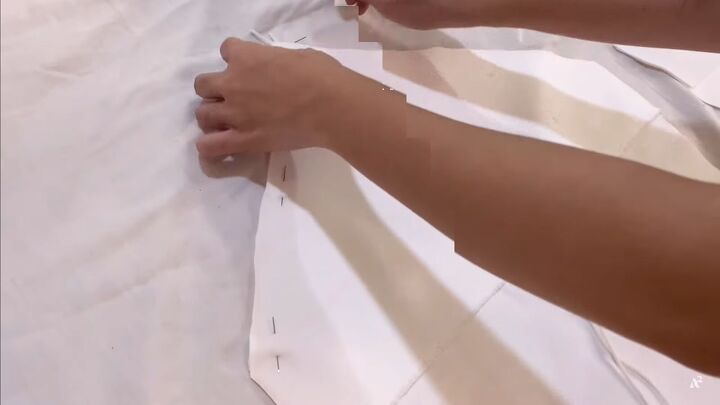
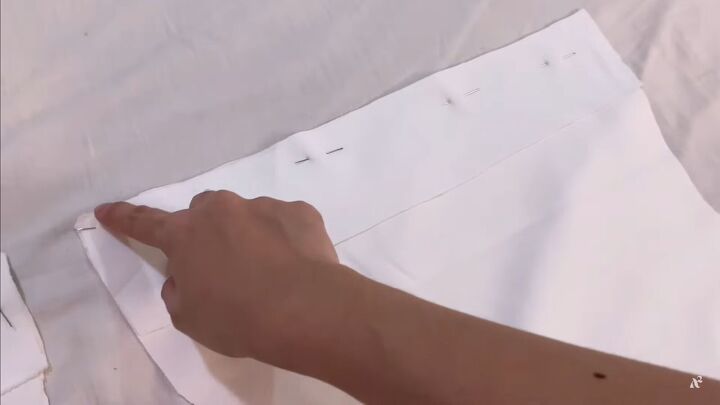
2. Cut the fabric
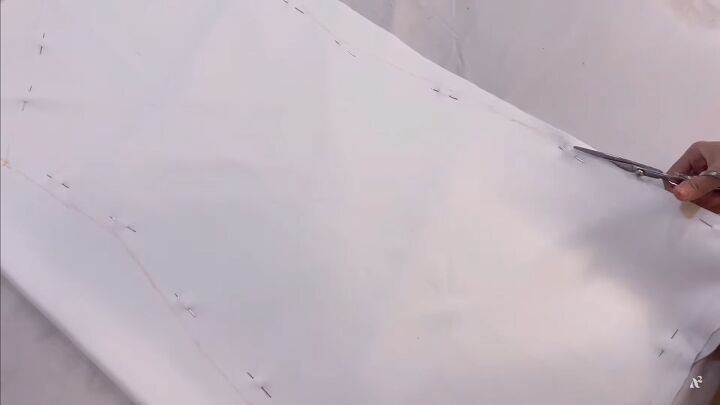
After the pattern is marked up, pin the fabric together so it doesn’t move at all when cutting.
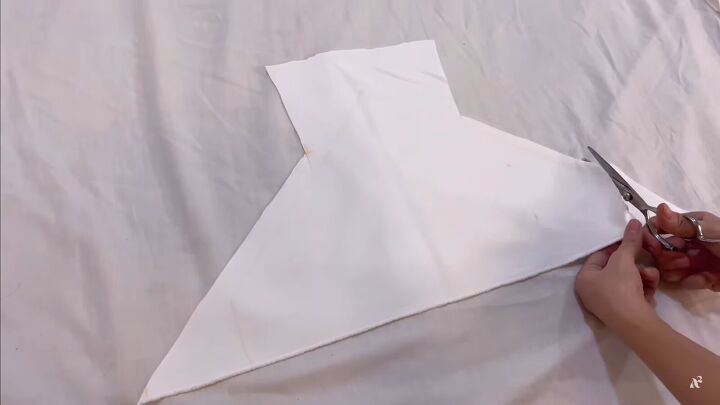
Cut the fabric so there are 2 pieces: the front and the back.
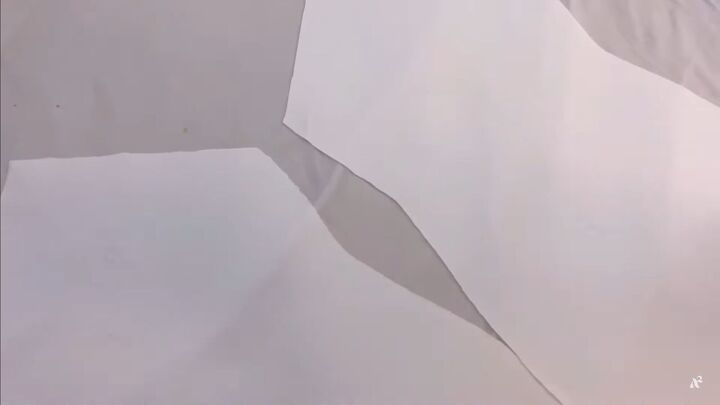
For the back portion, fold over the upside V so there is one straight line.
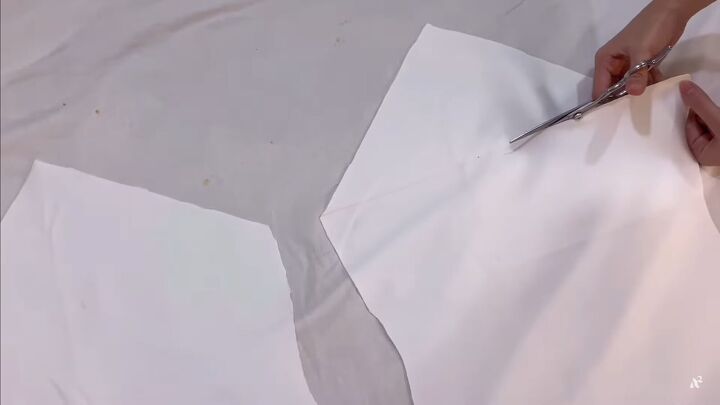
Use the measuring tape or ruler and mark it so it is as straight as possible. Cut off this piece.
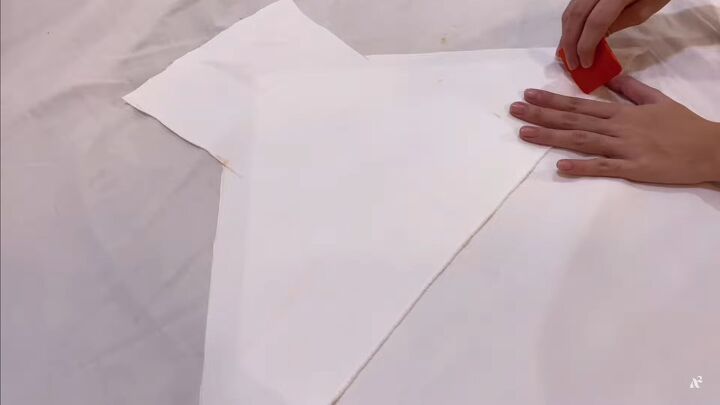
Both the front and back need facing. For the front piece, take the remaining fabric from cutting the pattern and lay it on top of the front piece.
Trace the outline of the front panel on this piece and cut it out.
For the back piece, measure the length of that top section of the back. Use a strip of leftover fabric that is 3 inches wide. Here our strip is 3 X 15 inches long. Transfer the measurements to the fabric and cut it out.
3. Sew the dress
Lay the front and back pieces of the dress right sides down.
Measure and cut two pieces of string that are each 25 inches long. Lay them right at the tip of the upside V with about an inch of string sticking up above the V. Pin the strings in place.
Sandwich the strings with the front facing piece laid on top. The facing and the front should be on the wrong sides together.
Pin together and sew with a straight stitch.
Lay the back facing on the back so the tops are aligned. Pin together and sew with a straight stitch.
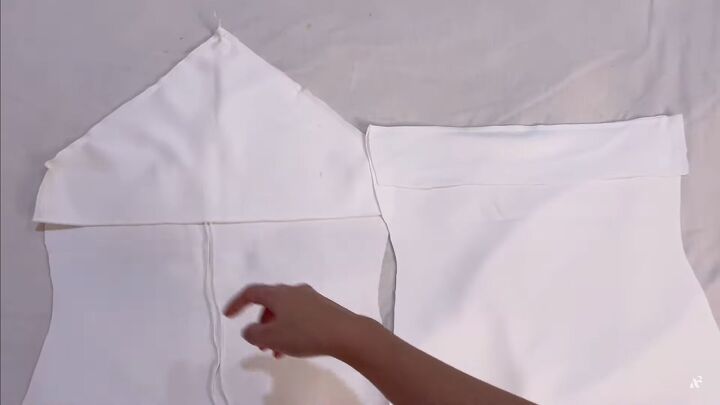
When they’re done they will look like this.
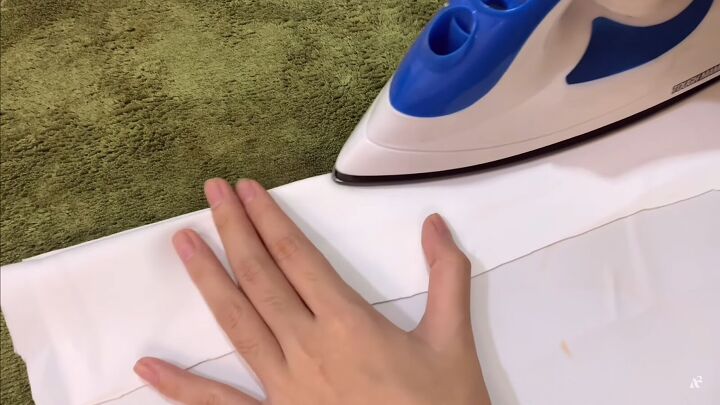
Turn the front and back of the dress pieces inside out and iron the facing flat down to remove any bumps.
They should look like this.
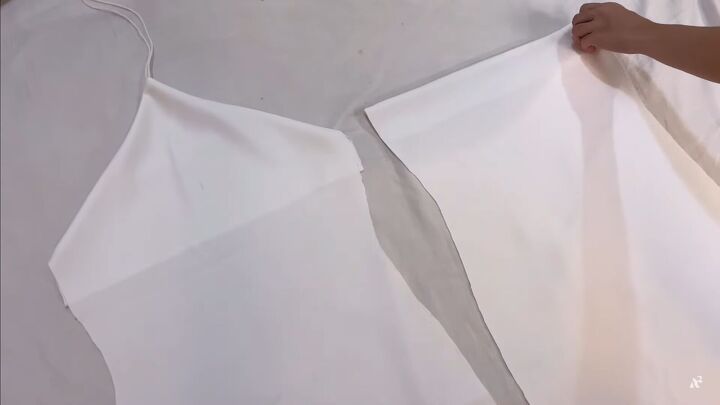
Place the front and back right sides together and pin them. Then, sew up the sides using a straight stitch.
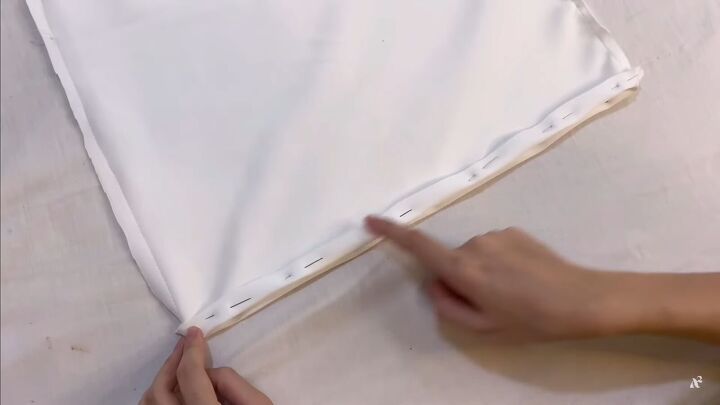
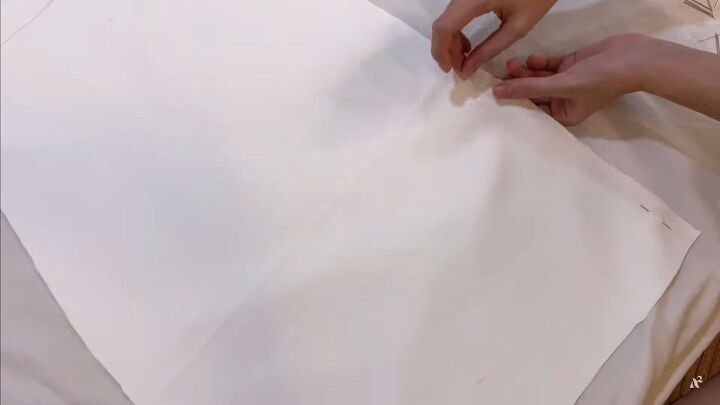
The last step is to fold the hem over once about ½ an inch. Pin in place and sew at the edge of the hem.


How to make your own halter dress
Your DIY halter neck dress is ready! This style of dress flatters your curves and gives you the illusion of a perfect waist. See how easy it is to make your own halter dress?
Please let us know if you made this dress or share photos of you in it! We love hearing from you so please leave us your feedback in the comments!
The author may collect a small share of sales from the links on this page.


Comments
Join the conversation