Sew a Puffy Sleeve Maxi Dress With This Easy Tutorial

Say goodbye to boring maxi dresses! In this tutorial, I will show you how to make a puff sleeve maxi dress that will give your outfit a lovely twist thanks to the cute puff sleeves. Follow me as I show you step-by-step how to make a maxi dress with puff sleeves- it’s not as complicated as you think! The result is beautiful and is a stylish, fashionable item to add to your spring or summer wardrobe. Let’s get the show on the road!
Tools and materials:
- Fabric ( 60-inch wide)
- Measuring tape
- Pins
- Elastic
- Sewing Machine
- Scissors
Make the pattern
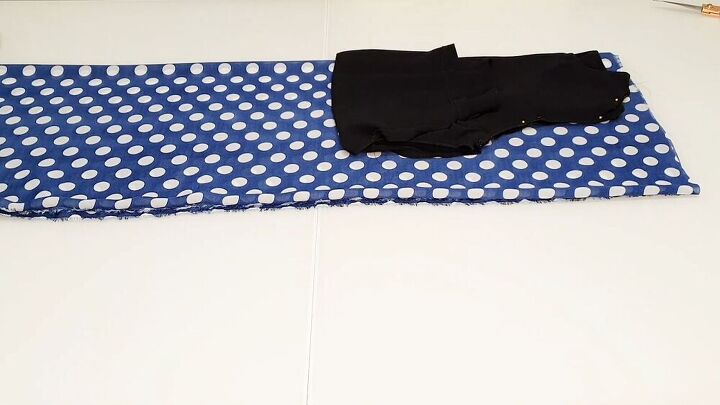
Take your 60-inch wide fabric and fold it in half and half again. Use an existing, loose-fitting top for the pattern and lay half of it out on the fabric, as shown.
Measure from the shoulders and waist areas and cut across the fabric. Pin the top to the fabric, and cut around the top, leaving a little seam allowance.
Remove one bodice piece and markdown 3 inches at the neck area, and cut the neckline into a square shape. This will be your front bodice piece.
Take the rest of your folded fabric and start cutting 5 pieces to make the ruffles. Measure them 22 inches long. Use the first piece as a guide to cut out the remaining 4 pieces.
TIP-
I am going for a 59-inch length for my dress. If you are shorter, reduce the length so that it matches your height.
Cut the neck binding by folding the fabric in half and placing the bodice on top. Cut the outline of the neck.
Make the piece 3 inches wide. Do the same for the back panel piece. Repeat the same for the front.
To cut the sleeve of the dress, fold your fabric in half and half again. Use your top to trace around the armhole curve.
Next, measure your desired sleeve length and cut. Pin the corners to mark your center.
Sew the neck binding
Now that all that cutting and measuring is out the way, it’s time for the fun part- putting your puff sleeve maxi dress together! Let’s start with the neck binding. Take your neck binding, place it right sides together and pin. Make sure it corresponds to the respective bodice. Stitch the pieces together.
Make small cuts on the seam. Then, flip your neck facing right sides out and pin and sew. Repeat this for the other bodice piece.
Next, top stitch to secure the facing. This is what it should look like.
Assemble the bodice pieces
Place the bodice pieces right sides together and pin at the shoulders and stitch the shoulders together.
Attach the sleeves
Open the bodice and place your sleeve pattern, right sides together and pin from the center outwards. Stitch both sleeves.
Make the ruffled tiers
We are going to start with the second ruffled tier. Take the 3 pieces from the batch of 5 that you cut. Take one of those pieces and cut it in half. Join each half to the other two ruffled pieces; this will make two long ruffle pieces. Pin to secure and stitch in place. In the end, you should have two first-tier pieces ( which are the same size as how you cut them in the beginning) and two second-tier pieces which are longer than the first tier.
Hem all the four pieces, top, and bottom sides. Then, stitch to join the longer second-tier pieces together, leaving you with one long piece.
Now, take the first-tier pieces and create a gathering stitch, one inch away from the hemline.
Pull the thread to create some lovely gathers and pin the first tier piece to the bodice, right sides facing. Be sure to pin this together at the stitch line and that the ruffles are visible.
Repeat the process for the first and second-tier pieces, both for the front and back bodices.
Pin the first tier to the bodice and repeat with the other tiers for the front and back sections.
This is how your dress should look like.
Finish off the sleeves
Take two elastic bands, wrap them around your wrist, and cut. This will be added to the sleeve, as shown.
Then, hem the sleeve. After your sleeve is hemmed, attach the elastic band 4 inches away from the sleeve’s ends. Sew the elastic band using a zigzag stitch, pulling as you are stitching.
Complete the dress
Pin the dress at the side seams, right sides together, and stitch. Also, stitch the sides of the sleeves.
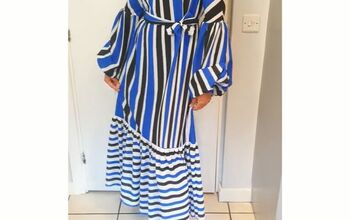
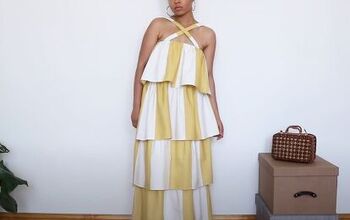
Here’s the final look! I wore an undergarment because my fabric was somewhat see-through. If your fabric isn’t see-through, then there’s no need. Isn’t this puff sleeve maxi dress just flowy and charming? You can under-dress it for a casual look or add a belt and some classy heels for a more elegant, formal feel. Whatever your style, you know, have a stunning DIY maxi dress with puff sleeves to flaunt!
Enjoyed the project?
The author may collect a small share of sales from the links on this page.




Comments
Join the conversation
I WAS inspired! THANKYOU ! I love the material...I haven’t sewed for some time...it’s time to enjoy making something again! 😊
Beautiful, I love it.