Eyelash Hacks: Ultimate Beginners' Tutorial on Applying False Lashes

In today's tutorial, I am sharing some game-changing eyelash tips to ensure that you nail false eyelash application every time.
These tried-and-true eyelash hacks will elevate your lash game!
Tools and materials:
- Liquid eyeliner
- False eyelashes
- Nail scissors
- Eyelash curler
- Mascara
- Tweezers
- Eyelash glue
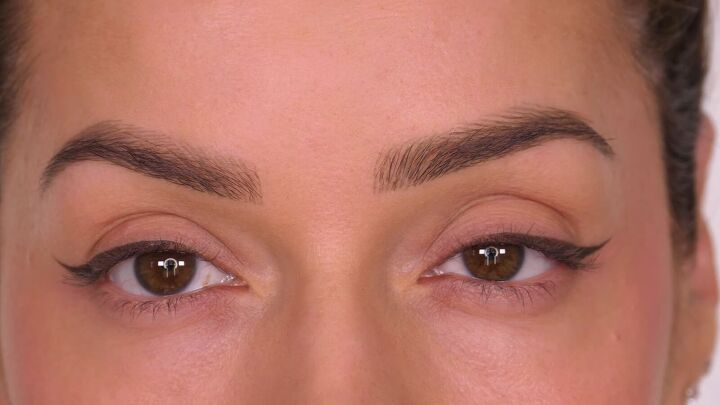
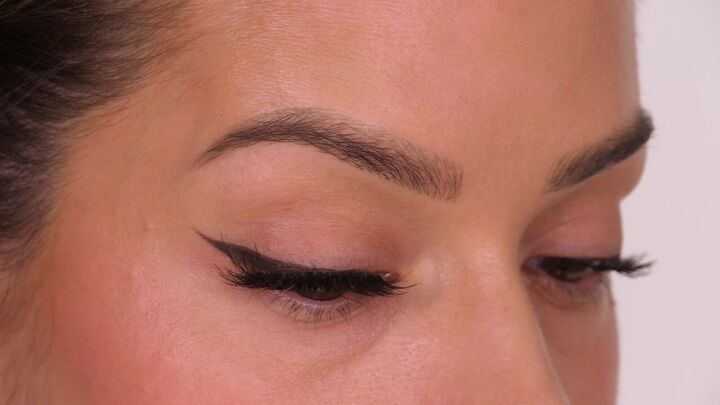
1. Apply winged eyeliner
You don’t have to wear eyeliner, but I prefer applying a wing to give a lifted look to my eyes.
2. Tightline the eyes
As you can see, we have a pink-toned most visible above the iris.

Coating this makes the lash line appear fuller. This is great if you have hooded eyes and you struggle with eyeliner.
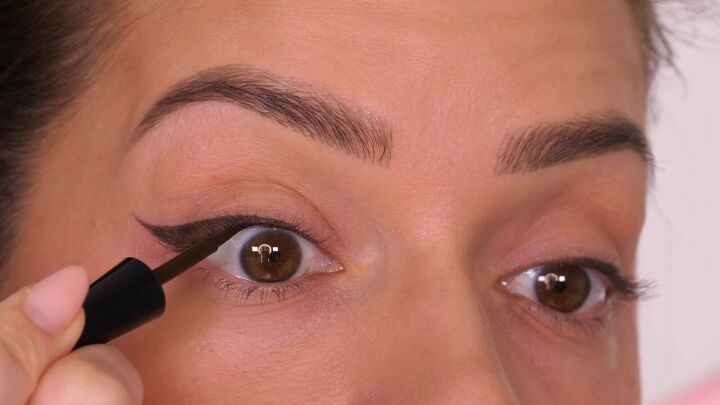
Look up into a mirror and coat with a liquid eyeliner.
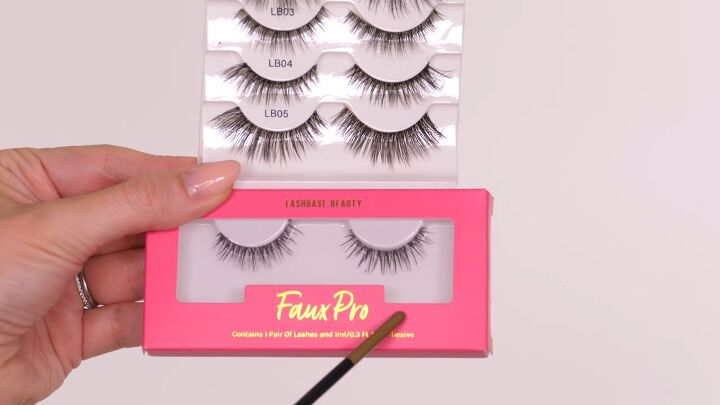
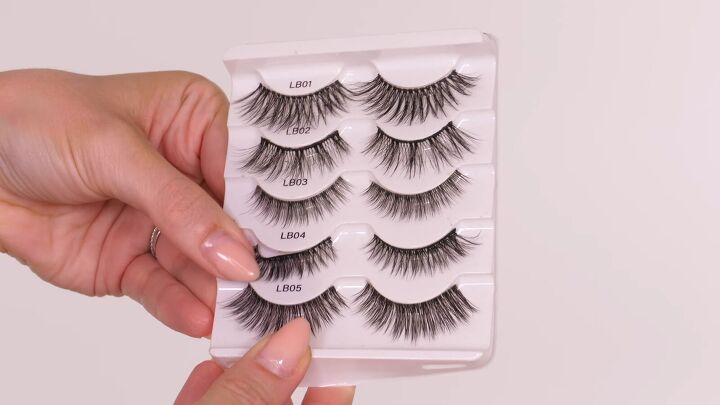
2. Choose the right eyelash style
Pick lashes that suit your eye shape and the look you’re going for. Rounded eyelashes are longer at the center.
Winged styles are longer on the outer edges. You can go with the Russian lash style, as seen in the top row.
Some lashes have a thicker band than others. The lighter the band, the more natural it will look. It will also feel more comfortable.

Lighter, less dense versions are best for mature eyes.
3. Consider lash length
I’ve loosely applied 2 types here. The ones on the right side are not too long–they’re not touching the brow bone when I look up.
The ones on the left are too long for my eye shape.
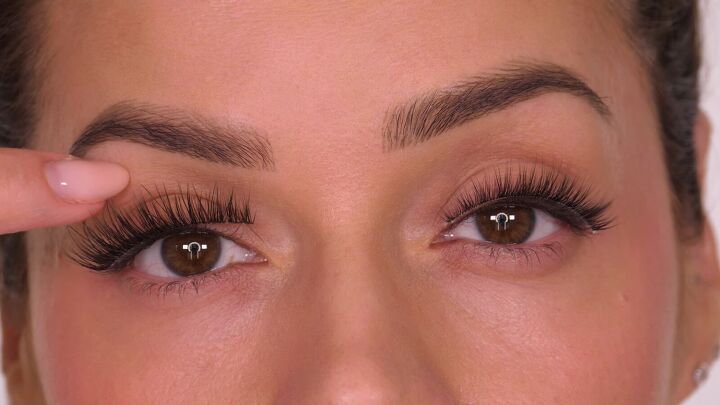
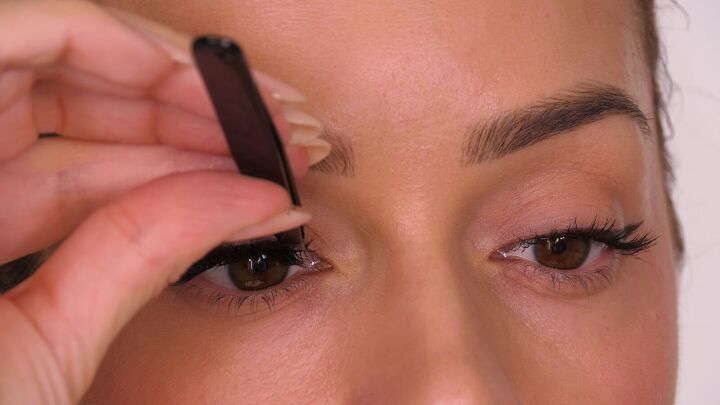
4. Address lash width
Once you’re happy with the length, address the width.
Start by attaching the false lash at the center, above your pupil.
Then place the inner corner where it’s going to sit. You can see that the outer edge is too long for my eye.
4. Curl your natural lashes first
Before trimming the false lashes to fit your eye width, remove them and curl your natural lashes.
5. Make your natural lashes blend in
Apply mascara so that your natural lashes match the color of the false lashes.
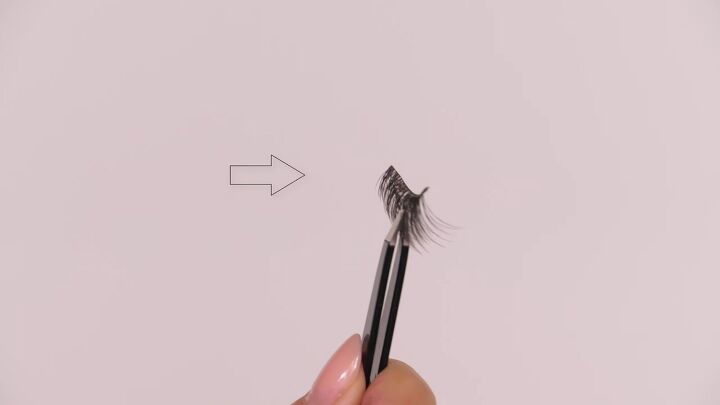
6. Properly remove false lashes from the package
To prevent tearing the lashes upon removal from the package, place your thumb on a chunk of the lashes while rolling the band away from the case.
Continue with your thumb along the band until the lashes are detached from the case.
7. Properly shorten your false lashes
Hold the lashes with tweezers and always trim from the outer edge.

8. Remove residual glue
Remove a bit of residual glue from the packaging on the band.
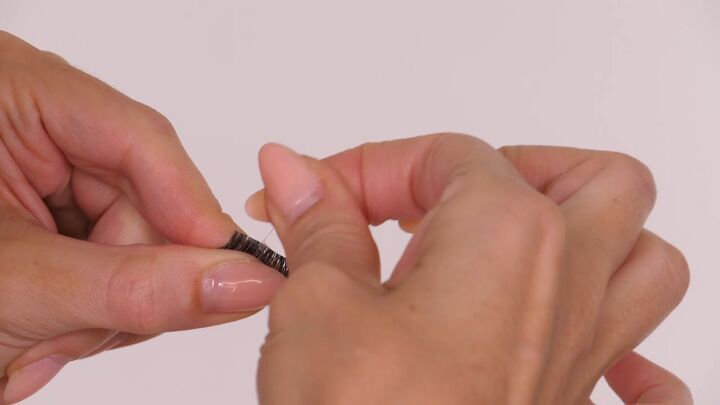
9. Make the band flexible
Before applying your glue, grasp either end of the lashes, bend them into a U-shape and wiggle them backward and forward to make the band more flexible.
This way, it will follow the curve of your eye more easily.
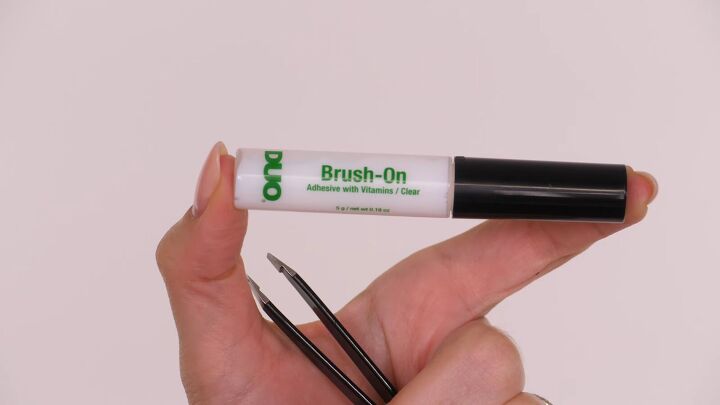
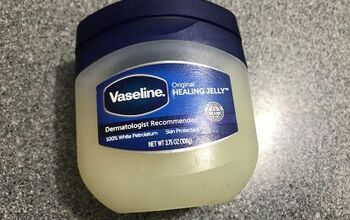
10. Pick a lash glue for sensitive skin
There are lots of lash glues on the market but I recommend choosing one that will be gentle to your skin.
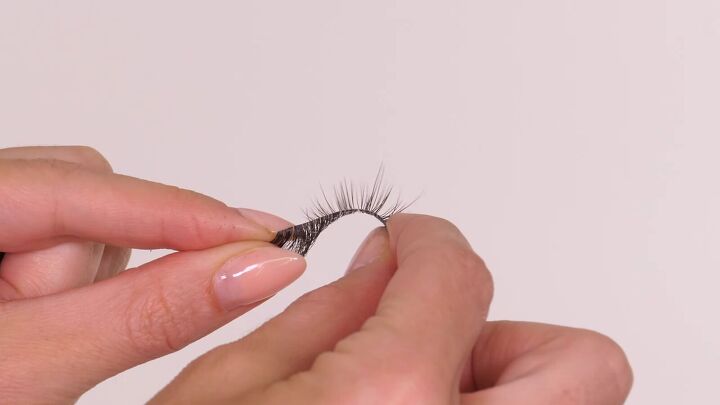
11. Find the back
Find the back of the false lashes. Note that the front side is where they curve.
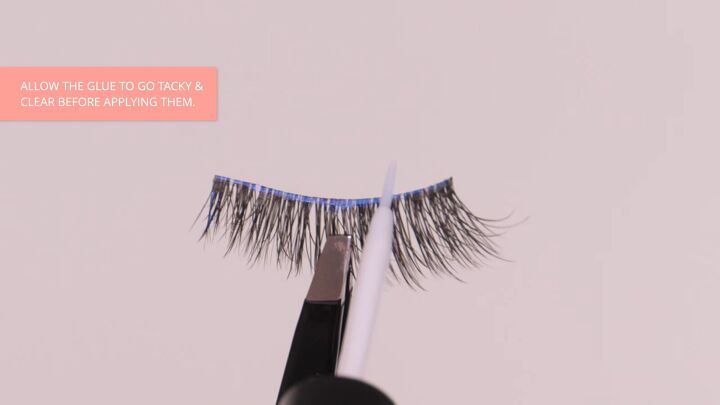
12. Glue application
Apply a very light layer of glue from the inner to outer corner. Allow the glue to get tacky and clear before applying the lashes.
13. Application positioning
If you apply with tweezers, make sure you come from the top.
Look either straight ahead into a mirror or down into a mirror. Place the center of the false lashes in line with the center of your pupil.
Give it a wiggle to make sure it gets to the root of your natural lashes. They should lay on top of your lashes, butting up to the skin.
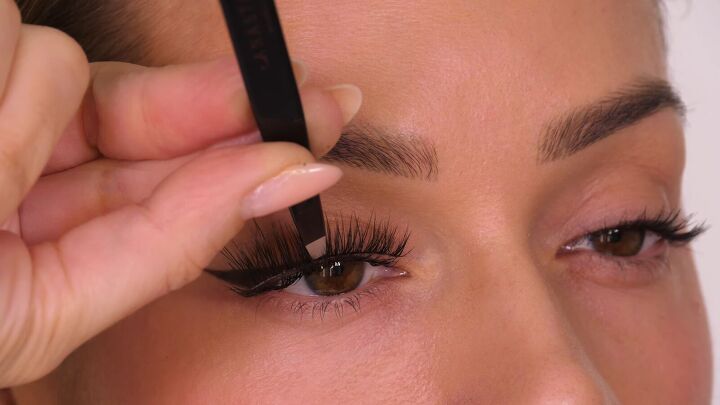
Next, grasp the outer corner and tuck that into the root of your lashes at the end.
Lift the front up slightly as you place them as close to the root as you can.
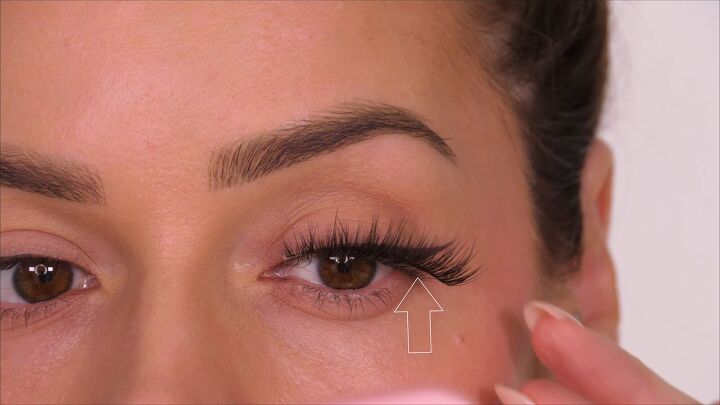
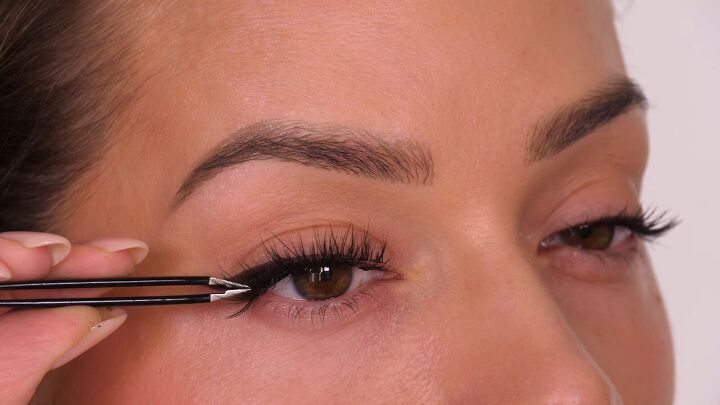
14. Manipulate the lashes before the glue dries
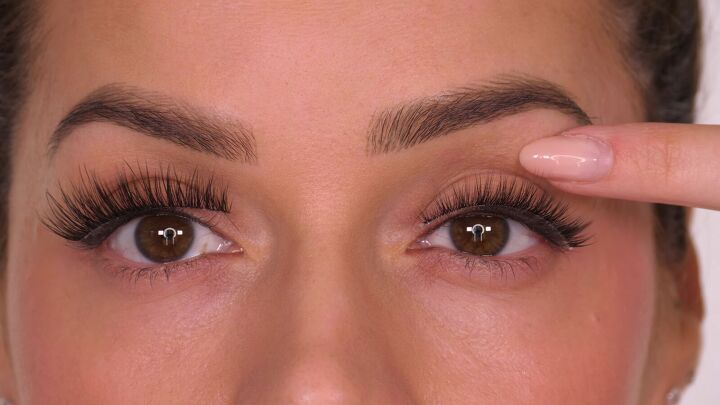
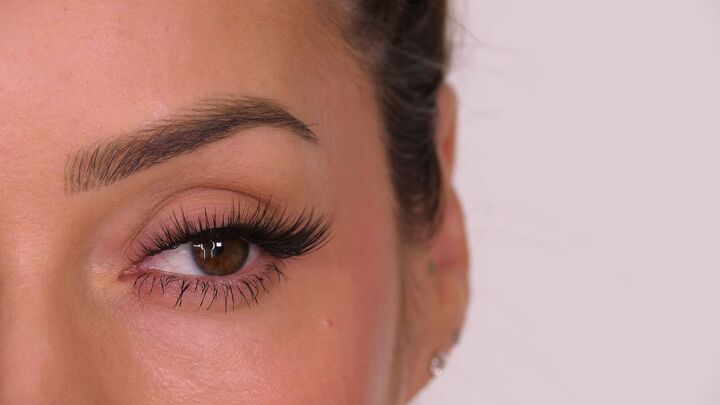
Once firmly in place, use your finger to manipulate the false lashes, pushing them upward so they don’t pull down your natural lashes.
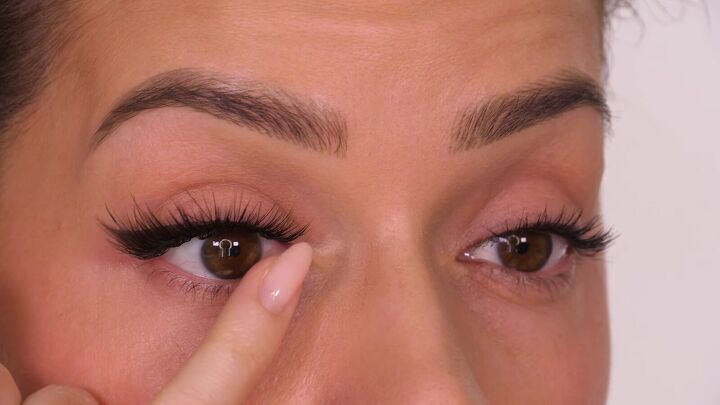
When I look down, the seam of the eyelashes is attached all the way across, but there’s no gap between the false and real lashes.
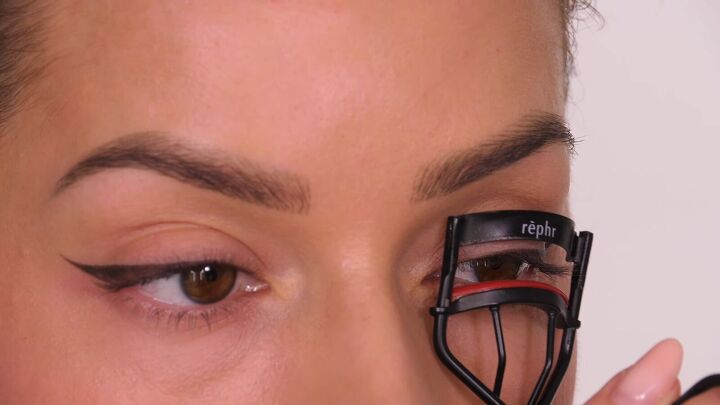
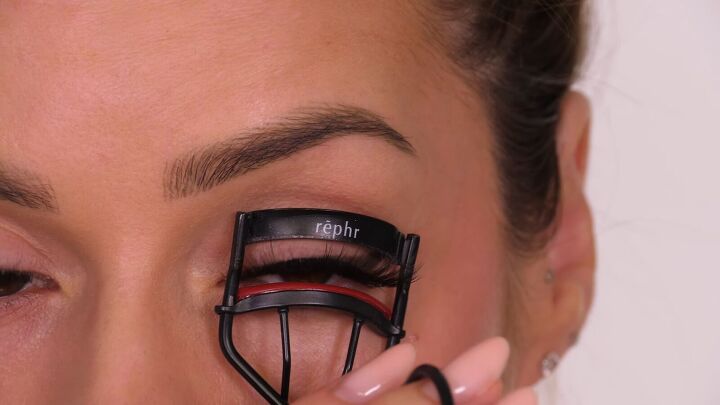
15. Curl the false lashes
Once secure, give your false lashes a soft crimp with lash curlers. This lift helps to open the eyes more.
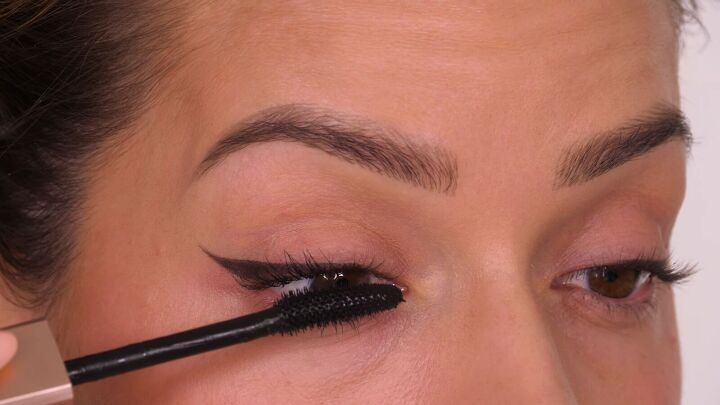
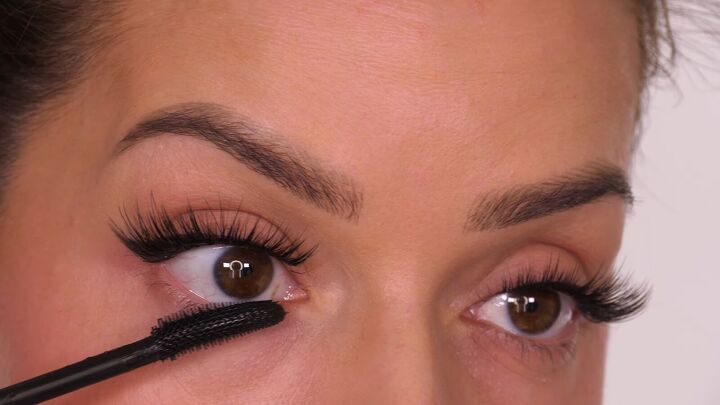
16. Mascara on your bottom lashes
Apply mascara to your lower lashes. This is optional, but if you chose a particularly heavy set of false lashes, this will create a more balanced look.
False eyelash hacks
Those are my eyelash hacks and tips for putting on false eyelashes. Which tip did you find the most useful? Comment down below.
Next, try this easy but glamorous copper eye makeup with me.
The author may collect a small share of sales from the links on this page.


Comments
Join the conversation