Cheat Finger Waves Hairstyle: Christmas Hairdo Tutorial

For this year’s Christmas hairstyle, I wanted to challenge myself by doing a finger waves hairstyle.
Finger waves, and just 1920s hairstyles in general, are the bane of my existence and I struggle with it so much, but I wanted to challenge myself today.
If you want to know how to do this pretty, sleek Christmas party hairstyle for the holidays, keep reading!
Tools and materials:
- Hair ties
- Hairspray
- Curling iron
- Heat protectant
- Bobby pins
- Hair clips
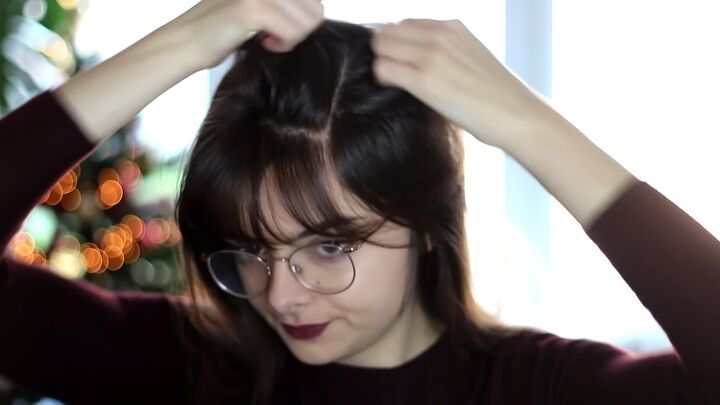
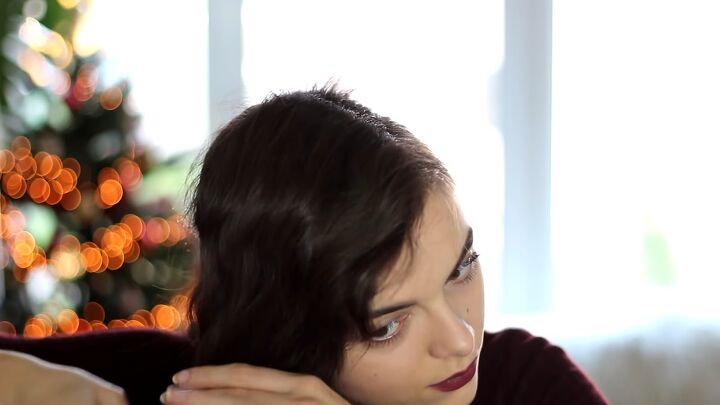
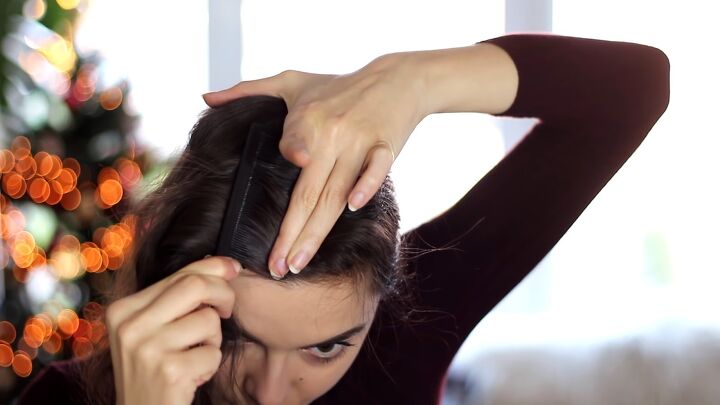
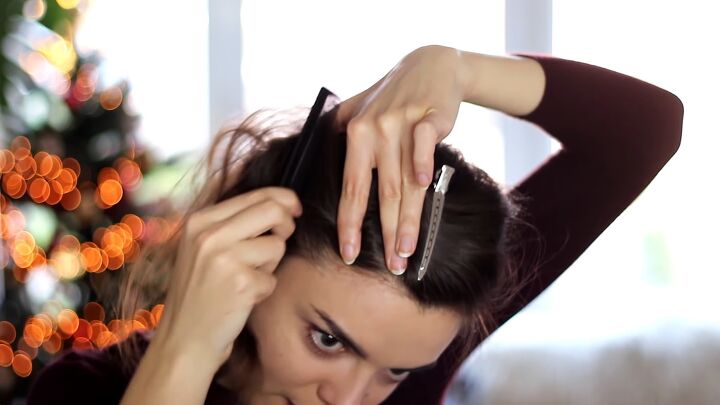
1. Part your hair
The part we’re doing is going to be pretty low because that gives the most vintage vibes.
Start by separating at the arch of your eyebrow. Do the same on the other side.
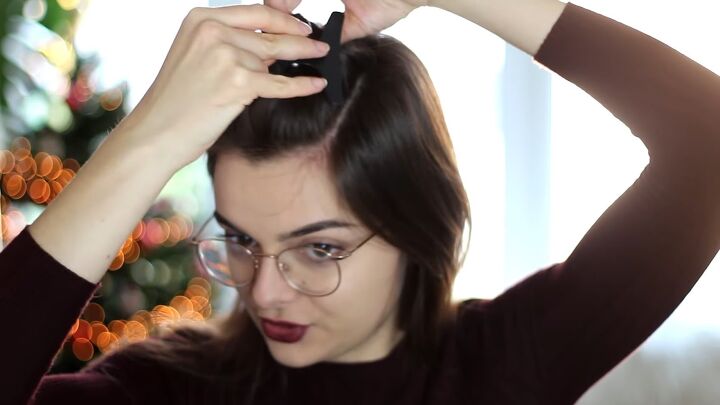
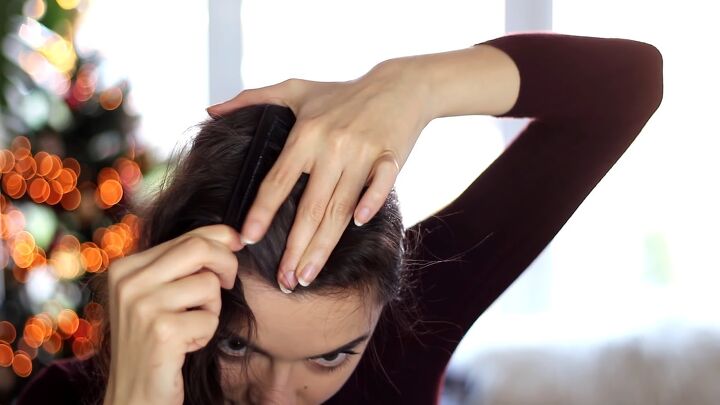
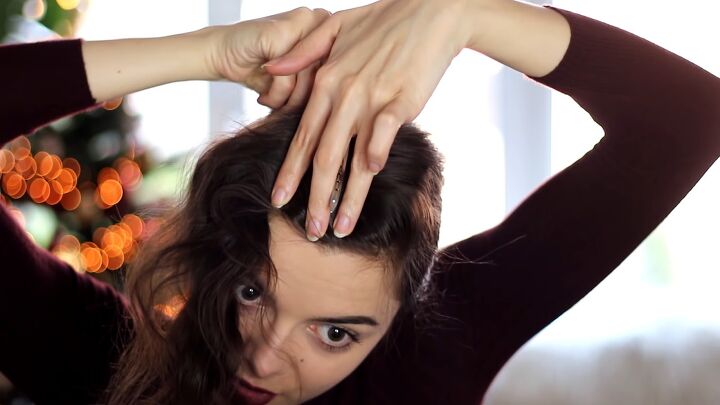
2. Pin away the middle section
Gather all of the hair in the middle and clip it away into a bun for now.
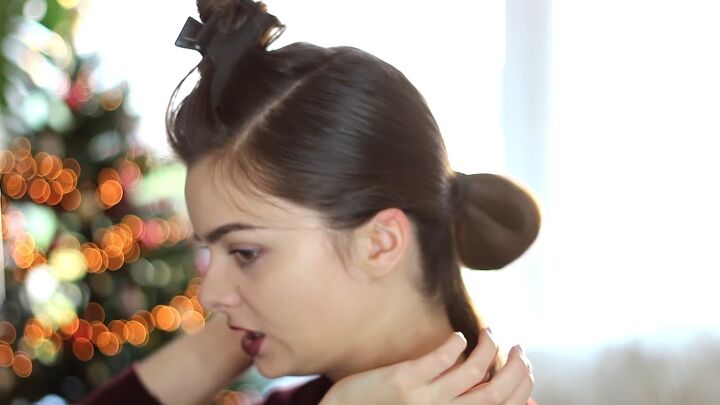
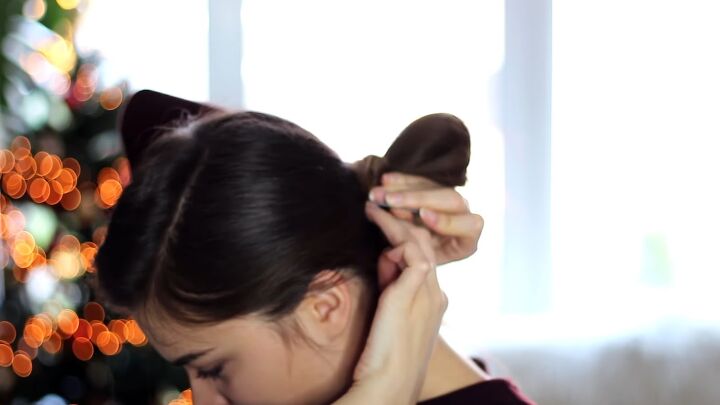
3. Put your hair into a low ponytail
Brush the rest of the hair back into a low ponytail and begin tying it off.
At the last loop, pull the hair through a bit but not all of the way, so it creates the beginning of a chignon.
This is the time to adjust how big you want to make your bun
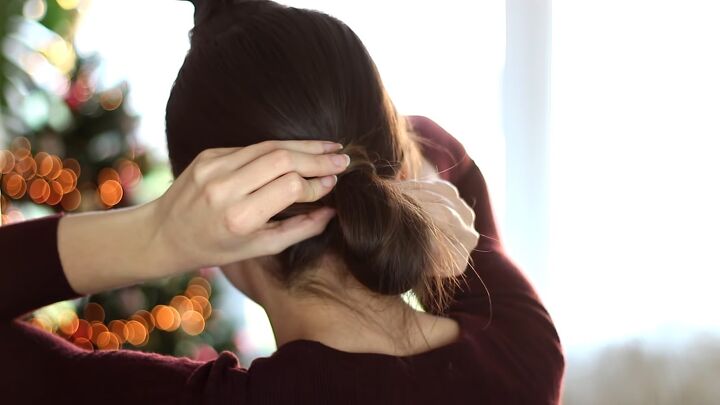
4. Pin the ends in place
Wrap the rest of the hair around the hair elastic and pin it with a few bobby pins.
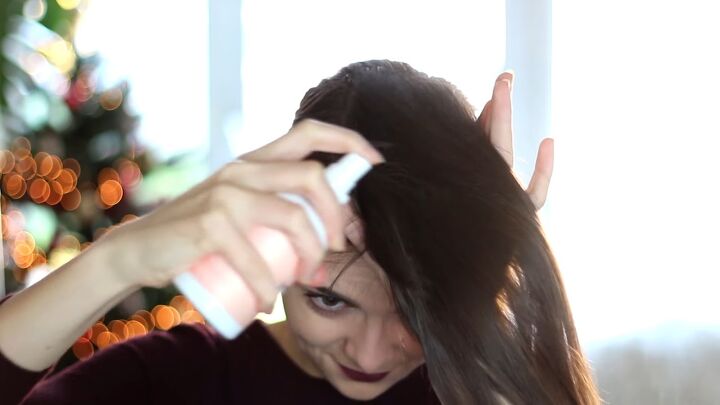
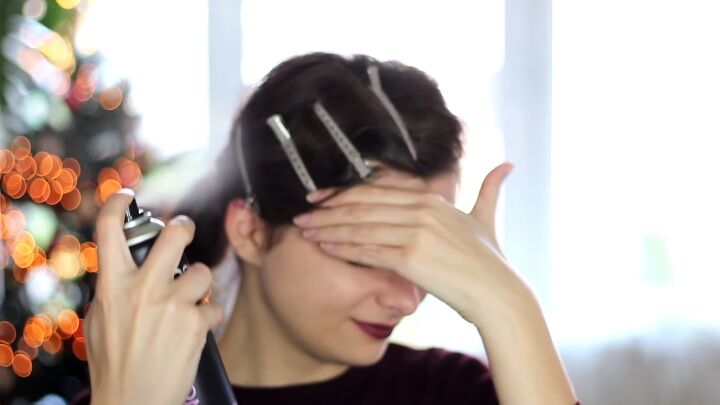
5. Spray the hair with a heat protectant
The rest of the hair is going to be heat-styled, so spray it with a heat protector. Brush it through to distribute the product evenly. Let it dry.

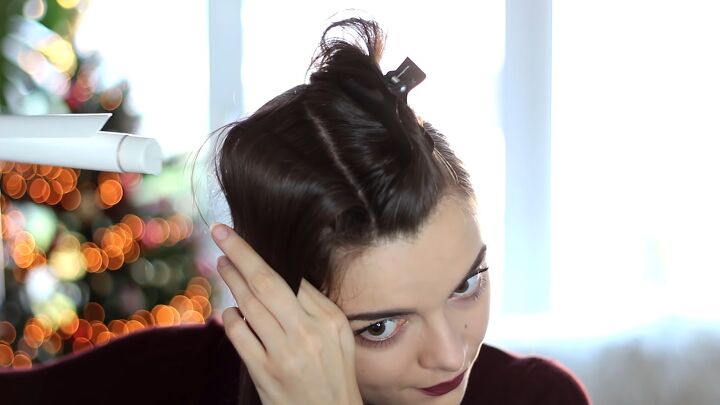
6. Section
We’re going to work in a couple of sections, so clip back two-thirds of the hair and work with the lowest section first.
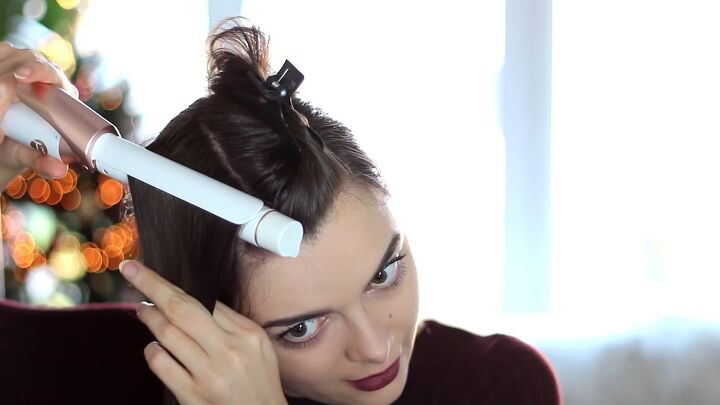
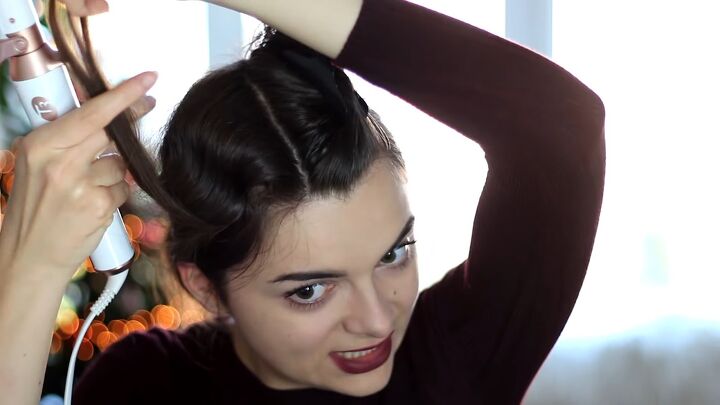
7. Place the curling iron on your hair and push the hair down
To create the illusion of a finger waves hairstyle, without actually finger-waving the hair, take a curling iron with a clip and alternate the direction in which it’s placed on the hair.
This will recreate the S-waves made on wet hair. Start one curl with the clip pointing up and push down the hair quite firmly.
8. Let go
Remove the curling iron and hold the hair in place for a few seconds to let the curl cool.
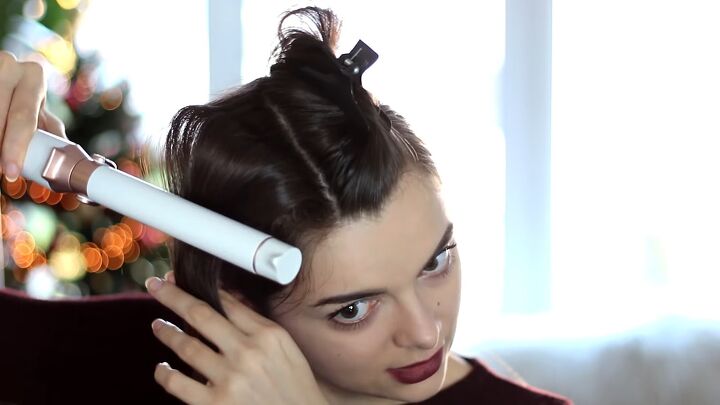
9. Flip the curling iron and repeat step 7-8
Flip the curling iron around so the clip is underneath the hair and place just below the wave you just made.
This time, pull the hair up, hold for a few seconds, and then release.
Hold the hair in place for a few seconds to give the hair the opportunity to set.
10. Continue to repeat steps 7-8
Continue to repeat steps 7-8 until the hair is long enough to reach into the chignon in the back.
While you’re doing this, make sure not to pull on the part of the hair that’s already curled or you’re going to lose it.
11. Pin the section away
Pin the tail end to the chignon temporarily while you work on the rest of the hair.
12. Curl the remaining sections
As you move on to the next section, you want to match the curl underneath so you should use the curling iron in the opposite way of the curl beneath.
Since you started with the clip-on top, this time you want the clip to be on the bottom.
It’s up to you how deep you want to make the curls. A smaller curling iron will give you a more authentic, twenties effect.
13. Align the curls
Take down the pinned sections and make sure they all align with each other, so you get a uniform curl pattern.
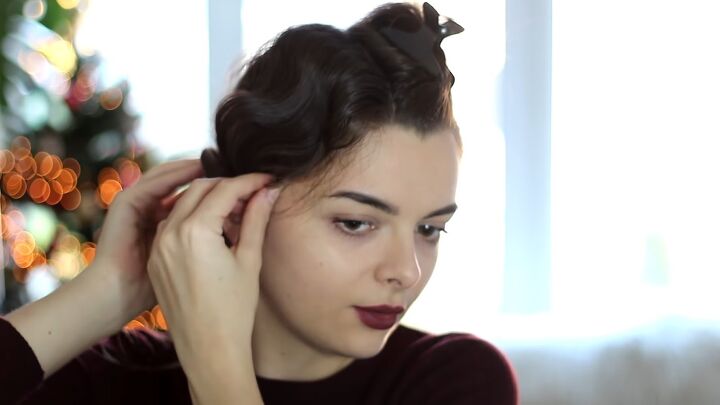
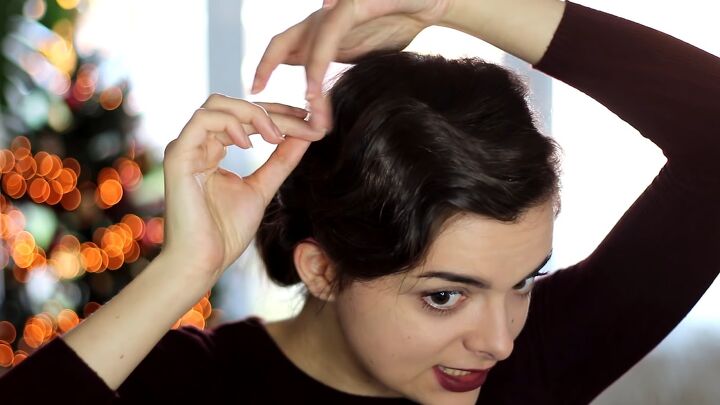
14. Form the finger wave
To create the waves, place your finger in the indentation of a single curl and place the comb next to it.
Then, push the comb back.
15. Clip the wave in place
Slide a duckbill clip right where your finger is in the indentation.
16. Repeat
Repeat this process with the next wave, but this time push the hair forward and then back to shape the wave.
Continue until you’ve reached your ear.
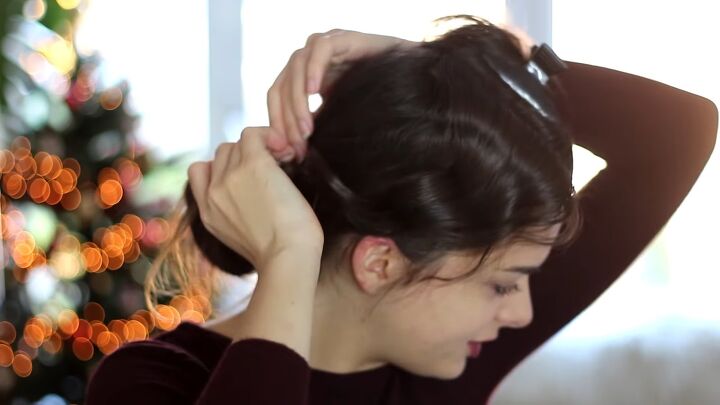
17. Pin the remaining hair back
Wrap the remaining hair around your bun and pin it with a bobby pin.
18. Spray with hairspray
Spray the curled section with a lot of hairspray and let it dry.
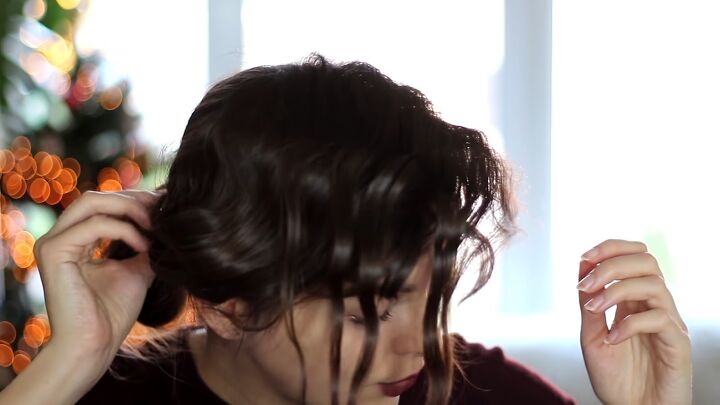
19. Remove the pins
Remove the pins and use a bobby pin to tame any pieces still sticking up.
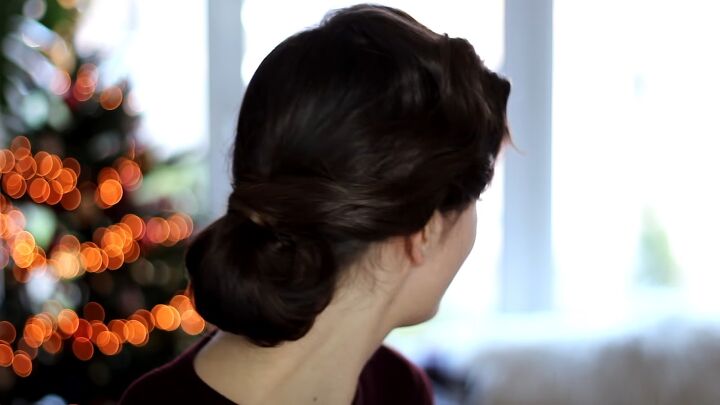
Finger wave hairstyle
Here’s the finished finger wave hairstyle!
A sleek hairstyle like this that you can put a bit of effort into is nice for the holidays. Let me know what you guys think about this Christmas hairstyle down below.
And, for more Christmas hair content, check out my post on 3 Cute and Super Easy Holiday Hairstyles.
The author may collect a small share of sales from the links on this page.


Comments
Join the conversation
Beautiful! Tyfs!