Gorgeous and Glowy Makeup Tutorial

Hey, guys! Today, I will show you how to achieve this gorgeous and glowy makeup look.
With this look, we’ll use a baked foundation for a very natural appearance to the skin, a serum blush for that added natural glow, and a peachy monochromatic and half-lash eye look for a flirty finish.
Let’s get into it!
Tools and materials:
- Concealer
- Makeup brushes
- Baked foundation
- Serum blush
- Bronzer
- Setting powder
- Eyeliner
- Mascara
- Lashes
- Tweezers
- Lip gloss
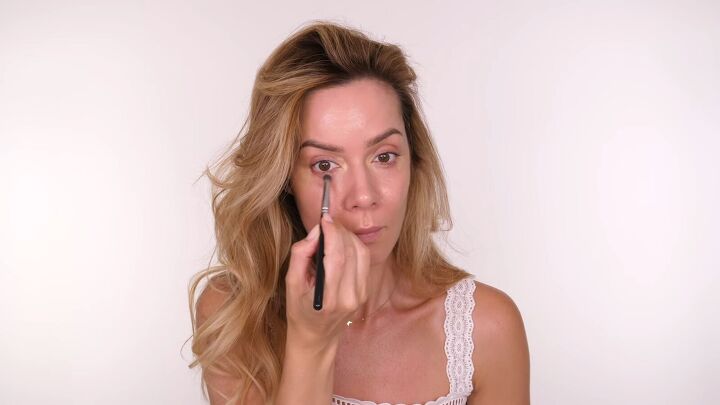
1. Apply concealer
I already have a beauty balm on my skin for a tiny amount of coverage, and I’m going over it with concealer.
I’m using the concealer to brighten around my eyes and cover the redness around my nose.
Press that into the skin using the belly of a big blending brush.
Using a smaller brush takes a bit more work and you can get a streaky finish.
2. Cover any redness with the excess concealer
Press what’s left on the bristles of your blending brush around your face where you tend to get a bit of redness.
3. Apply foundation
I’m going to be mixing two different baked foundations to get my perfect shade.
Both foundations are light to medium coverage, so you can build them up.
I recommend a matte finish foundation if you’re more oily.
If you have rosacea or your skin is a bit warm and red in areas, go for a color-correcting foundation.

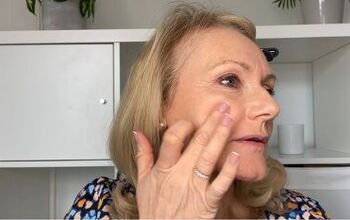
4. Apply a serum blush to your lips
Since I’m going for a natural finish, I’m using a serum blush on multiple parts of my face.
First, I’m popping it onto my lips for a soft peachy finish.
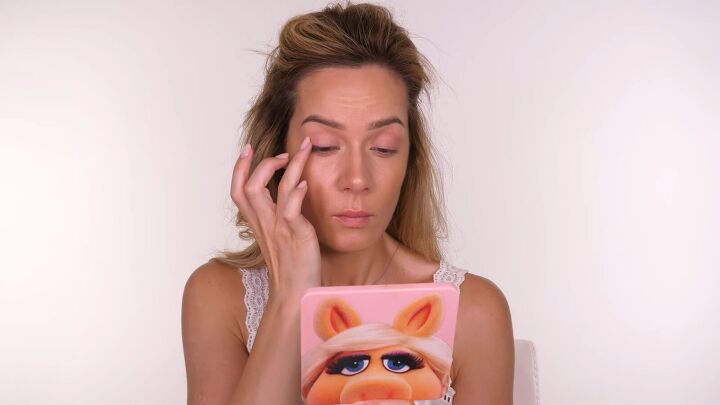
5. Apply a serum blush to your eyes
Swipe that same serum blush over your eyes.
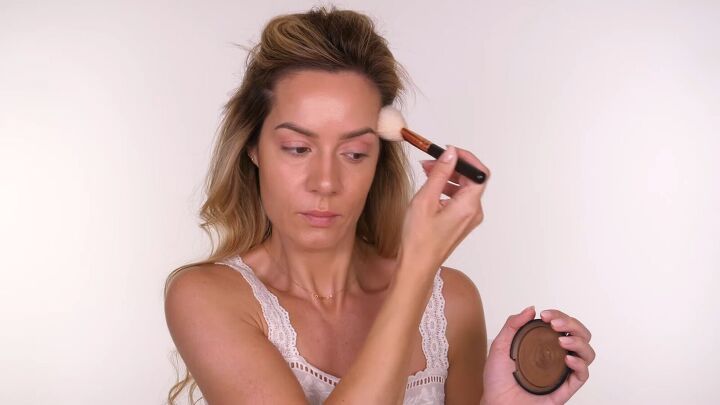
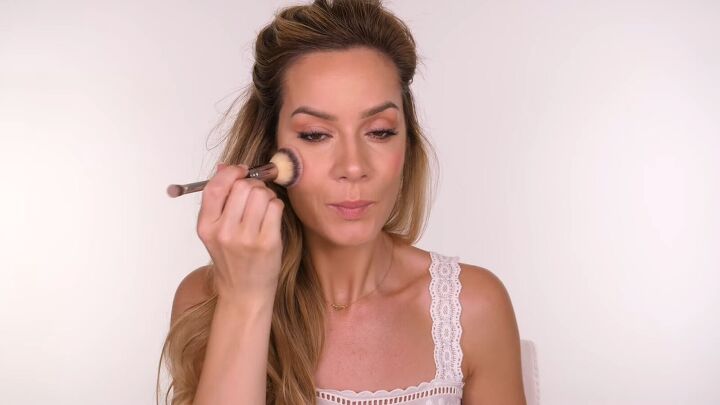
6. Apply bronzer
Apply bronzer around the circumference of your face, as well as anywhere the sun will naturally hit.
I took it underneath my cheekbones to softly sculpt the area.
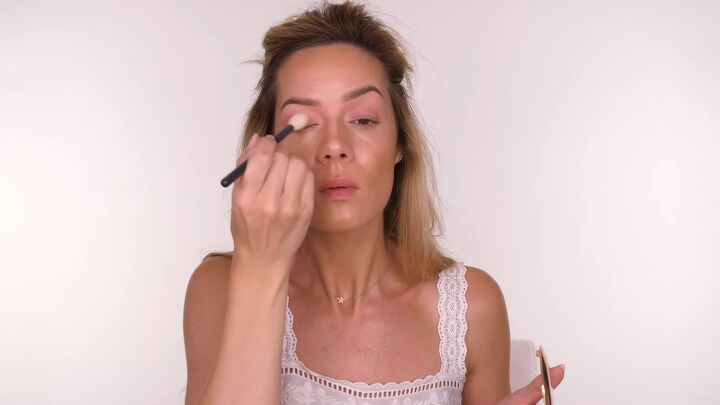
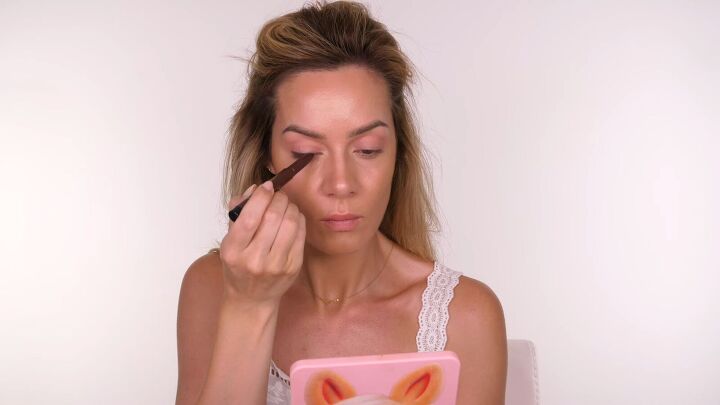
7. Apply setting powder to the eyelids
Apply a setting powder over your eyes to make sure the serum on the eyelids doesn’t go anywhere.
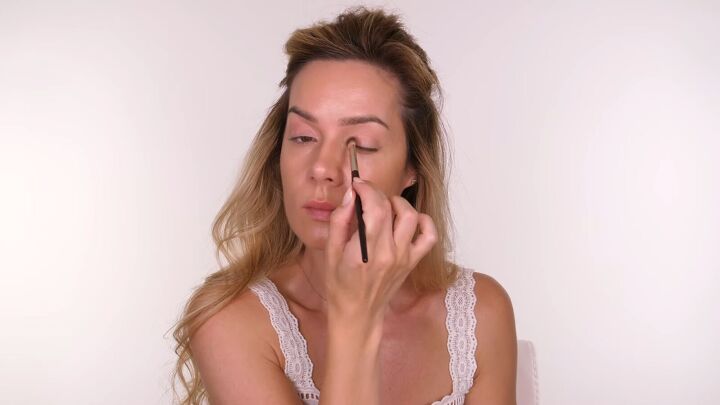
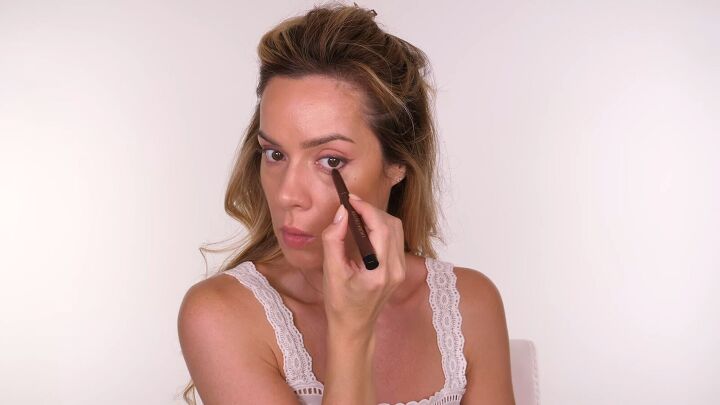
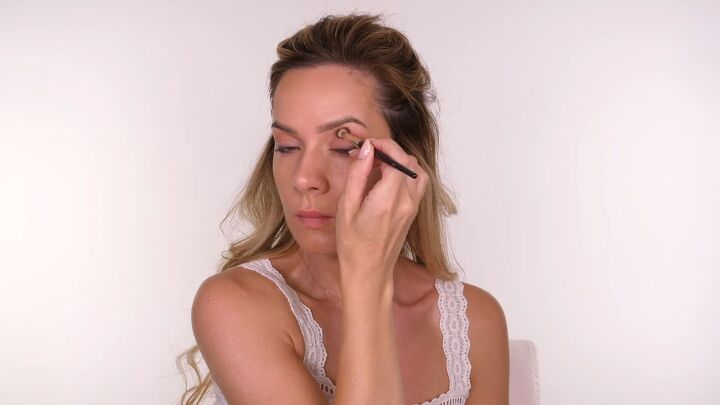
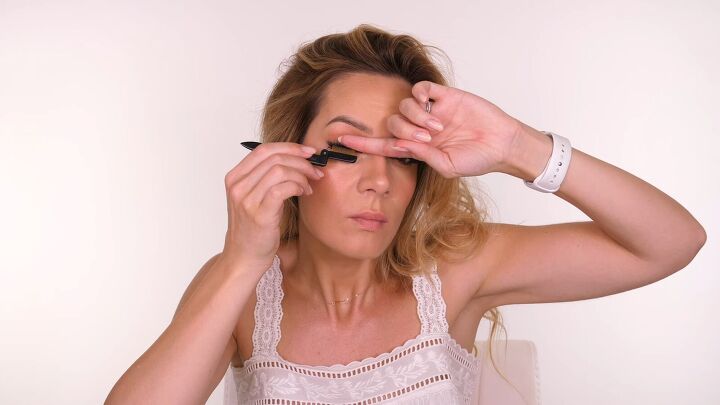
8. Apply eyeliner from the outer corner to the inner corner
Apply dark brown eyeliner to the outer corner of your eye.
I like my eyeliner to be thicker as it gets to the outer corner, and thinner as it gets toward the center.
Use your finger to soften the inner corner.
9. Add a small wing
You can leave it like this, but I like to pull the outer corner out slightly to elongate the shape of the eye.
The eyeliner will accentuate the half-lashes as well.
10. Line your lower lash line
Take the same eyeliner pencil halfway across your lower lash line and use your finger to smudge it out.
You can also take it on the outer half of your waterline as well.
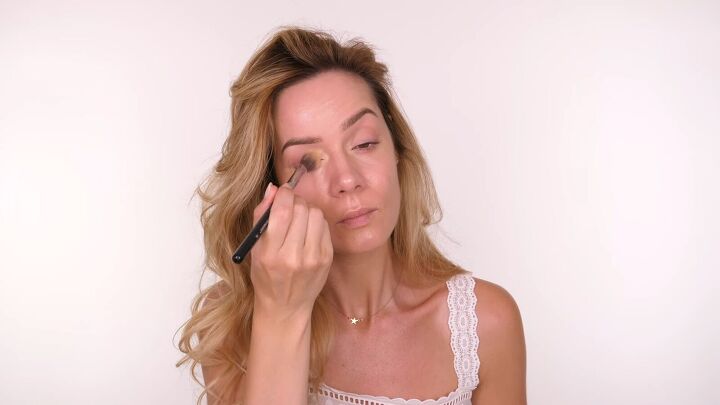
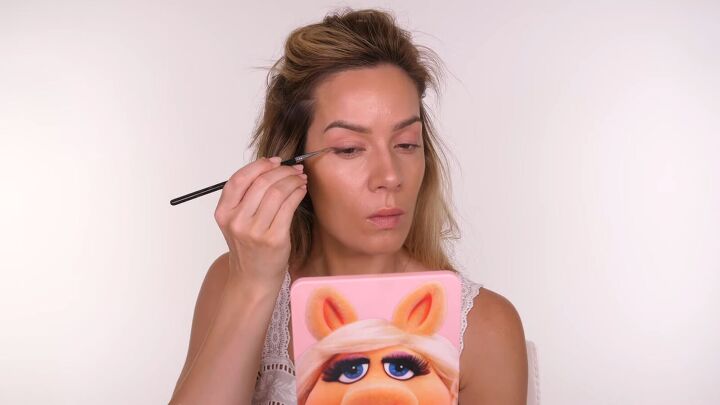
11. Bronze your eye socket
Apply the same bronzer you applied earlier throughout your eye sockets now to add a bit more warmth.
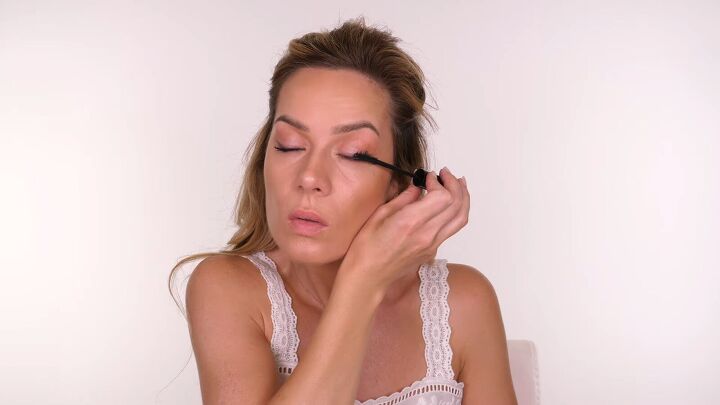
12. Apply mascara to your upper lashes
The mascara I’m using is a tubing mascara.
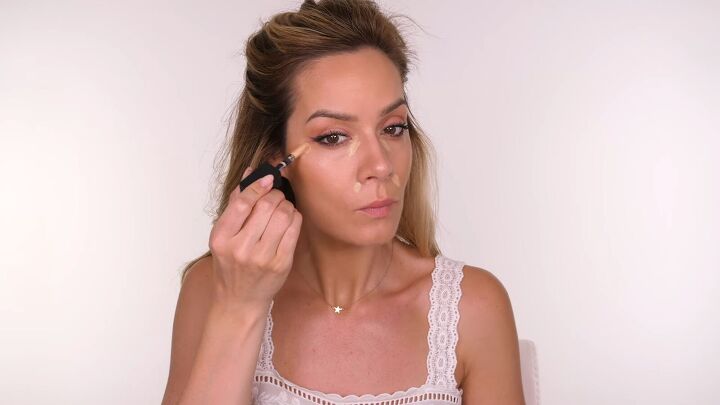
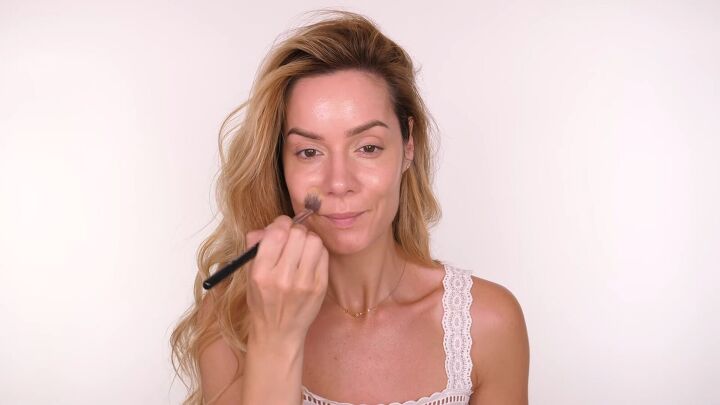
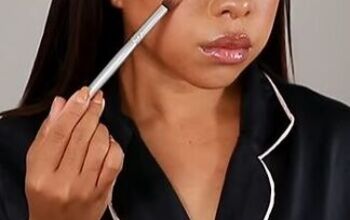
13. Add concealer around the nose and eyes
Add more concealer around the nose and underneath the eyes for a bit of extra coverage and a brightening effect. It blends beautifully over the baked foundation.
A little concealer on the outer corner of the eyes gives your eyes the illusion of being slightly more lifted. Blend it in.
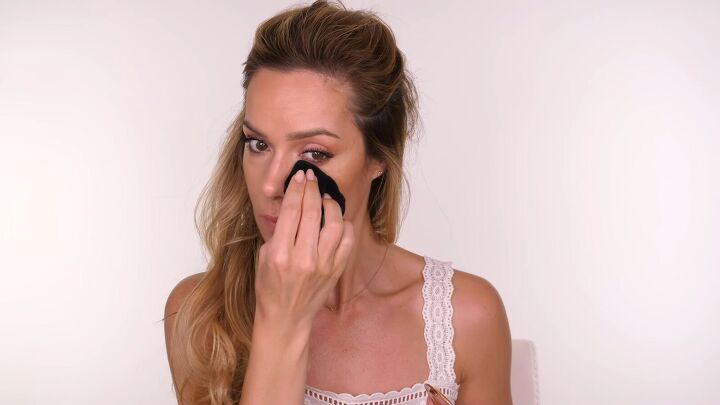
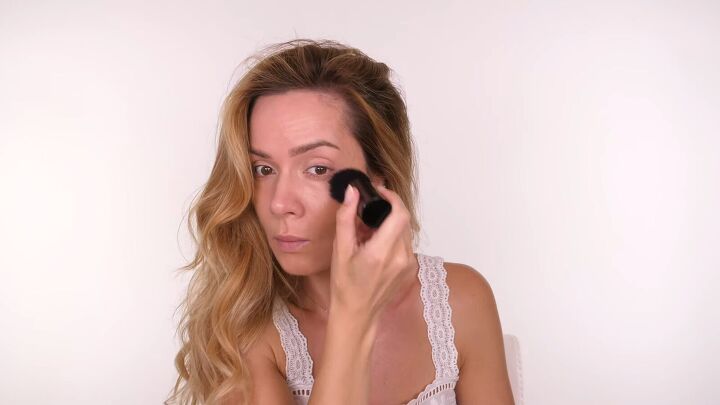
14. Set
Set the center of your face with a setting powder.
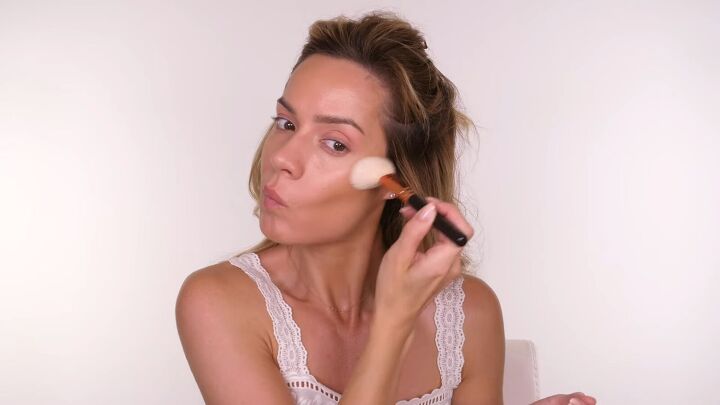
15. Apply blush
Go back in with the serum blush and apply a small amount to your cheeks.
This is going to tie into the eyes and the lips, giving us that monochromatic finish.
This serum blush gives a beautiful natural glow that’s a bit glossy, so you don’t need a highlighter.
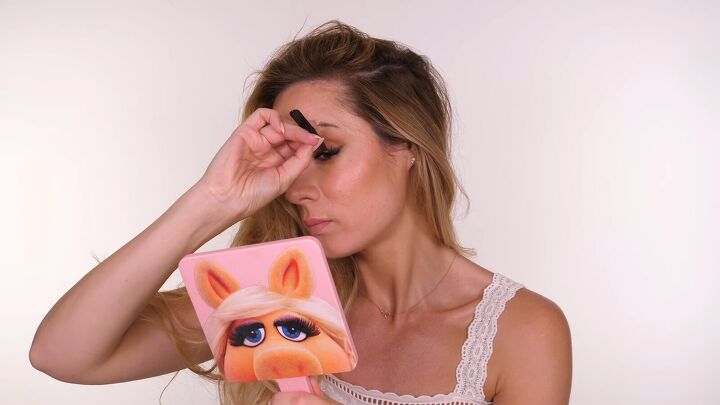
16. Apply lashes
For the lashes, I’m applying a half-lash to the outer half of my eyes. Use tweezers to tuck in both edges so neither end is sticking up.
Use your fingers to press that against the skin so it lays on your natural lash, but butts up against the skin.
It’ll seal perfectly into place, and you won’t have a gap.
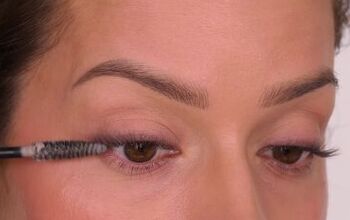
Combing through them also helps seal them to your natural lashes.
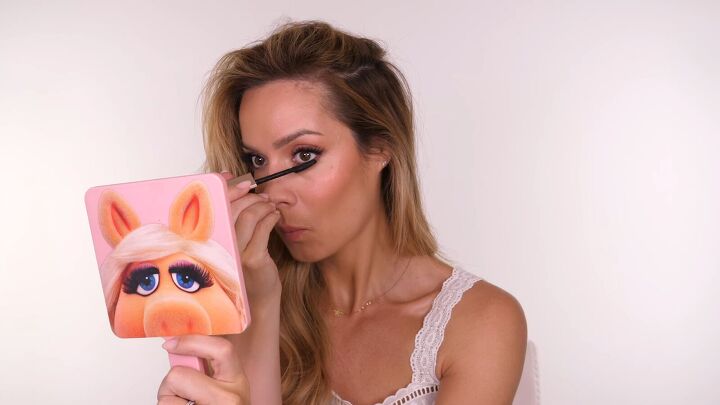
17. Apply mascara to your lower lashes
Finish off the lash look by applying mascara to your lower lashes.
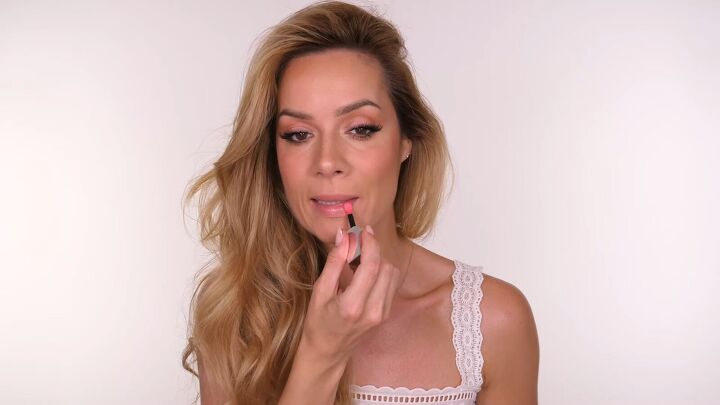
18. Apply lip gloss
Apply a lightweight and hydrating lip gloss.
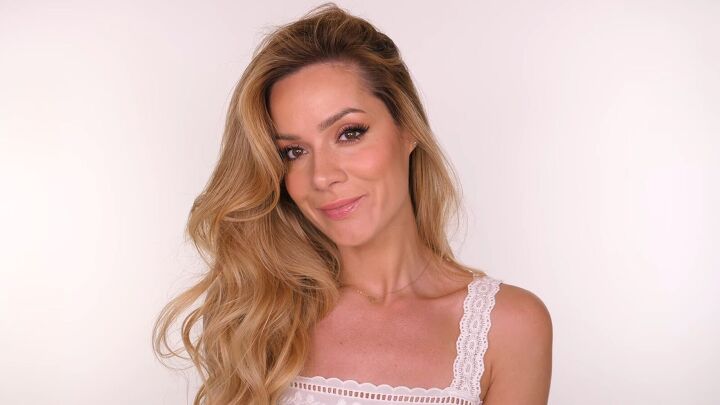
Glowy makeup look
Here’s the finished natural-looking monochromatic peachy, glowy makeup look!
Let me know if you prefer baked or cream foundation for your makeup looks below.
Next, check out my Easy Glitter Rose Gold Eye Makeup Tutorial.
The author may collect a small share of sales from the links on this page.


Comments
Join the conversation