How to Create an Elegant Halloween Fascinator

Today, I’m going to show you how to create a Halloween fascinator. I love a good vintage hair accessory; this one is the perfect hair accessory for Halloween.
Tools and materials:
- Spider patterned fabric
- Straw hat base
- Fabric pencil
- Scissors
- Stick pins
- Binder clips
- Hot glue gun
- Netting
- Needle
- Thread
- Felt
- Hairclip
- Tailor’s chalk
- Plume Feather
- Decorative ribbon
1. Measure the fabric
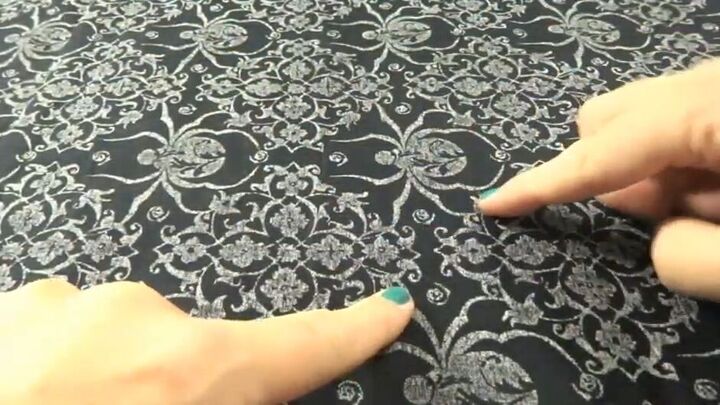
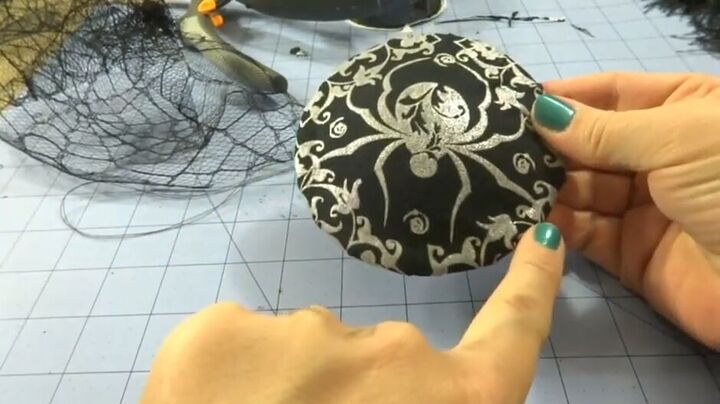
I have chosen this gorgeous fabric. I'm going to use one of the spider patterns as my focal point. Begin by laying your fabric right side down.
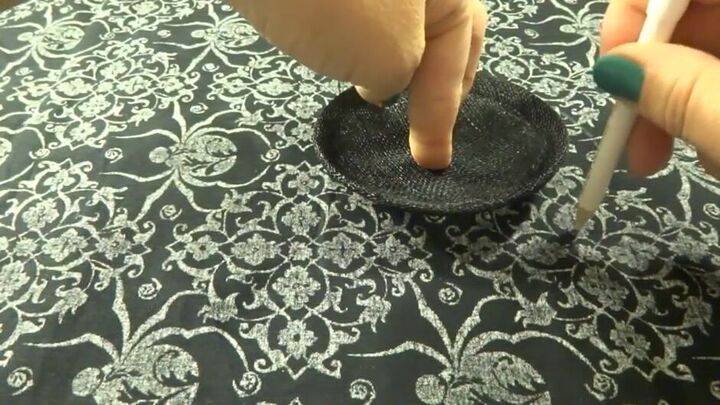
Center your hat base over the spider and make a mark around it, leaving about 1/2 inch to an inch around the outside so that you have plenty of fabric to overlap the edge.
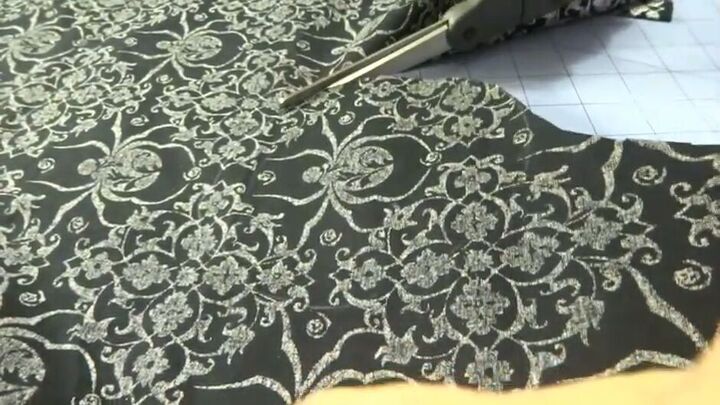
2. Cut out the fabric
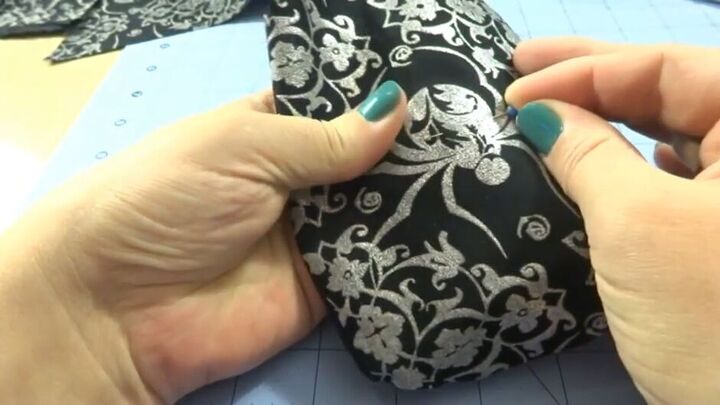
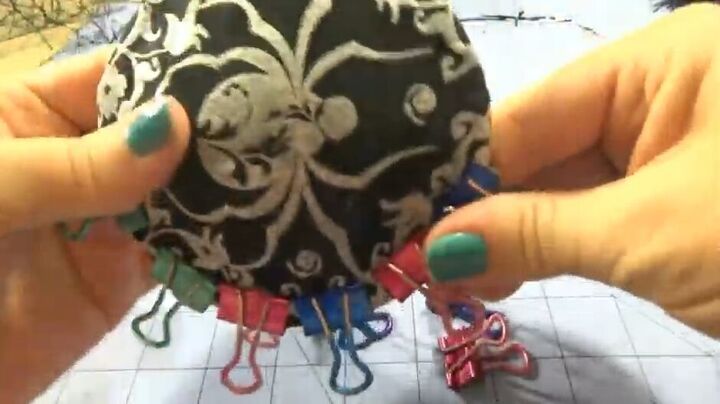
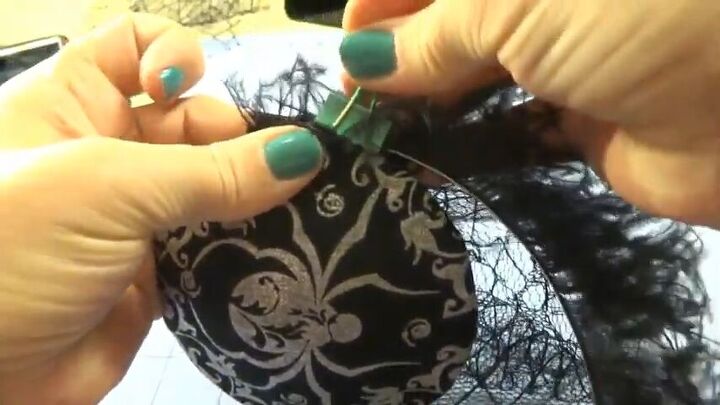
3. Pin fabric to hat base
Lay the fabric over the hat base and pin it through the center.
4. Fold the fabric over the hat base
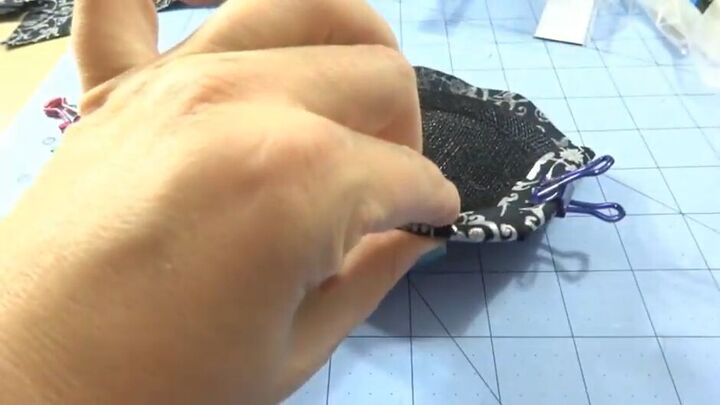
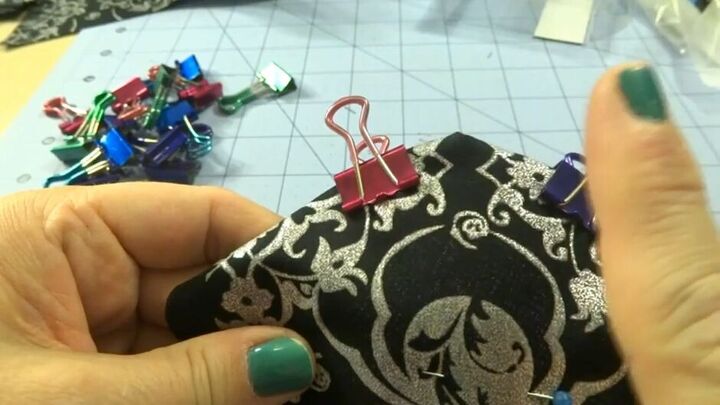
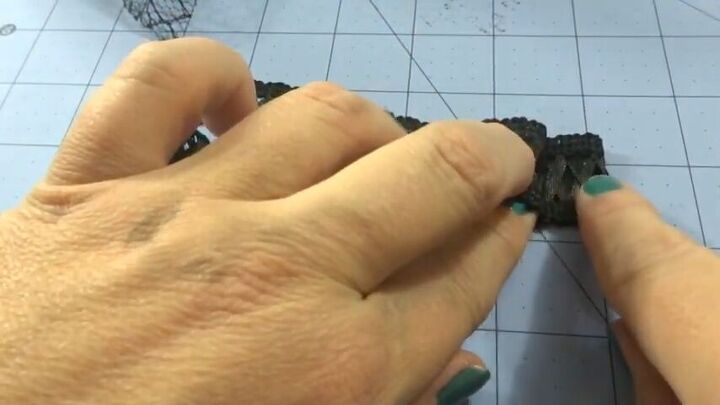
Fold the edges of the material under the hat base securing it with a binder clip. Continue around the edge of the hat.
Be sure to adjust the fold of your fabric so that you don't form peaks when folding it.
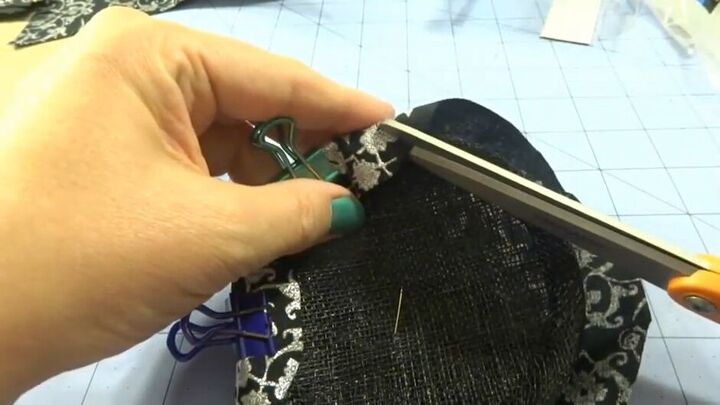
Whenever your fabric is becoming too bulky, use your scissors to cut a small V in it, this will make it easier to curve around the base.

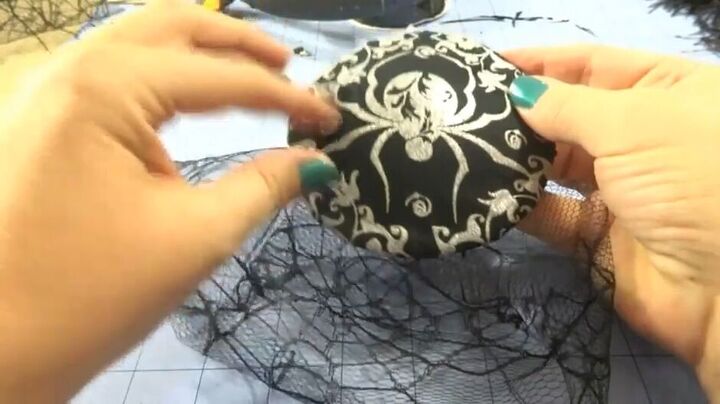
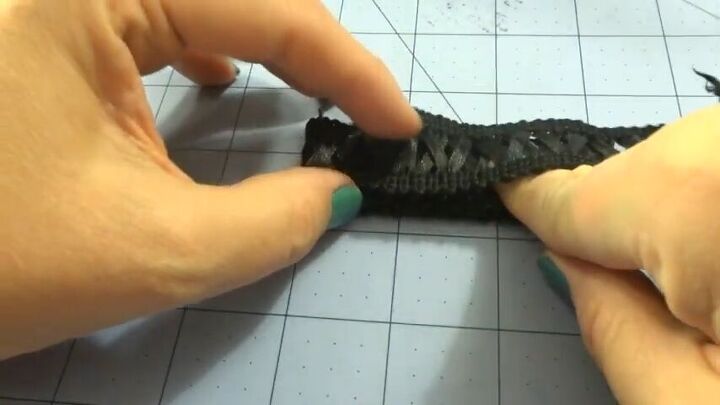
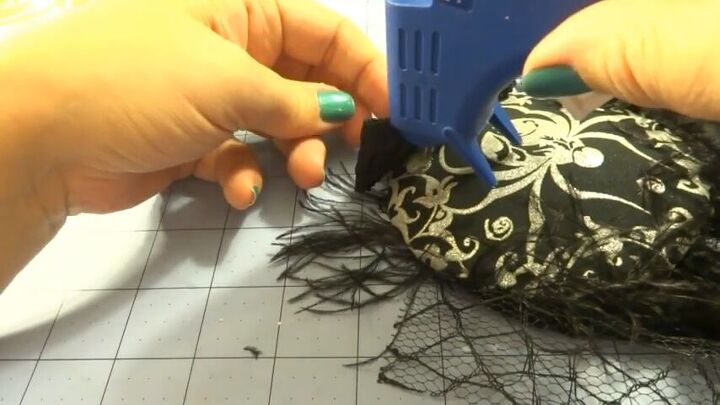
5. Glue the fabric to the hat base
After removing the center pin, glue down the edges of the fabric by removing a few clips at a time and dabbing glue under the material before replacing the clips.
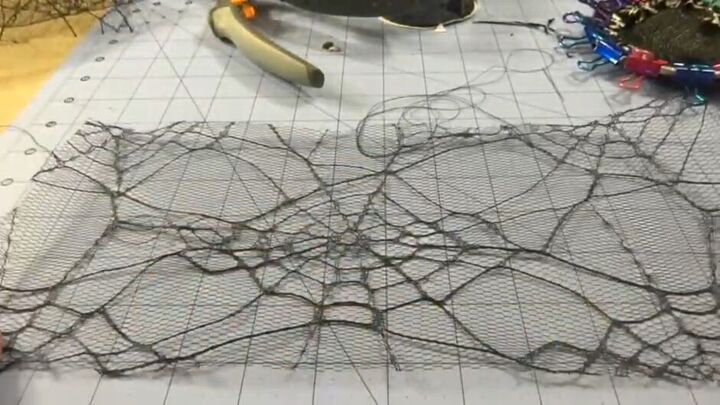
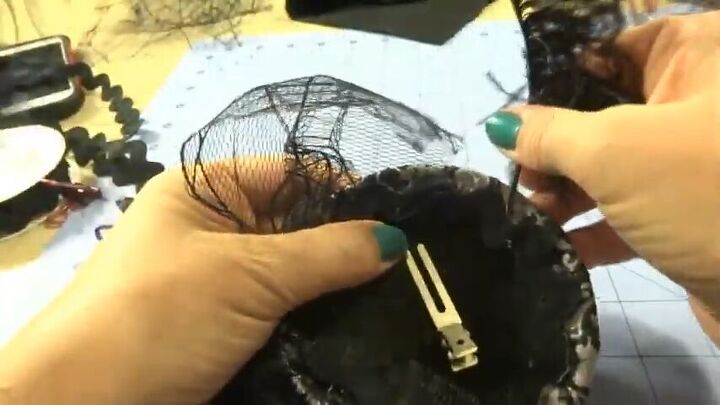
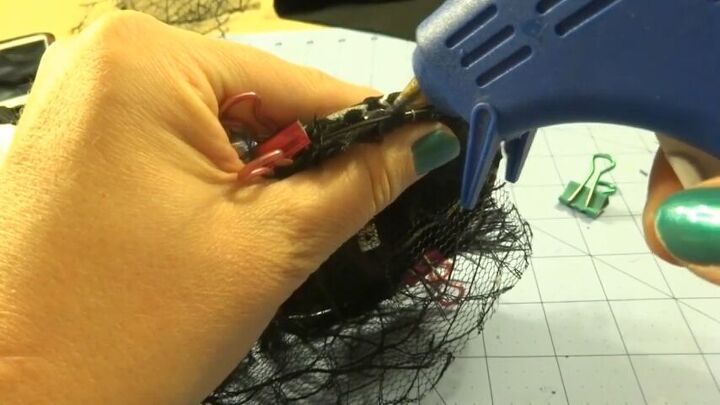
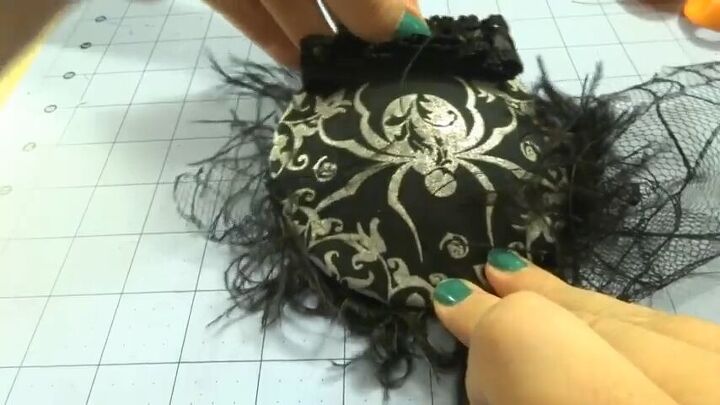
6. Attach netting
Cut a piece of netting that is 6 inches wide and 13 inches across.
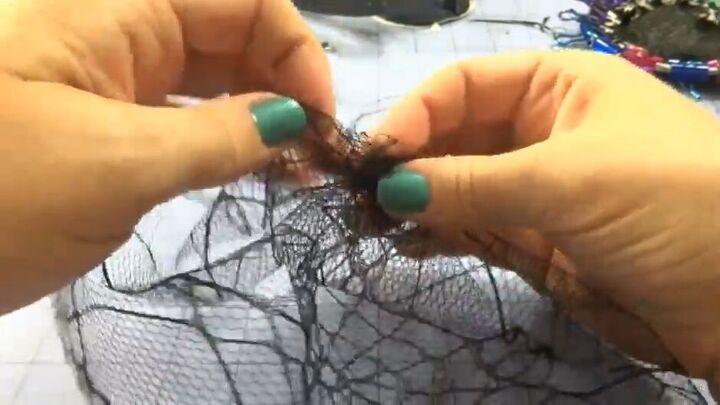
Gather the netting at the top.
Make sure that it's laying correctly before you stitch that gathered section together.
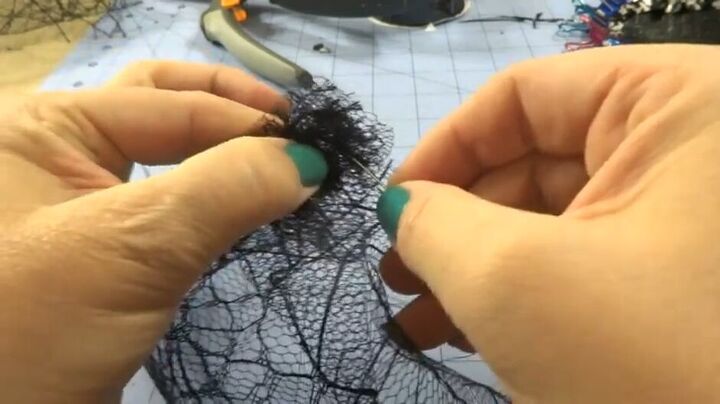
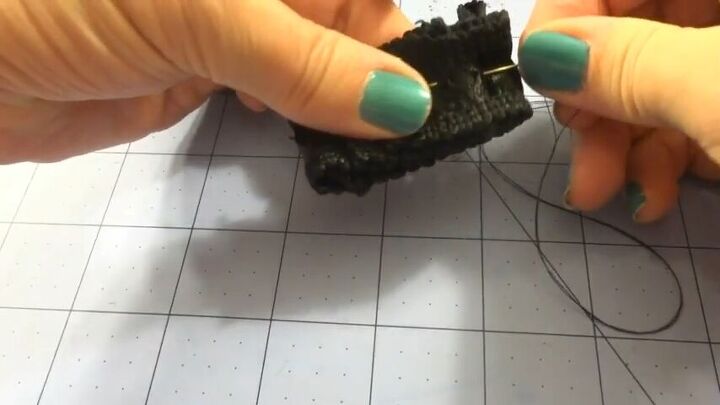
With your needle and thread, weave into the netting, pulling the thread through a bit.
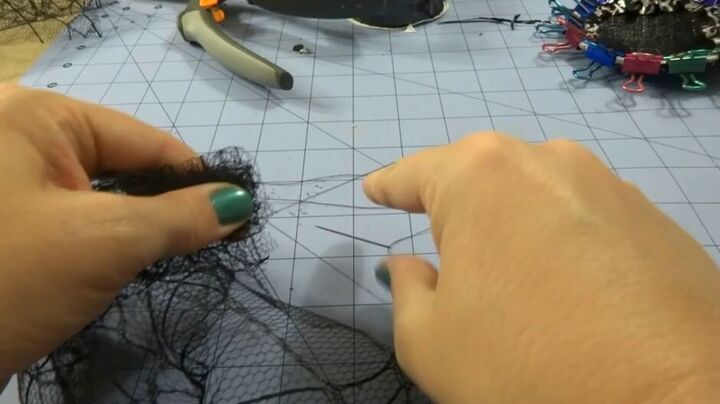
Before you pull it straight through, take the end of the thread that has the knot and slide your fingers in between the two pieces of thread and pull your needle through that. This will form a knot.
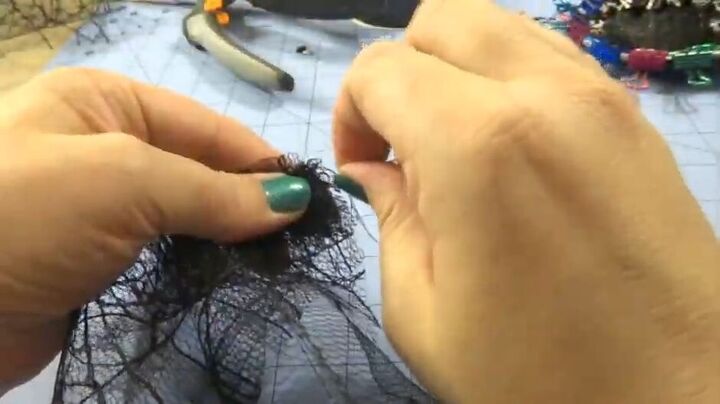
Add a couple more stitches to secure the gathering. Set the netting aside making sure you keep the needle and thread attached.
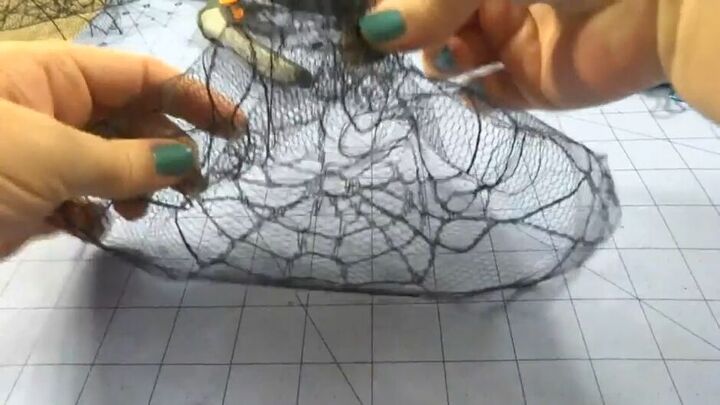
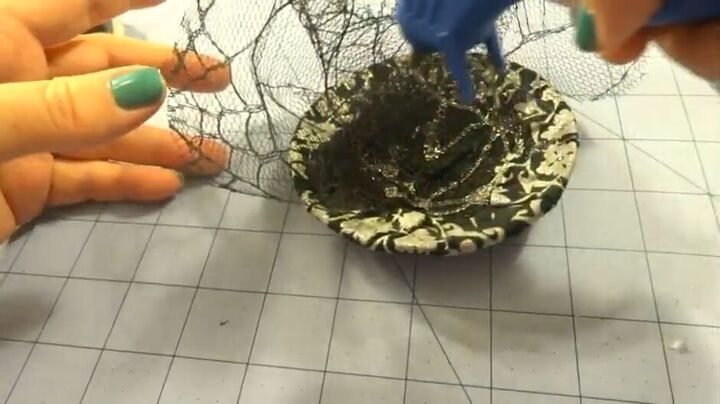
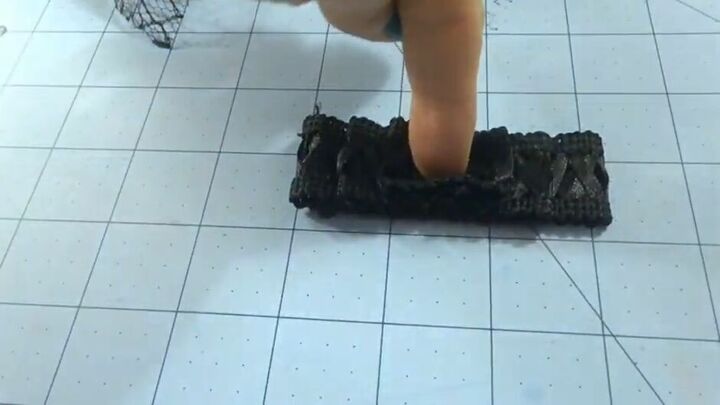
Carefully remove the binder clips.
Determine the front of your hat, this will be the area you start attaching your netting.
Lay the netting on the back side of the hat toward the front.
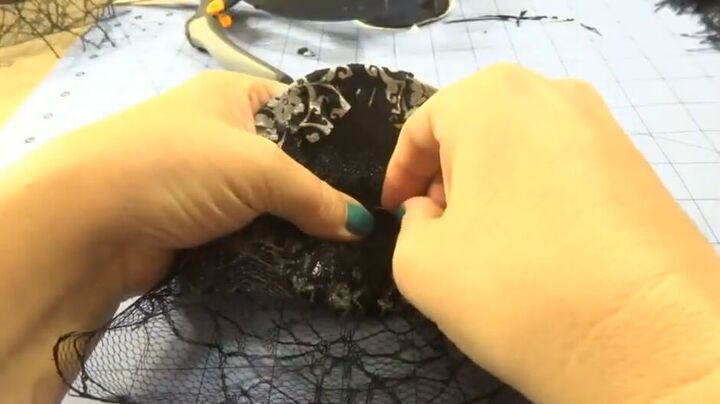
Sew the netting to the hat.
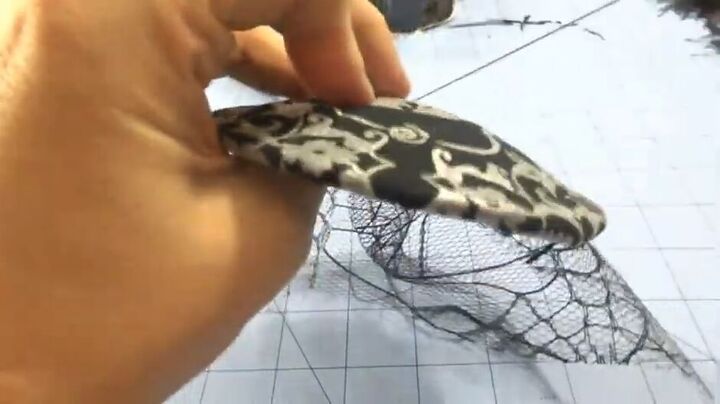
Stitch two to three times to secure the netting and set the DIY fascinator aside.
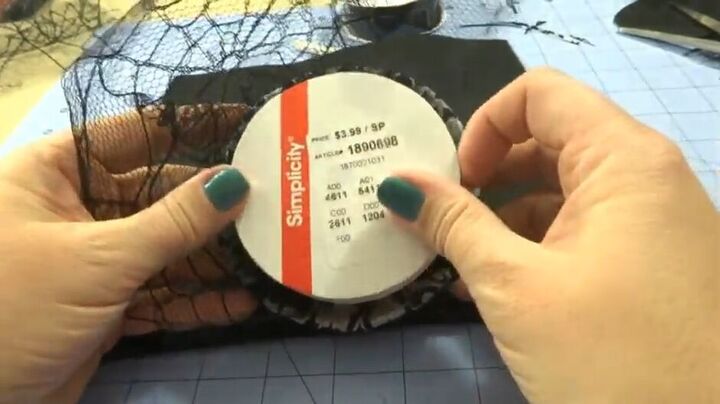
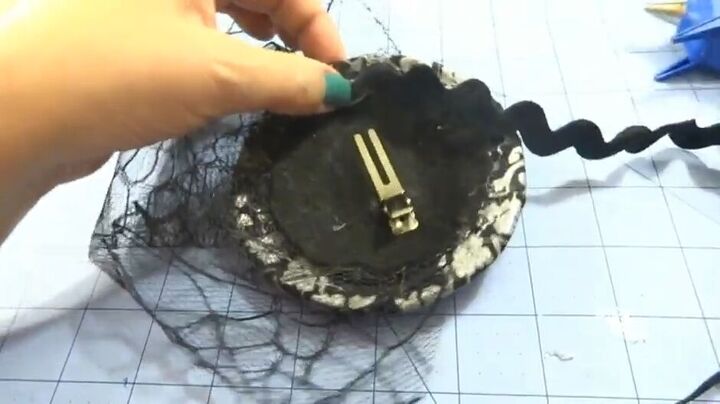
7. Create and attach lining
Find something that fits right inside your fascinator, I used a spool of ribbon.
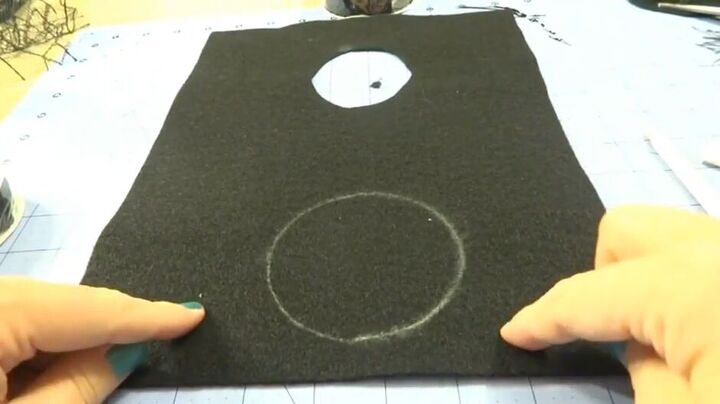
Place the object on a piece of felt, outline it with tailor’s chalk, and cut the circle out.
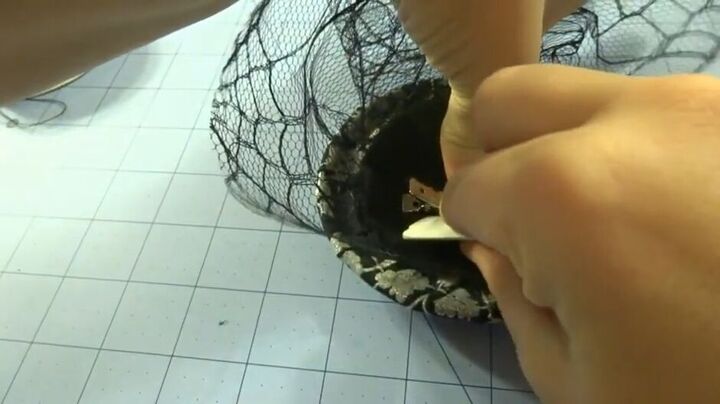
The Halloween fascinator will be attached to your hair with a clip. Place the hair clip on top of the lining and mark off where the bend in the clip is.
Fold the piece of felt in half and snip where you made the mark.

Open the clip and slide it into the slit.
Place a thin layer of hot glue to the lining on the inside of the hat.
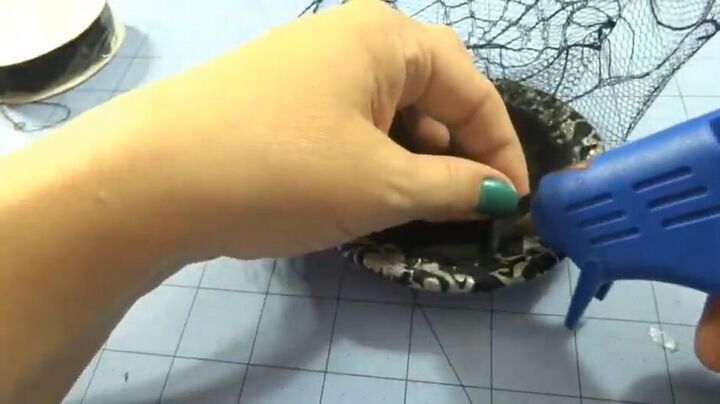
Place a small dollop of glue underneath the lining's edges.
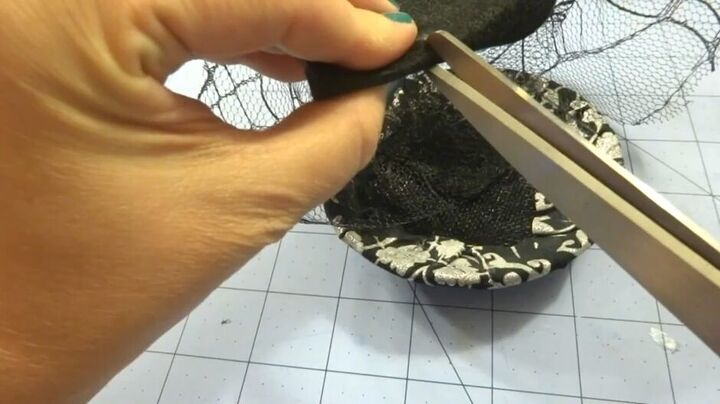
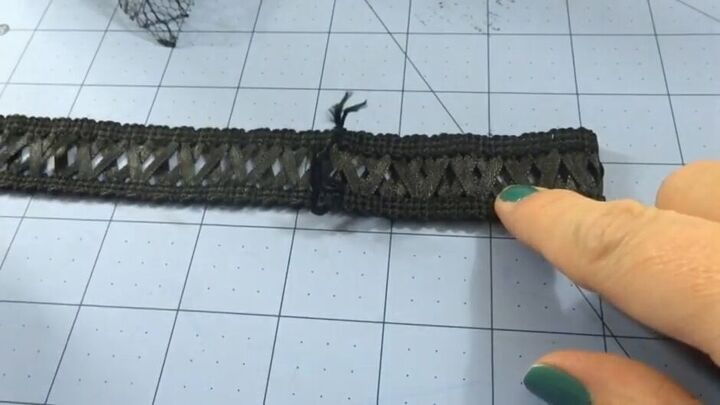
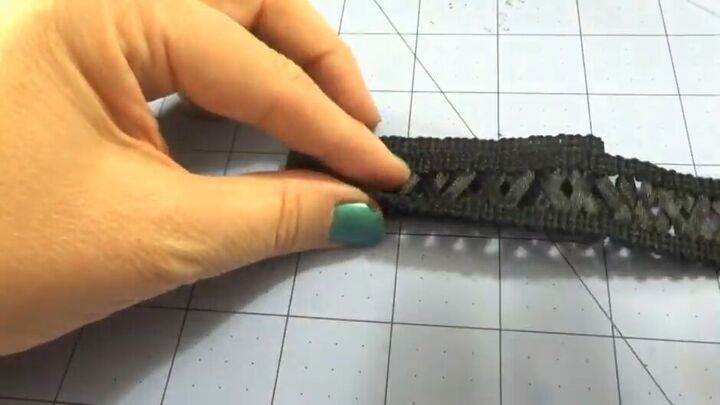
8. Neaten the edge of the lining (optional)
Glue down the rick- rack where the lining meets the fascinator.
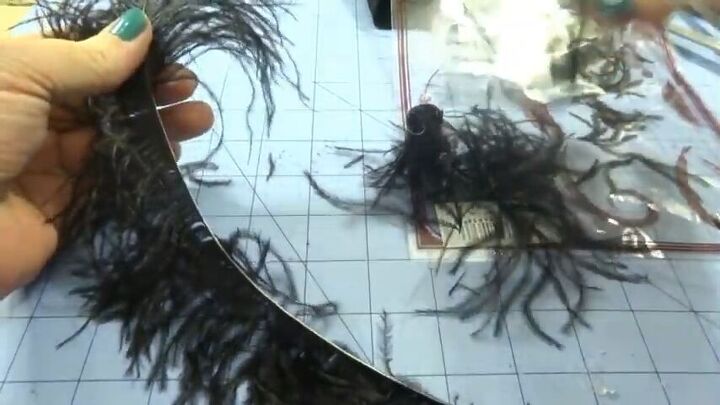
9. Add a feather
Remove one end of a plume feather by firmly grasping the feather on one side and gently pulling the feathers from the opposite side.
This feather will be placed along the curve of the hat, so you need to bend it.
Using the blunt side of your scissors, place it on the shaft of the feather and use your thumb to push it against the scissors.
Continue to do this until the whole feather is curved.

Cut the tip of the feather at an angle.
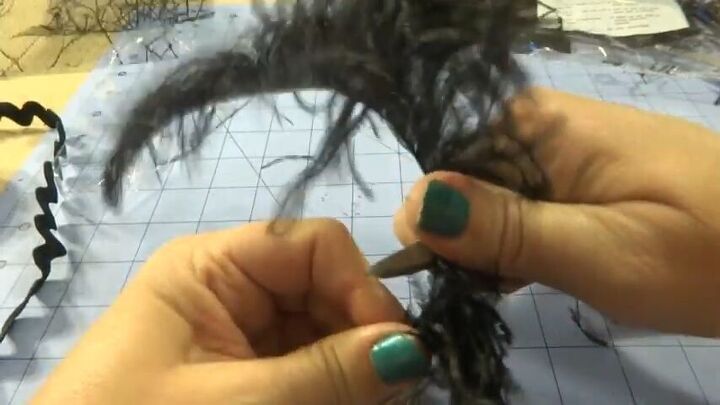
Stab the tip of the feather between the lining and the hat.
To wrap the feather around the hat, first, pull down the netting, then secure the stem of the feather to the hat with a binder clip. Wrap the feather around the hat and secure the other end with another clip.
Add hot glue between the stem of the feather and the hat, adding binder clips as you go. Comb the little feathers of the plume down to prevent covering them with glue. Once set, gently remove the clips.
10. Add a bow
Take a 16-inch piece of decorative ribbon and fold over about 3 inches of it.
Take the opposite side and fold that over as well.
Then fold the ribbon over again, but this time leave approximately ¾ of an inch uncovered.
Repeat on the other side.
With the remaining ribbon, fold it in and around itself, so it finally lands on the very top forming a bow.
Add 3 or 4 stitches through the top of the bow to keep it stable.
Place the bow at the very back of the hat, flush with the edge and sew it onto the hat.
Finish securing the bow with hot glue underneath both sides
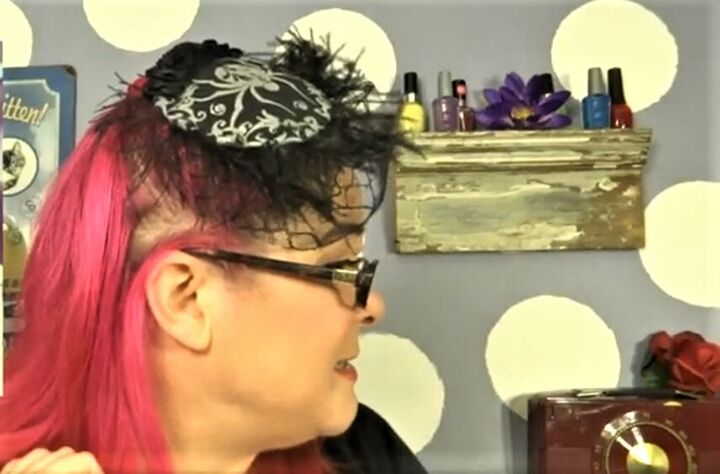
Halloween fascinators
Here is the final Halloweeen fascinator. I hope you guys enjoyed this DIY. If you want to see more DIY fascinator projects, let me know in the comments section below.
The author may collect a small share of sales from the links on this page.


Comments
Join the conversation