Another DIY Square Cosmetic Bag With Denim & Lips This Time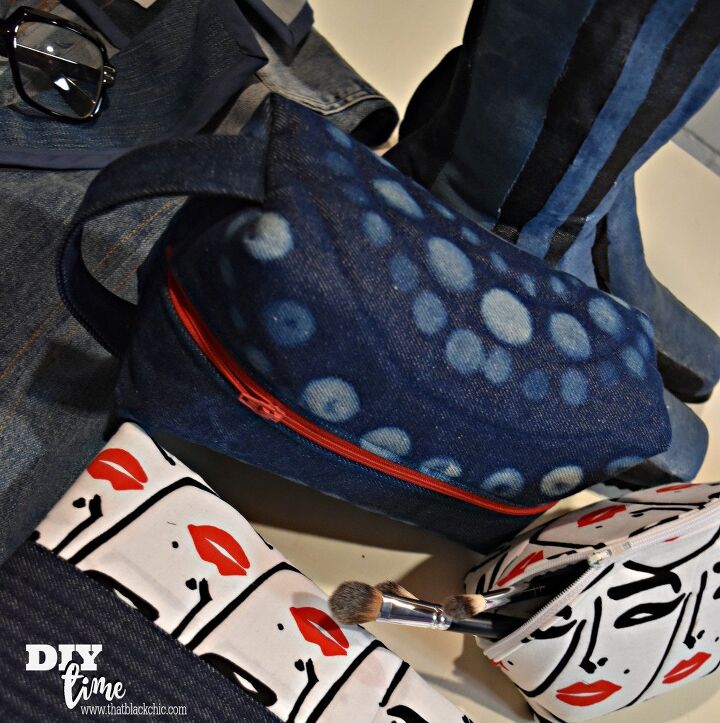
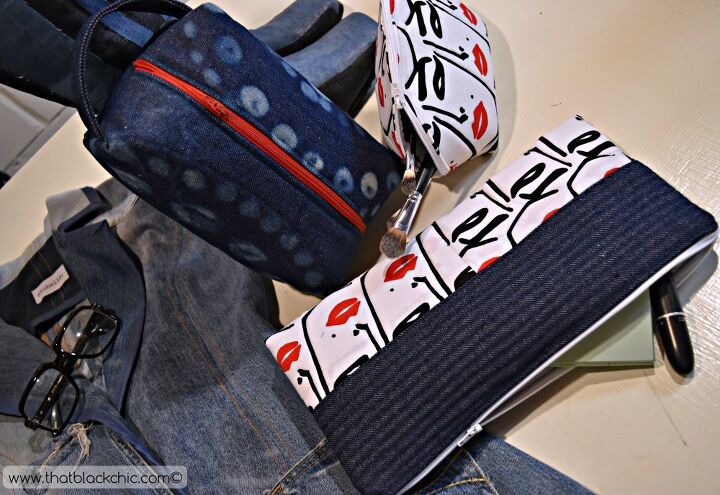
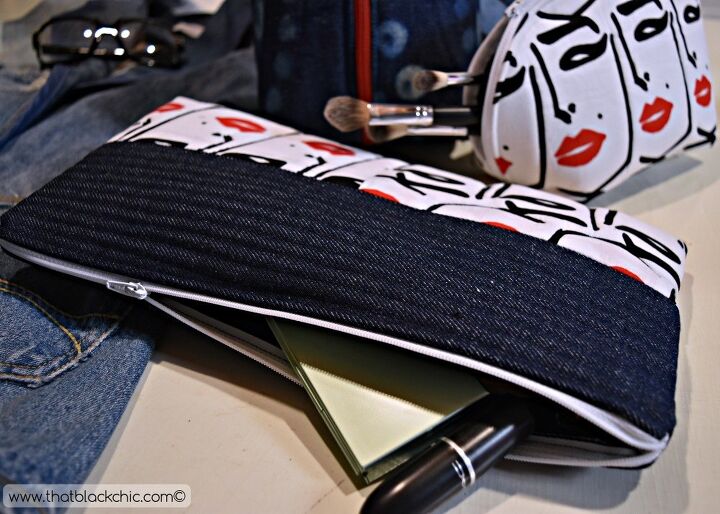
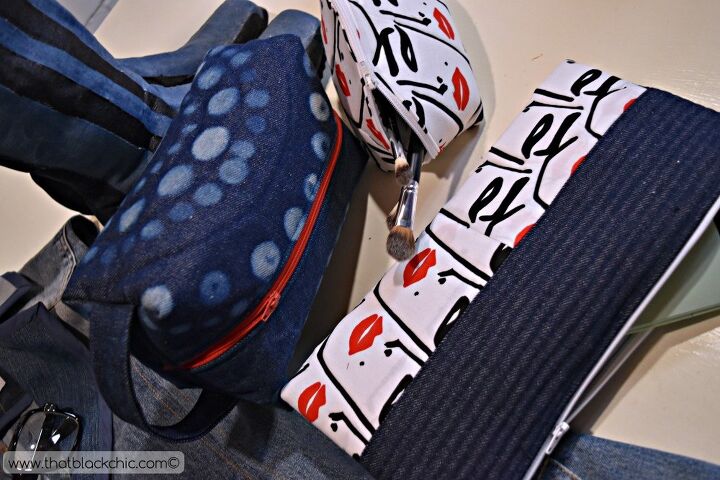
Another DIY square cosmetic bag! Yup here is another tutorial showing you how to make a square cosmetic bag. I actually made three different bags at the same time, Christmas is coming ya'll and I am ahead of the game. Again, same as my last post this tutorial is for someone who does not mind seams showing on the inside. I did the corner application a little different in this tutorial and I find it a little easier that my first method in my prior tutorial.
Supplies:
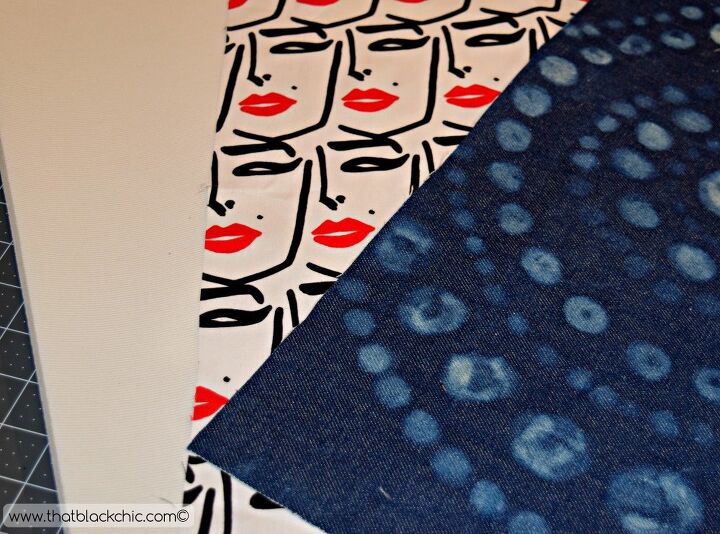
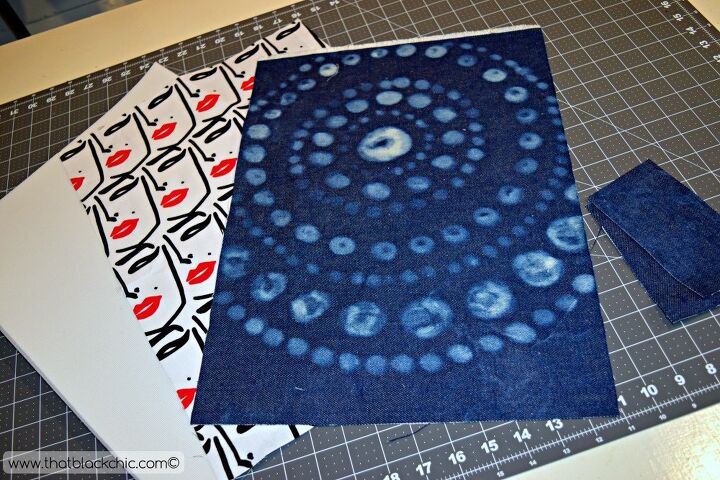
1 piece of outer fabric 13X18
1 piece of lining fabric 13X18
1 piece of 10X4 inch of fabric for the handle [You can make your handle as wide as you want here]
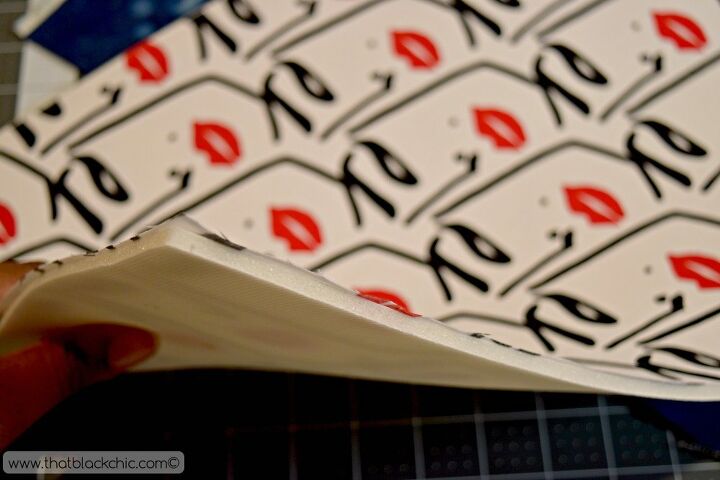
1 piece craft fusible interfacing 13X18 [I used a foam interfacing]
Thread
Zipper 13 inch or larger [I used a 18 inch and cut of excess after installing the zipper]
[piping would be an awesome addition to the seams!]
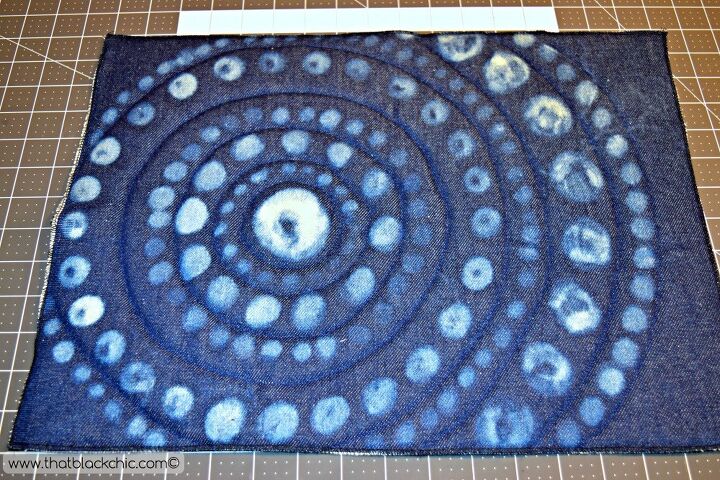
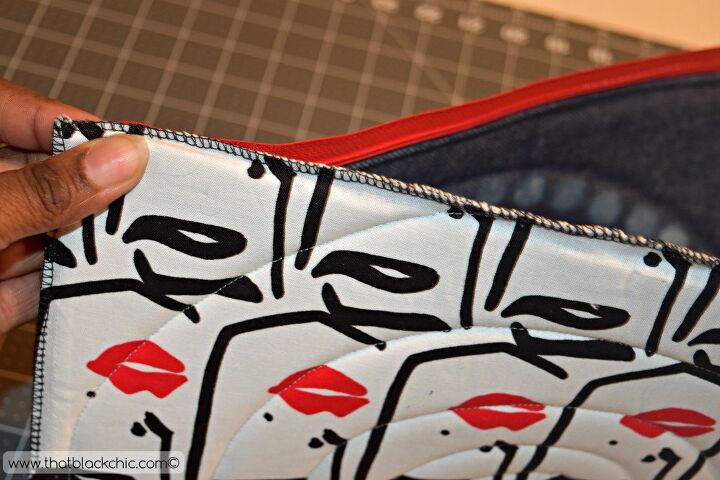
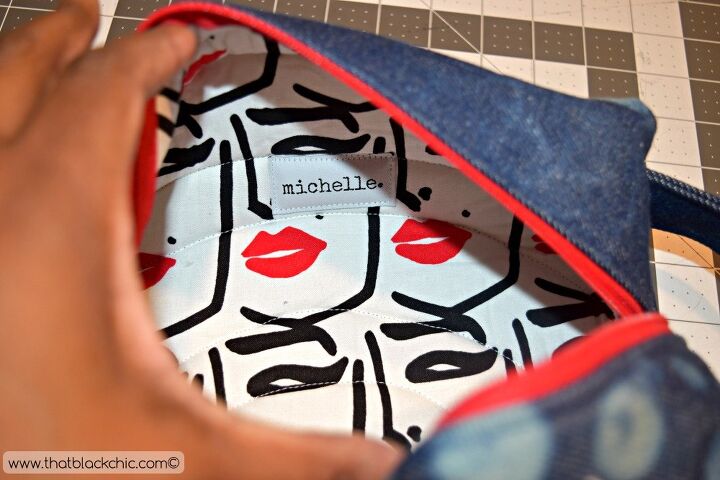
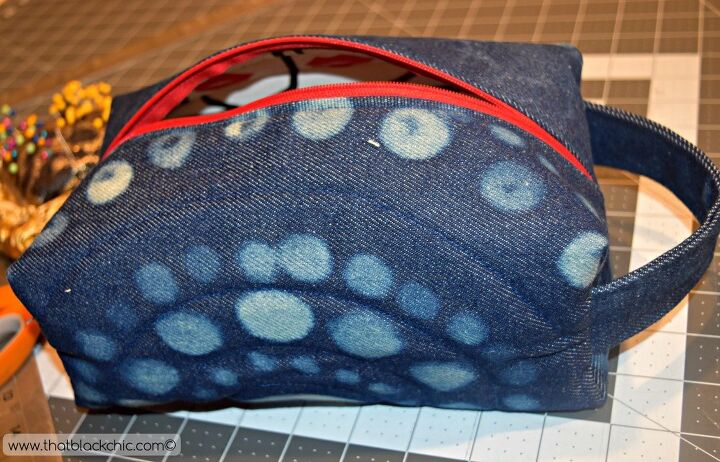
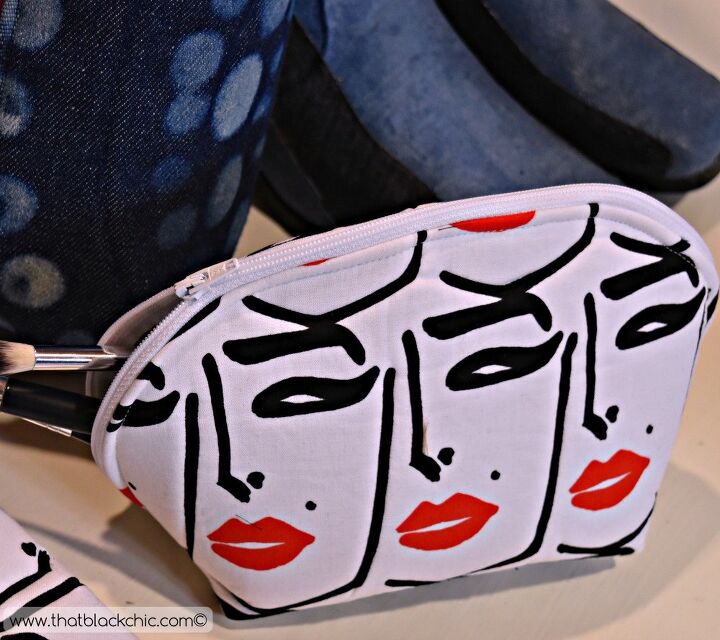
I was working with my DIY bleached denim for this project. I did a video on the process which you can watch here! And that wonderful Robert Kaufman print is here! You may want to Google "Bouffants & Broken Hearts" to get the lowest price.
1. Apply your interfacing to the wrong side of your lining fabric
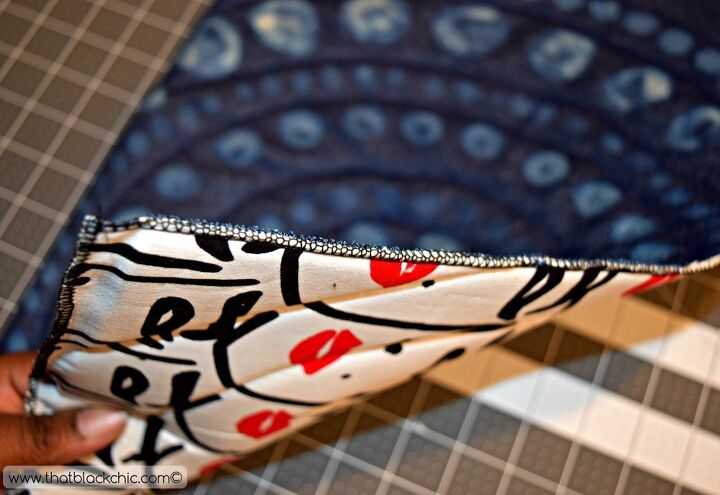
2. Now you're going to make a sandwich by placing your outer fabric on top of the interfacing. The right side of your fabric facing out. Now pin through all thickness. You need to sew all the way around your square about 1/4 from the edge. Now either serg/zig-zag all the way around the square.
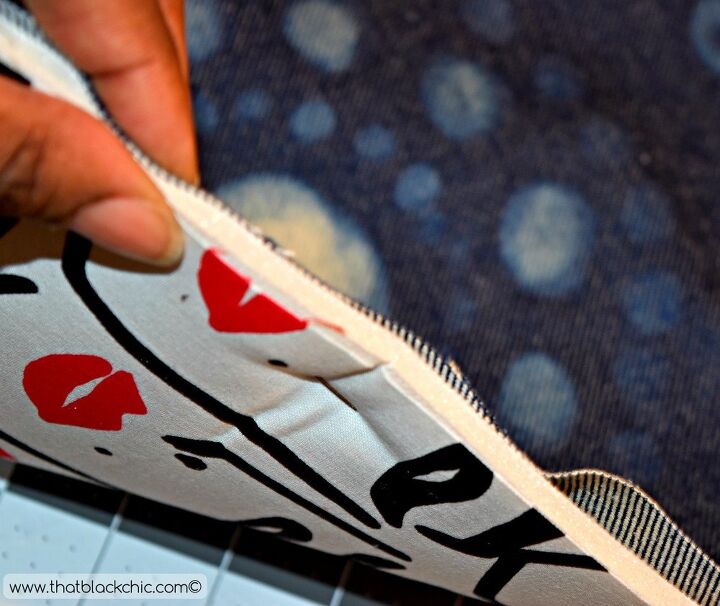
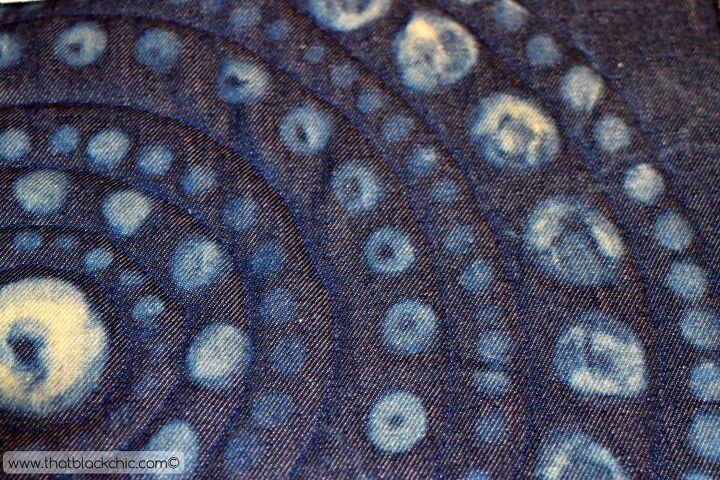
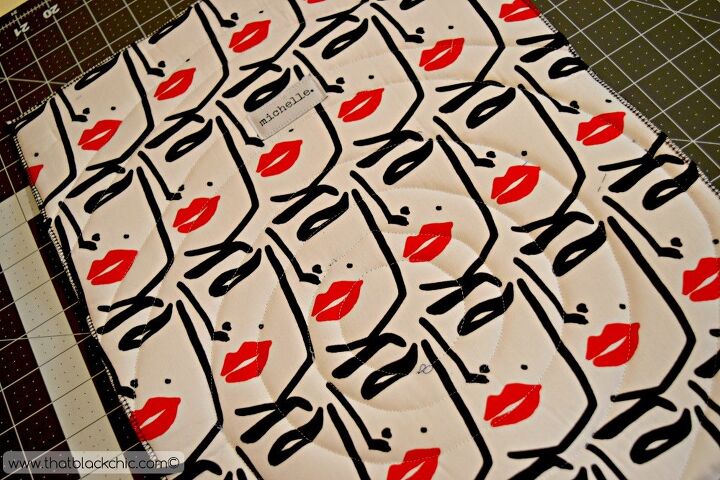
***Or you can do what I did here. My denim has a circle design so I sewed around the circles, through all the thickness. It looks really cool and it is securing all my pieces. I used blue thread for the denim side and white thread for my bobbin. After I was finished with the circles I then serged all my edges.
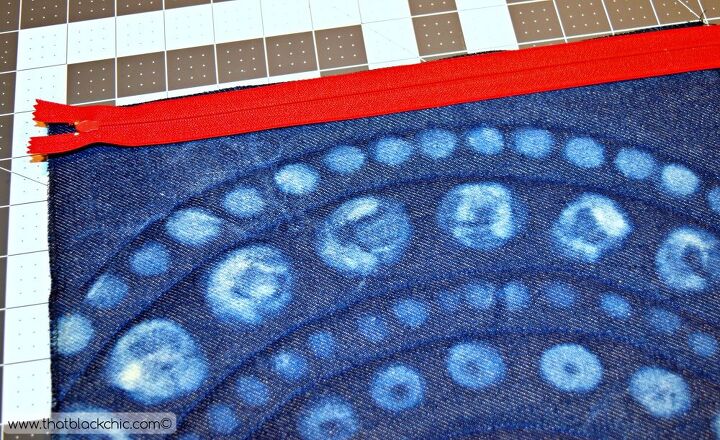
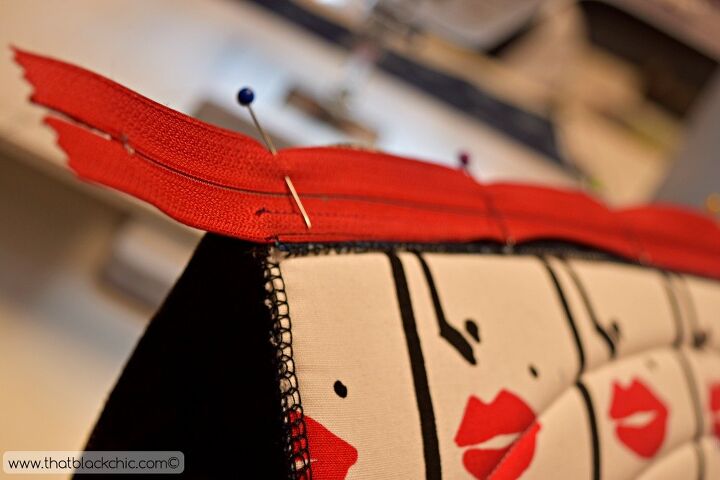
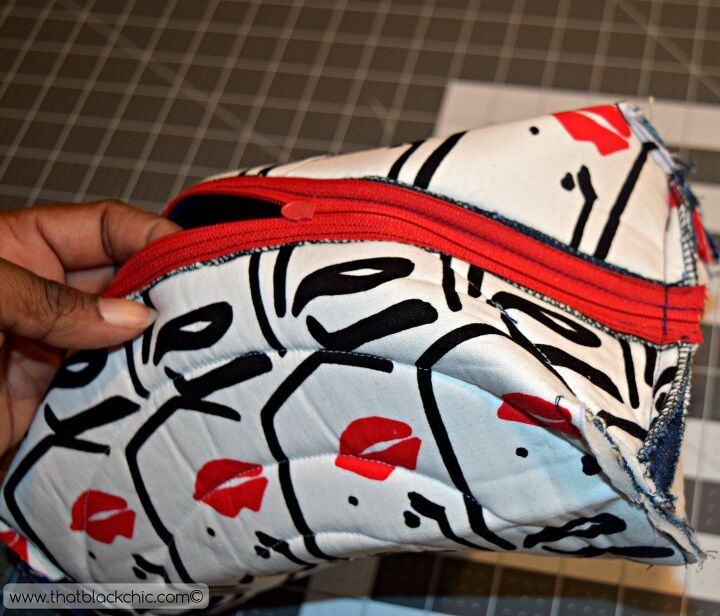
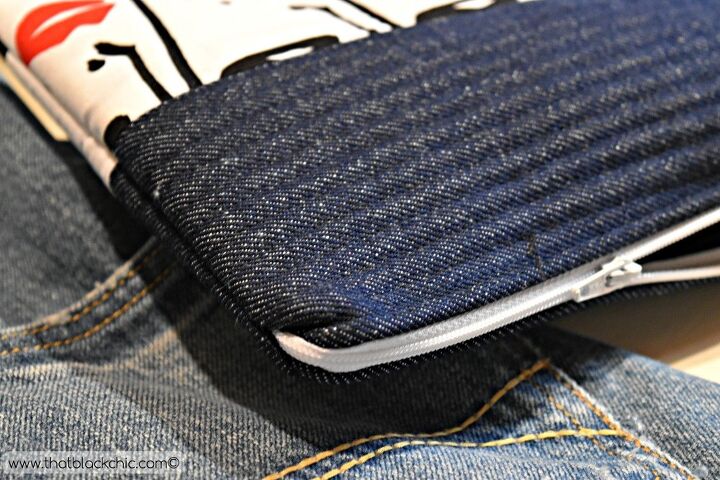
3. Now we install our zipper. We are sewing the zipper to the sides that measure 13 inches long. With the outer fabric facing up, place your zipper face down, starting the zipper placement from the edge of your fabric. Now stitch close to the zipper teeth using your zipper foot on your machine.
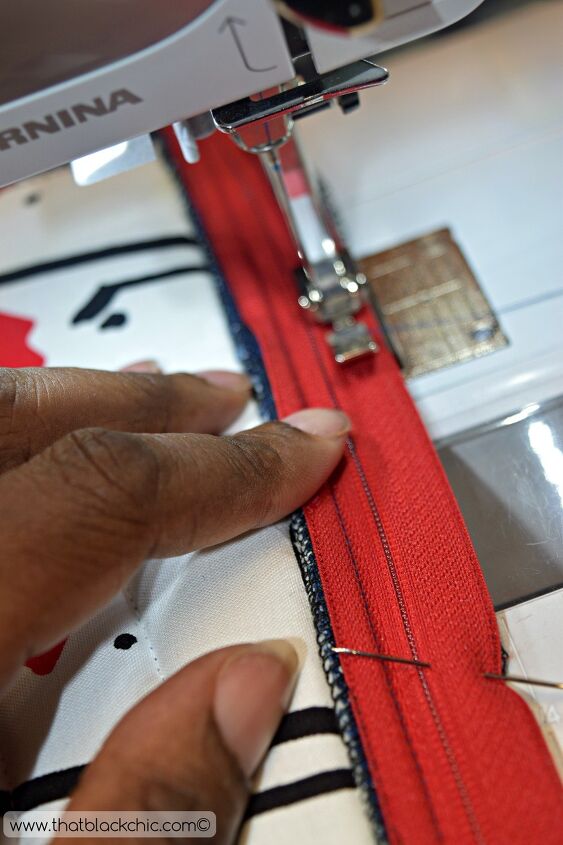
4. Now fold your zipper seam to the back towards your lining and press down. You will now add a top-stitch on your outer fabric, securing the zipper through all the thickness.
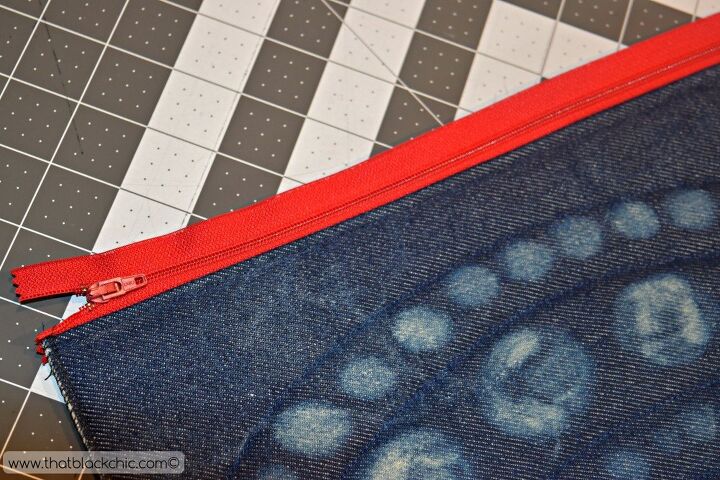
5. Now we need to do the same thing to the other side of the zipper. Pin the front of the zipper to the outer fabric along the edge and sew with your zipper foot, press the zipper back towards the lining and press and top-stitch.
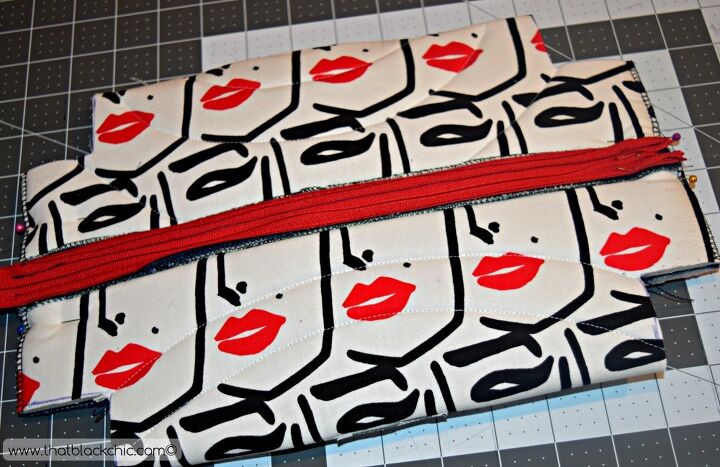
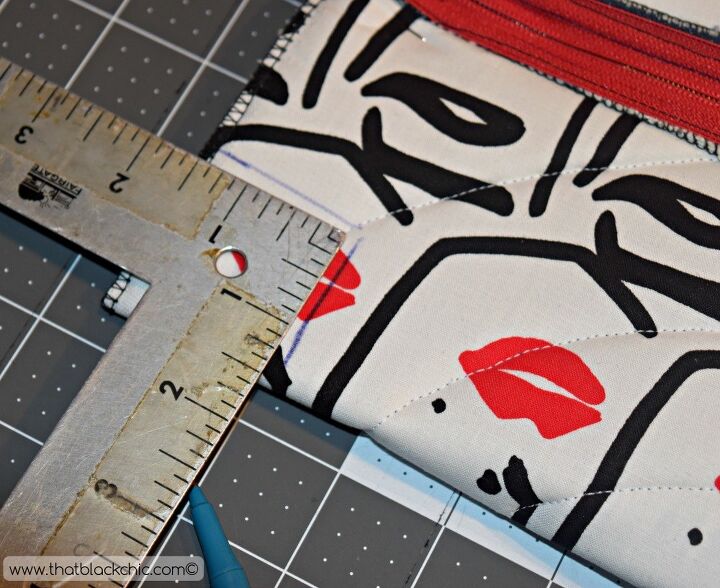
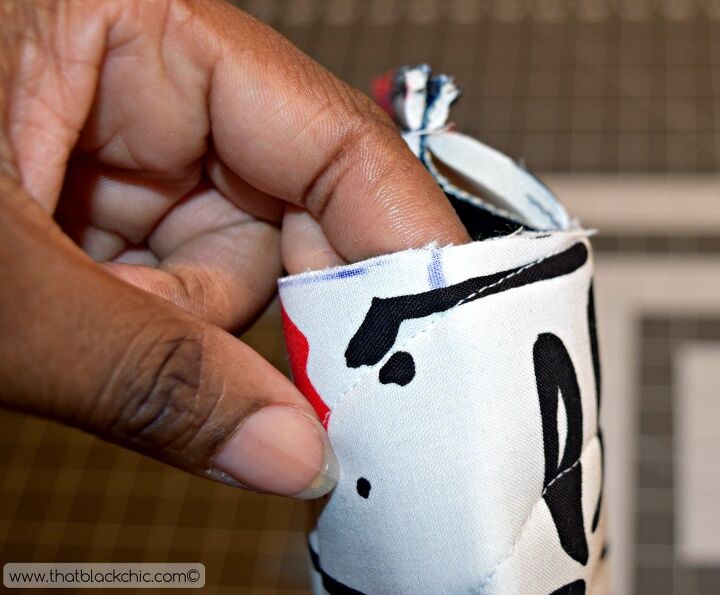
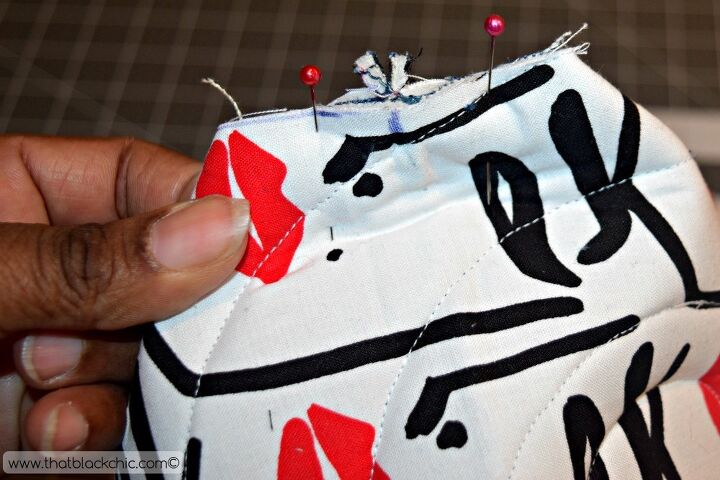
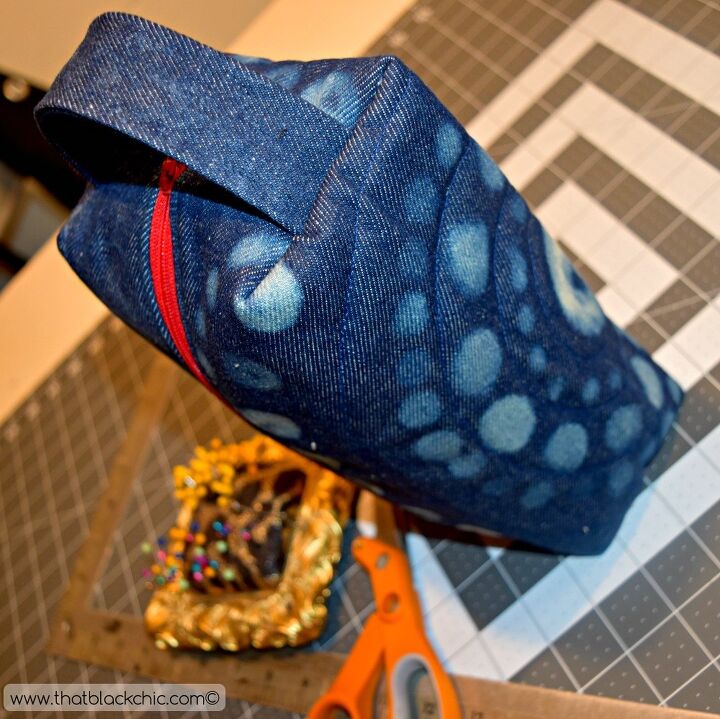
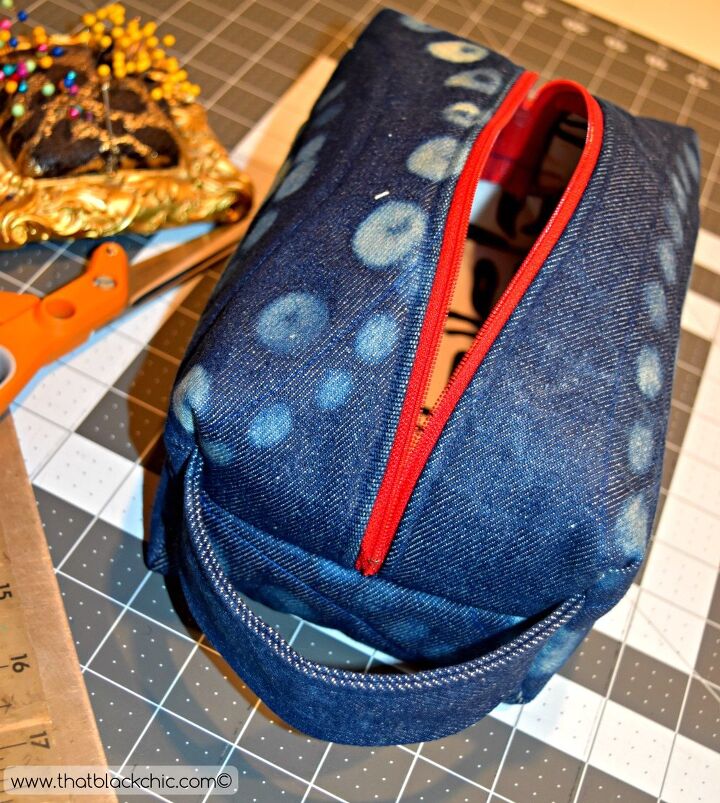
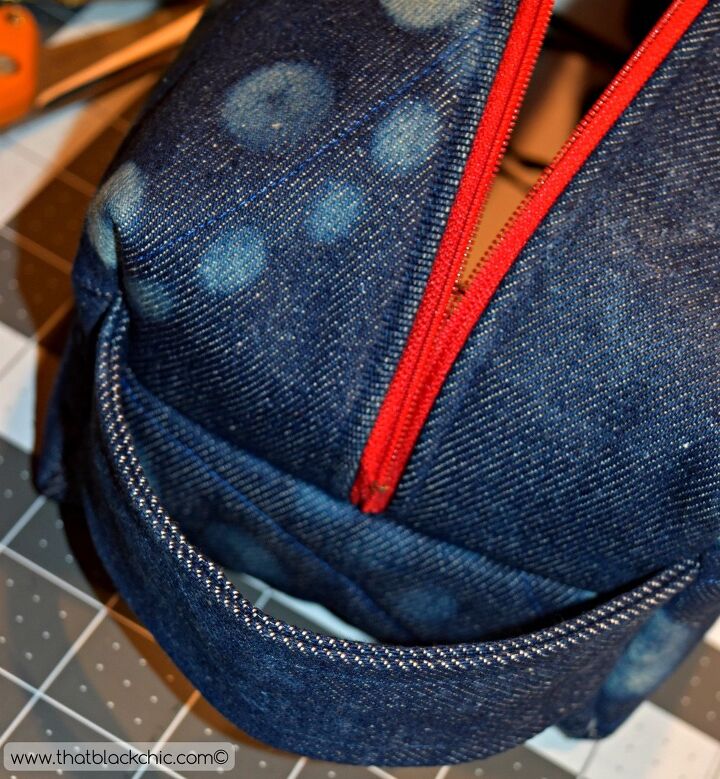
6. now you should have a complete circle after installing your zipper. Flatten your piece with the zipper in the middle. We are going to mark our corners to square off our bag. I marked mine 1 1/2 inches with my square ruler. Now cut out all your corners. [This application is much easier that my previous Tutorial on how to square your corners. I just want to give you options]
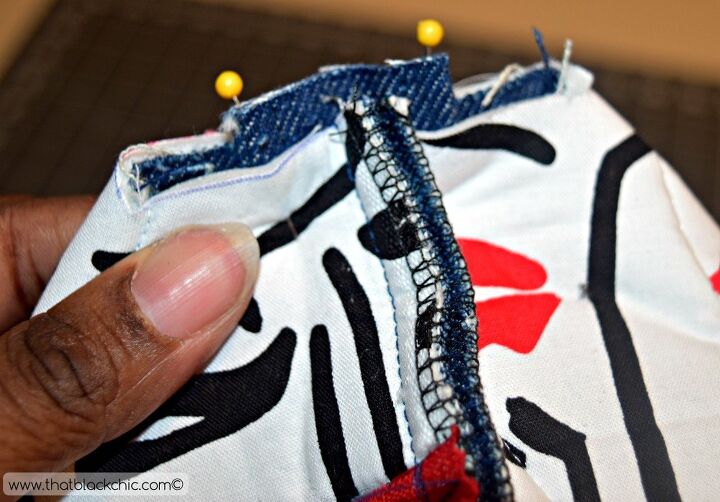
7. Now we are going to mark fold line of side that will be matched with the side seam as shown below. Pin and repeat to the other side. [Do not pin or sew the other end of the bag because we have to add our handle.]
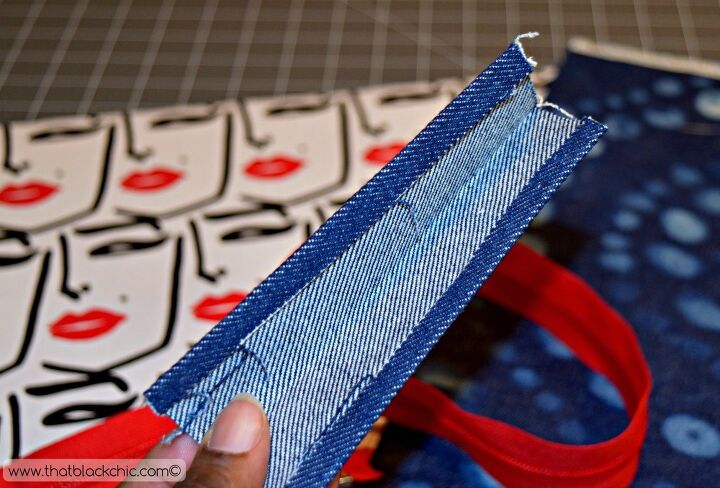
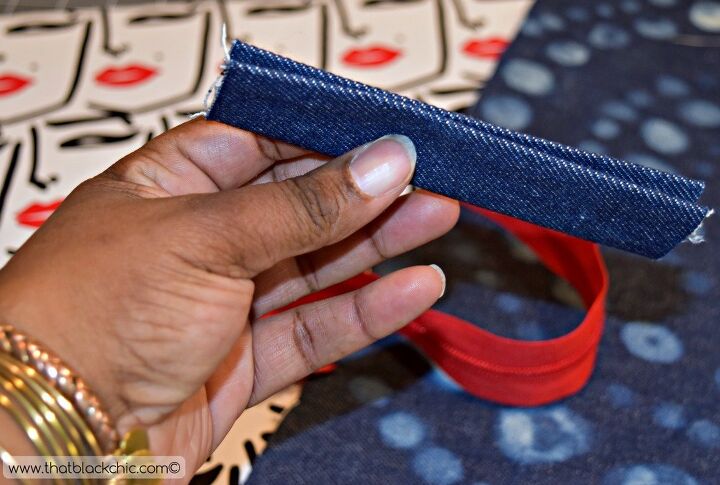
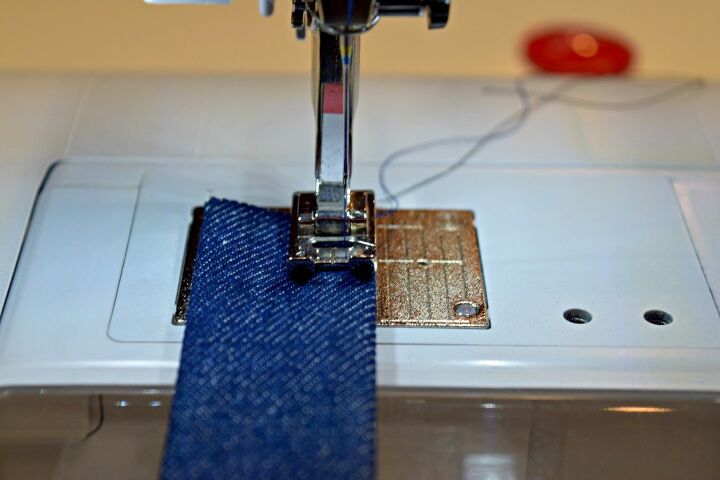
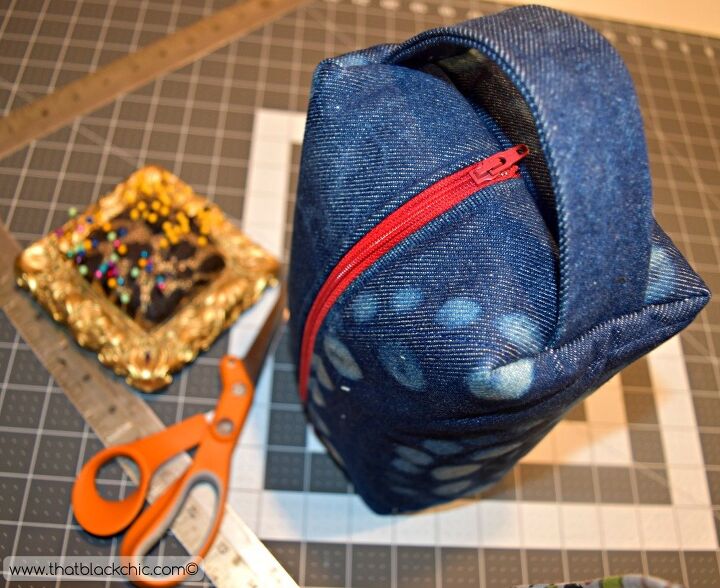
8. Handle time! Fold your fabric in half length wise, now fold your raw edges in about 1/4 inch, close and top stitch your handle.
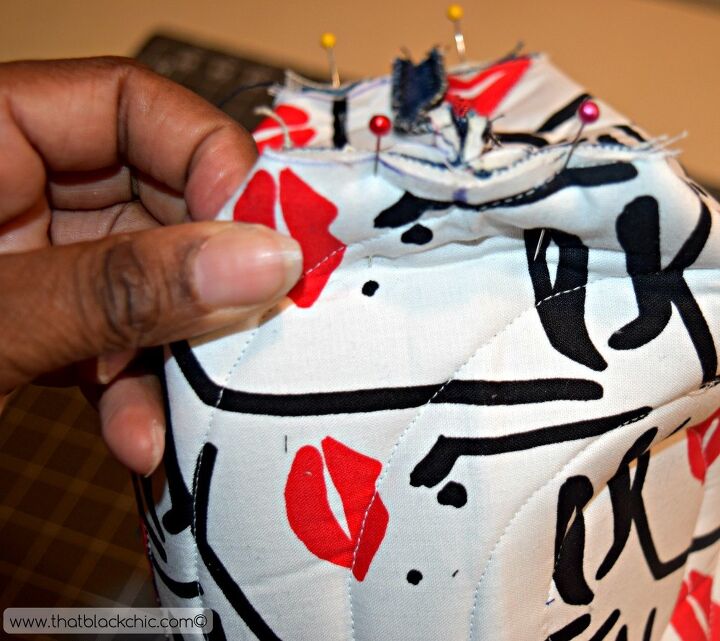
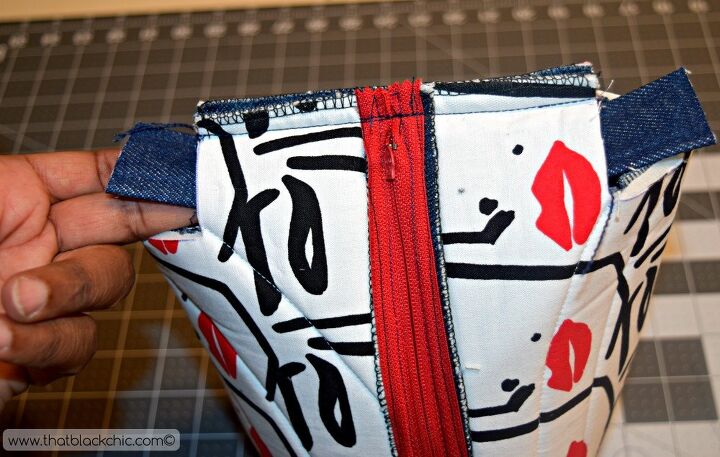
9. [Make sure your zipper is open so that you will be able to turn your bag to the right side.] Now you will slide your handle through the unfinished corners of your bag, Make sure your handle is not too tight against the bag so that your hand can hold the bag with ease, now cut off excess handle if necessary. Pin on place and sew.

Now turn it over to the right side and you are fin-neat-to!
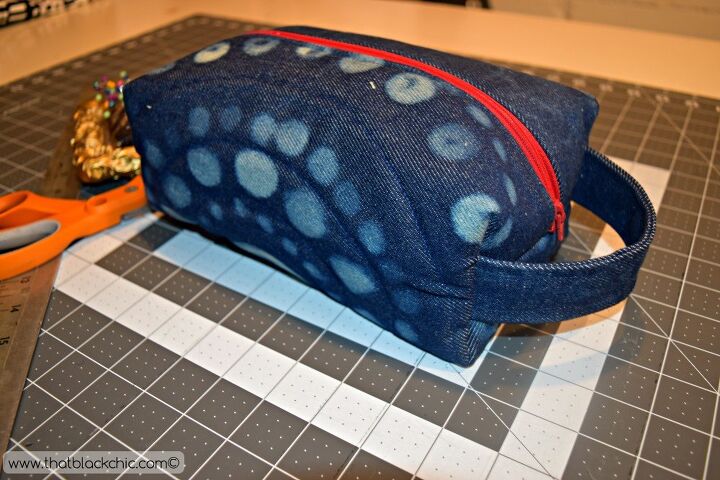
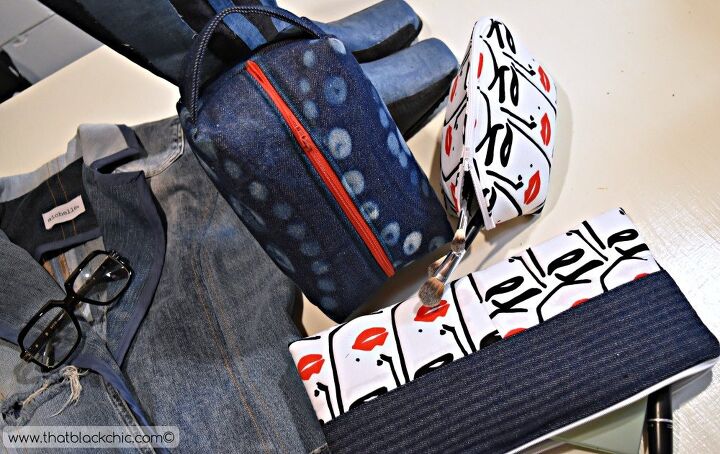
I hope you have enjoyed this DIY Square Cosmetic bag tutorial. If you would like to see a tutorial for the other bags in this post let me know by leaving a comment and I'll make it happen if there is enough interest.
The author may collect a small share of sales from the links on this page.


Comments
Join the conversation