How to Make a Cute DIY Cardholder Wallet Quickly & Easily

Most people have stopped carrying cash and use credit cards for everything. It’s so easy now that you just tap to pay. If you’ve been looking for how to make a cardholder wallet to keep your credit cards in one place, look no further.
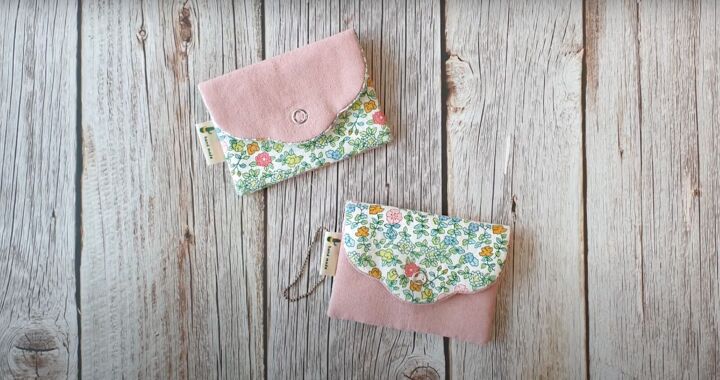
This DIY card holder waller is small but can hold 10 cards. My card wallet sewing pattern has five different patterns you can choose from. You don’t have to use credit cards only. You can make this as a DIY business card wallet instead as the ideal business or even graduation gift.
Let’s get started making this DIY cardholder wallet!
Tools and materials:
- Card wallet sewing pattern
- Fabric: lining and outer
- Non-woven fusible interfacing
- Prong snap button (9 mm)
- Pliers or snap tool
- Ruler
- Marking pencil
- Clips
- Needle and thread
- Label (optional)
- Iron
- Awl
- Spray bottle with water (optional but recommended)
1. Make the pattern
The overall dimensions of the finished DIY cardholder wallet are 4 X 2¾ inches.
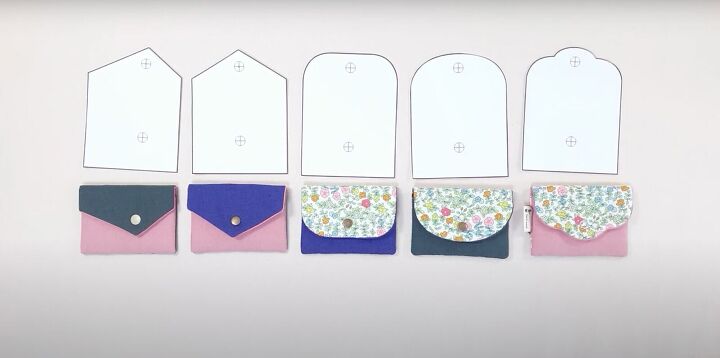
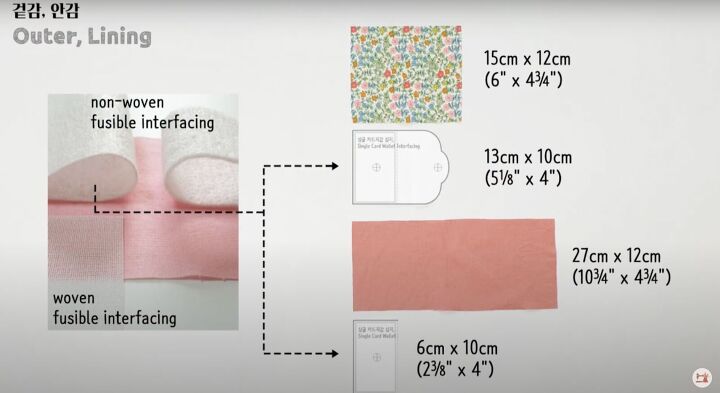
Download, print, and cut out the paper pattern of your choice or all 5 of them. Cut the fabric for the lining and the outer piece. The lining is 6 X 4¾ inches (15 X 12 cm) and the outer fabric is 10¾ X 4¾ inches (27 X 12 cm).
Cut the non-woven fusible interfacing into 2 pieces. One should measure 5⅛ X 4 inches (13 X 10 cm) for the body and the other 2⅜ X 4 inches (6 X 10 cm).
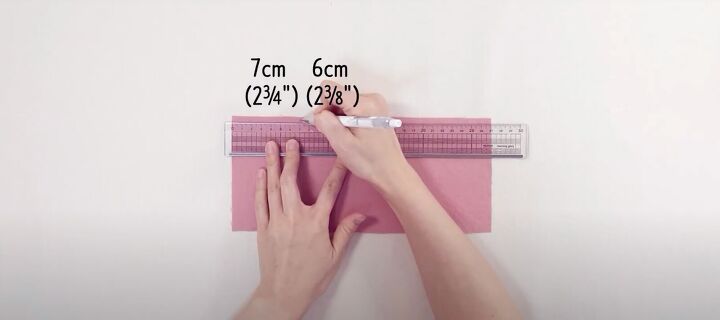
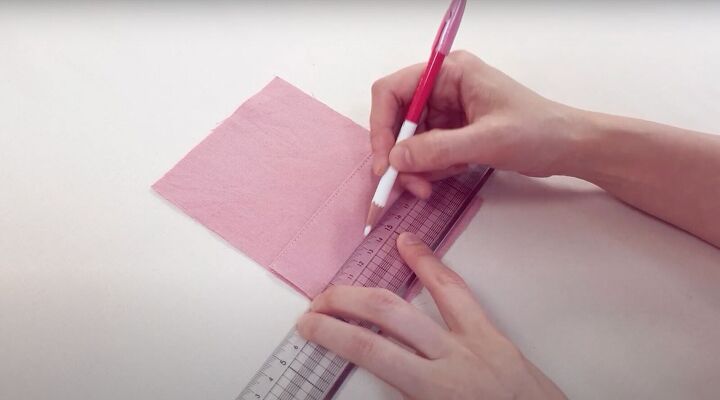
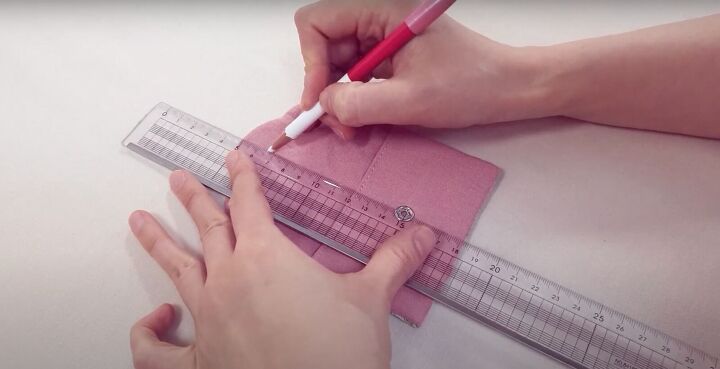
On the larger piece of fabric, mark from one side along the length of the fabric at 2¾ inches (7 cm) and from that point another 2⅜ inches (6 cm).
2. Attach the fusible interfacing
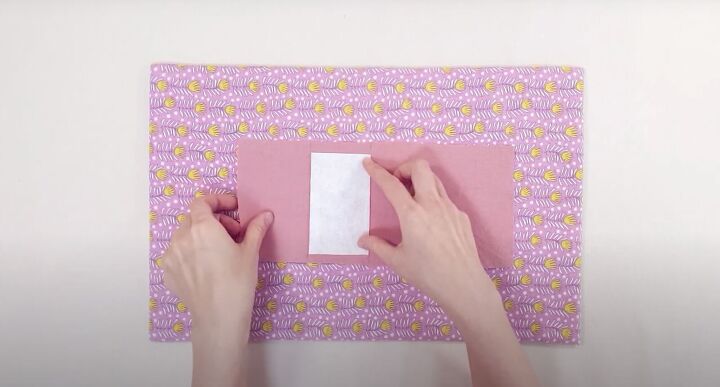
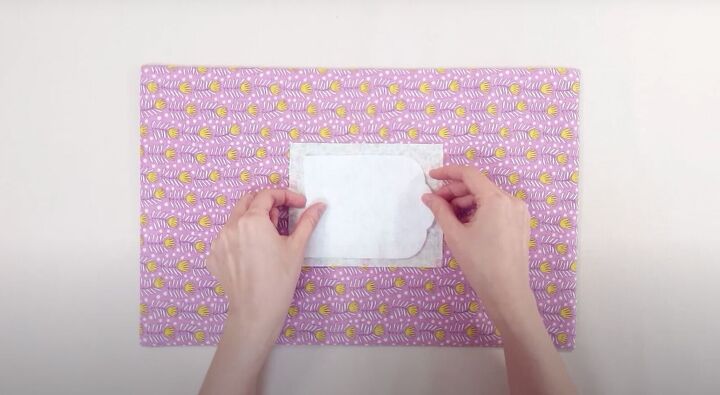
Place the smaller piece of fusible interfacing on the marking of the larger piece of fabric. Spray the fusible interfacing with water to lightly dampen it.
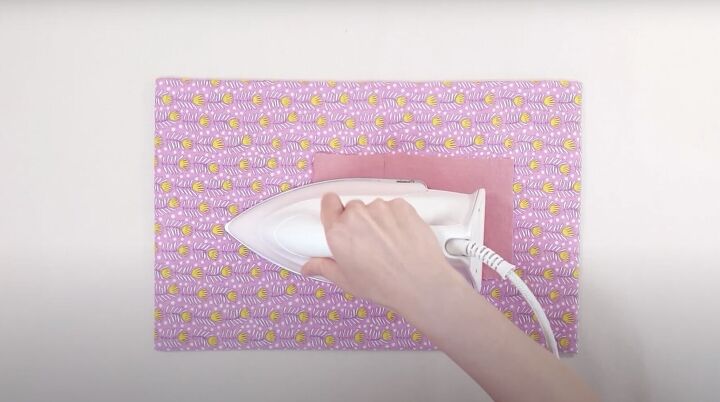
Fold over the top piece of fabric. Press to adhere.
On the smaller fabric, place the fusible interfacing on the wrong side. Spray with water and press to adhere.
3. Start sewing
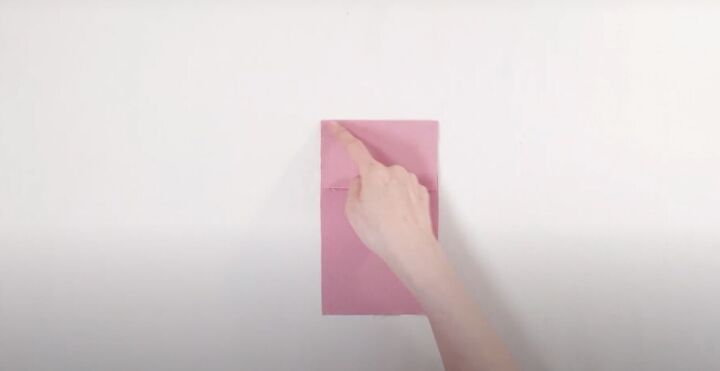
On the larger fabric, stitch across at the top.
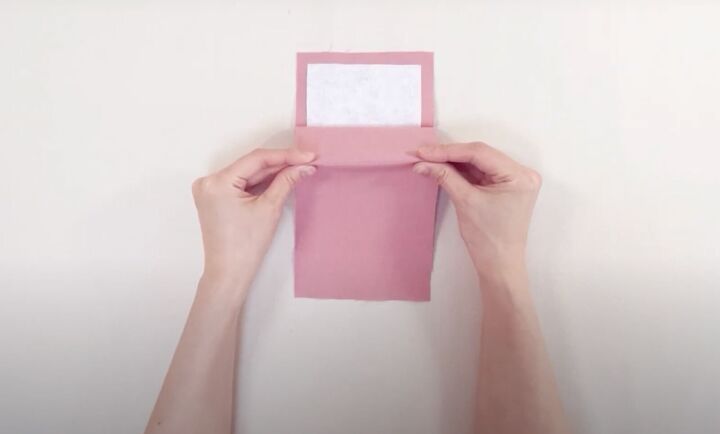
Open up the fabric and pinch at the second marked line.
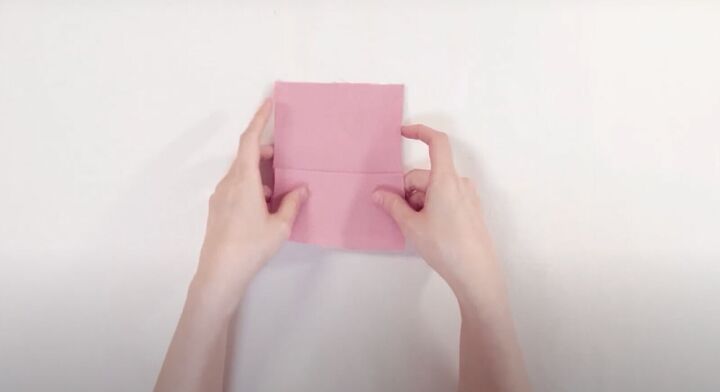
Pull up to fold and then flip the piece over.
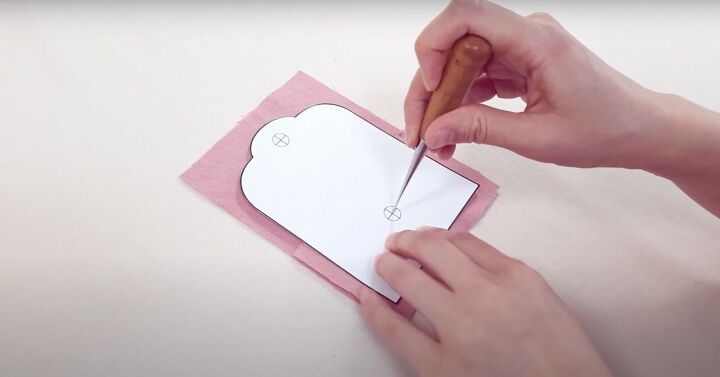
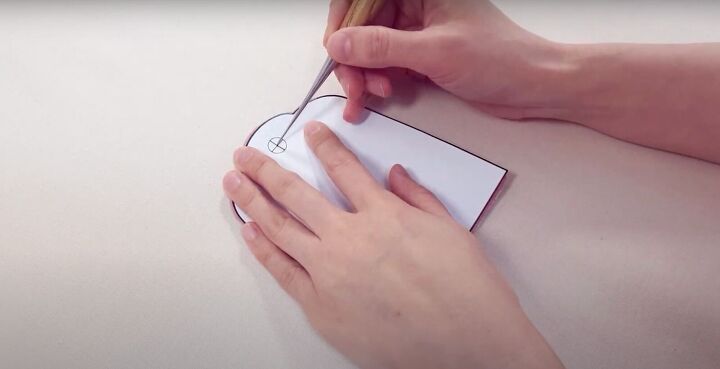
Use your paper pattern and awl to mark a hole for the snap.
Measure and mark with a cross for the exact center.
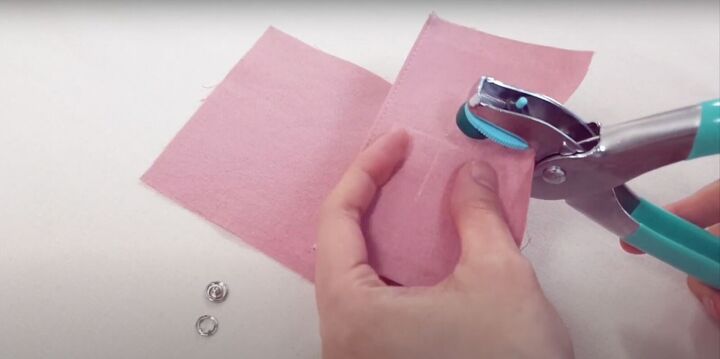
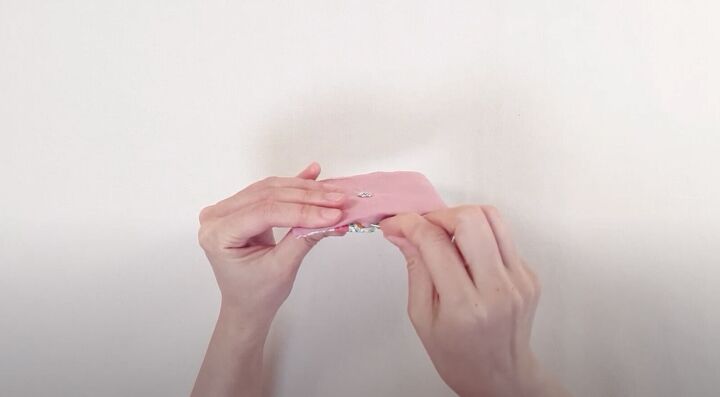
Place the snap using your tool in the center mark.
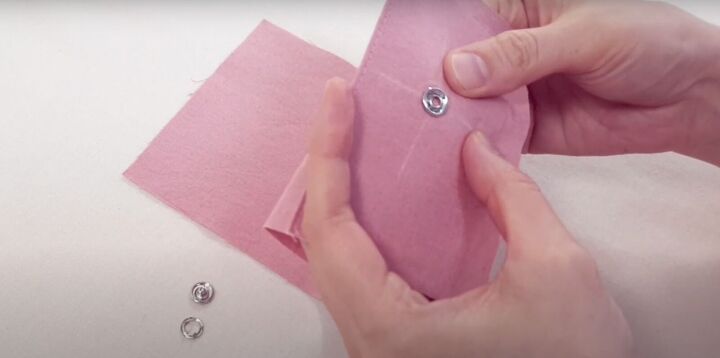
If you don’t have a snap tool, use the type of snaps you attach by hand sewing.

If you’re using a label, place it on your preferred side with the folded side towards the inside.
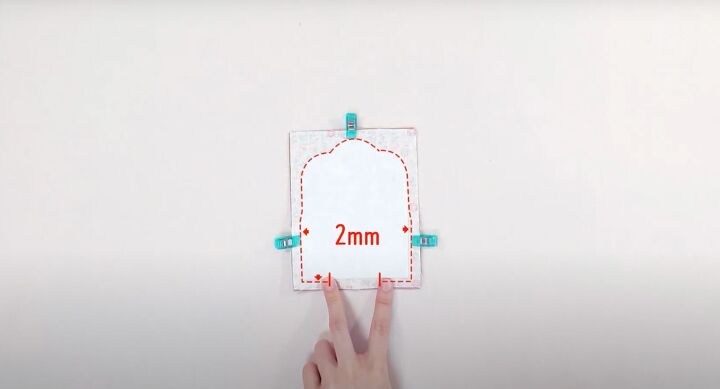
Lay the two pieces of fabric right sides together. Clip the fabric in place. Sew following the pattern guide but leave a ¼ inch (2 mm) or so unsewn at the flat bottom to be able to turn it right side out.
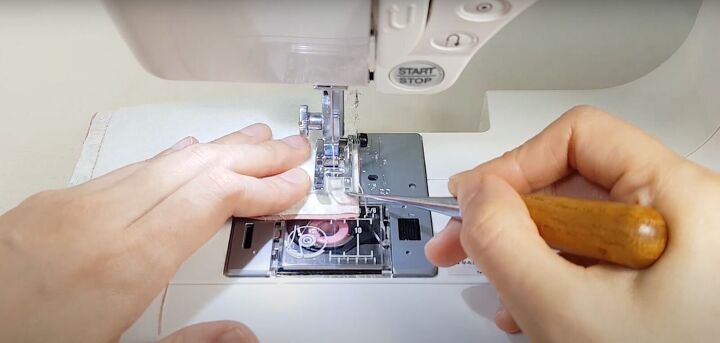
You may find the awl useful in helping you push the fabric under the needle.
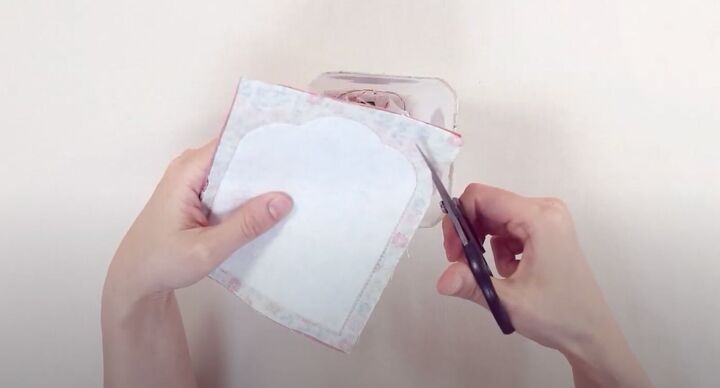
Trim out the excess.
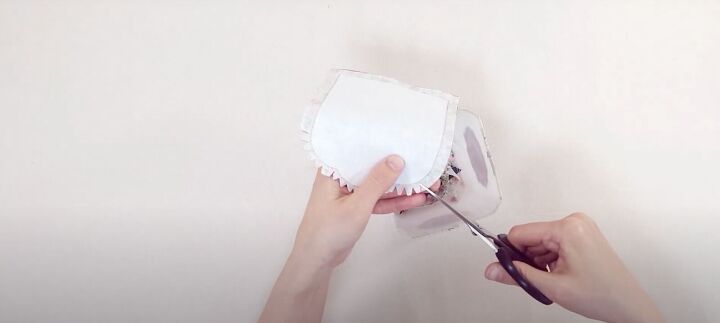
Cut tiny snips in the seam allowance around the rounded edges.
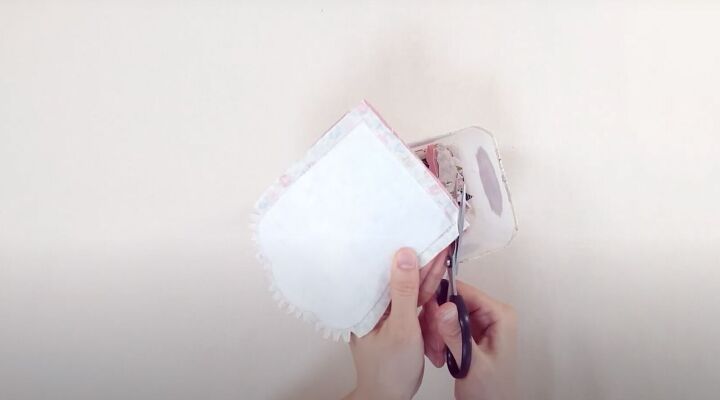
At all right angles, snip off all the corners.
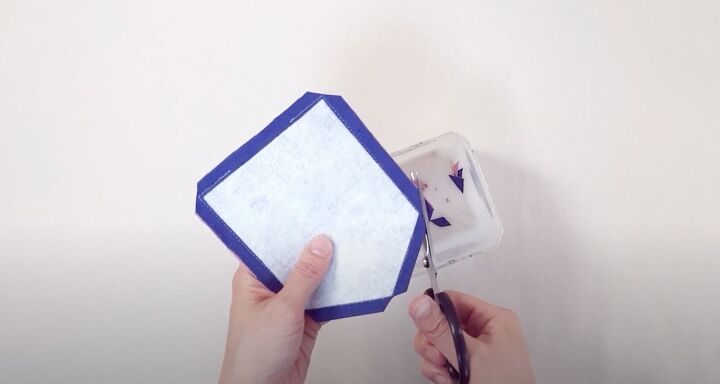
If you’re making the DIY card wallet with only straight edges, snip off all the corners.
4. Finish the wallet
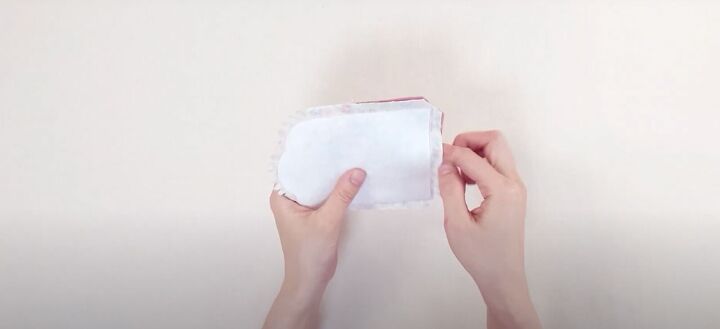
Insert your fingers into the unsewn space to turn the wallet inside out.

Use the awl to sharpen the corners.
Fold in the unsewn fabric and hand sew closed.
Lay the card wallet down with the flap open and facing you. Use the pattern and the awl to mark for the top snap.
Use the ruler and marking pencil to make a cross to find the exact center.
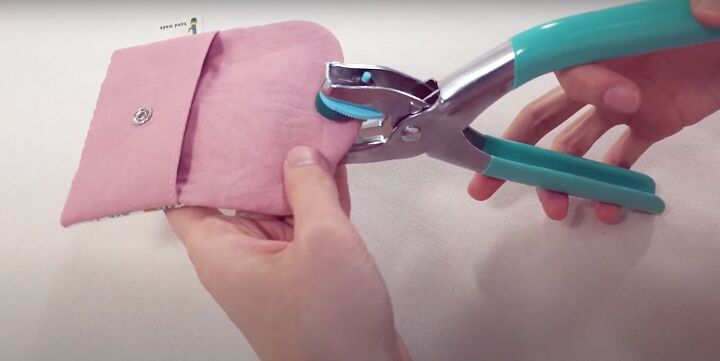
Insert the top snap.
DIY cardholder wallet tutorial
You’ve just learned how to make a cardholder wallet! Tiny, portable, practical, and perfect to hold your credit or business cards. Please let me know in the comments if you made this for yourself or gave it as a gift to others.
The author may collect a small share of sales from the links on this page.


Comments
Join the conversation
My sewing machine is out of commission so instead of what you did I just cut the corner off used envelopes in the size of the card & write the card type on it. Works very well for all my cards, not just charge cards.
I love this....you could match it to your outfits. I stopped carrying a handbag a year ago due to shoulder injury. I found a small pouch like you made and added a small grommet and carabiner. I match a ribbon color to match/contrast with my outfit. I can clip my car and house key to the carabiner and I can tuck it inside my shirt/under my bra and am no longer afraid of being robbed.