How to Easily Make a DIY Crossbody Strap For a Bag or Purse

This adjustable crossbody strap tutorial will show you how to make a crossbody strap that you can attach to any purse with tabs. If you know how to sew a straight stitch, it’s easy to learn how to sew a crossbody strap.
In my previous tutorial, I showed you how to make a mini purse. This crossbody strap can be added to that purse or any purse of your own. Let's get started!
Tools and materials:
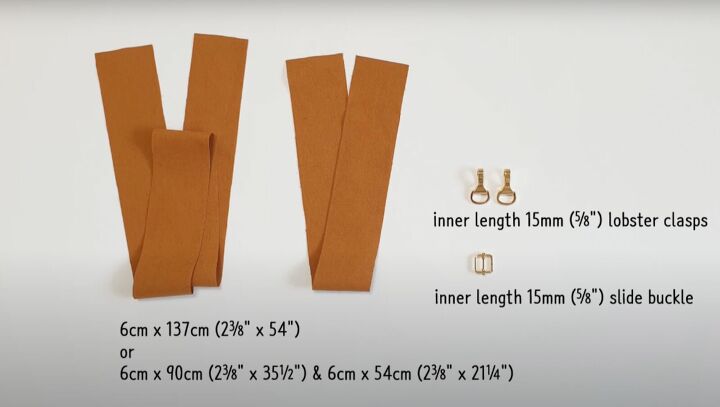
- Fabric straps
- 2 Lobster clasps ⅝ inches or 15mm
- 1 Slide buckle ⅝ inches or 15mm
- Scissors
- Awl (optional)
1. Cut out the strap pattern
The width of the strap should be 2⅜ inches (6cm). You can choose the length of your adjustable crossbody strap to your preference: 54 inches (137cm), 35½ inches (90cm), or 21¼ inches (54cm).
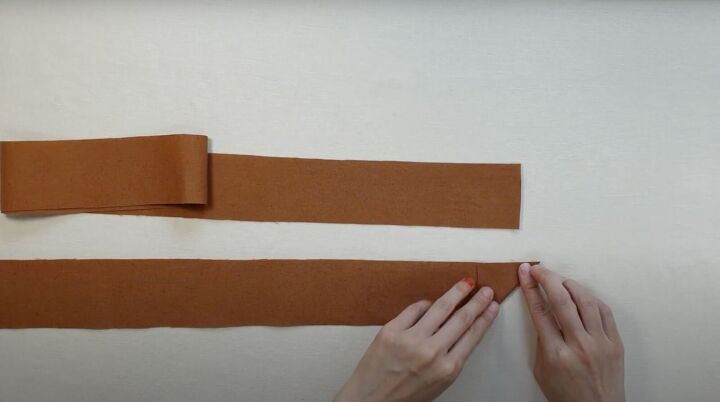
2. Sew the strap
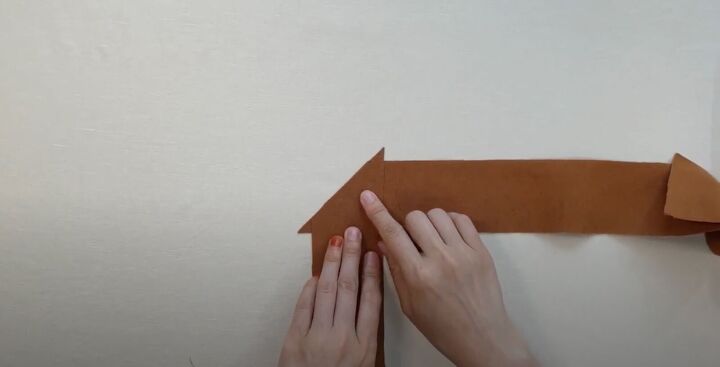
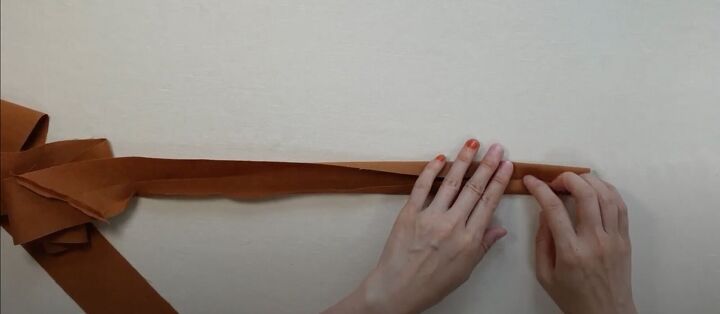
Lay out both fabric straps. Fold in one corner on the diagonal on both straps to create a crease.
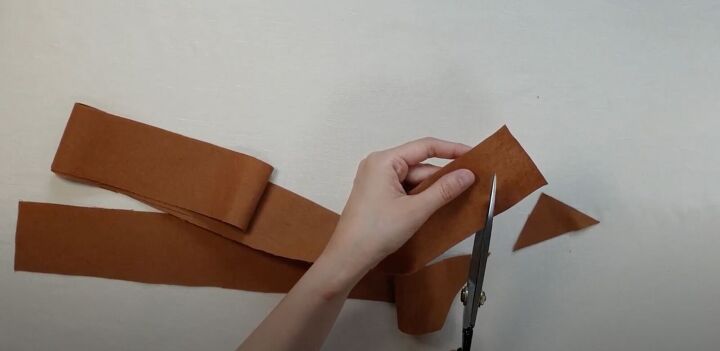
Use your scissors to cut away the triangle on both straps using the fold as your guide.
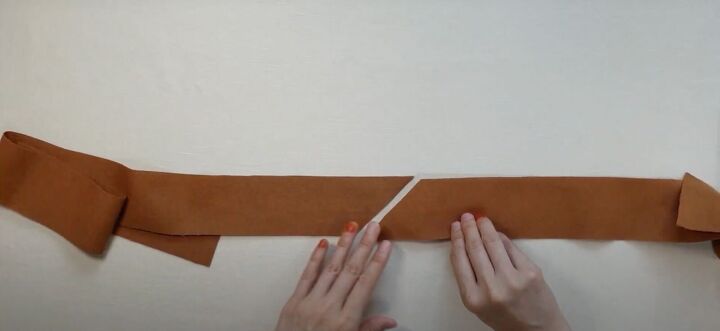
Lay the straps so the angled edges align.
Then flip the left strap over so the angles lay this way.
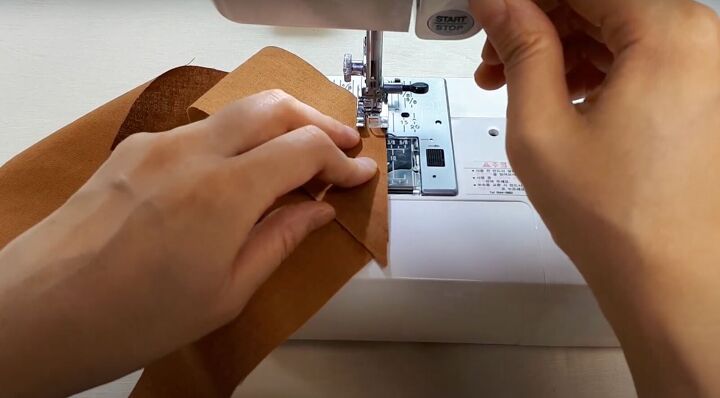
Sew along the longer angled edge.
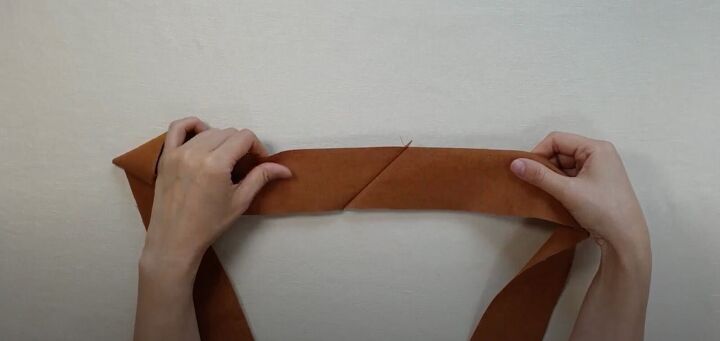
It should look like this. Flatten the seam allowance on the wrong side with your finger.
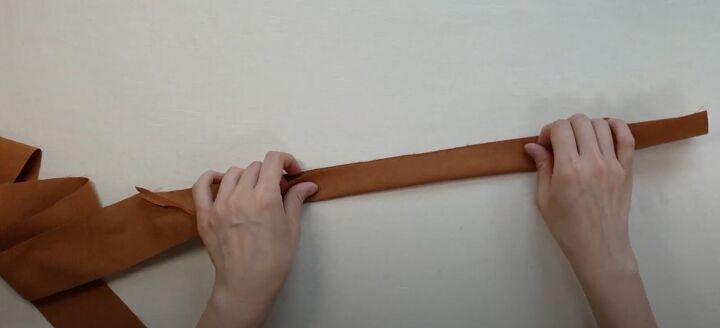
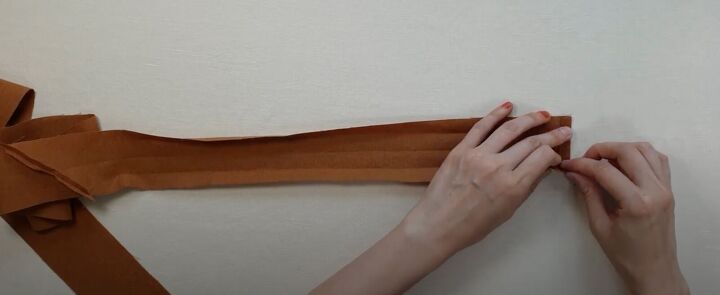
Fold the strap in half to create a crease along the length of the strap.

Then quarter fold the bottom in to meet the crease.
Quarter fold the top portion to meet the crease.
Once you’ve created these crease lines, fold in the short side about ¼ inch inward to create a hem. Refold the strap into a quarter fold as before.
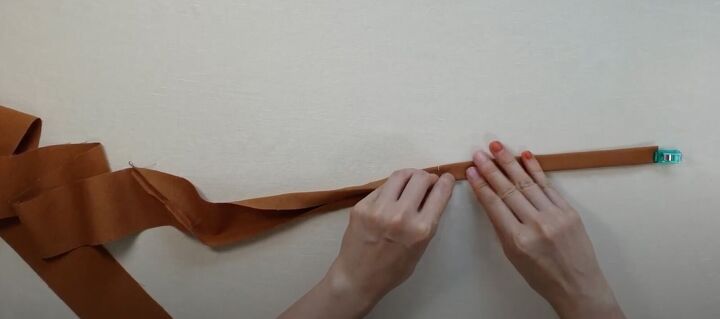
Clip the end and begin folding down the rest of the strap. You may need to flatten the seam allowance again when folding in the center. Continue folding down and clipping the strap until you get to the end.
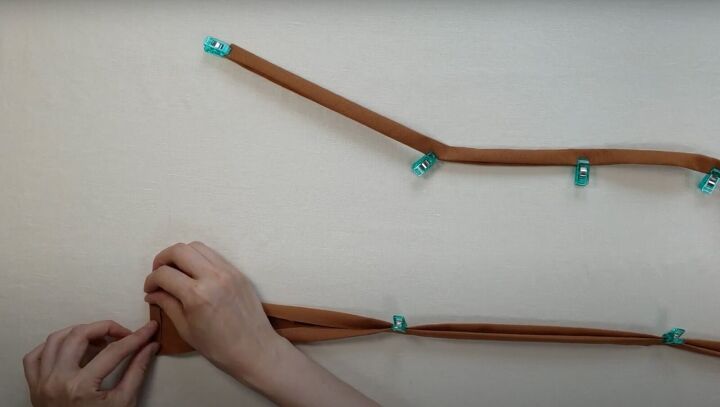
Don’t forget to “hem” the other short side.
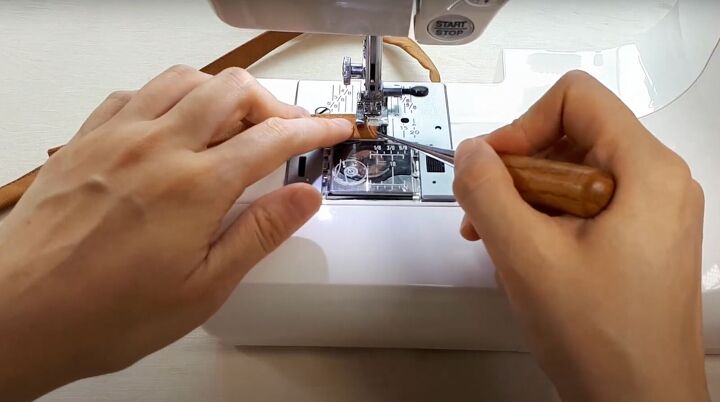
Sew at the folded edge on all 4 sides of the strap. You may need to use an awl to help you push it through under the needle.
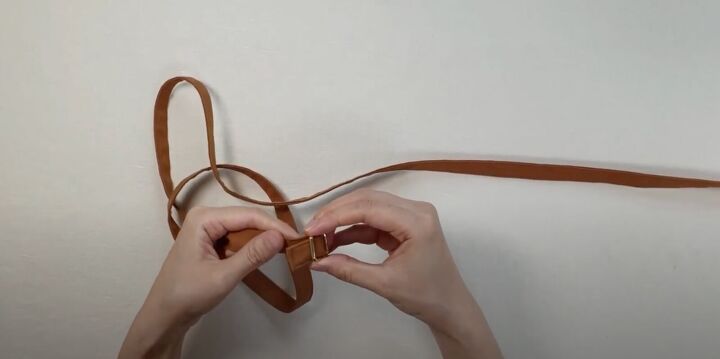
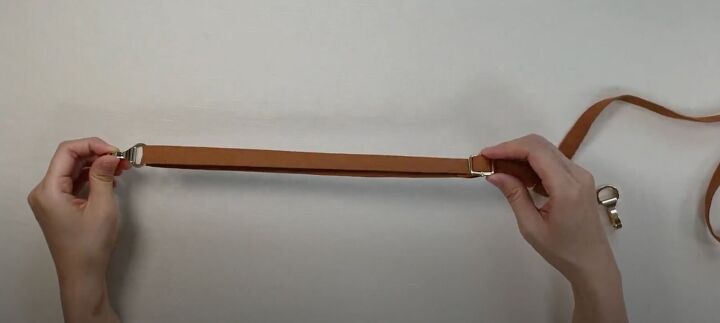
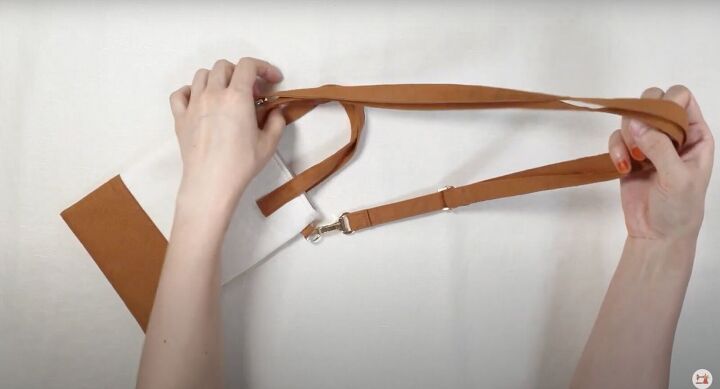
3. Insert the buckle
Insert the strap into the slide buckle. Pull it over the slide bar in the center and then pull the fabric through underneath about ¼ inch. Stitch down to secure the slide buckle into place.
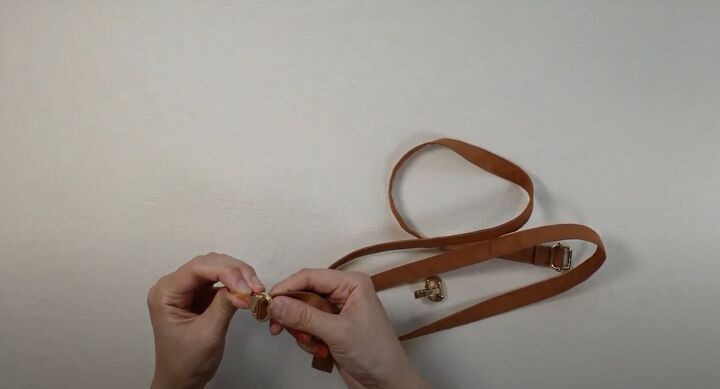
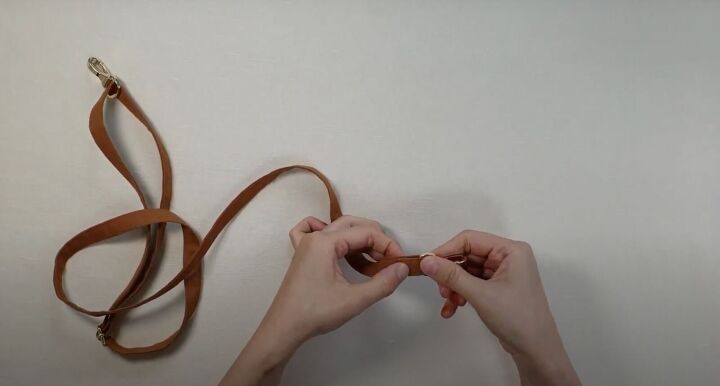
4. Insert the lobster clasps
On the other side of the strap, insert the strap into the lobster clasp. Pull the clasp towards the side of the slide buckle.
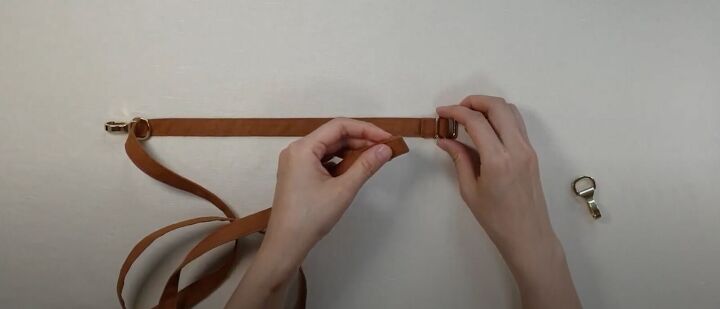
Insert the other end of the strap through the slide buckle.
Pull it through.
Insert the clasp at the other end and pull ¼ inch of the strap through.
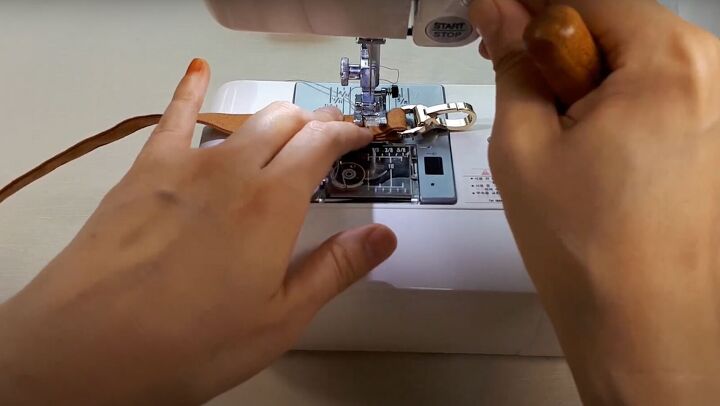
Stitch it down to secure in place.
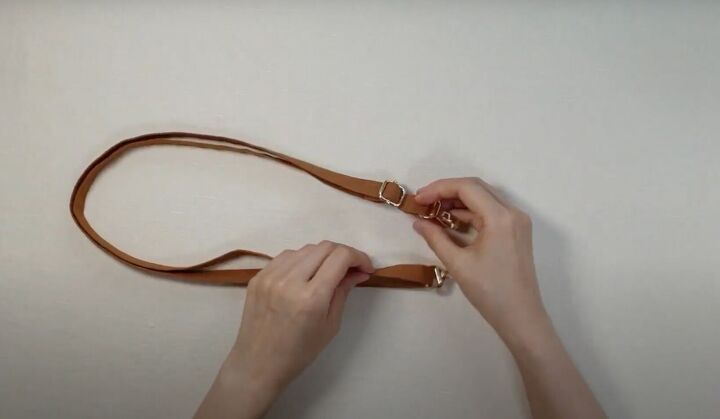
Your DIY crossbody strap is done!
DIY crossbody strap tutorial
You can adjust the length of this strap to be longer or shorter. Please let me know in the comments if you made this DIY crossbody strap! Thanks for joining.
The author may collect a small share of sales from the links on this page.


Comments
Join the conversation