Makeup Brush Holder (or Pencil Case) in Under 10 Minutes
If you need a dig-free, go-to pouch for easily organizing your makeup tools or you need to a pencil case for your kid, we got you covered. No need to spend money on this when you can DIY in about 10 minutes
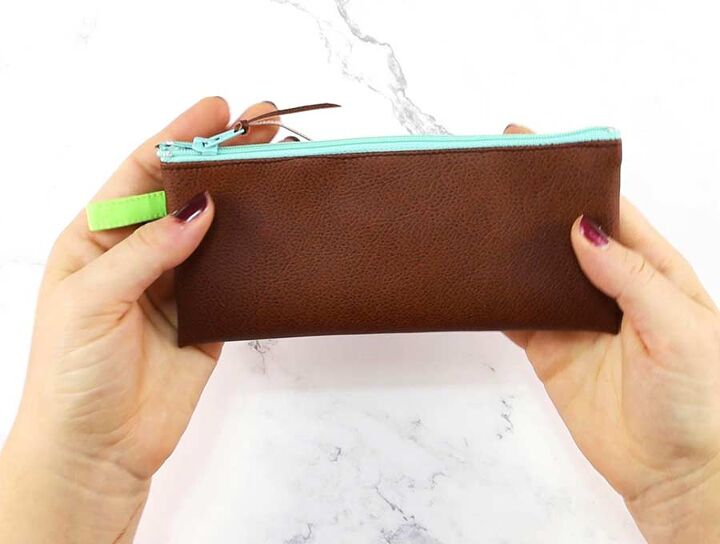
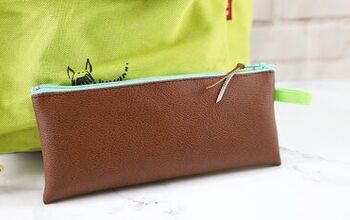
This makeup brush holder that doubles as pencil case project is one of those blessings.
The case looks beautiful and it’s probably of higher quality than the ones in stores. The best part about it is the process of sewing it, which is easy and quick.
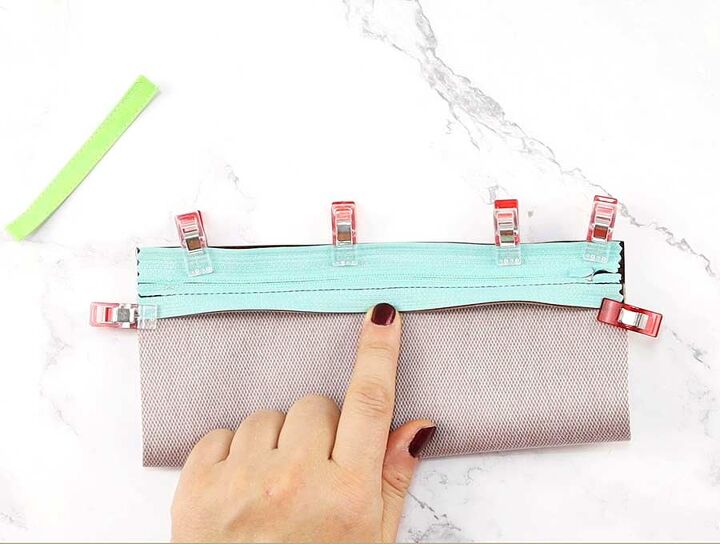
Sew the zipper
Your zipper length will determine how wide the fabric piece you’ll use will be. The height of the fabric should be around seven inches, but you can make the case deeper if you wish.
Set the zipper onto one of the edges of the fabric piece that’s as long as the zipper. Keep their right sides facing each other and stitch them together. Use the zipper foot on your sewing machine.
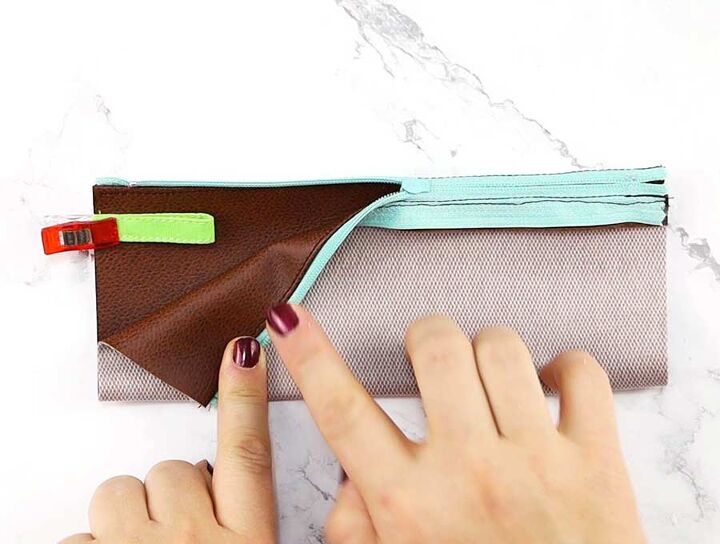
Fold the fabric in half so that the zipper edge aligns with the edge parallel to it. Make sure the right side is facing in and stitch them together.
Fold a strip of bias tape so its short edges meet and place it inside the case, half an inch below the zipper. Align its raw short edge with the case side edge and pin them.
Sew the case sides shut. Unzip and turn the case, then push out its corners with a chopstick.
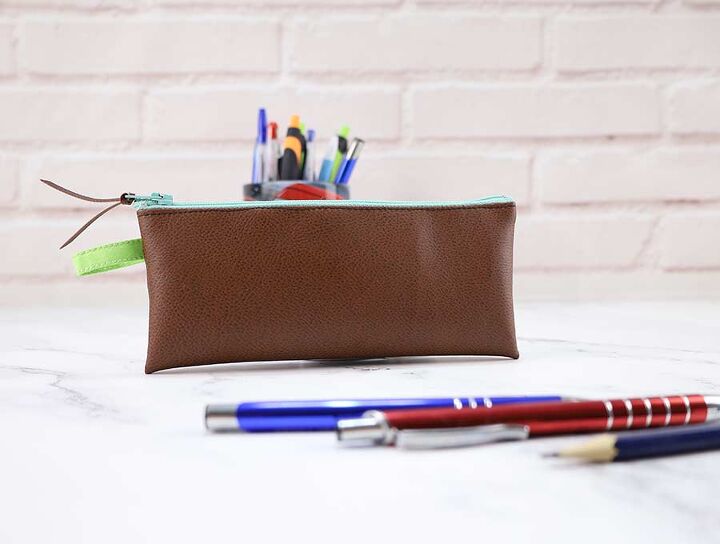
Now that you made this DIY pencil case for your kid or small cosmetic bag for yourself (you deserve it!). They aren’t exclusively for pencils, you can use them to store all kinds of items in a practical way. Thank you for stopping by and reading this tutorial!
The author may collect a small share of sales from the links on this page.


Comments
Join the conversation
I love this so much! I have a question - in the video it appears that you top stitched at the zipper. How did you do this? I will be making several of these for Christmas gifts so many thanks!