Looking for a Cute DIY Purse? Try This Japanese Knot Bag Tutorial

Today, I’ll be showing you how to sew a Japanese knot bag! It’s straightforward, and the results are super cute! This Japanese knot bag is an open bag, and the handles are not symmetrical. To make the knot, one handle slips into the other.
They’re fairly popular, and now it’s time to make one for yourself. Let’s get this Japanese knot bag tutorial started!
Tools and materials:
- Fabric - two prints
- Scissors
- Pins
- Sewing machine
- Ruler
- Marker
- Thread
- Iron
1. Cut the pattern
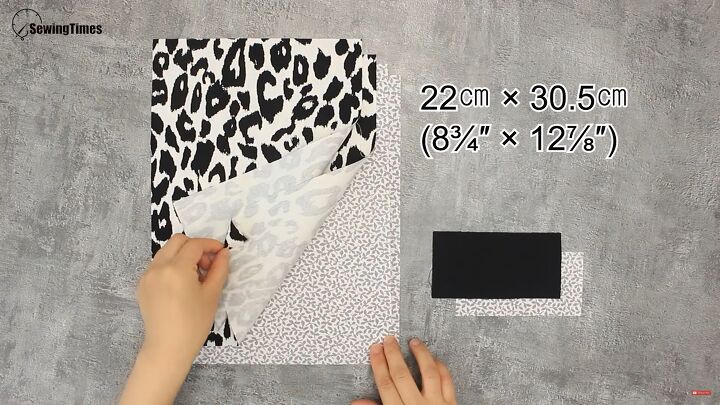
For the Japanese knot bag DIY, you need two different fabrics. For the main pieces, cut four 8¾ x 12⅞ pieces - two from each fabric.
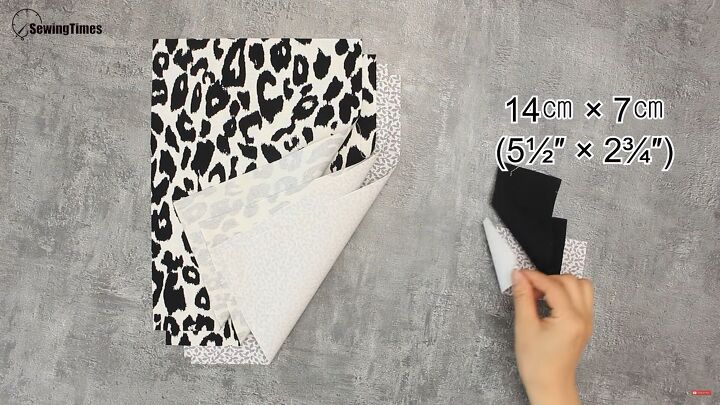
You’ll need two rectangles for the base that are 5½ x 2¾ inches in size.

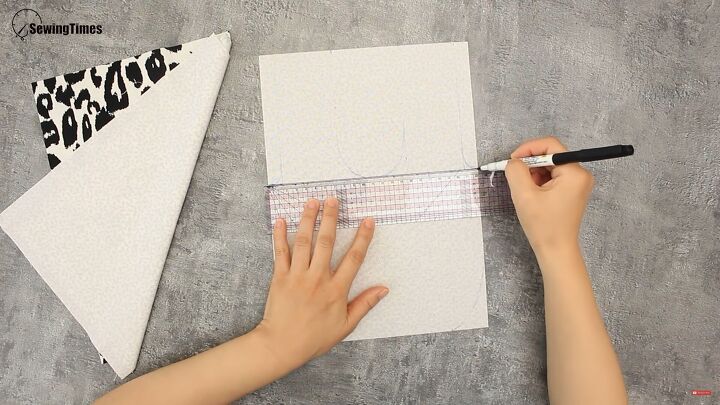
2. Make the Japanese knot bag pattern
With a ruler, measure 5⅜ inches on the side, mark that point, and draw a line straight across.
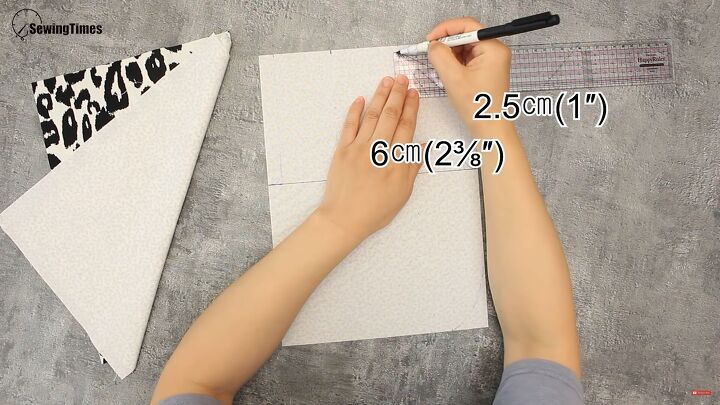
On the top, mark the fabric an inch from the end, and then 2⅜ inches from the first-inch mark. Do this on both sides.

Then, draw lines going down to the middle line from each of the four points.
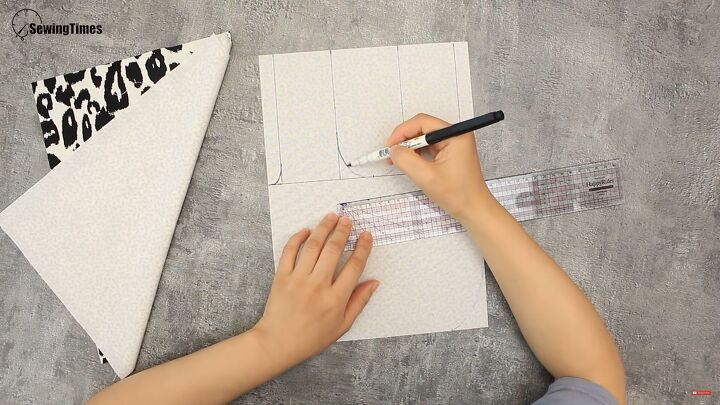
Draw curved lines starting from the side and the middle. For the middle column, find the center point and then draw curved lines so that they meet that point.
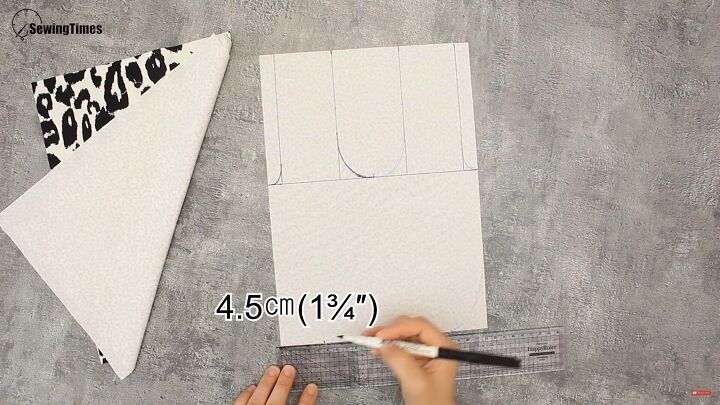
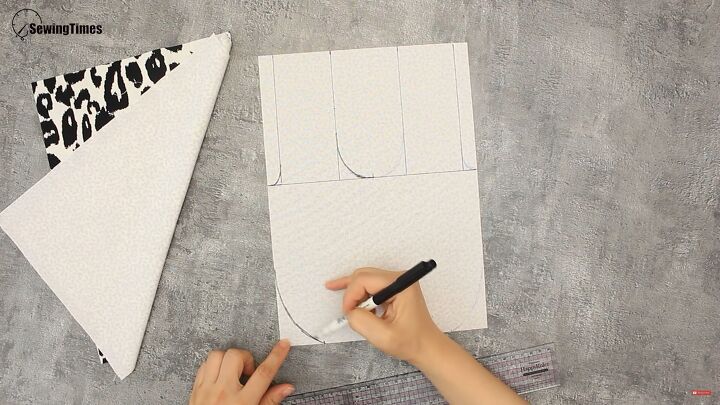
At the bottom edge, Measure 1¾ inches and draw a curved line from the side to that indicated mark.
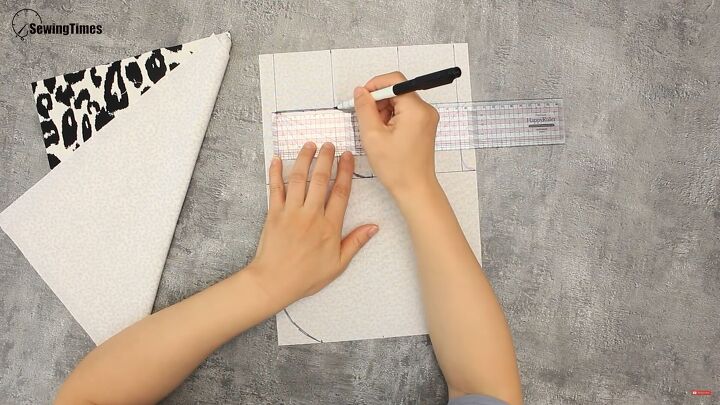
Now, moving to the top, second line. Make a 2⅜-inch mark and draw a line from the second to the first line.

3. Cut the pattern
Fold your fabric in half and cut the pattern. Ensure to first cut the longer column (don’t yet cut the line in the middle).
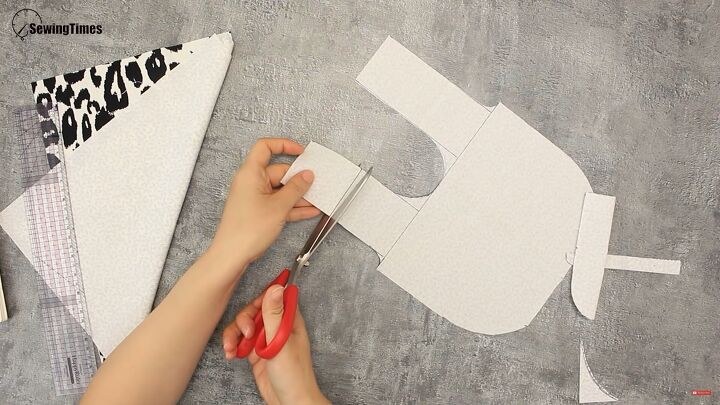
Open your pattern and cut the middle line, as shown.
Layer the rest of the fabric pieces, right sides facing. Place the cut-out pattern on top and cut around the pattern through the three layers.
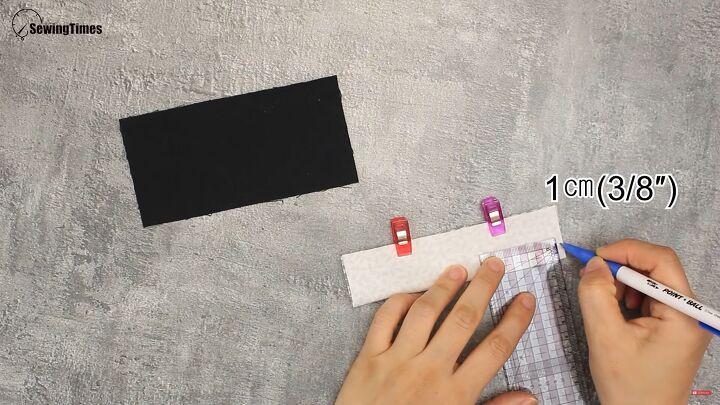
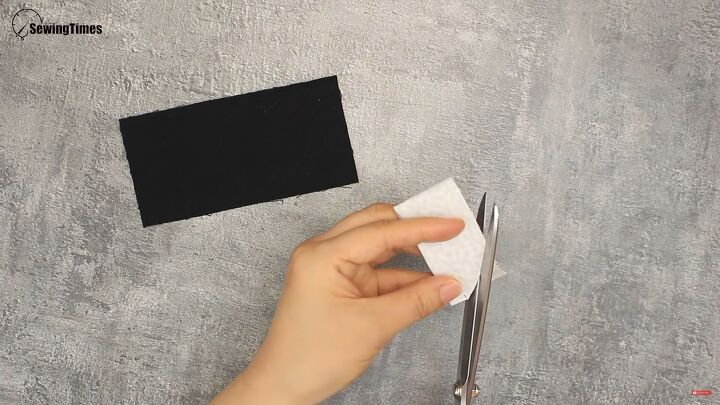
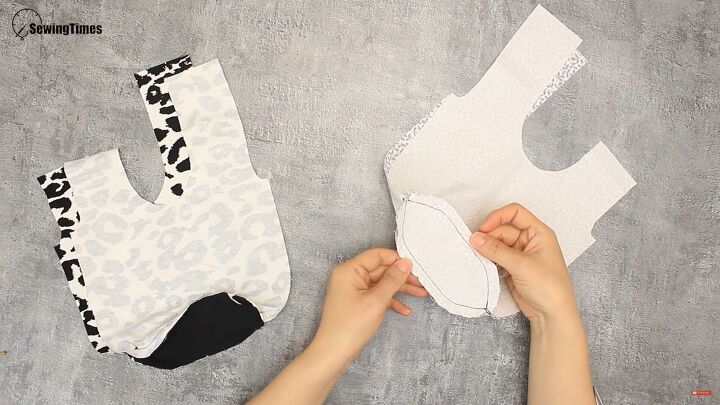
To curve the edges of the small base pieces, simply fold the rectangle, make a ⅜-inch mark, then fold the rectangle again, and cut a curve.
Simply cut the second piece by following the curved parts of the first.

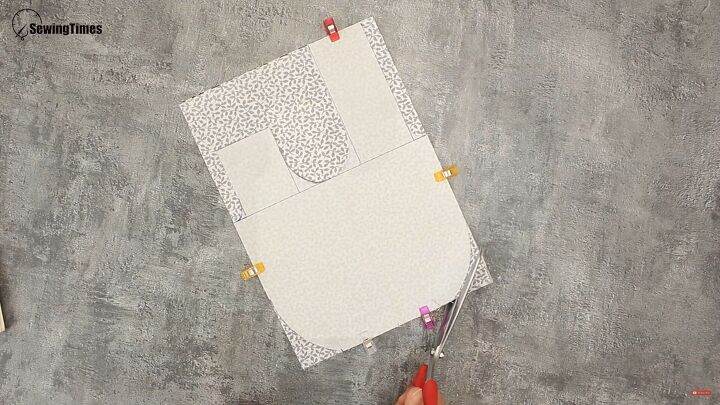
4. Start sewing
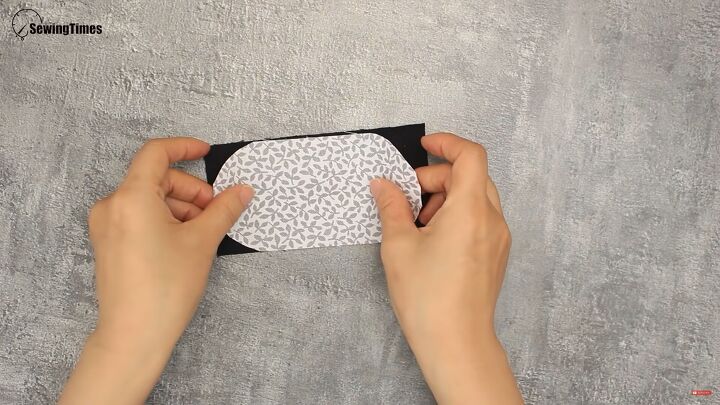
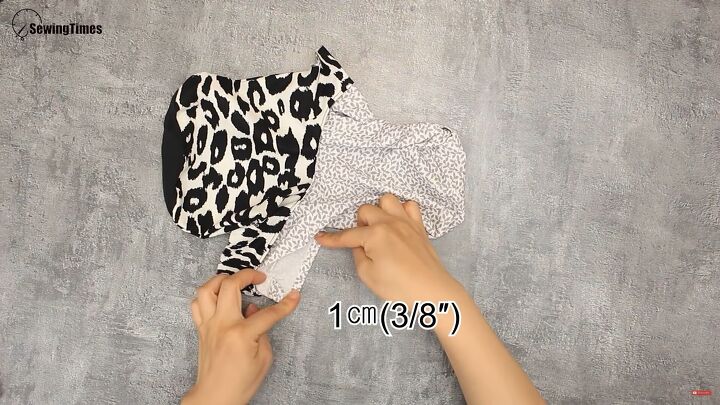
Pin the base piece to one of the main pieces, including the curved parts. Sew with a ⅜-inch allowance.
Pin the curved part of the base to the bottom edge of the second main fabric. Then, sew to secure.
Repeat on the other pieces of fabric.
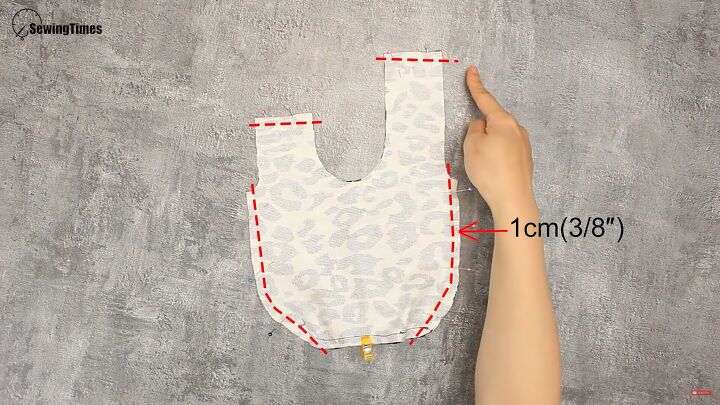
Fold the base in half and pin. Then, sew all around the curved parts and the top handles. Repeat on the other bag piece, too.
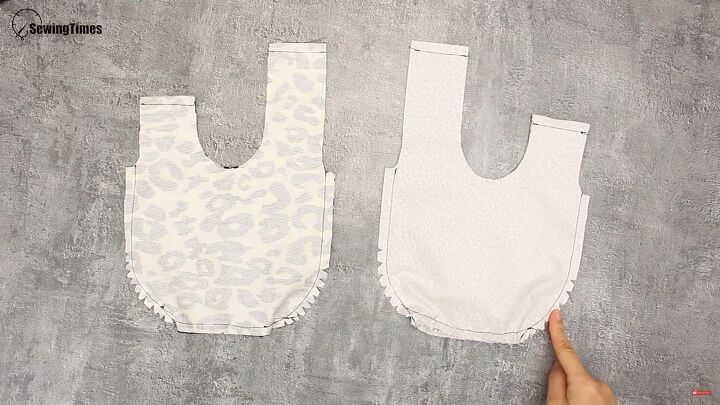
Snip the curved sides.
5. Assemble the Japanese knot bag
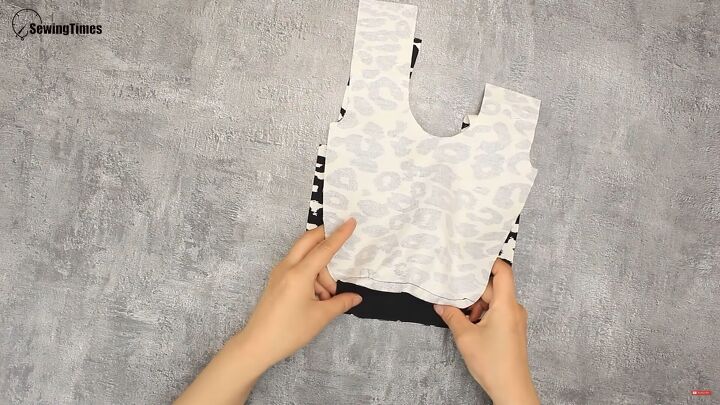
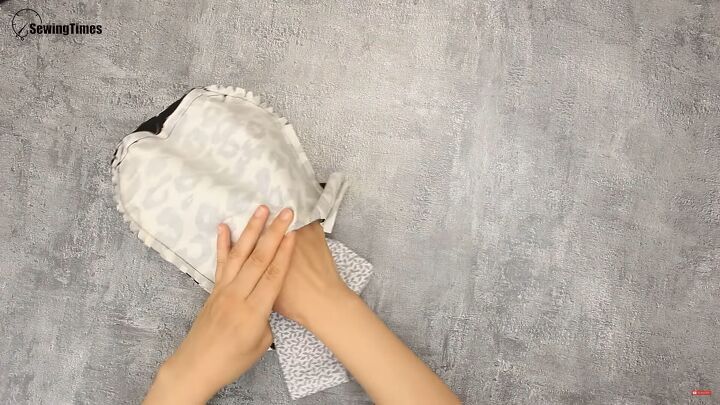
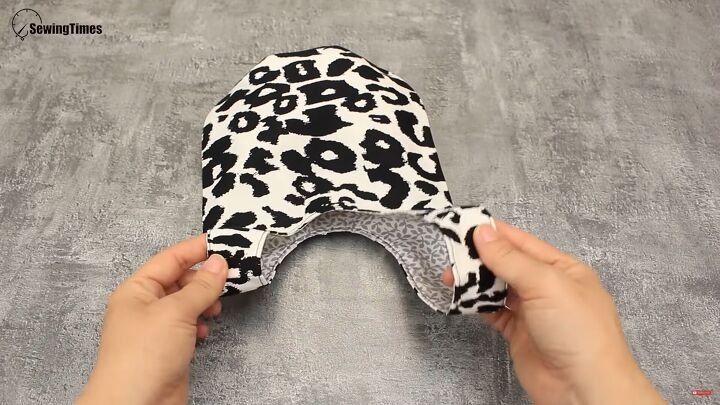
Now, insert one bag piece (right sides out) into the other (right sides facing).
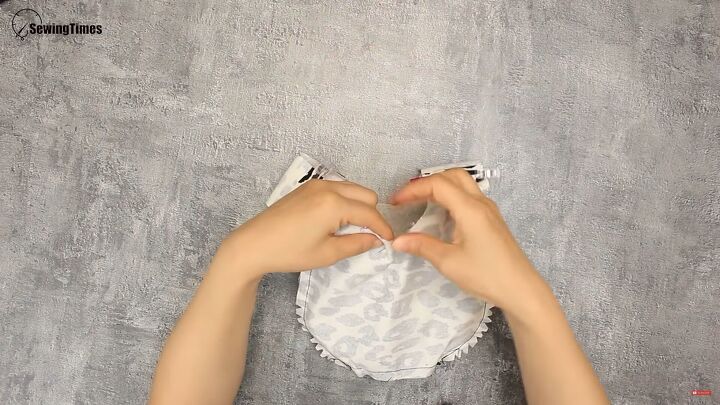
Align the top edges and pin accordingly.

Stitch all around.
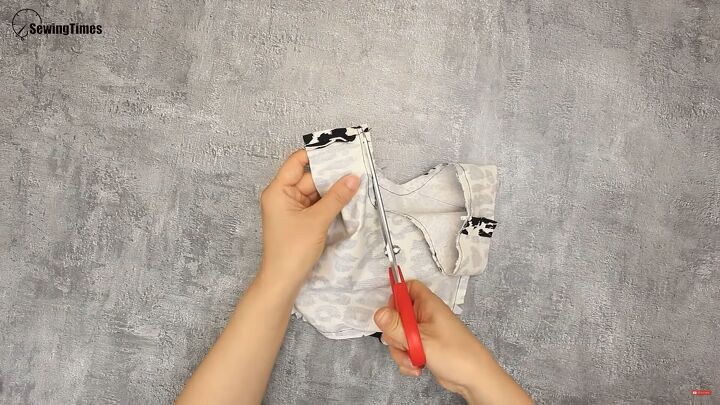
Remove the excess seam allowance and snip the edges of the curved parts.
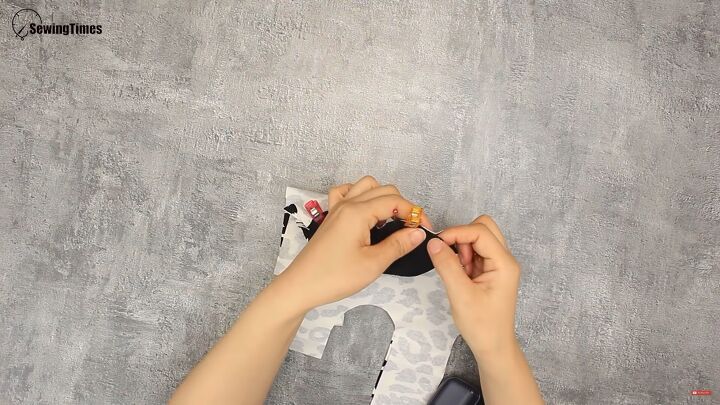
Through the side gaps, turn the Japanese knot bag DIY inside out.
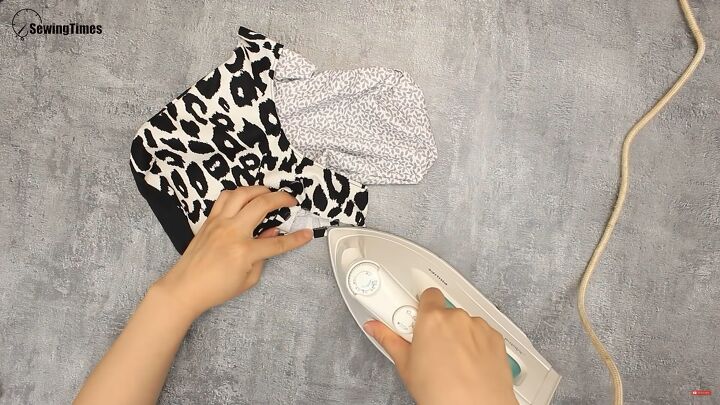
Press the seams.

Topstitch the middle section.
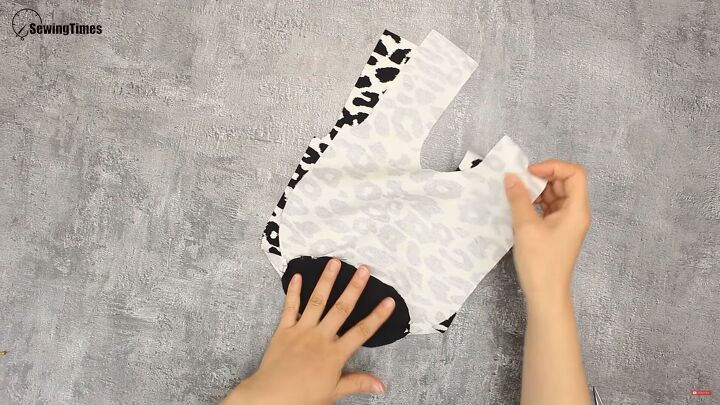
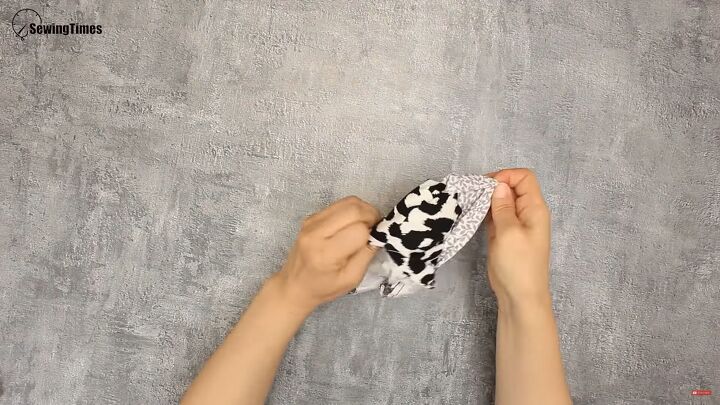
Take out the inner fabric and align the handles. Then, fold in the edges and press them down.

Next, insert the inner fabric back into the bag, align the raw edges of the openings, and sew to secure.
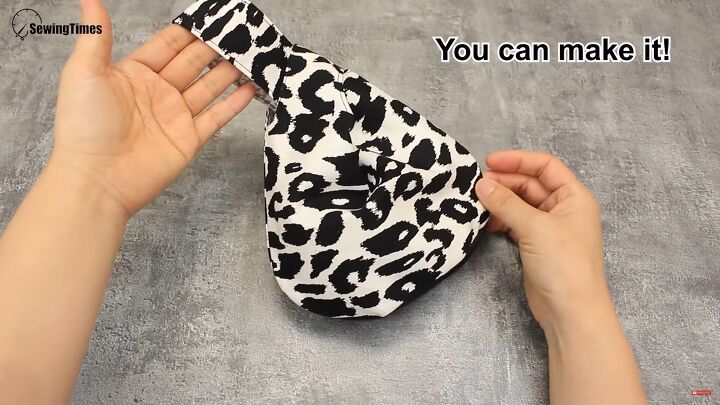
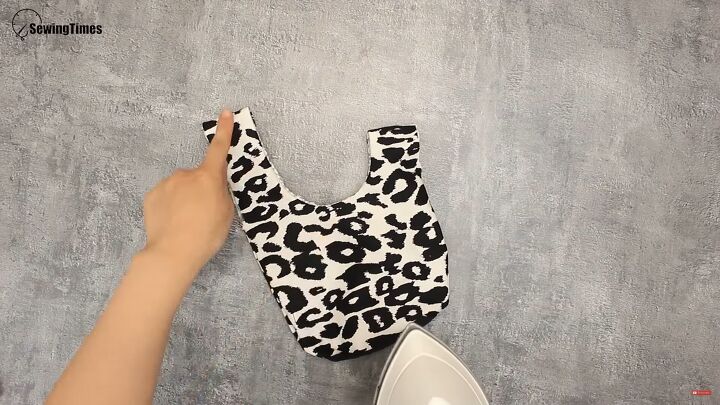
Japanese knot bag tutorial
Now you know how to make a Japanese knot bag, the easy way! It’s really simple and the bag itself is super functional since all you do is insert the longer handle into the shorter one- and voila! Thanks for joining me for this Japanese knot bag tutorial!
The author may collect a small share of sales from the links on this page.


Comments
Join the conversation