How to DIY a Preppy Tote Bag

I've always loved preppy tote bags so when I came across this black and white houndstooth fabric, it was just what I had in mind.
This is a super easy mini tote bag that is straightforward to make and a great project for beginners. The pattern couldn't be more simple - you just need a sheet of A4 paper.
Tools and materials:
- Outer bag fabric
- Lining fabric
- Long shank button
- Decoration for outer pocket (optional)
- Sheet of A4 paper
- 1/4" elastic
- Ruler
- Pencil
- Scissors
- Pins
- Safety pin
- Sewing machine
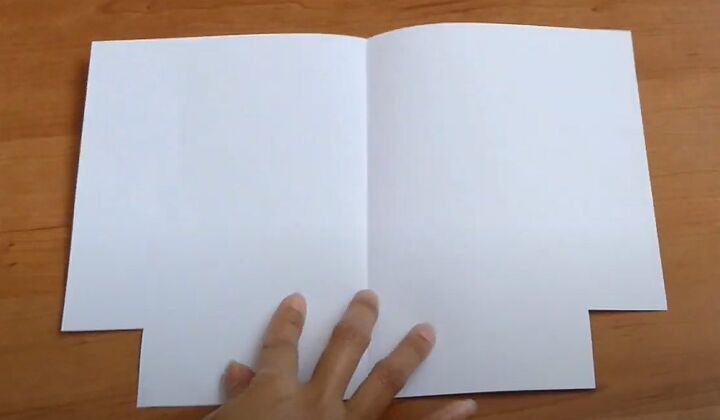
1. Make pattern
Fold a sheet of A4 or letter paper in half widthways.
Cut a 1.5 inch (4 cm) square from one of the corners opposite the fold, through both layers.
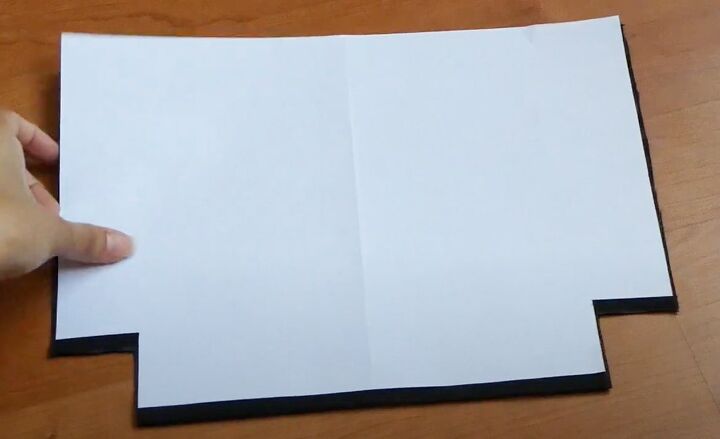
2. Cut lining
Place the open pattern on the fold of the lining fabric and cut it out.
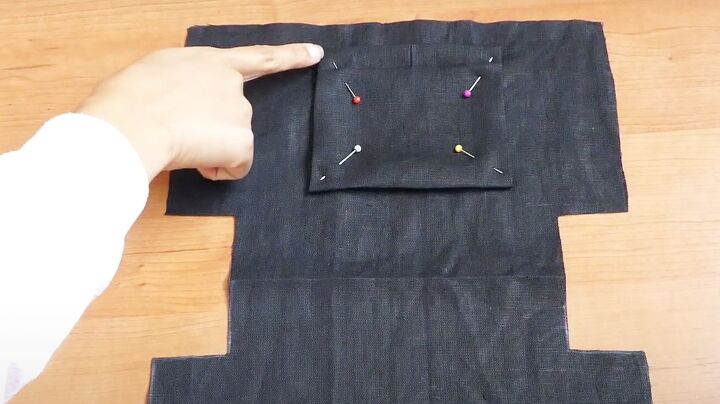
3. Add pocket (optional)
Cut an optional inner pocket from the lining fabric, 4.75 inches (12 cm) square.
Turn in the top edge and top stitch. Turn in the other 3 edges and sew them to the right side of the lining.
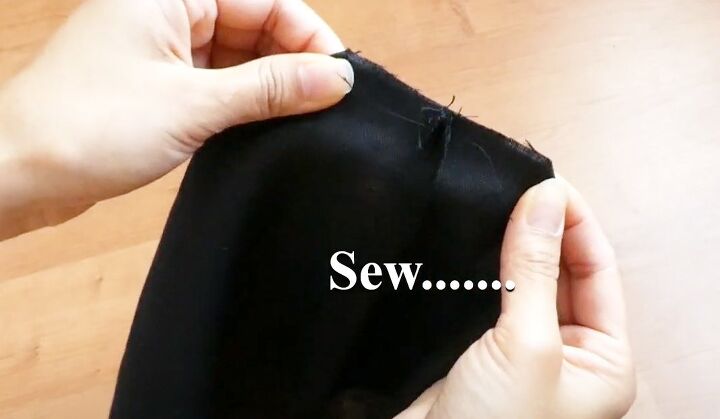
4. Sew lining
Fold the lining with right sides together and sew the side seams.
Refold the lining so the side seams are centered and sew the corner sections closed, to make a flat base to the lining.
5. Handles
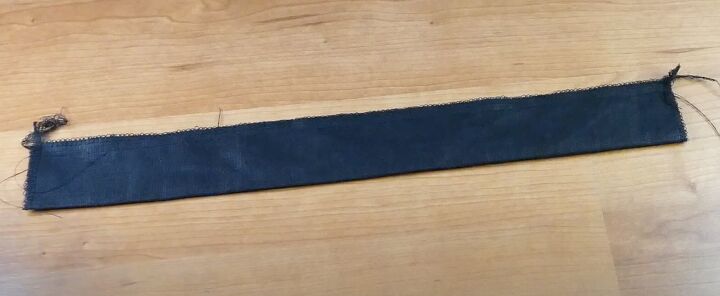
Cut two strips of lining fabric, each 13.25 inches (34 cm) by 3.5 inches (9 cm).
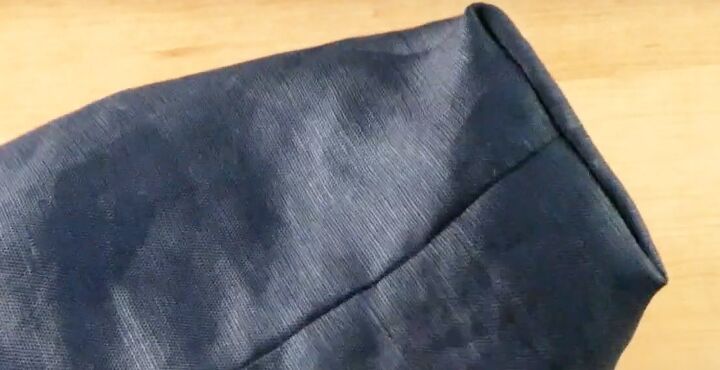
Fold them in half lengthways and sew together along one short edge and the long edge.
Use a safety pin to turn them right sides out and top stitch both long edges.
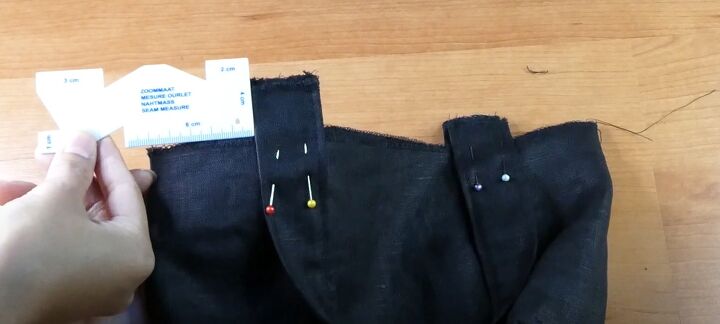
Pin the handles to the right side of the lining on each side, 2.25 inches (5.5 cm) from the side seams.
6. Outer bag
Make up the outer bag in the same way, omitting the inner pocket. Add an optional outer pocket made from the lining fabric to one side of the bag.
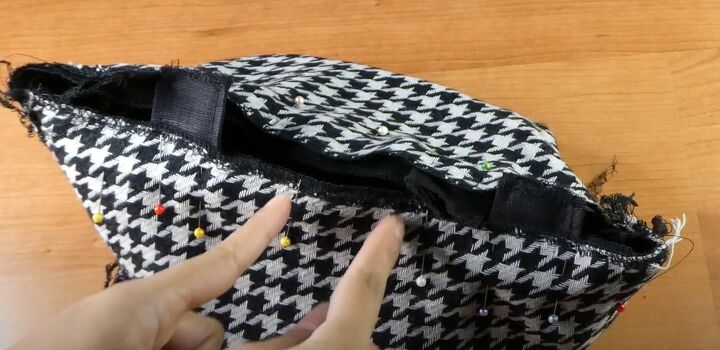
With the outer bag wrong side out and the lining right side out, insert the lining into the bag. Match the side seams and pin in place around the top edge.
Sew on the wrong side, leaving a gap centrally between the handles on one side.
Trim the top edge and turn the bag right side out through the gap.
7. Finishing
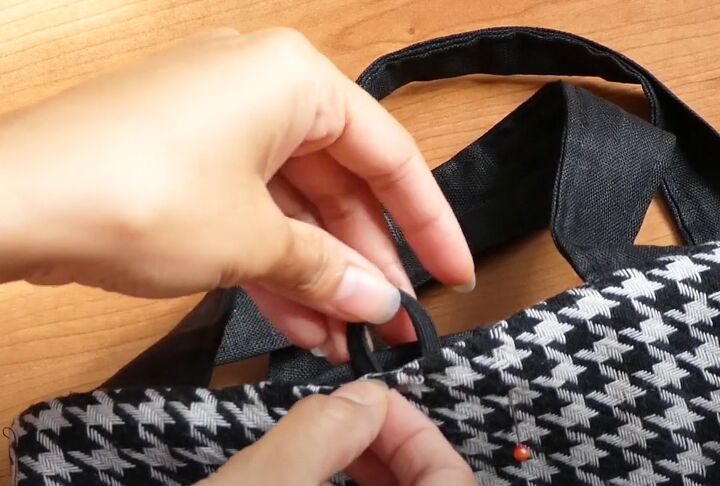
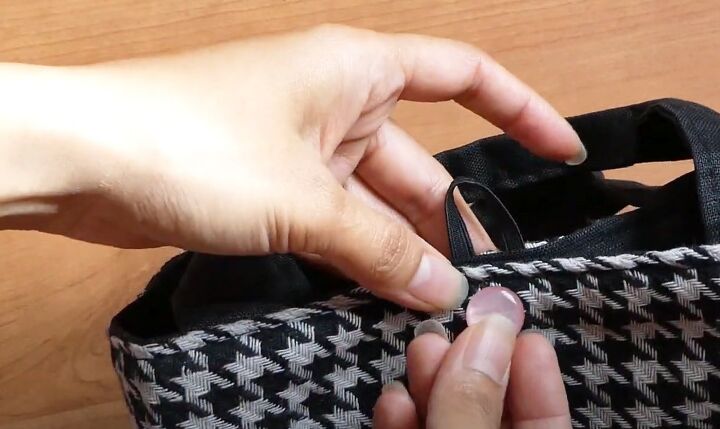
Cut a 2.25 inch (6 cm) piece of elastic and fold it in half to make a loop.
Insert the ends into the gap between the handles and pin in place. Top stitch two rows around the top edge of the bag.
Sew a long-shank button on the opposite side of the bag, near the top edge.
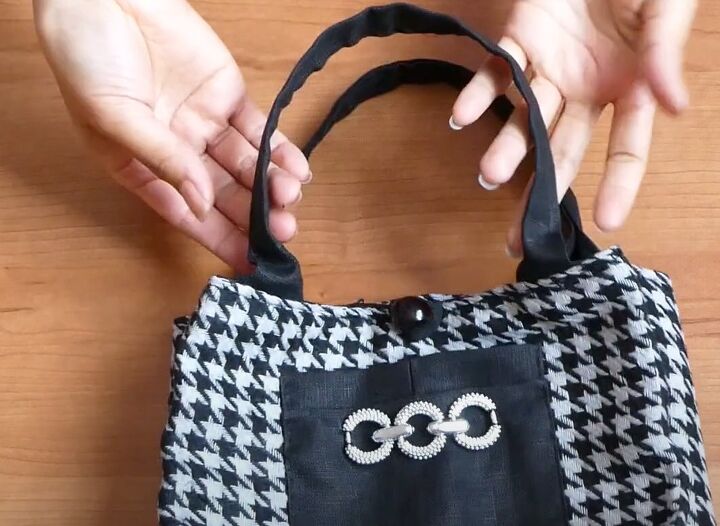
Fold the handles in half lengthways and top stitch them.
Decorate the outer bag to your taste.
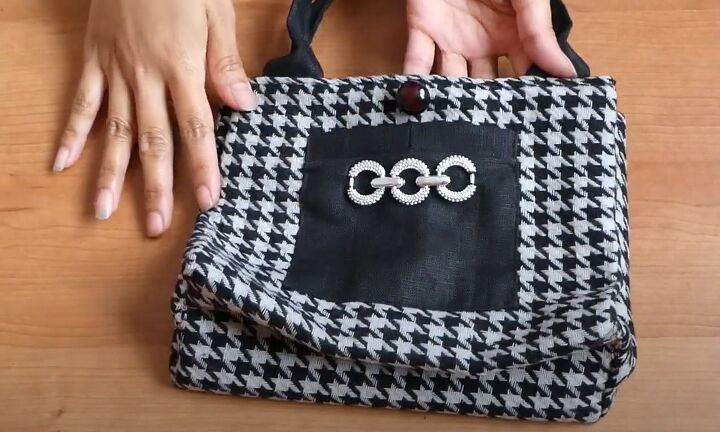
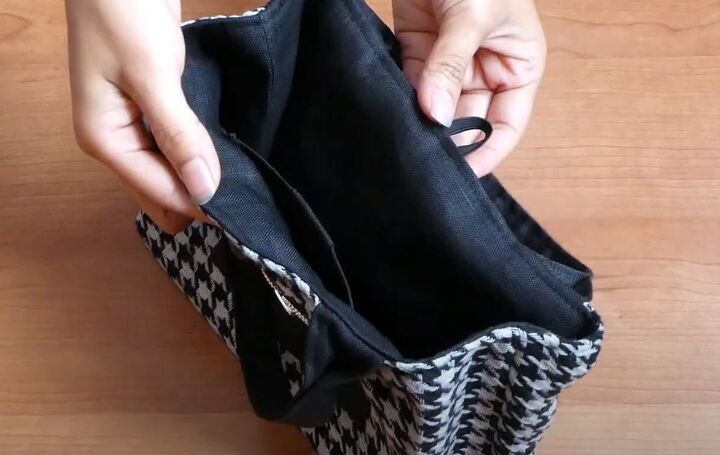
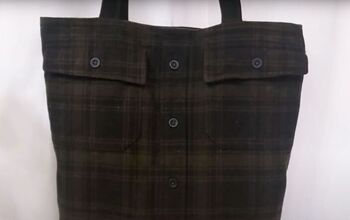
DIY preppy tote bag
I was delighted with how my preppy bag turned out. It was so simple to make, I'm going to make several of them in different colorways.
I'd love to know if you found this tutorial helpful and if you make this bag. Please let me know in the comments below.
For more DIY content, check out my post on How to DIY a Mini Wrap Dress from Old Pants.
The author may collect a small share of sales from the links on this page.


Comments
Join the conversation