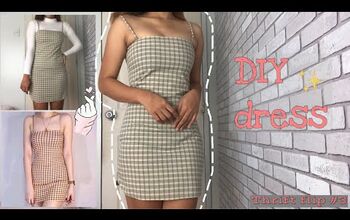
How to DIY a Mini Wrap Dress From Old Pants

Follow along with this tutorial to learn how to make a mini wrap dress out of a pair of pants.
I’ll give you the DIY wrap dress pattern and the simple instructions for how to make this cute and trendy dress.
This is a great project if you don’t know what to do with your oversized, never worn pants!
Tools and materials:
- Oversized pants
- Tank top (for template)
- Scissors
- Sewing needles
- Thread
- Sewing machine
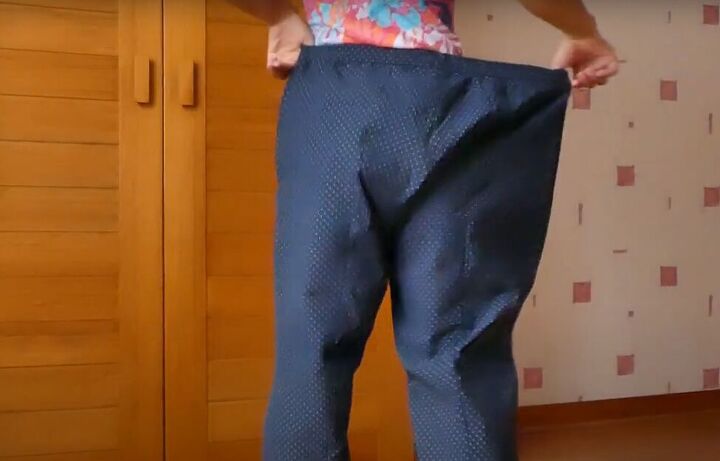
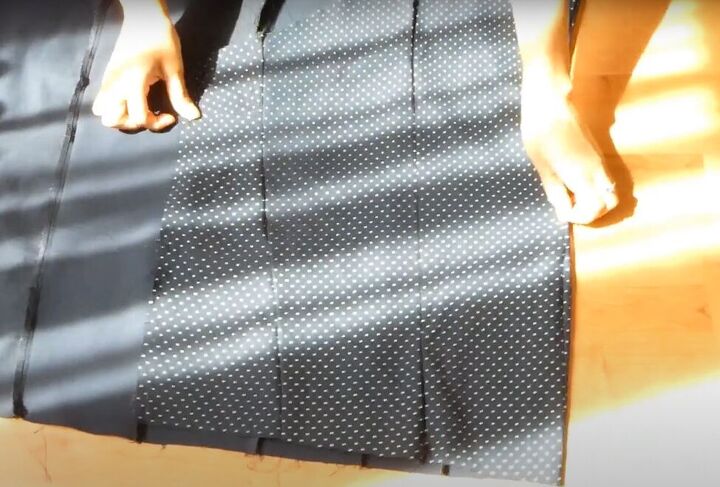
1. Transform your pants
Here are the oversized pants that I’m going to transform into my new mini dress. The fabric has a bit of stretch in one direction.
Open the waistband of your pants with a seam ripper or scissors and remove the elastic from it.
Now, open the front and back center seams and both inside leg seams so you have two long pieces of fabric.
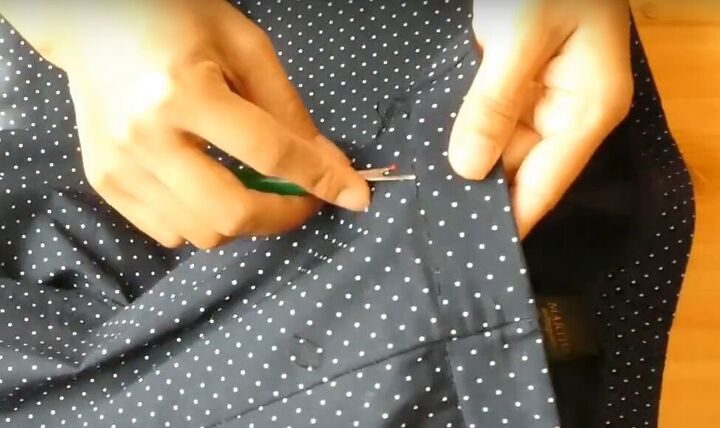
2. Trace your pattern
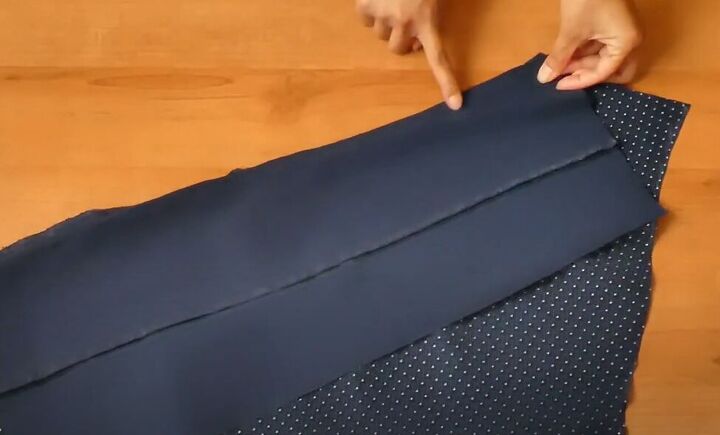
Lay one of the pieces of fabric flat and place the bodice of a tank top on it as shown above.
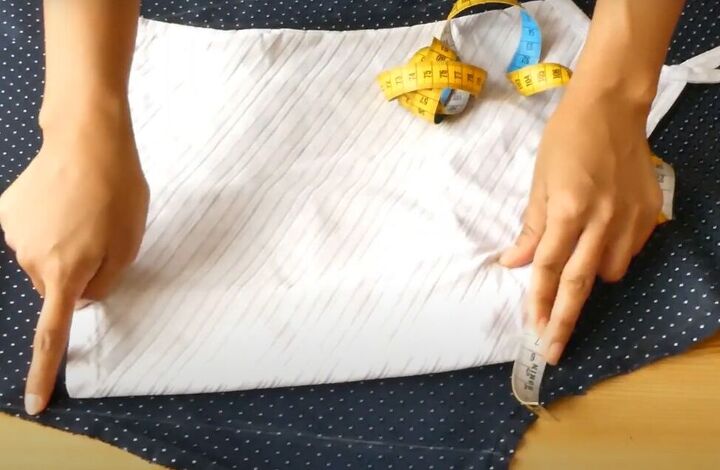
Trace out the tank top, adding a seam allowance and extending the outer edge as shown.
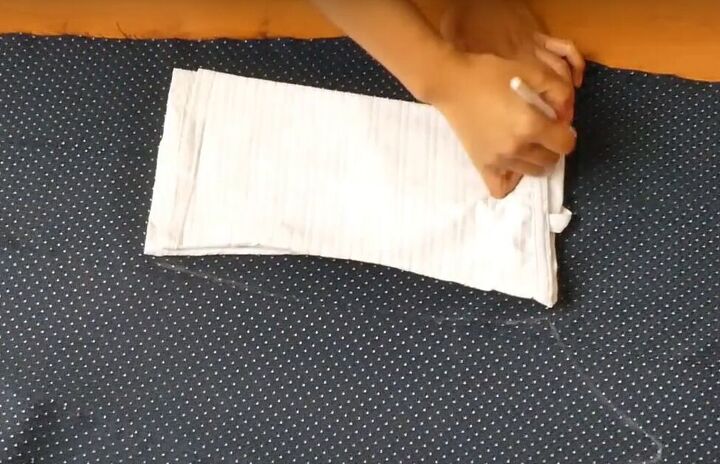
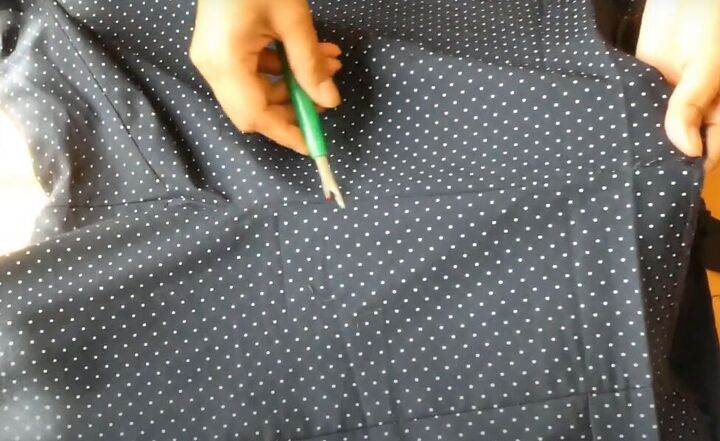
Now, fold and trace the tank top again, as shown above, and in the video at 2:45 to 3:07.
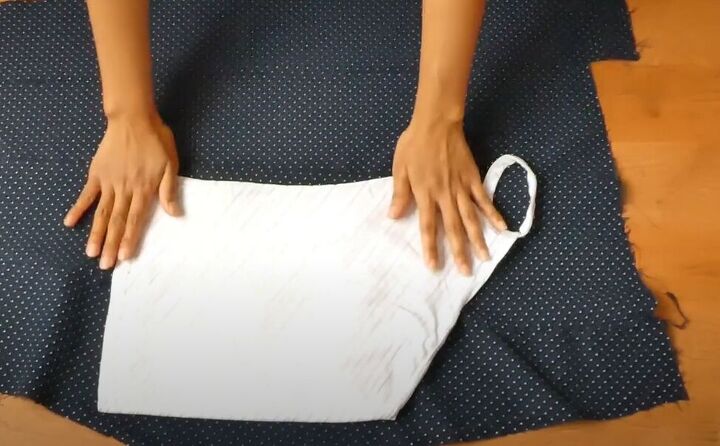
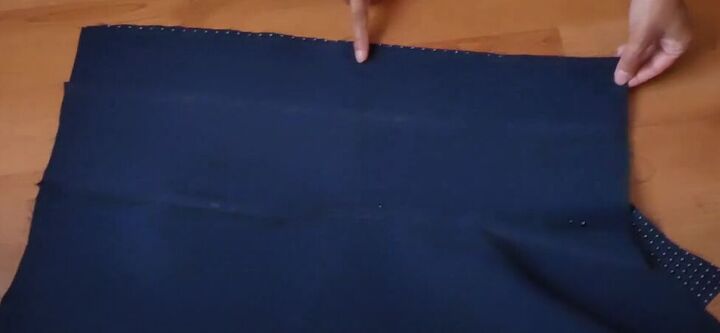
Extend the length of the bodice tracing to your desired mini-dress length, and then cut out the pattern.
Use the first piece to cut out an identical piece from the other piece of fabric.
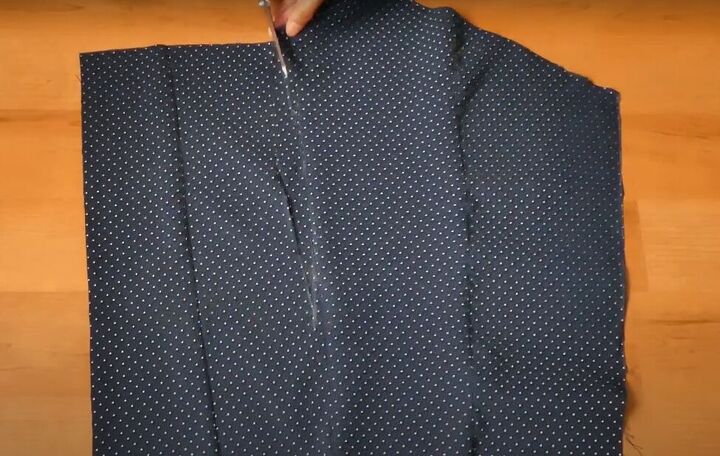
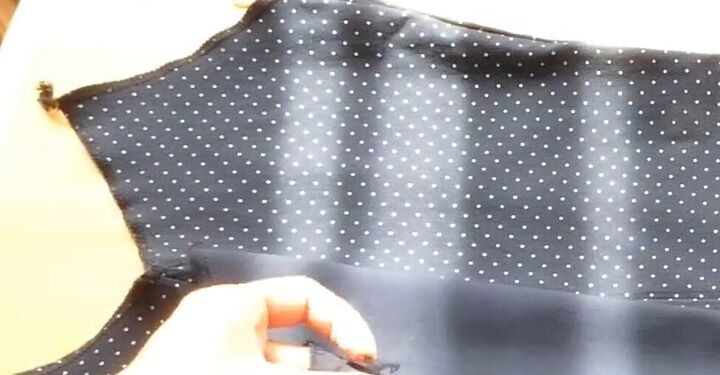
3. Sew the mini dress
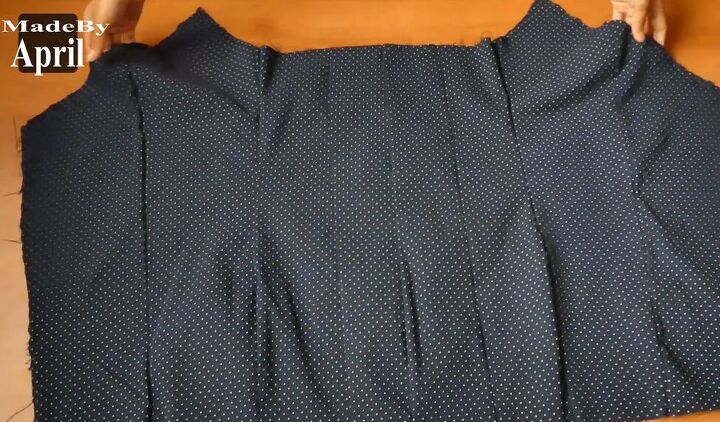
Fold over one piece as shown above and sew along the folded edge.
Repeat with the other piece.
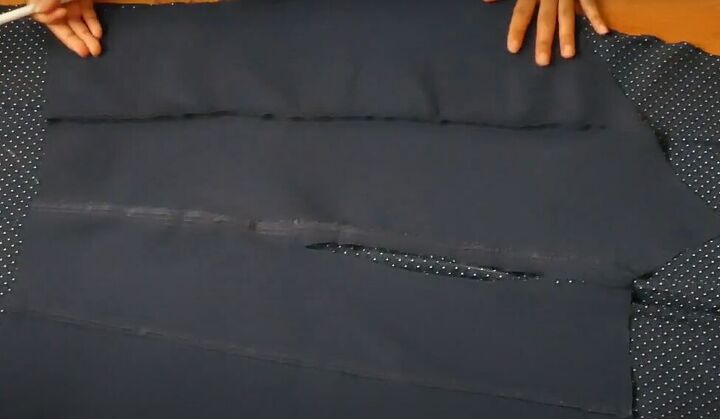
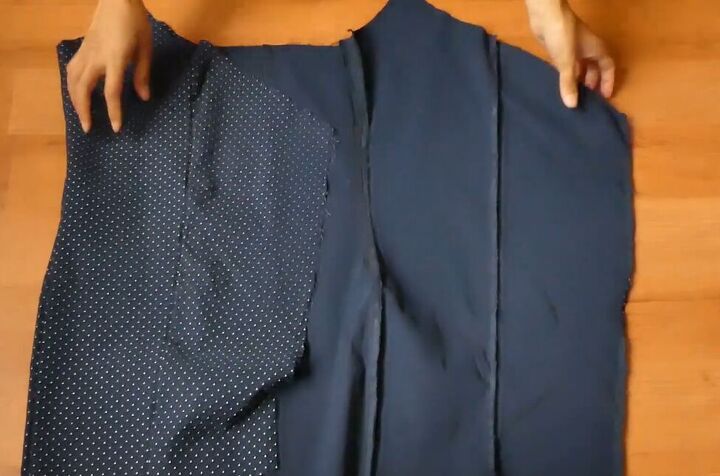
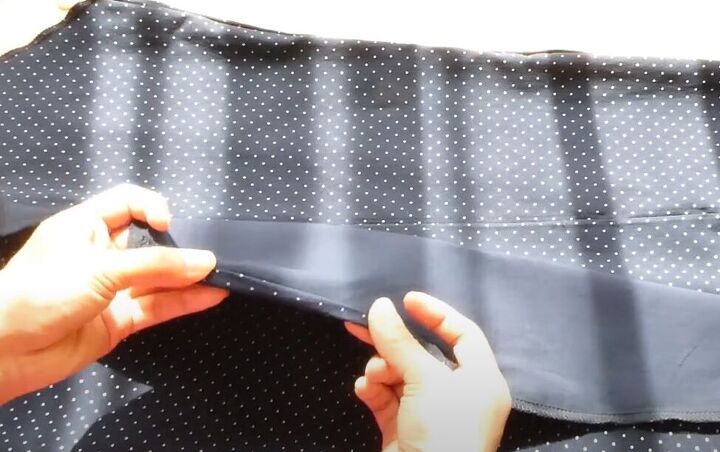
Place both pieces together, right sides facing in, and sew the back, center seam close to the edge.
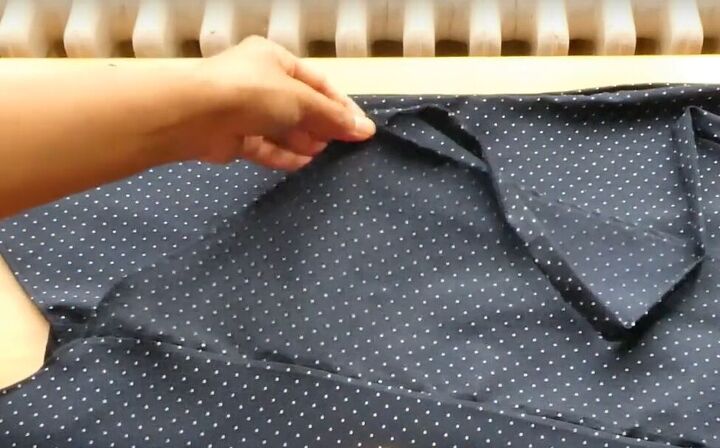
This is how it should look at this point.
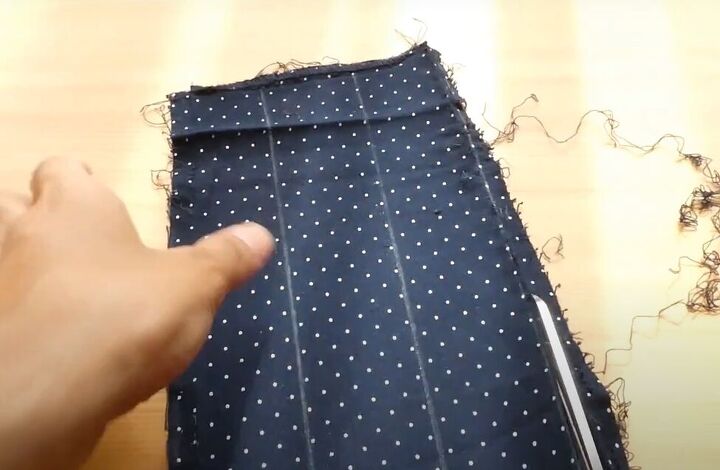
When you flip it over you can begin to see the wrap dress taking shape!
Now, if you find you need more fabric, attach an extra panel to one side of the dress.
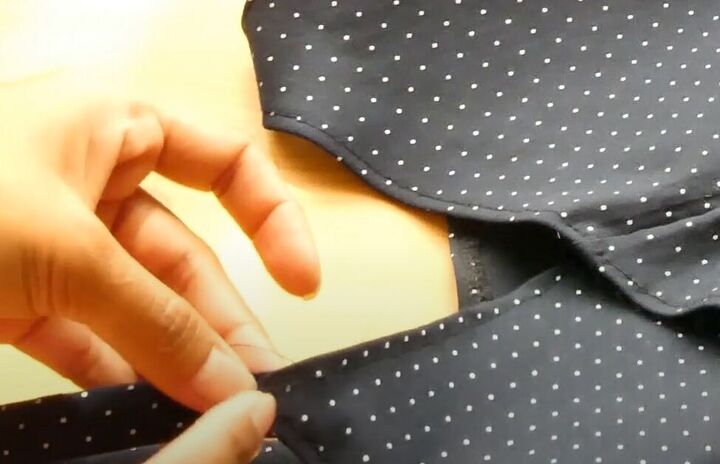
4. Finish the edges
Use a zigzag stitch to finish all raw edges of your mini wrap dress.
Now fold in the center and neck edges twice and sew to finish.
5. Make straps
Cut 2 straps from leftover fabric, piecing together strips as needed to get the required length.
Fold each strap in half, lengthwise, with right sides facing, and sew the open edge.
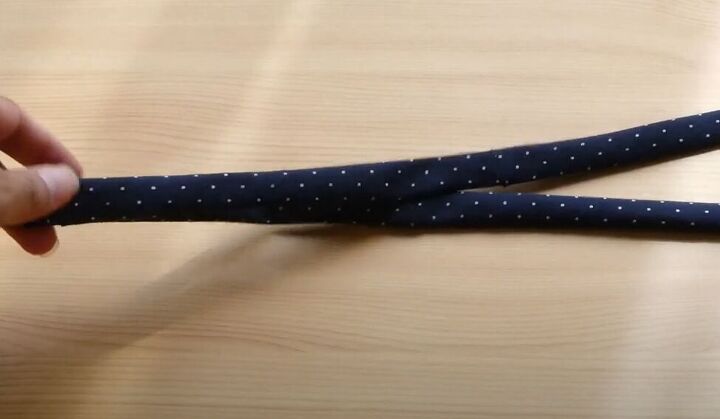
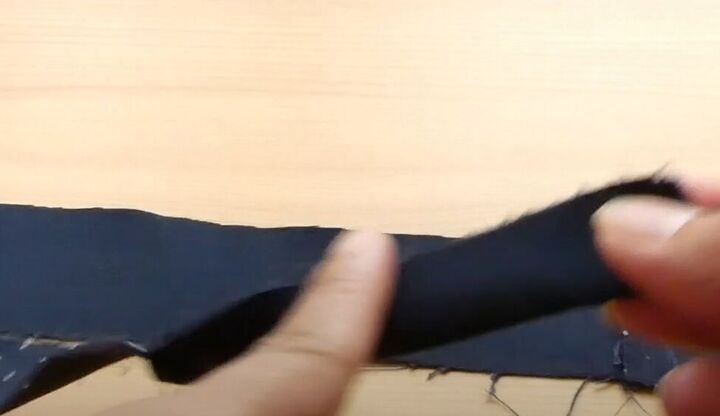
Turn your straps right-side out.
6. Attach the straps
Attach the straps to the front of your dress on the inside of the front neckline points and the corresponding position at the inside of the dress back.
7. Make the tie
Make another strap as you did in step 5 and attach it to the top of the front dress flap.
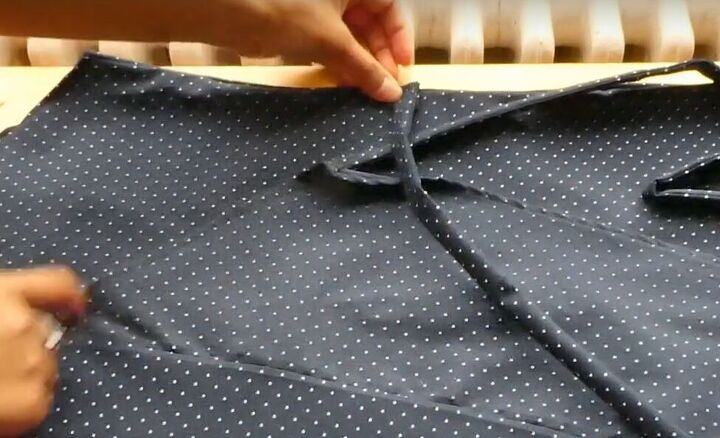
Then make and attach one more tie to the side seam of the wrap dress.

8. Add a button
Add a buttonhole and button to the inside of the dress where the wrap meets at the top front.

Mini wrap dress
Here is my completed wrap mini dress.
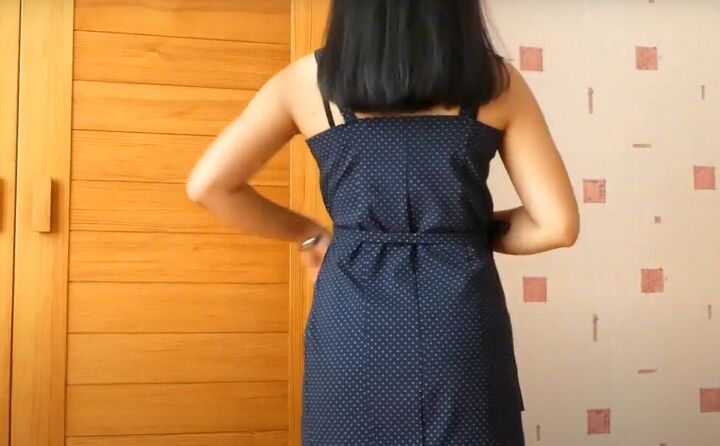
The tie wraps right around the back and looks like a belt!
If you give this DIY mini wrap dress a try, leave a comment to let me know how it turned out!
The author may collect a small share of sales from the links on this page.


Comments
Join the conversation
Wrap dresses are my favorite. I wish I could sew like you!