How to Make Your Own Cardigan & Mini Dress From Old Men's Clothes

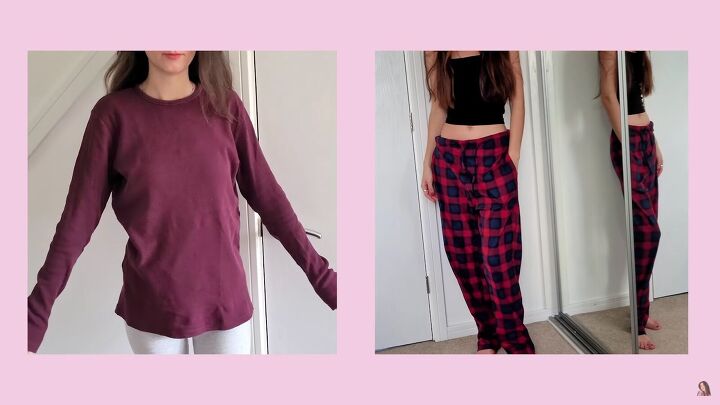
In this tutorial, I'm going to show you how to make your own cardigan and mini dress from men's clothes. I got a men's top and large pajama pants from the thrift store, and decided to turn them into something new! To see how I did this, keep reading!
Tools and materials:
- Long-sleeve top
- Thread
- Sewing machine
- Scissors
- Measuring tape
- Pins
- Oversized pajama pants
- Dress that fits
- Paper
- Marker
- Zipper
- Zipper foot
Make your own cardigan
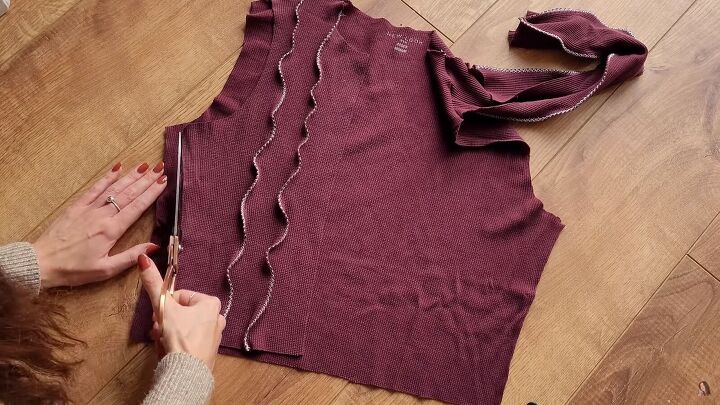
1. Cut the top
Crop the top to your desired length.
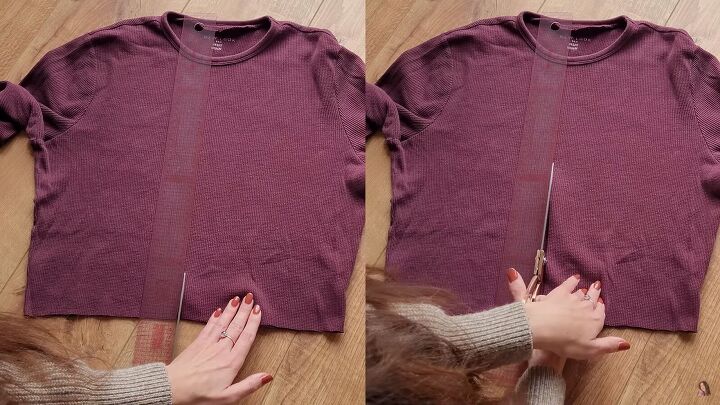
Next, cut right through the front middle.
Also, cut out the neckline bias tape.
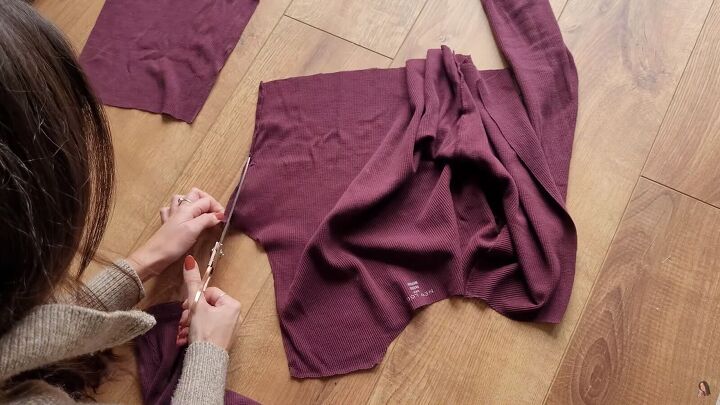
Cut out every existing seam of the top to separate it.
Tip: At this stage, you can trace these basic pattern pieces for future use.
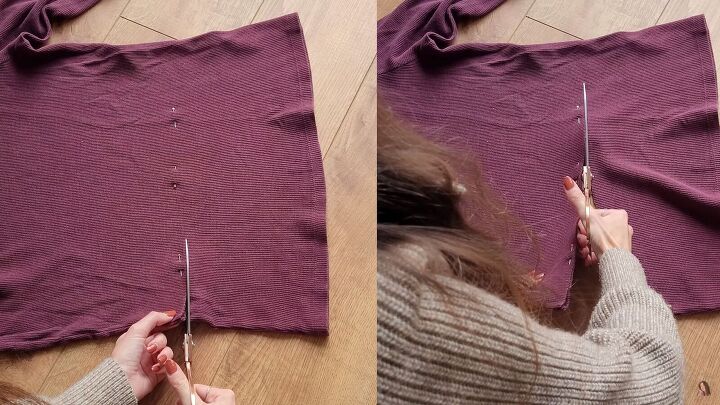
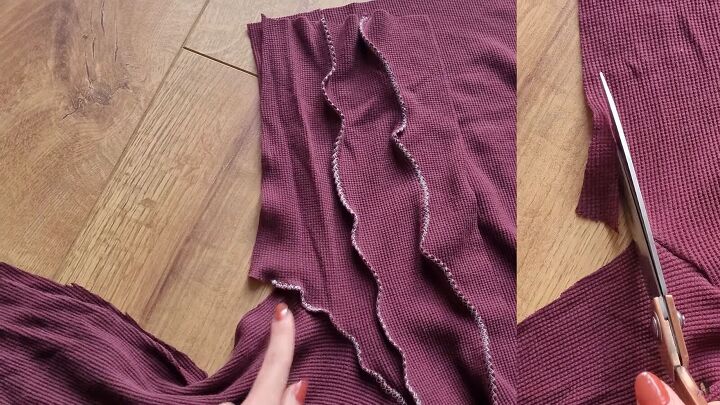
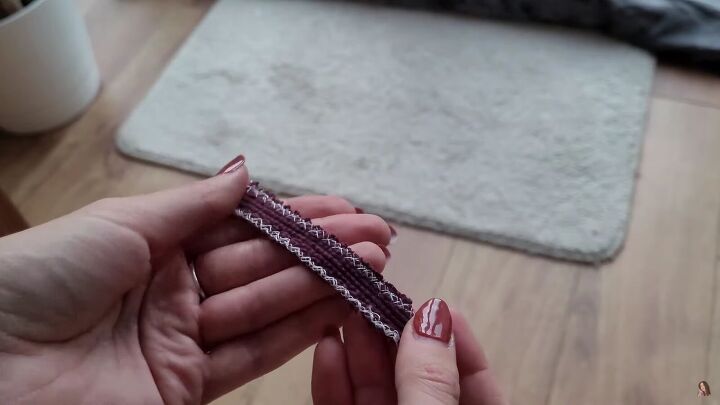
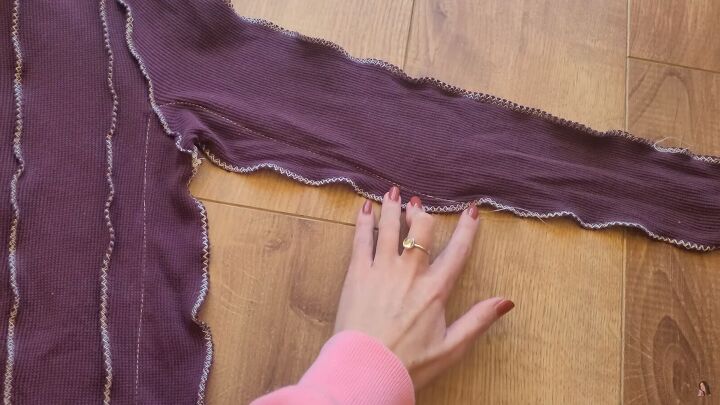
2. Pinch and sew
Pinch in two strips of the front panel, straight across, and sew an overlock stitch along it.
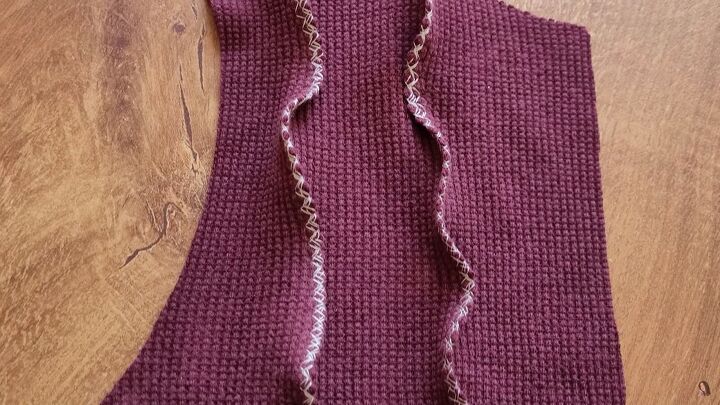
Go over the same seams four times to get this exposed seam effect.
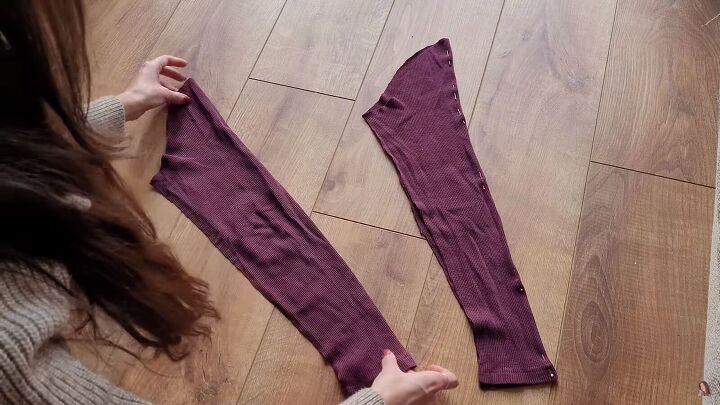
Fold the sleeves in half and sew along the edge four times with a zigzag stitch; after that, you can start reassembling the top.
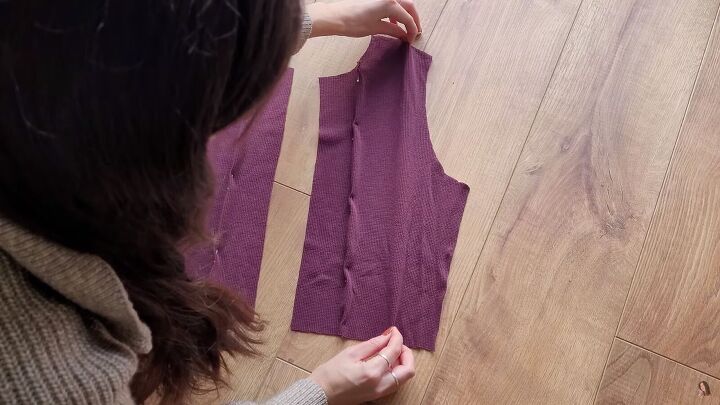
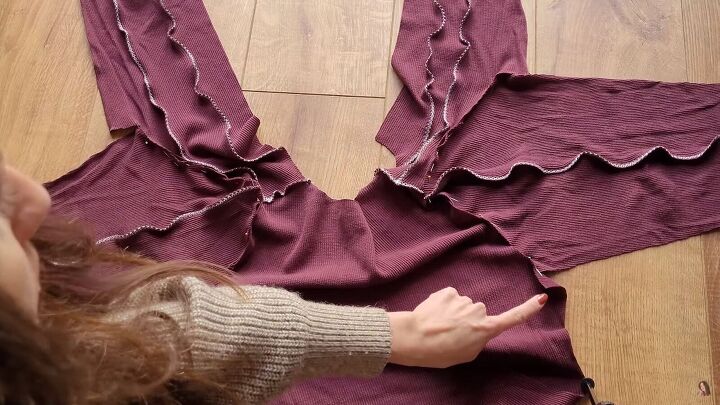
3. Assemble the cardigan
Before you reattach the back to the front along the shoulder seam, you may notice that the front piece is a little smaller and won't entirely line up, as shown above. In this case, cut out the excess from the back piece.
Attach the sleeves by spreading the bodice part open and pinning the edges with the wrong sides touching. Again, sew four rows of zigzag stitches across that entire seam.
Fold the sleeve over and align the side seams. Sew four zig-zag stitches around this edge. I have some excess fabric along the sides, so I'm just going to cut that out first.

This is what the DIY cardigan looks like so far. I think it's cute!
4. Hem
Hem the bottom and all the outside edges, including the neckline, the front area, and then all around the bottom area. Again, sew four times with a zigzag stitch.
5. Create the cardigan closure
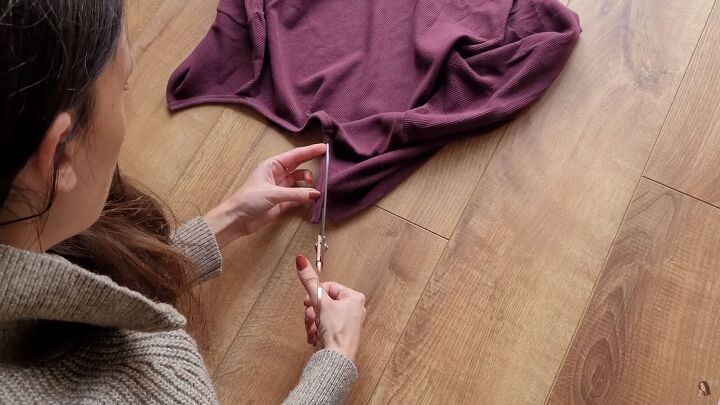
Let’s do the loops! For the closure of the DIY cardigan, take the surplus fabric that you cut off the top earlier and create 20 little rectangles measuring 6cm x 2.5cm (2.36” x 0.98”).
Then, zigzag stitch four times around the long edges of the rectangles.
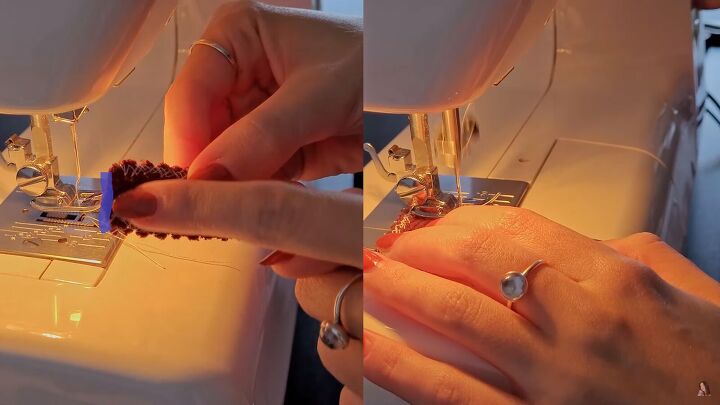
All that is left to do now is to basically sew them into a loop by sewing along this edge, right sides together. Flip them right sides out, and then you’ll have one loop without any raw edges showing.
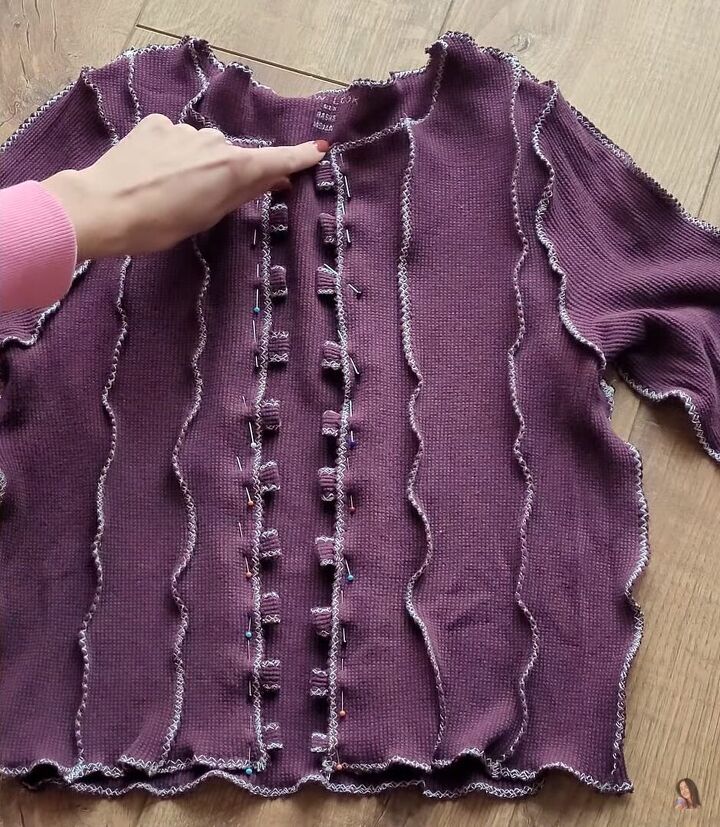
Attach them to the front of the cardigan and distribute them equally along the front.
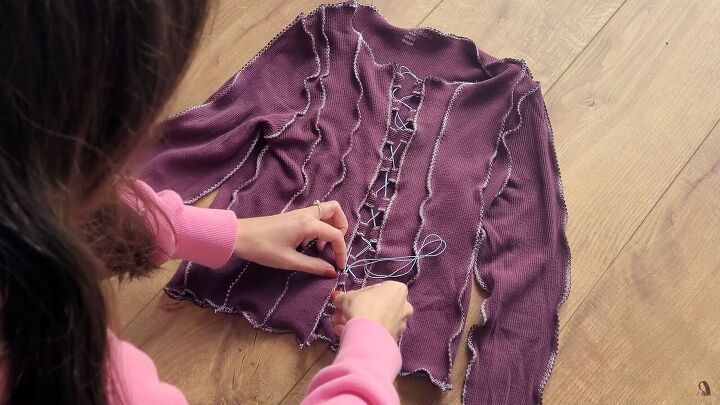
Feed some elastic through, and this thrift flip is done!
So, now that the top is finished and I tried it on, I actually realized that I want the top to fit a little more snug. I quickly sewed a basting stitch along that area, making the sleeves and armpit tighter. Next, I cut along that seam and tried it on.

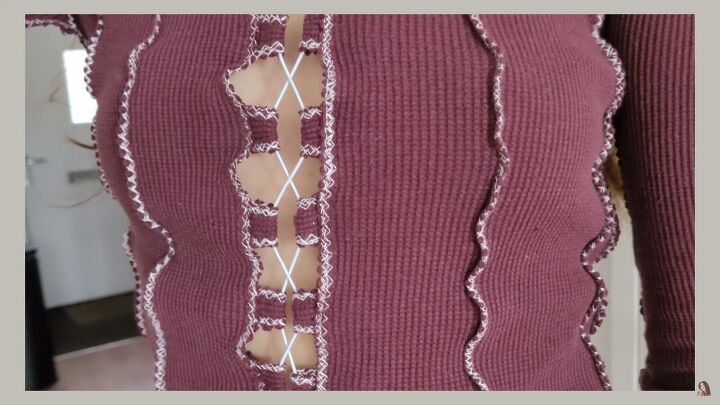
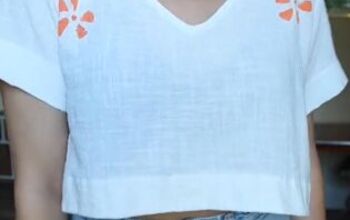
The DIY cardigan is all done! I can wear it closed like this as a sexy top or take out the elastic and wear it open as a cardigan.
Make your own mini dress
1. Cut the pants open
These oversized men's pajama bottoms are really nice and soft, and I want to create a mini dress from them. So, start by taking them apart; you can use scissors instead of a seam ripper.
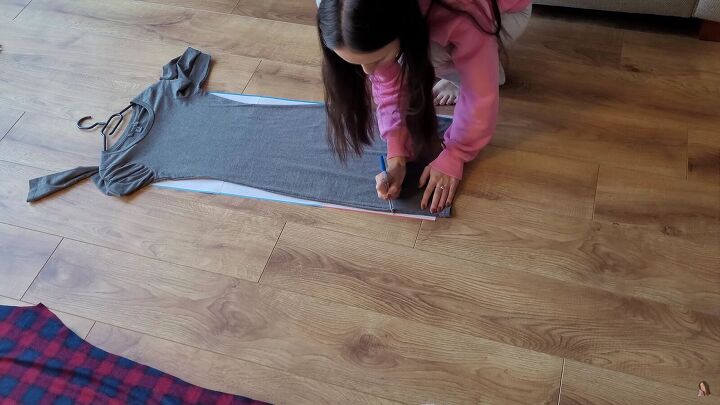
2. Trace the pattern
Trace a dress you already own onto paper. You may need to make amendments to the pattern.
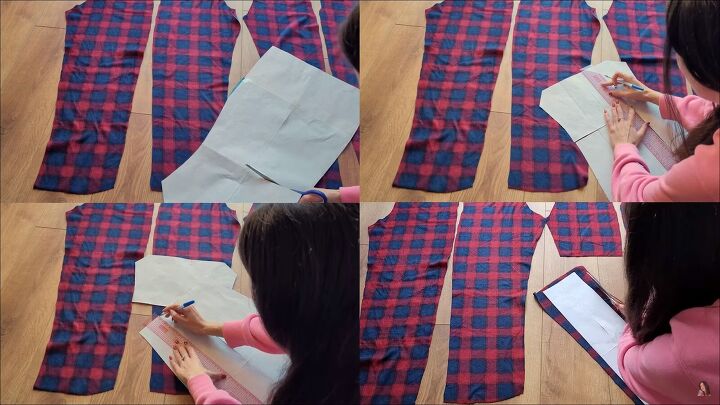
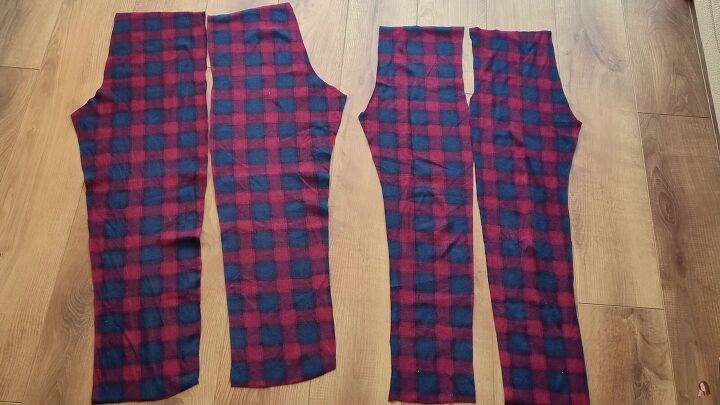
3. Cut out the pattern
Once you have your pattern, cut out the pieces and sew to assemble.
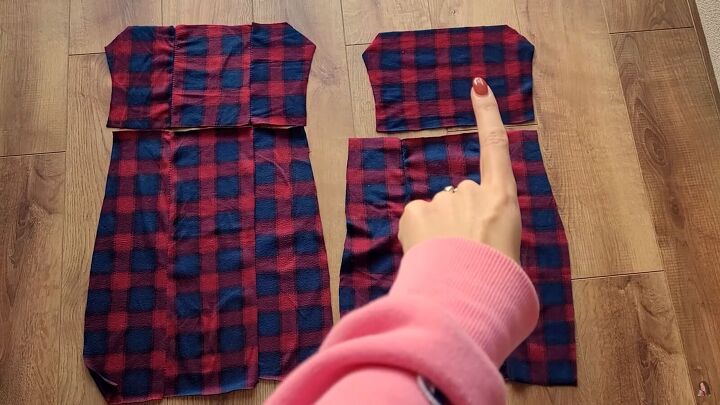
The pieces are pretty much all attached together. I just have one slight issue - the back panel somehow turned out much smaller than the other pieces. To amend this, I cut the panel in half and put some more fabric in between.
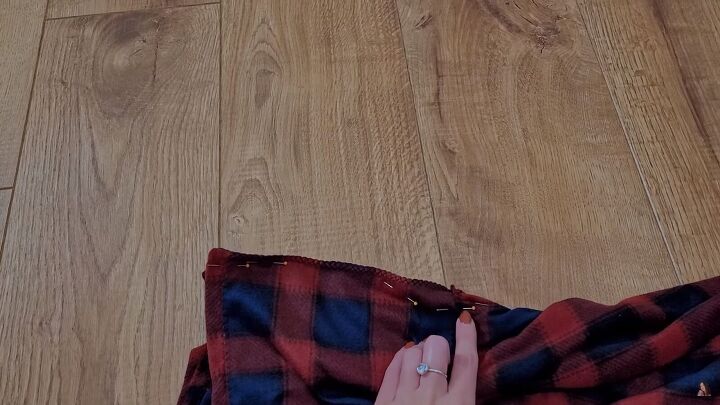
4. Hem
Once the skirts are attached to the tops, go ahead and hem the bottom and top of both pieces. Do this with a single fold.
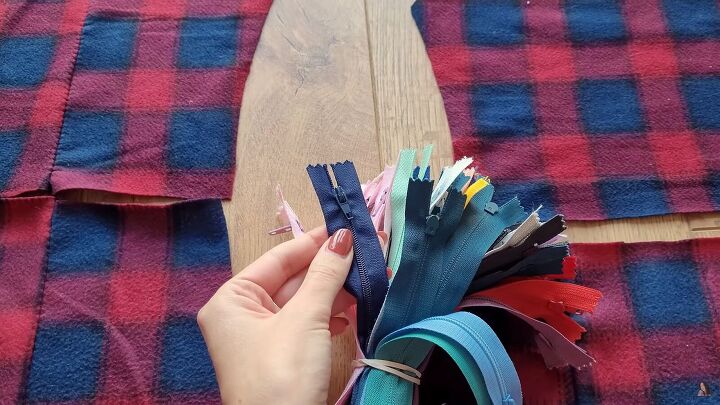
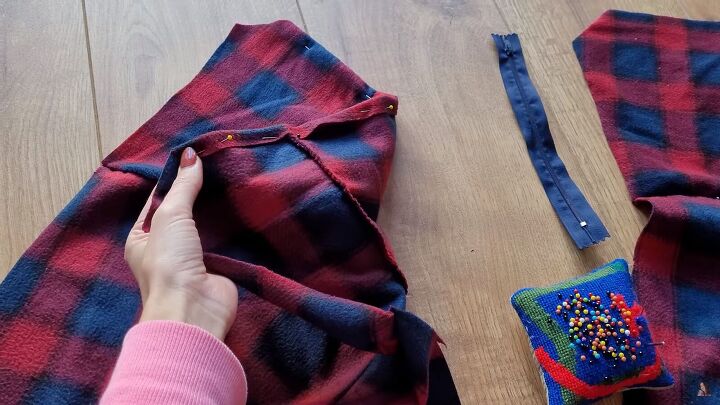
5. Insert a zipper
I also realized because I cut out the top pieces not with the stretch (but sideways), they are actually not stretchy enough to fit over my shoulders. I’ll have to insert an exposed zipper to the side (luckily, I have enough zippers to choose from).
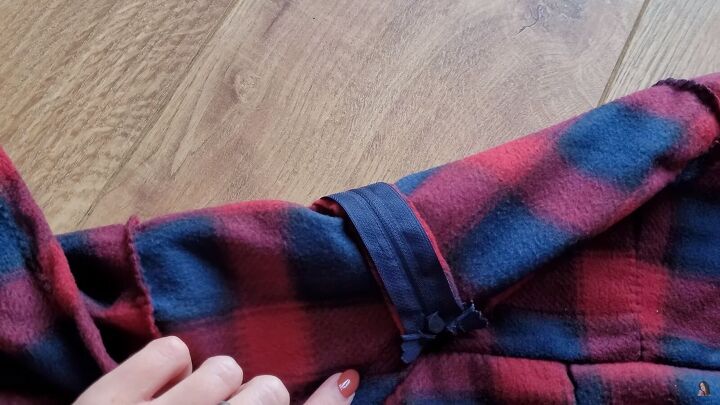
Insert the zipper by sewing the one side of each dress piece to either side of the zipper (with a zipper foot).
6. Finish the mini dress
Close off the side seams of the dress. Then, create straps.
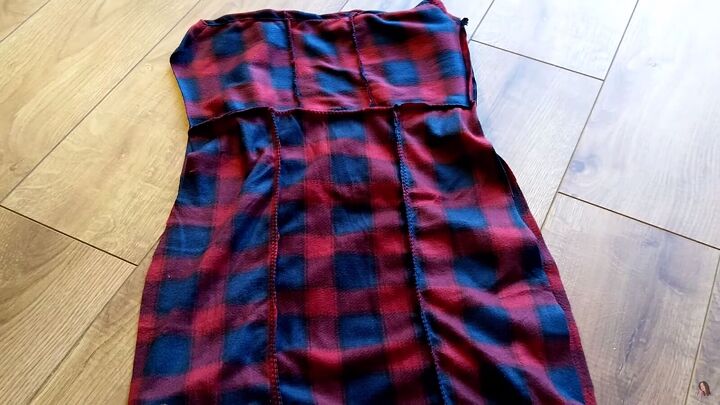
The dress is nearly finished; I tried it on and realized it's a little bit too big. So, I took it in along the front seams. I opted for the middle seams rather than the side seams because I already fitted the zipper.
Let's just skip to the final results!

Make your own cardigan and mini dress
The DIY mini dress is complete. Sure, there were a few obstacles along the way, but nothing that couldn’t be fixed. I love the style and fit.
Now you can make your own cardigan and DIY mini dress from upcycled men’s clothes! What do you think of these transformations?
The author may collect a small share of sales from the links on this page.


Comments
Join the conversation