Simple Leather Keychain Wallet
This little leather project is fast and easy! And you'll end up with a nice pouch you can put a few credit cards in, or a face mask, or whatever! Plus it has a little keychain loop so you can attach it to your purse or keys and always know where to find your leather keychain card holder.
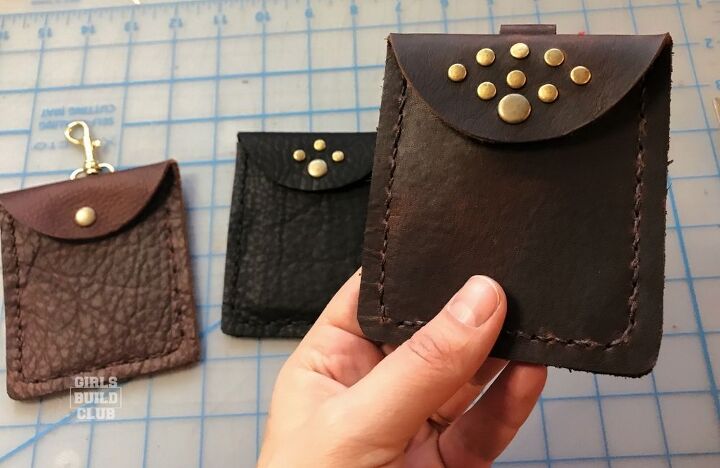
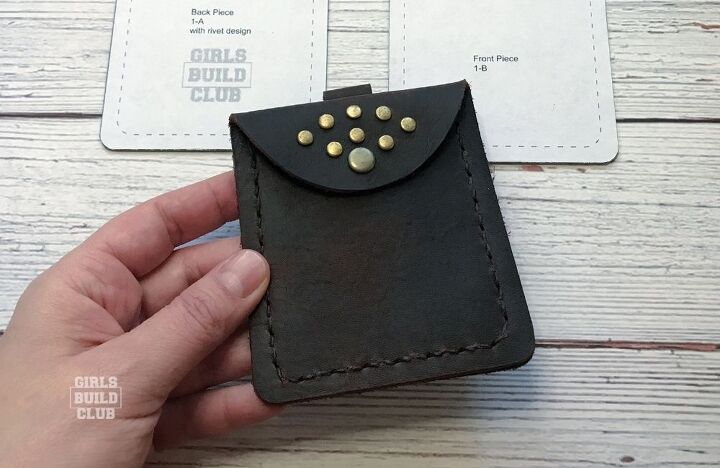
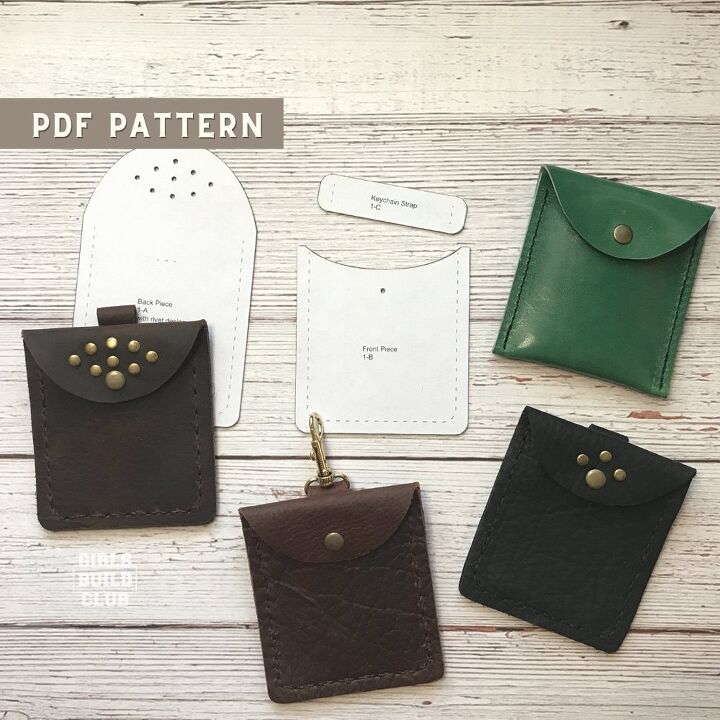
This is what I'm going to make from the PDF pattern. There are a few options - as seen in the background.
And endless ways to customize the wallet for your own unique style!
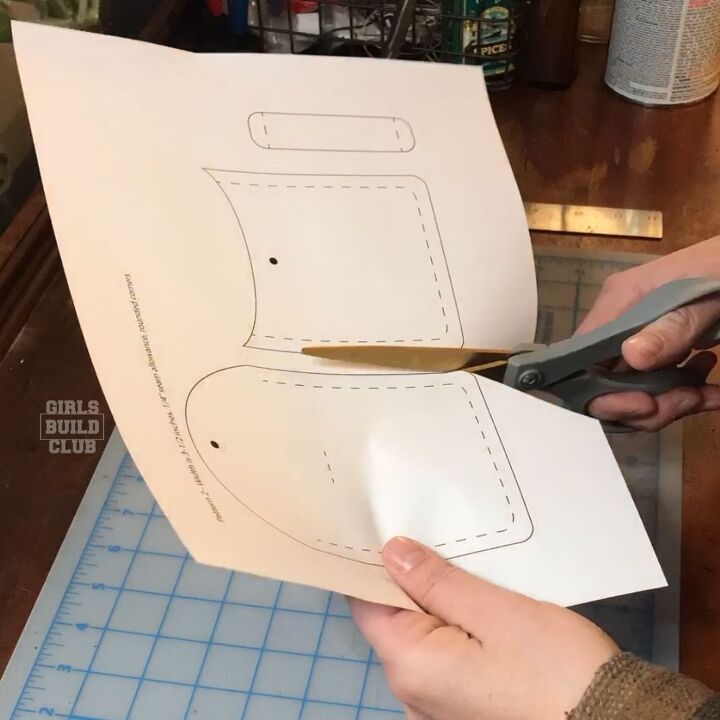
First things first - make a pattern to trace....or just download the pattern I made for you!
It's a pdf digital pattern that you can download for $4, print it on 8.5 x 11 paper and then cut out the pieces for the wallet pattern.
I'll link to the PDF pattern at the end of this post.
The PDF includes a couple different design option- you can make the wallet out of a front and back piece, or you can cut one piece and fold it over.
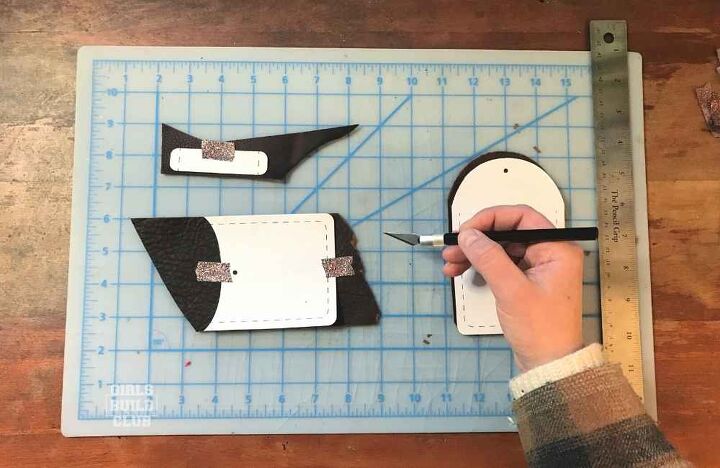
Transfer your pattern to your leather.
One thing I love about this project is it doesn't require much leather. You can probably find some scrap pieces lying around if you've been doing some leathercraft projects.
I transfer the pattern by tracing around the edge of the paper with a ballpoint pen, on the wrong side of the leather. You could also trace it with a scratch awl on the right side.
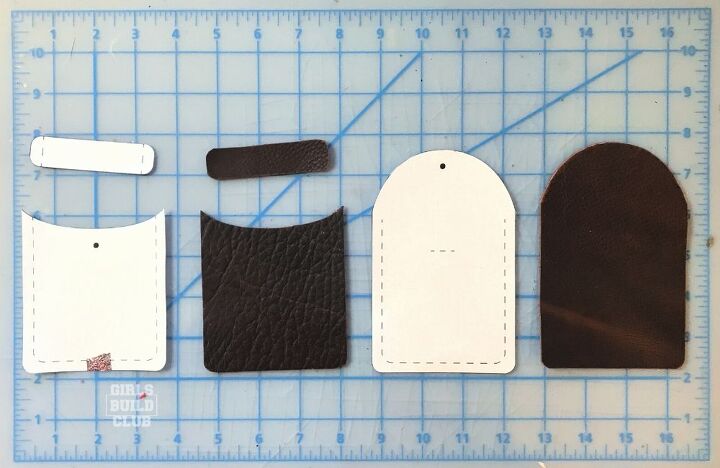
Then cut out the front, back, and keychain strap for your leather wallet.
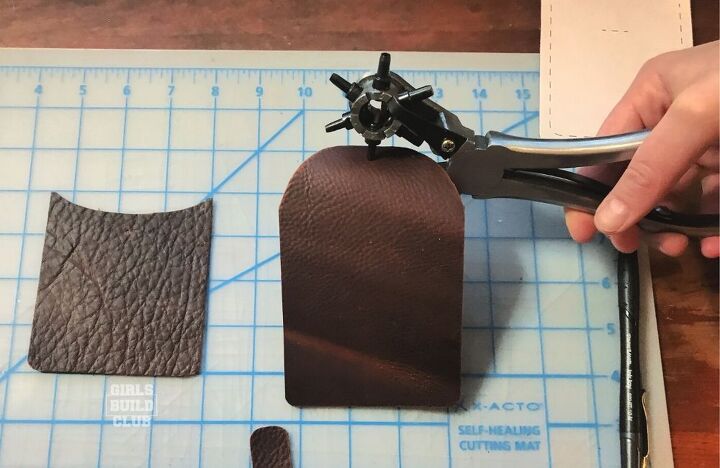
Punch the holes for your snap, and the optional rivet design.
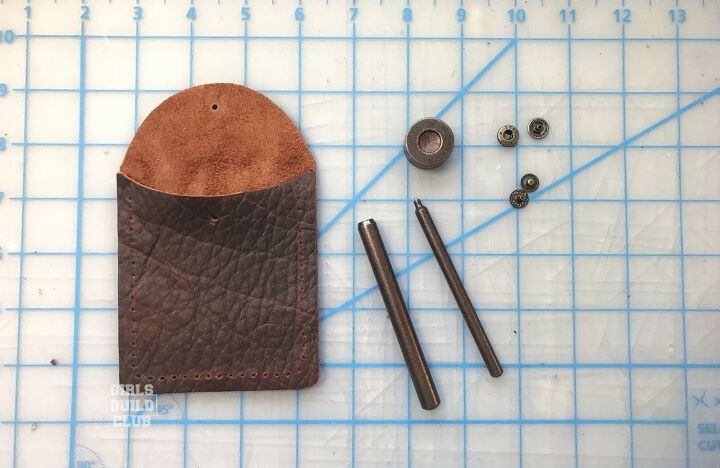
Set the snap and the optional rivets with your setting tools. It's pretty easy, don't be intimidated!
You literally put the snap pieces in the hole and use a mallet and those setting tools to hammer them on.
Rivets are even easier!
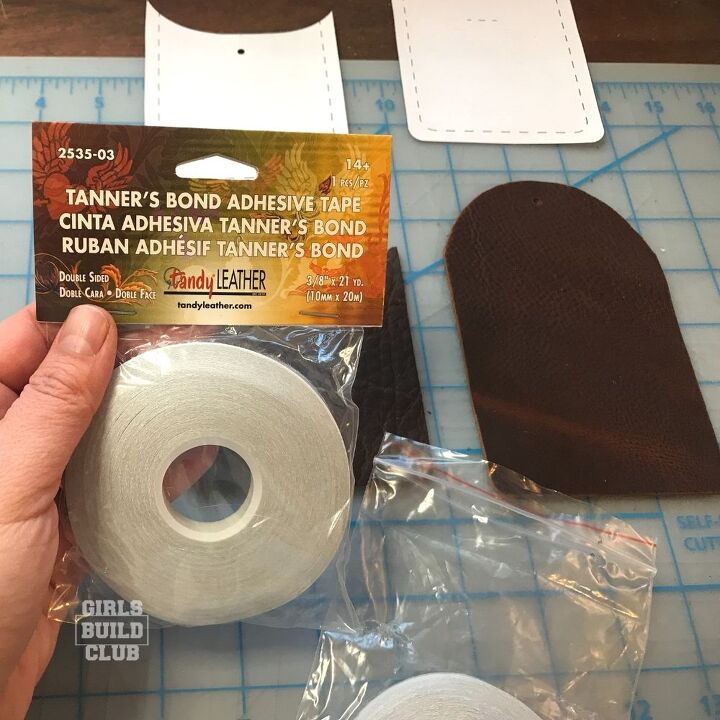
Next, use some Tanner's Bond Adhesive Tape for leather (it's double sided tape) or leather glue to stick your front and back wallet pieces together.
Make sure they are perfectly aligned! Stick them together, wrong side stuck to wrong side. Wrong sides will be on the inside and right sides are outside.

Punch the holes for sewing. I use this stitching chisel and a mallet to hammer the chisel through both front and back pieces at the same time.
This way your holes will be perfectly aligned for sewing.
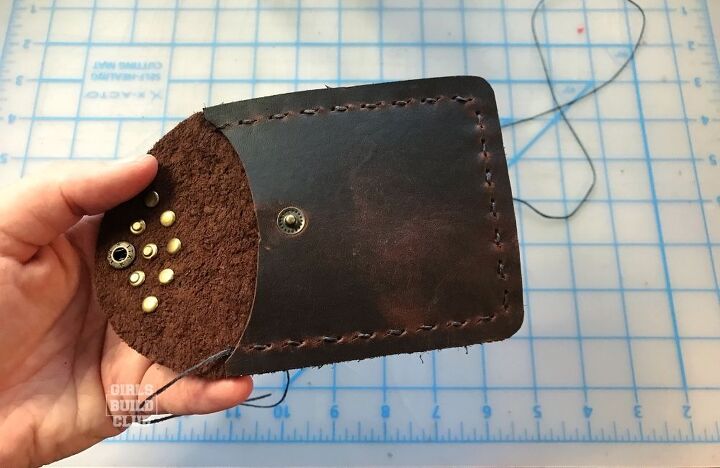
Finally, sew the pieces together. I use a running stitch, and then once I've gone all the way around once, I go back around the opposite way again. So it's a solid line of stitching.
In this picture, I'm about to go back the way I came, sewing around it a second time.
Sew on the keychain strap. I actually like to do this last so it doesn't get in the way of me hammering the rivets and snaps on.
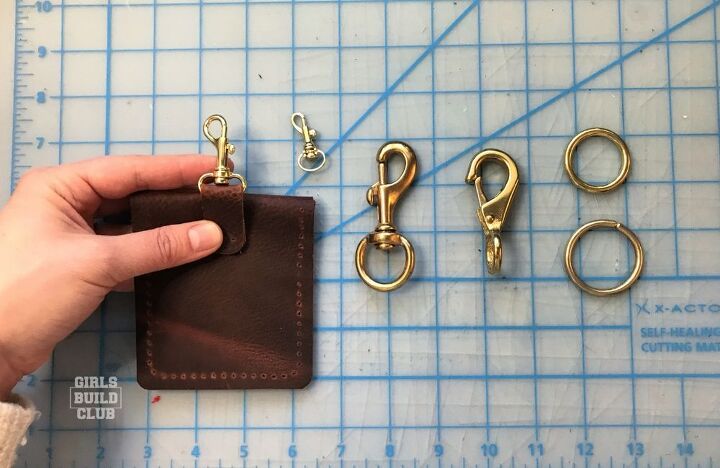
You can skip the keychain loop if you want to. There are lots of options for which hardware you select.
Now start using your awesome handmade wallet!
If you liked this project, you can join Girls Build Club and get notified when I post more projects or leather patterns, like this one.
I do also send out free patterns, so be on the lookout!
Thanks for stopping by! I'd love to hear if you have any questions. I read every comment and respond. I hope you make something awesome!
If you don't want to make your own wallet pattern, grab the PDF wallet pattern here for $4.
Love, Liesell Maretta from GirlsBuildClub.com
The author may collect a small share of sales from the links on this page.


Comments
Join the conversation
Love how these turned out! Such an awesome tutorial.