Easy Tutorial: How to Do a Twist Out on Natural Hair

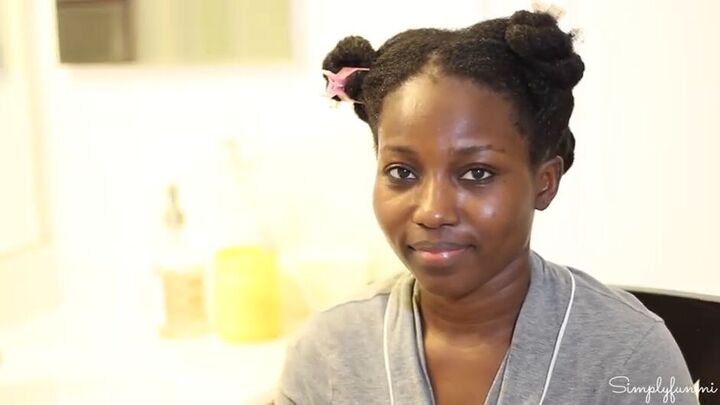
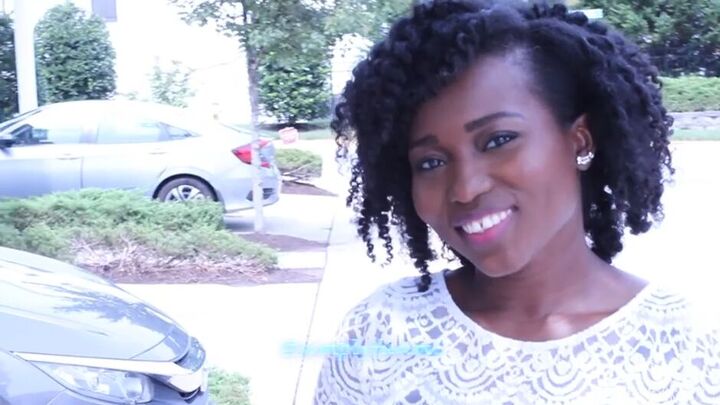
Hi guys, today I am going to show you how to do a twist-out on natural hair.
A twist-out is done by segmenting your hair into twists, letting them dry and set, and then taking the twists out to reveal gorgeous, free-flowing waves.
Let’s begin our cute twist-out hairstyle!
Tools and materials:
- Curling product
- Wide tooth comb
- Brush
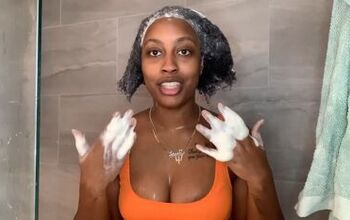
1. Wash and moisturize hair
I start with freshly washed and moisturized hair which I personally like to twist into separate sections to keep my hair stretched. If you also sectionalize your hair after washing, release these now.
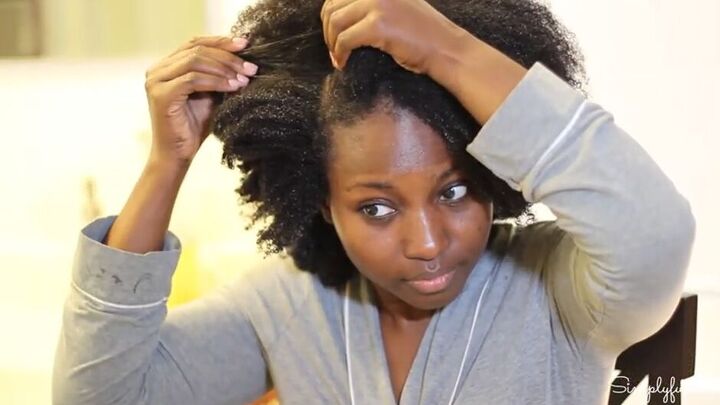
2. Part hair
Now, it’s time to part your hair. Decide what type of parting you would like; I chose a side-part.
The most important thing is to part your hair before you do a twist out, so that the twists go in the direction of the style you have chosen.
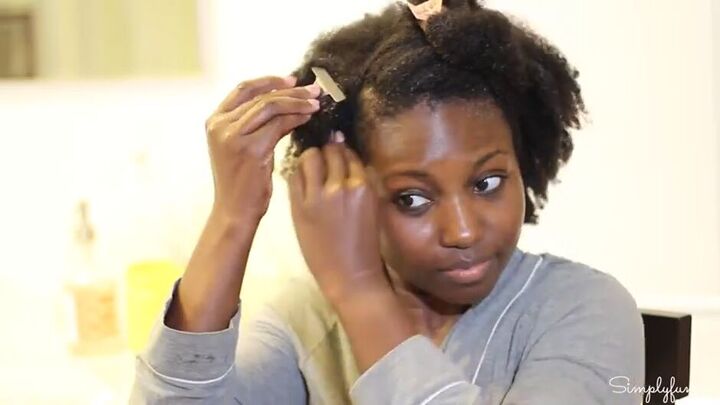
3. Section hair
Start separating your hair into smaller sections and clamping them down. This will make the whole process more manageable.
4. Add a curling product to your hair
Once you have clipped your hair into sections, take your first section of hair and apply your favorite curling product.

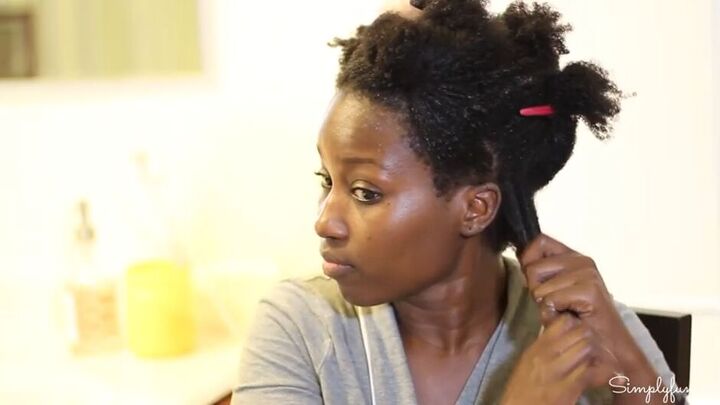
5. Divide the section into two pieces
Try to make these sections as even as possible.
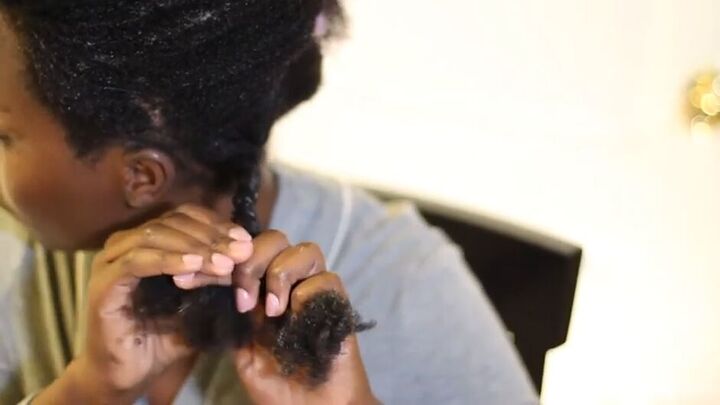
6. Twist pieces together
Twist these two separate sections together. Ensure the twist is neat and even as you continue toward the end.
When you get to the end apply more of your curling product to your tips.
7. Repeat
Repeat this process on the rest of the sectioned hair.
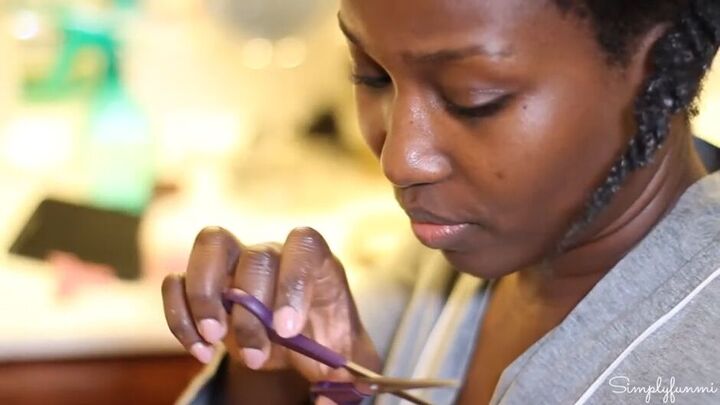
Tip: You may come across a single strand knot. If you are not able to unravel it with your fingers, snip it off. Single strand knots are not good for healthy hair.
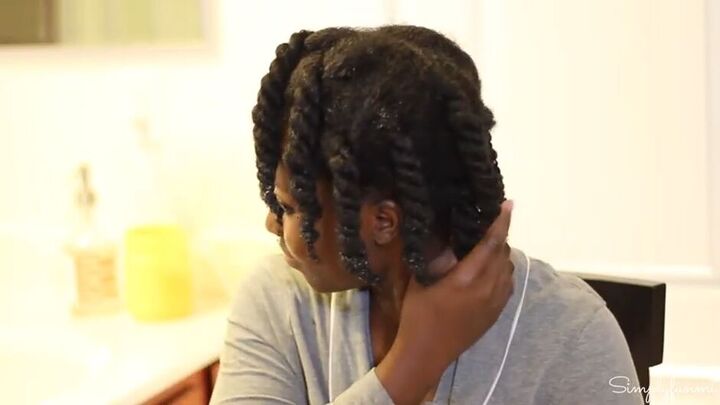
Here is what my twists look like. I like to do medium to large twists but you could choose to do one size or even go smaller.

8. Cover your hair
My favorite way to cover my hair at night is with a scarf, but you can cover yours however you like.

9. Remove hair cover
The following morning, remove your hair cover so you can start untwisting each section.

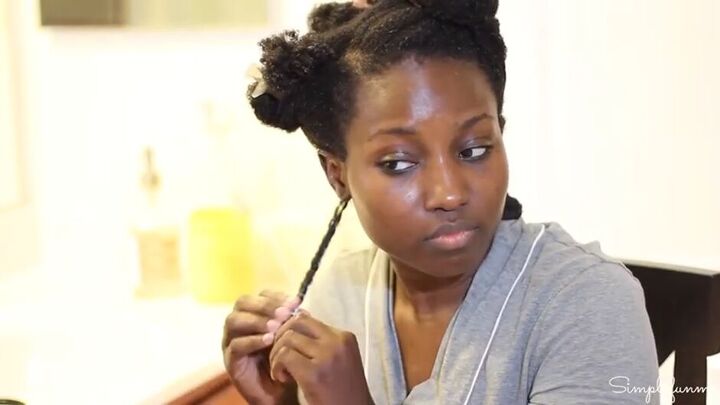
10. Untwist the sections
Coat your fingers in coconut oil to prevent frizz that may happen when untwisting due to friction.
Unravel each twist slowly and gently making sure you do not pull the hair. The point is to preserve the shape that has formed.
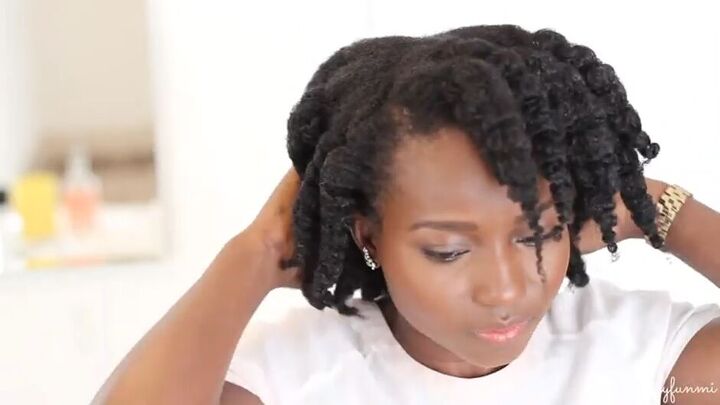
This is what your hair should look like once the twists have been unraveled. You might want to leave them as is and have a tight twist out style. I like a fuller effect.
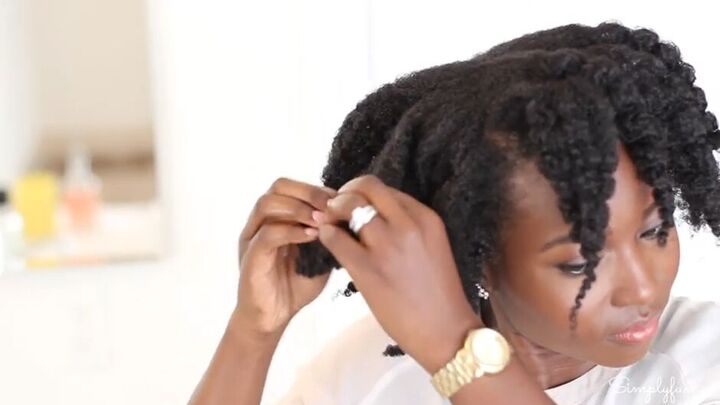
11. Unravel each strand further
For a bigger, fuller look, go back to each strand and gently pull it apart a little more.

12. Style
Spend some time fluffing and just ensuring that your hair takes shape.
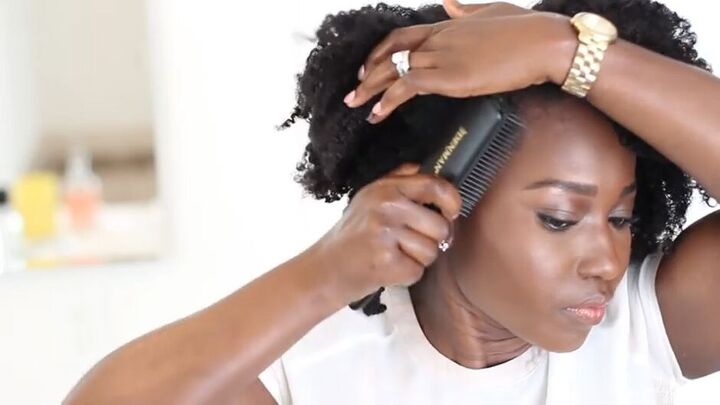
I take a brush and lightly brush the edge of one side and tuck it behind my ear.
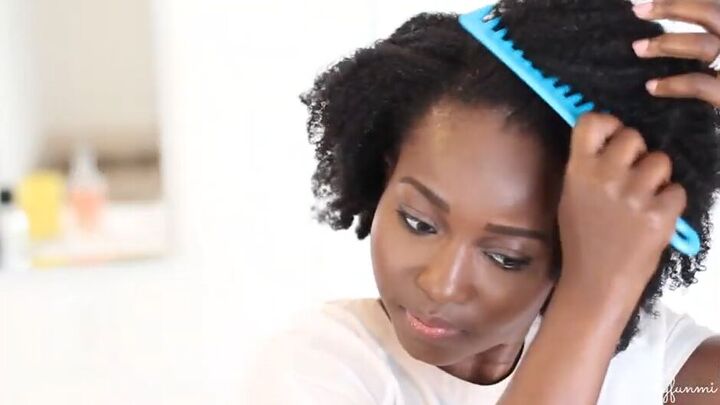
Then I take a wide tooth comb to raise my roots a bit. This is optional, it helps with that fuller twist out style.
How to do a twist out on natural hair
And there you have it, that’s my tutorial on how to do a twist out on natural hair. I think it looks great!
If you have any questions or comments, please feel free to leave them below. Take care!
The author may collect a small share of sales from the links on this page.


Comments
Join the conversation