How to Do Perfect Mini Twists on Natural Hair in 6 Simple Steps

If you want to learn how to do super cute mini twists on natural hair, follow this tutorial. Besides being an obviously stunning style, these mini twists offer perfect protection for your natural, thick hair. Follow along and watch the transformation!
Tools and materials:
- Curl sealer
- Curl enhancing mousse
- Professional styling gel
- Revitalizing curl spray
- Hair growth oil
- Brush and comb for naturally curly hair
- Hair scrunchies
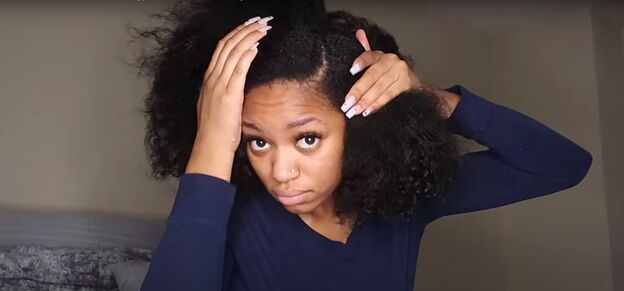
1. Prepare your natural hair
First, you will need to decide whether you want to part your hair on the side or in the middle. Either choice works just fine for these mini twists.
After you part your hair, use your fingers to section off the rest of your hair to keep it out of the way as you work.
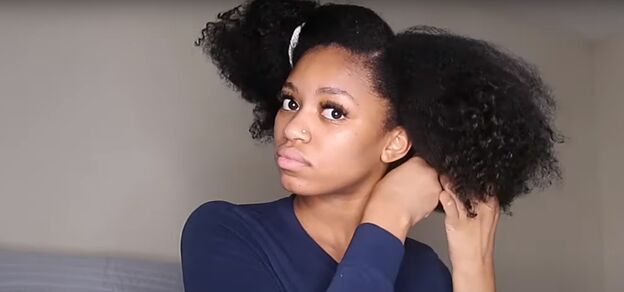
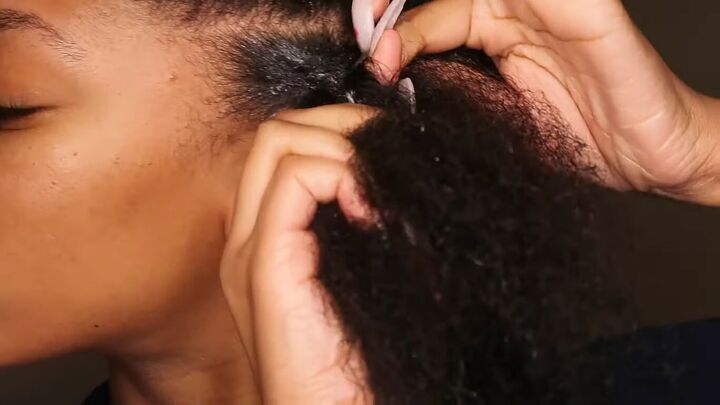
Working section by section, detangle your hair by combing small strokes, starting near the bottom and working your way up as it detangles.

Once you have a section of hair completely detangled and combed through, apply curl sealer to that section, working it in with your hands. The curl sealer will add lots of moisture to your natural hair.
2. Begin creating mini twists
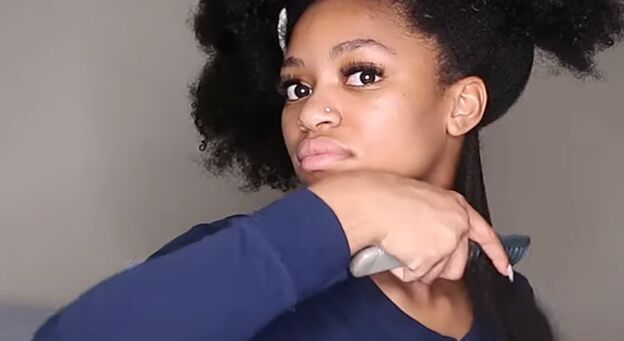
To begin creating the mini twists, further divide each section of hair into two sections and work on one small section at a time.
Apply curl mousse to a small section of hair and then apply revitalizing curl spray to the roots of that section to keep them nice and sleek.

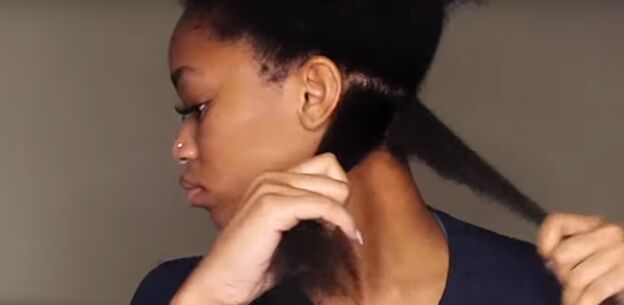
Now you are ready to begin twisting that section. Split it into two sections again and simply twist the left strand over the right strand over and over until you reach the bottom of the section.
With each twist of left over right, also twist your wrist, so the twist itself gets a twist, keeping everything tighter and more secure. When you do that, then you’ll always be twisting left over right. If your hair starts to get dry as you are twisting, apply a bit more revitalizing spray.
When you get to the bottom of the twist, twirl the end of your hair around your finger a few times to hold the twist in place. Repeat the mini twists with all the sections of your hair.
3. Make cornrows in the front
With the front sections of your hair in front of your ear, make a three-strand braid and then pick up small sections on either side as you work your way down.
When you get to the back of your ear, transition to the mini twist by combining two of the three strands into one and continuing with the mini twist technique you used on the rest of your hair.
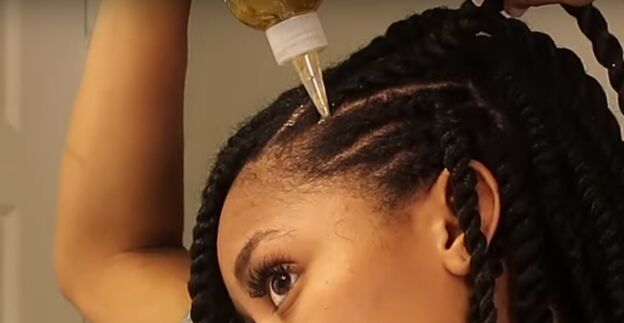
4. Apply hair growth oil
Squeeze hair growth oil into all of the parts on your head.
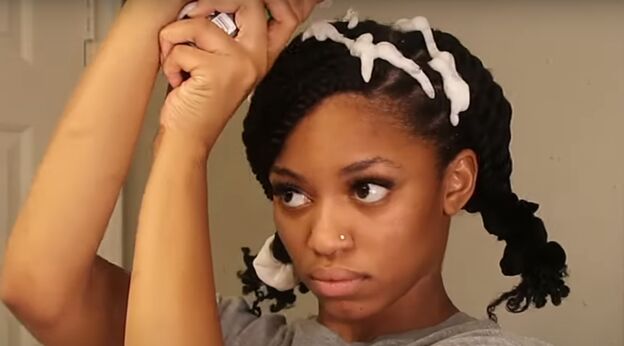
5. Minimize shrinkage
The mini twists will likely cause a bit of shrinkage in your hair, and you can minimize that by putting it into two scrunchies, one on each side and doing one final application of revitalizing spray all over, followed by a little more mousse.
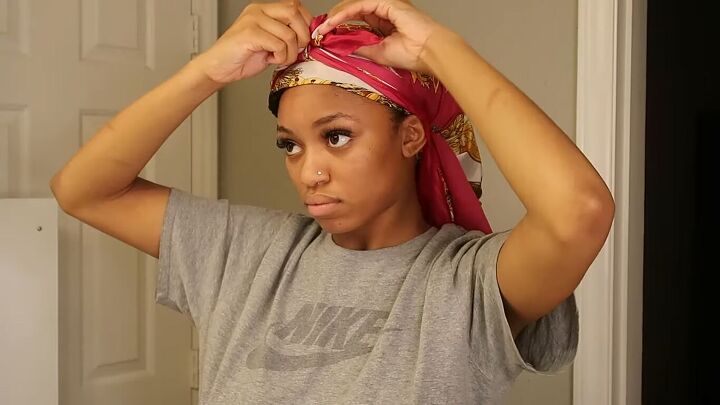
6. Leave overnight
Put on a scarf and a bonnet to sleep on these mini twists.
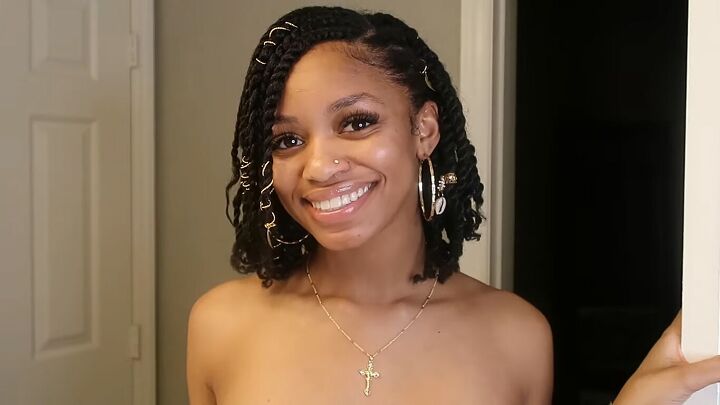
Mini twists on natural hair tutorial
Here’s the final look! I added in some shiny accessories for extra glam! Now you’ve got a beautiful head full of mini twists that look sleek and stunning. The product you applied to your hair dries invisibly without leaving any flakes. Leave a comment if you liked this tutorial!
Products used
The author may collect a small share of sales from the links on this page.


Comments
Join the conversation