How to Make a Bow Scrunchie With Personalized Name Embroidery

Do you have fabric scraps that you don’t want to throw away? Perhaps you have an event coming up, and you’d like to add a lovely personal touch for all the guests?
Whatever the reason, I’ll show you how to make a bow scrunchie from scratch. I’ve made two parts to this tutorial; the first demonstrates how to make a regular DIY scrunchie and, lastly, how to sew a bow scrunchie with a personalized name tag.
Page down, and let me show you how it’s done!
Tools and materials:
- Linen fabric
- Interfacing
- Measuring tape
- Ruler
- Marker
- Pins
- Embroidery thread
- Needles
- Embroidery hoop
- Elastic
- Iron
How to make a basic scrunchie
1. Cut and sew
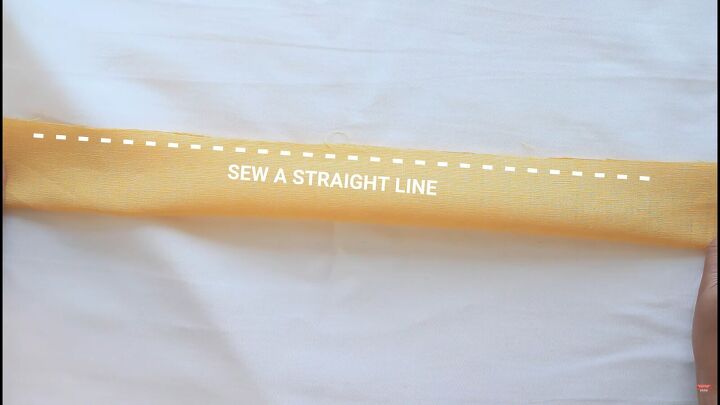
Cut a strip of fabric that measures 4 x 30 inches. Then, fold the strip right sides facing and sew a straight line across the raw edges.
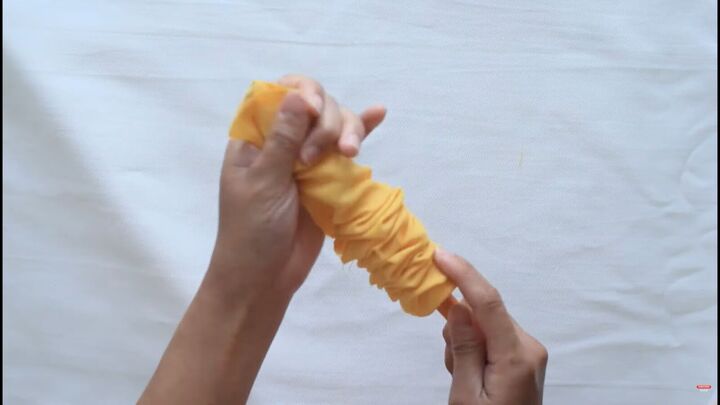
Using a pen or chopstick, turn the strip right sides out. You now have a casing for the DIY scrunchie.
2. Insert elastic
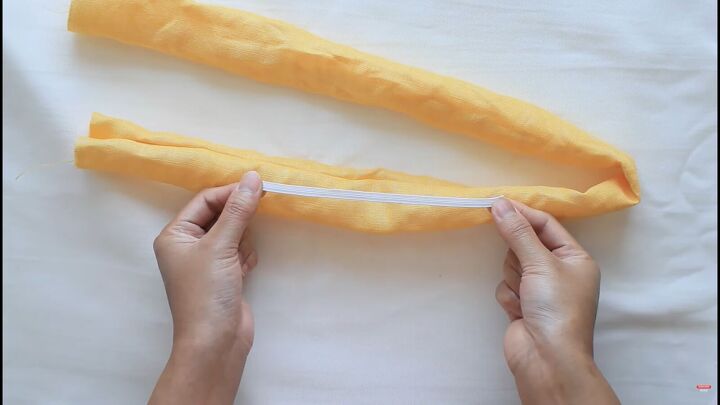
Next, insert a piece of elastic through the casing. Pin a safety pin to one end of the elastic to make the process easier.
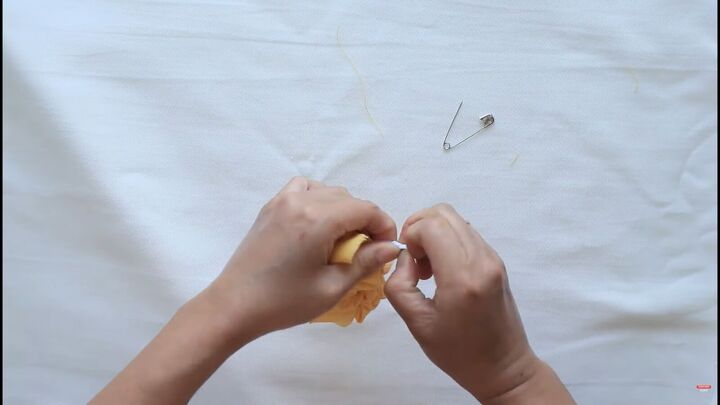
Tie the ends of the elastic into a knot.
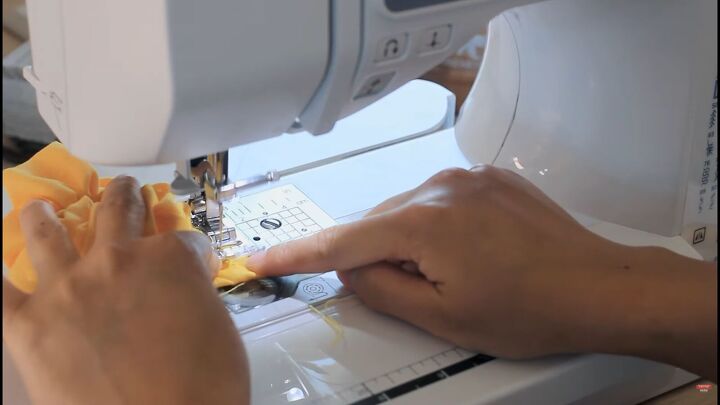
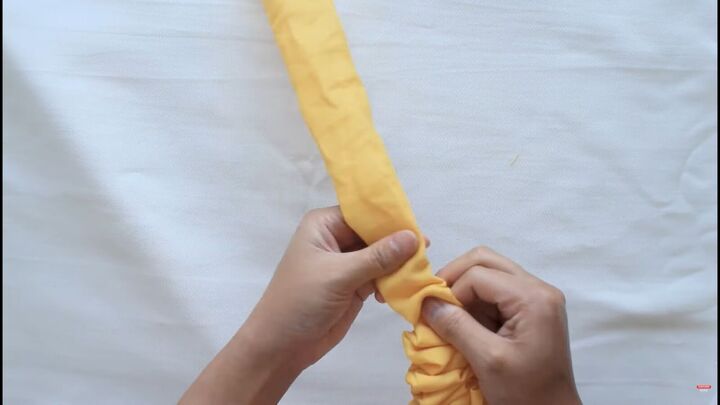
3. Stitch the ends
Align the raw edge of the fabric and sew to secure.
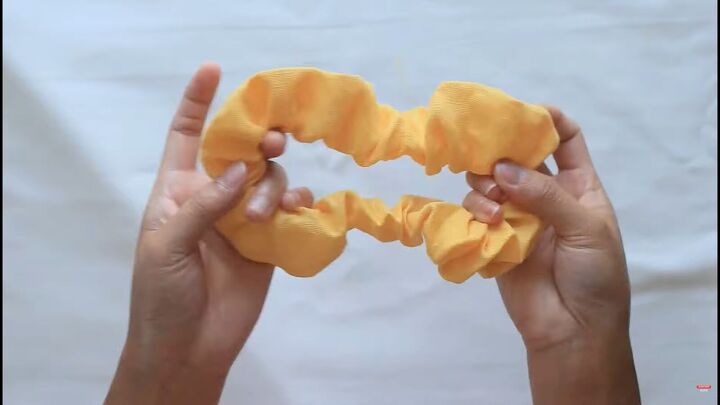
This is what the basic DIY scrunchie looks like.
How to make a bow scrunchie
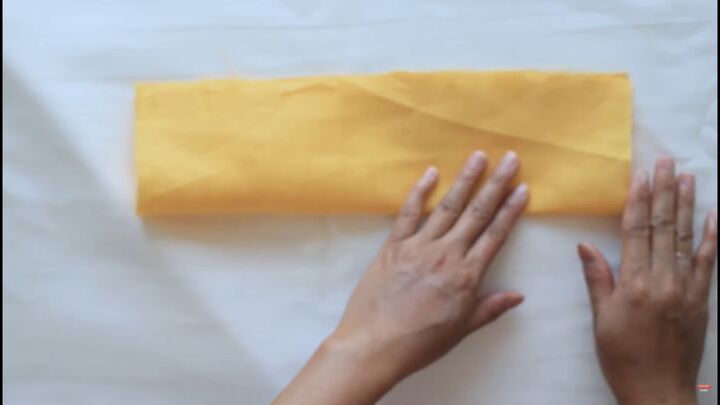
1. Cut and sew
Now, let’s spruce things up and give this scrunchie a more personalized touch. First, cut a piece of fabric measuring 7 x 12 inches.
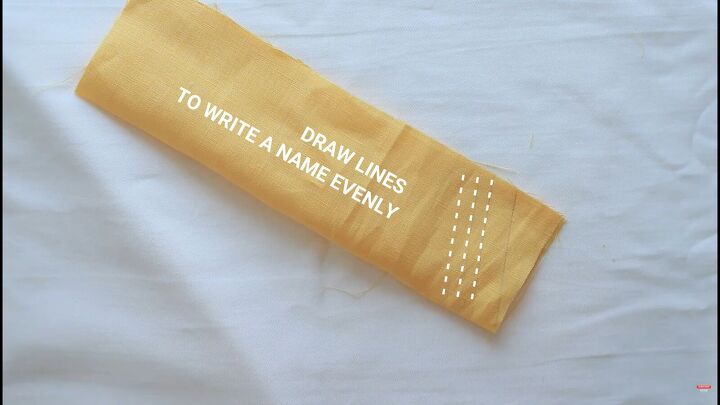
Fold it in half, lengthwise, and draw four diagonal evenly spaced lines on one end. This is where you’ll write the name.
2. Write the name
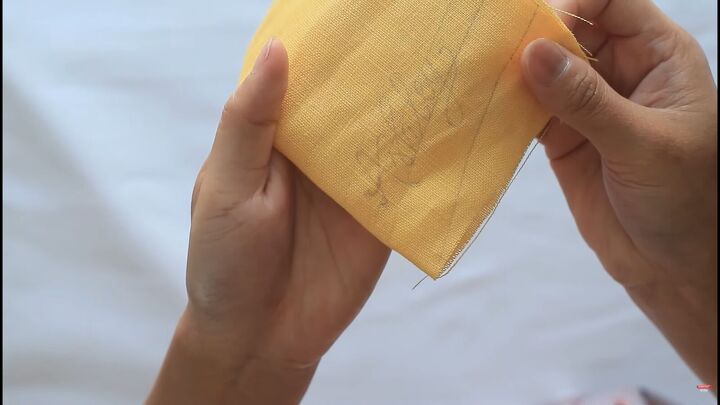
Now, write the name along these lines with a pen, as shown.
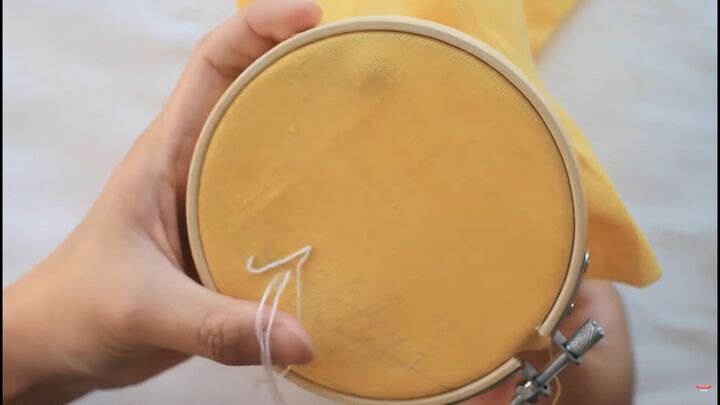
3. Embroider the name
Place an embroidery hoop around the name to stretch the fabric; then hand-sew along the letters. If you have an embroidery machine, you can certainly use that to cut back on time.
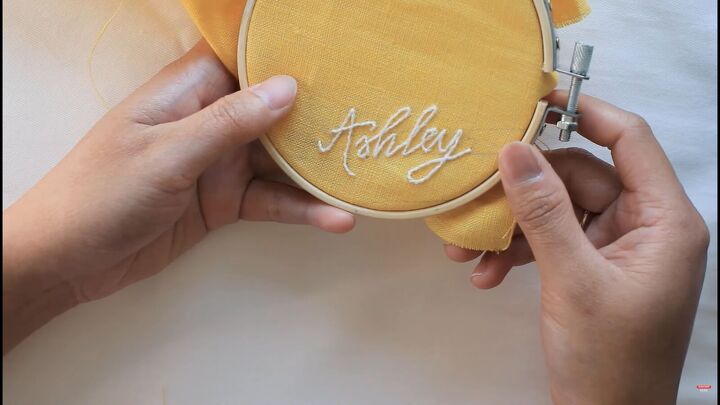
It looks so beautiful, don’t you think?
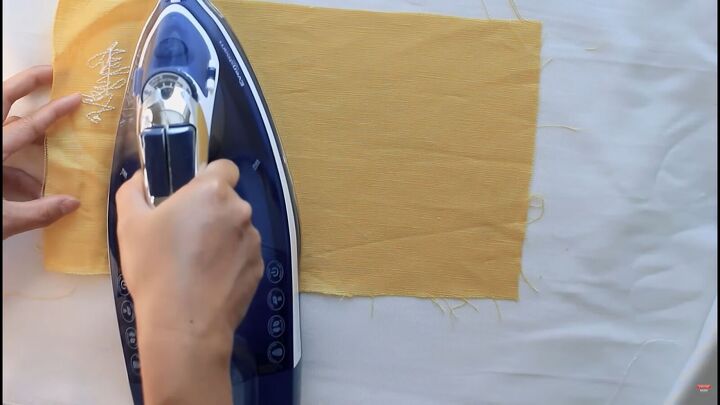
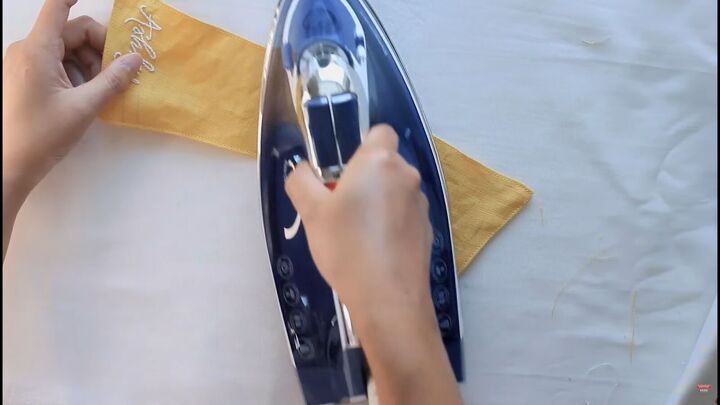
4. Press the fabric
Remove the embroidery hoop and press the fabric.
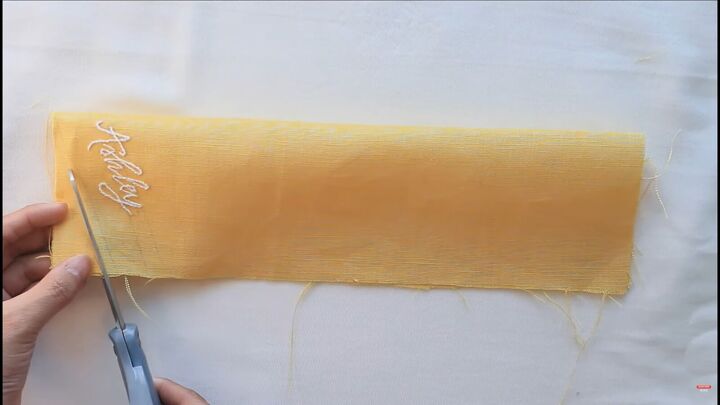
5. Assemble the embroidered scrunchie
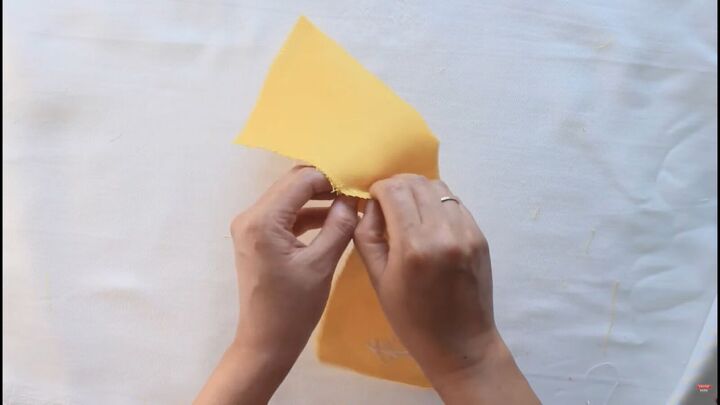
Cut the first diagonal line off the folded end.
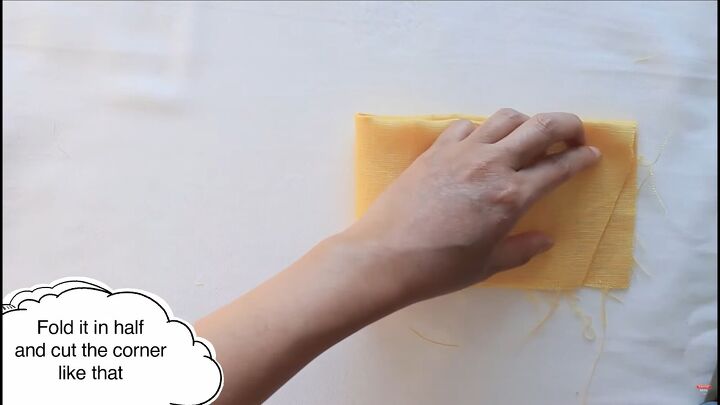
Fold the strip in half and cut the other end. Like this, both corners will be symmetrical.
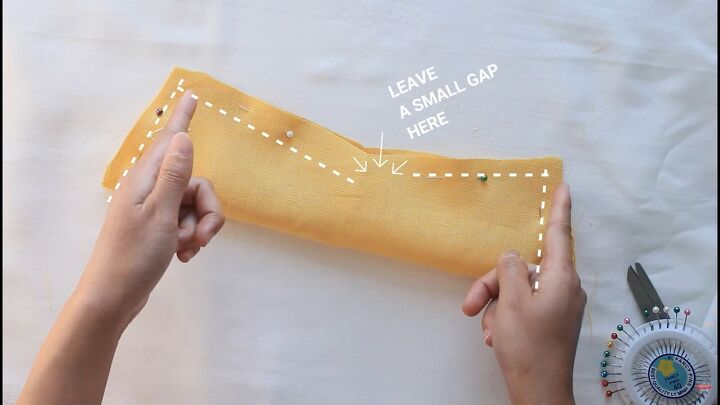
Fold the piece right sides facing, pin all around, and sew. Leave a small gap in the middle, as shown.
Turn the scrunchie right sides out through the small gap you left open.
Press the fabric to smooth out the edges.
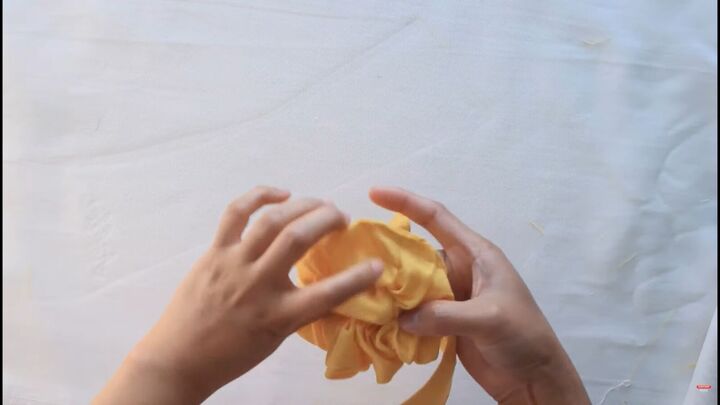
Take your existing scrunchie and feed the embroidered piece through the hole. Then, tie the bow with the embroidered ends.
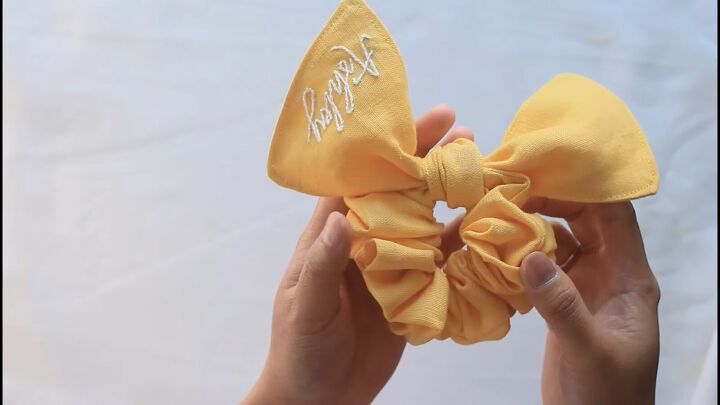
How to make a bow scrunchie tutorial
How cute is this personalized add-on? I love this DIY hair scrunchie with a bow. It will work really well as party favors or special events. Thanks for joining me, and I hope you now know how to make a bow scrunchie seamlessly. Good luck!
The author may collect a small share of sales from the links on this page.


Comments
Join the conversation