How to Make Polymer Clay Tile Earrings Using the Cane Method

In this DIY, I’m going to show you how to make polymer clay tile earrings. Polymer clay is a really fun material to work with, and you can produce some stunning accessories with it.
To make these cute DIY tile earrings, I'll show you how to do the polymer clay cane technique.
This project does involve quite a lot of precision, but I’ve broken it down for you step-by-step. So grab your polymer clay, follow along with me and enjoy making the earrings!
Tools and materials:
- Polymer clay in 3 colors (we used white, pink, and gold)
- Acrylic roller
- Slicer
- Acrylic or ceramic tile (optional)
- Jump rings
- Earring fastenings
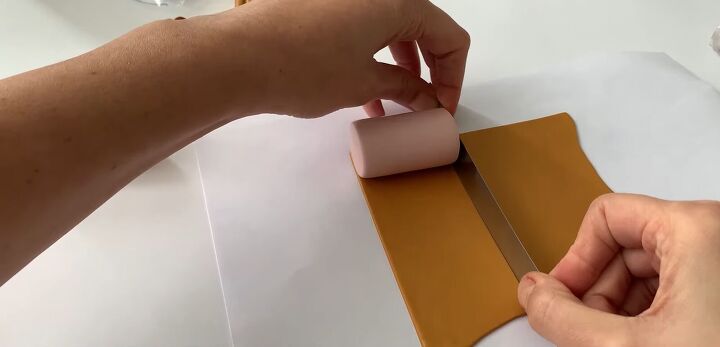
1. Cover a roll with clay
First, we will cover the pink roll in the gold clay.
Use the acrylic roller to roll a large flat slab - the thinner you make it, the better the result.
Cut two sides away to achieve straight edges. Cut the third side away according to the size of the roll.
For the fourth side, start covering the roll with the gold clay. Create a mark for cutting and cut the fourth side.
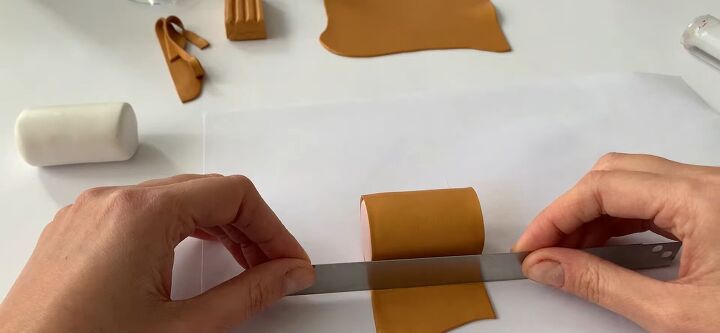
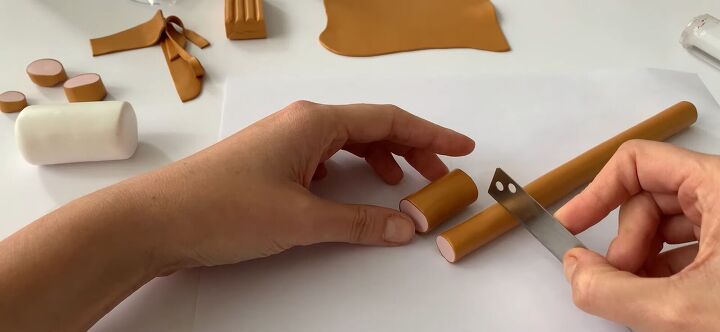
2. Roll the clay
Smooth out the seam and start reducing this roll. Once done, cut the distorted ends away and cut one piece for the design. Also, cut an extra piece and set it aside until the very end.
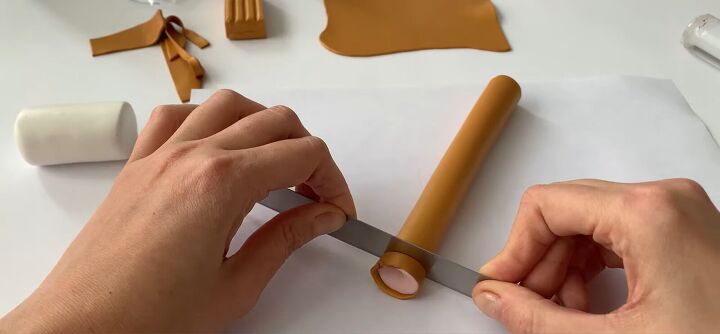
3. Reduce and roll
Reduce the roll again to make it a bit thinner because we will need rolls of various sizes. Cut the distorted end away and then cut two more rolls, making them the same length as the first roll.
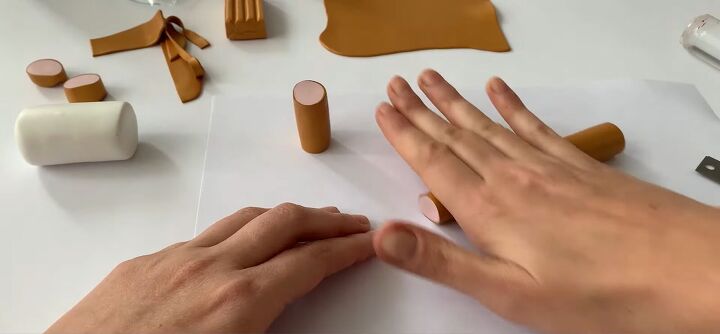
4. Reduce and roll again
Reduce one more time, cut the distorted ends off, and cut another two rolls that are the same lengths as the ones you’ve already cut.
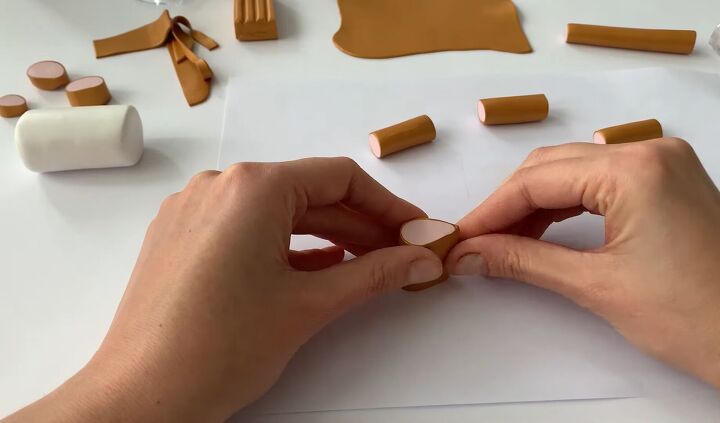
5. Shape into a teardrop
Use your fingers and acrylic roller to carefully shape the roll into a teardrop shape.
The goal is an even teardrop-shaped cane. Repeat for each roll. Try to make the teardrops really pointy.
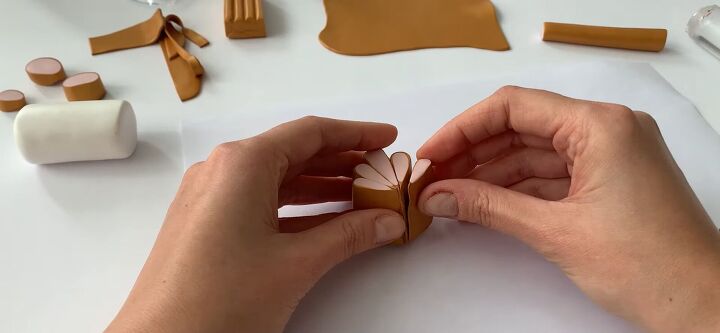
6. Join the teardrops together
Then stick the teardrop-shaped pieces together with the largest one in the middle and the smallest ones on the sides.
Smooth out the middle seam and lightly press the pieces together so they stick well.
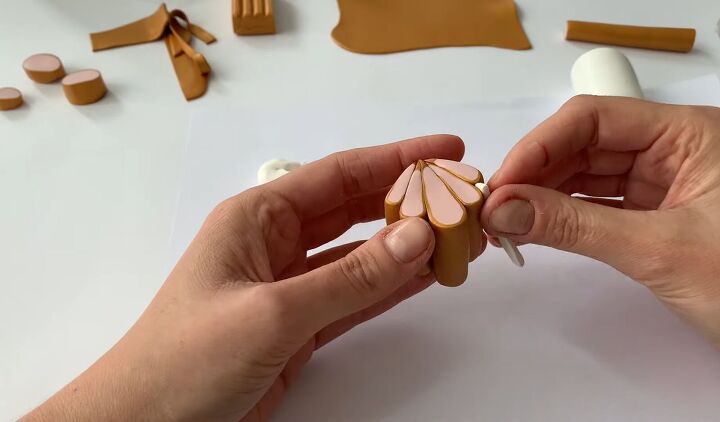
7. Fill in the arched spaces
The next step is to use white to fill in all the arched spaces.
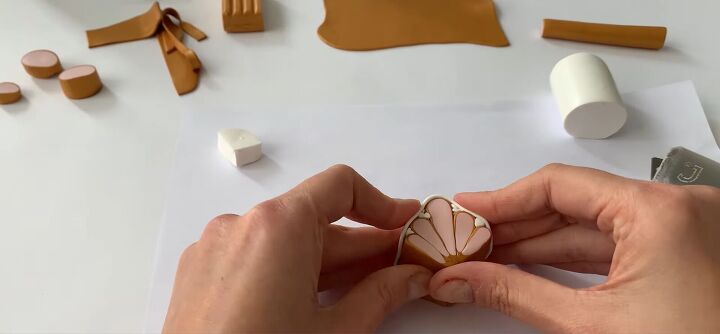
Proceed to cover the two arched sides of the cane with white clay. Then press it gently so that everything sticks together well.
8. Cover the cane
Prepare a thin white slab large enough to cover the whole cane. Cut into the right shape, then cover the cane and cut away the last side. Gently smoothen the seam with your fingers.
9. Reduce
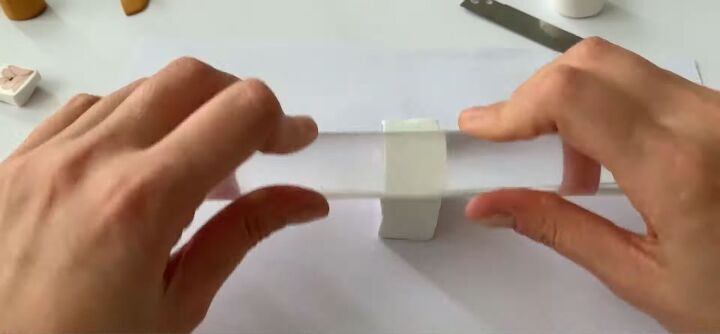
Now for the trickiest part: reducing. You want to reduce this cane as a square. If you only have an acrylic roller, you need to be more careful.
Gently roll the sides of this square cane. The cane will gradually lengthen. You can also use your hands to gently pull and press the cane.
Continue until the cane reaches the desired size and shape.
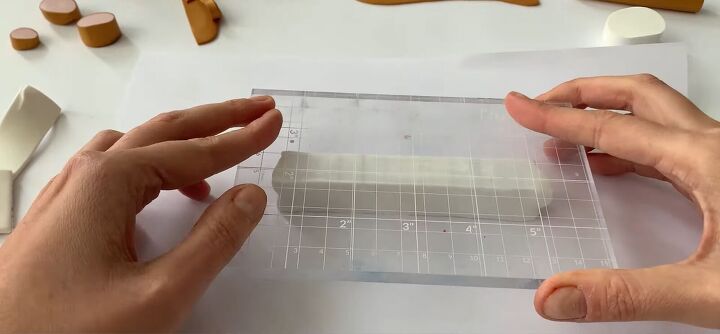
You can also use acrylic or ceramic tile to reduce the cane if you have the option. This method is easier and makes better and more accurate results.
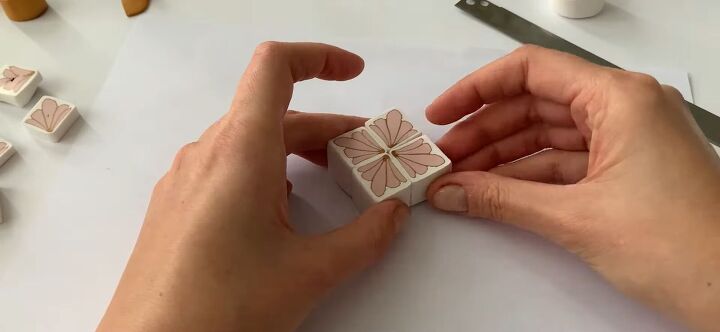
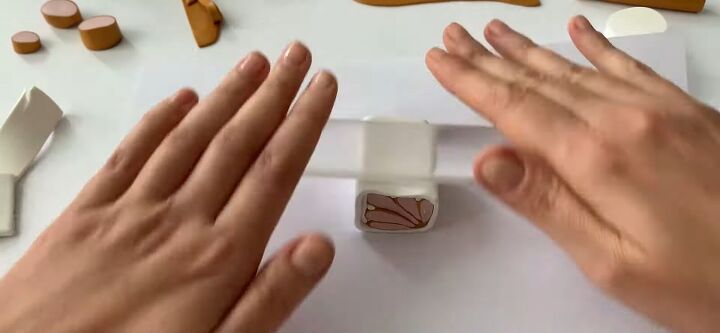
10. Cut and attach
Once you’ve formed the cane into a rectangular shape, cut away the distorted ends on either side. Then, cut the cane into four pieces of the same size and attach the pieces together.
11. Reduce again
Now time for the second reducing. Reduce the new cane a little to help the parts attach. Or feel free to reduce it even more if you prefer a smaller design.
12. Cool
Place the cane in a fridge/freezer for about 30 minutes or at least let it sit. The clay will be stiffer and easier to slice.
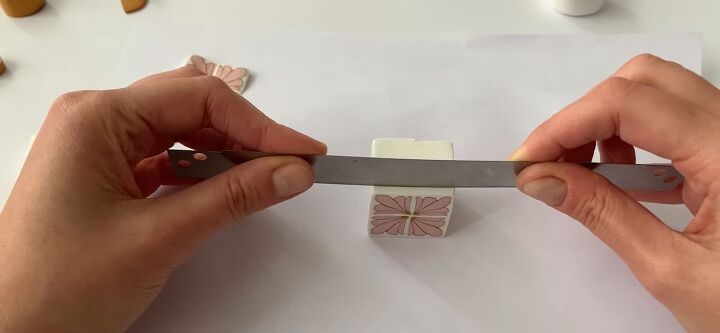
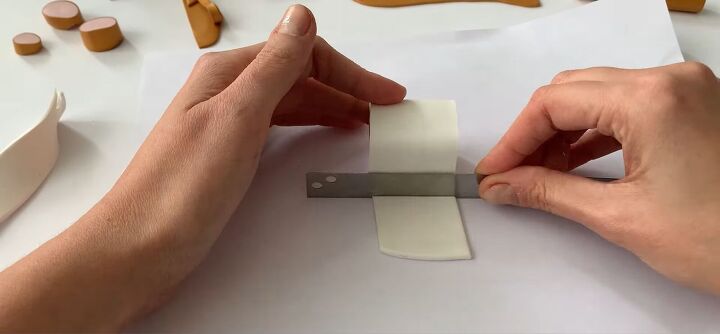
13. Slice
Again cut the distorted end away, and now the big finale: cut slices approximately 3mm (0.1inches) thick.
You also want to cut a few more slices of the first pink and gold roll as these will make earring tops.
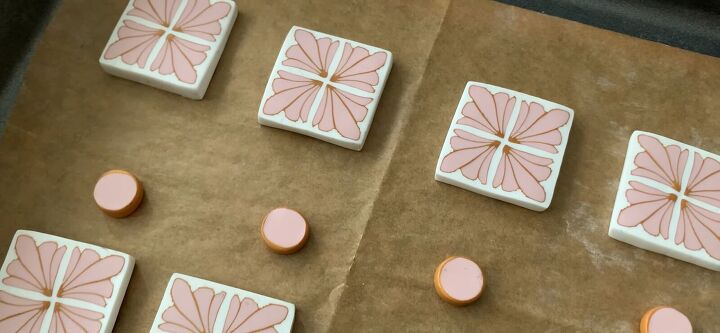
14. Bake
Polymer clay needs to be baked. Check the instructions on your polymer clay packaging for the recommended temperature and length of time for baking, as this can vary.
After baking, attach the pieces to jump rings and earring fastenings.
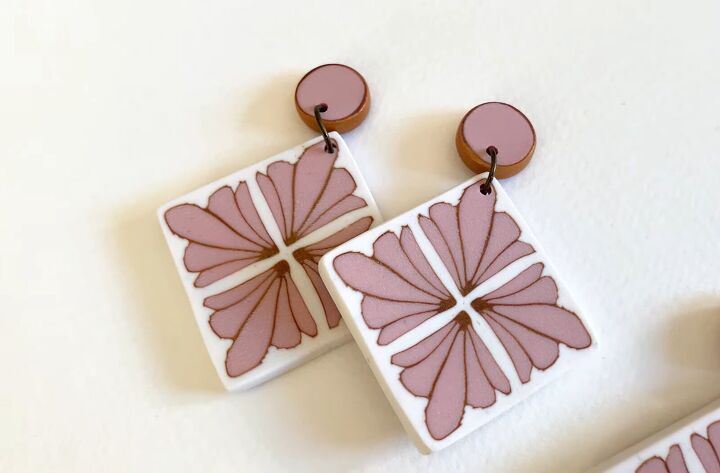
How to make polymer clay tile earrings
Here are the finished DIY polymer clay earrings! The design is so detailed and intricate, and the earrings make a gorgeous accessory.
I also love how the design is symmetrical; this makes it look very sophisticated.
Polymer clay is a lot of fun to work with so if you haven’t tried it before, I hope you’ll give it a go now!
The author may collect a small share of sales from the links on this page.


Comments
Join the conversation
Wow! This is absolutely awesome! You have inspired me, I’ve always wanted to do my own jewelry. Thank you for sharing. 👏👏👏