How to Sew an Easy Twist Beanie Hat

Winter is here and I am sure you are all on the hunt for something warm to wear on your head.
Well, today I am going to show you how to sew a beanie, not just any beanie, a twist beanie!
This awesome DIY beanie is easy to make and quick to sew. Personalize it by choosing your favorite fabric and don’t forget to make a couple of extras as gifts, I guarantee you everyone will be asking for one.
Tools and materials:
- Stretch knit fabric
- Scissors
- Sewing machine

1. Plot measurements
Start by measuring your head circumference.

Place your fabric on a flat surface.

Use the stretchier side of the fabric to mark your head circumference measurement.
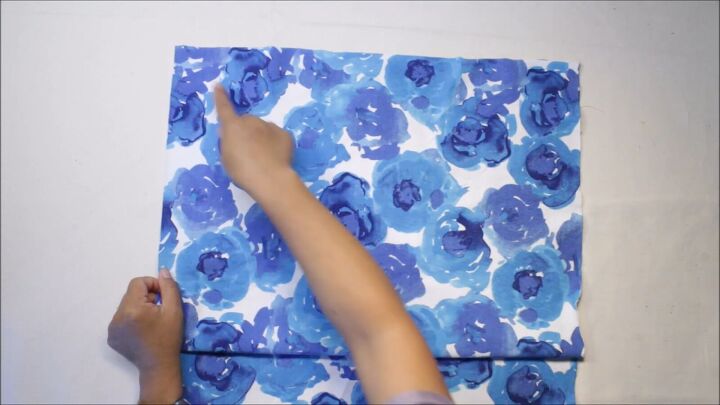
The other side of your fabric will be the length of the twist beanie and this should have a measurement of between 19.6 inches to 21.6 inches.
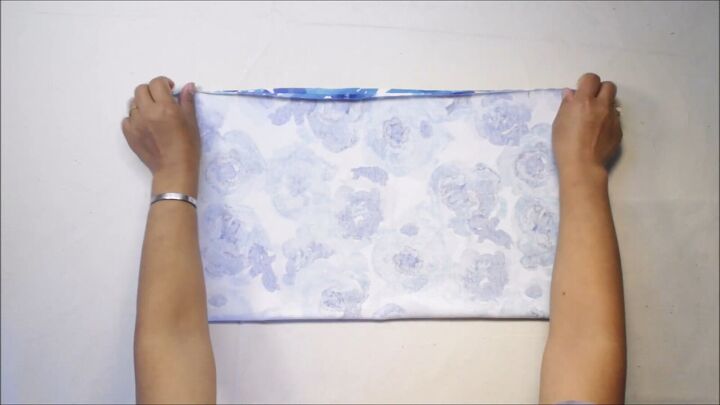
2. Fold
Fold your fabric along the width with right sides facing.
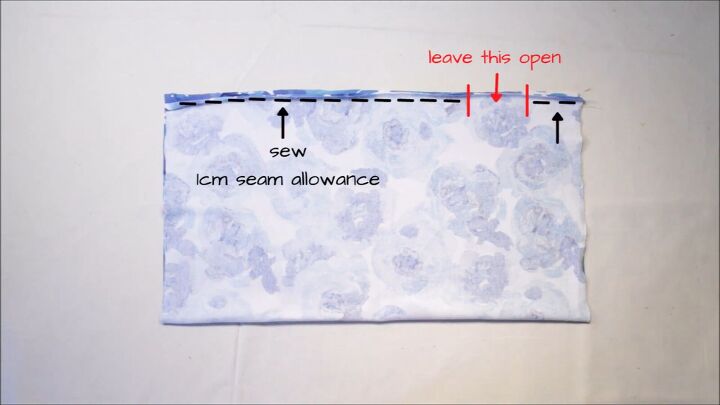
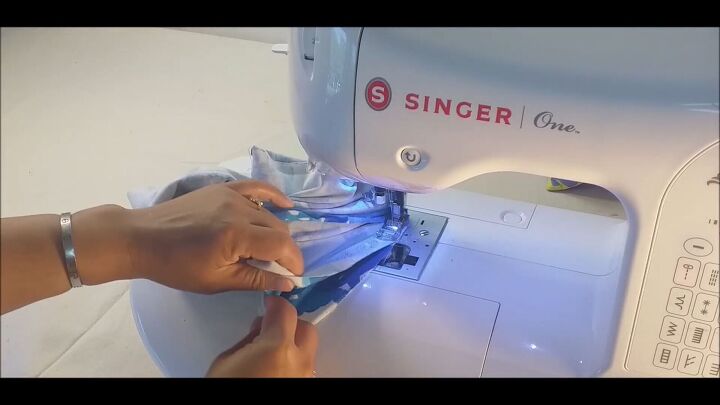
3. Sew along the length
Sew a 1cm seam allowance along the length of the fabric leaving an opening (see photo above).
This is what it should look like once you have sewn the seam.
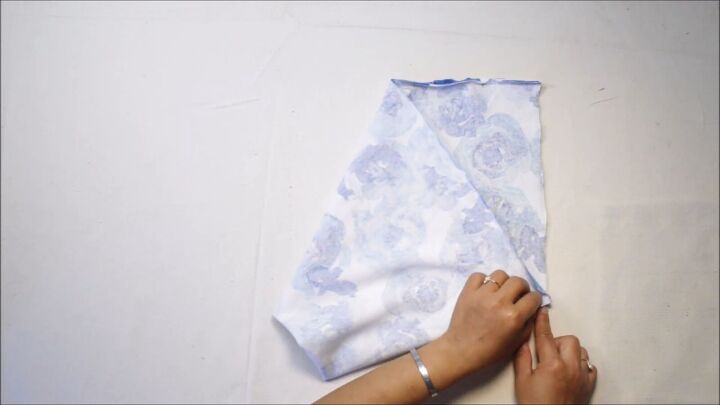
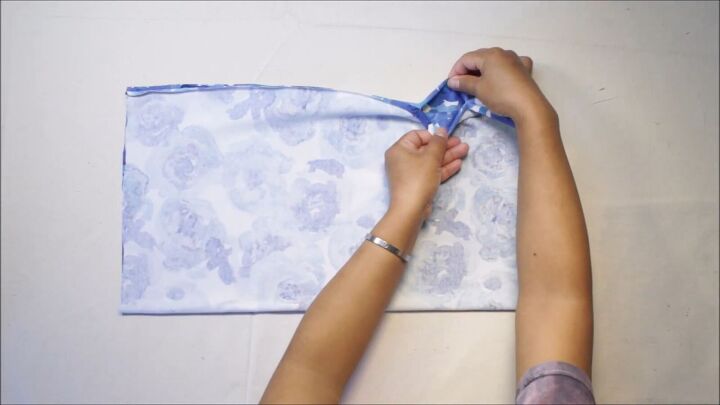
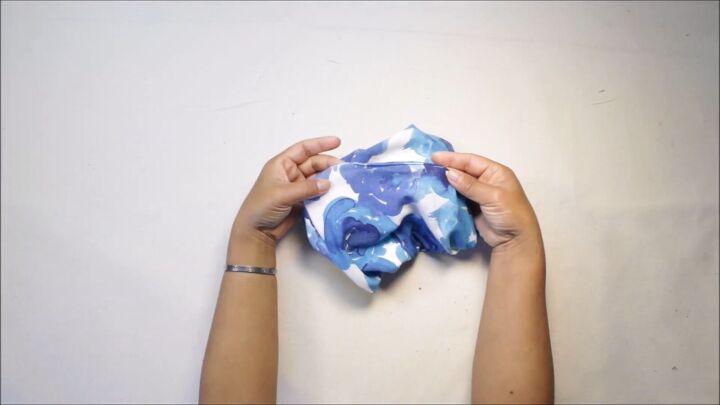
4. Create the twist
Take the top left-hand corner of the fabric and bring it down to the bottom right corner.
Keep your finger on the bottom right corner of the fabric so it won't shift as you make the twist.
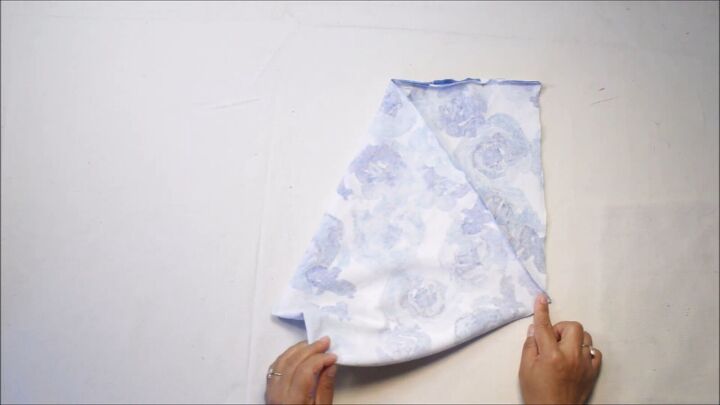
Now bring the bottom left corner of the fabric up to meet the top right corner. As you can see, you have created a twist.
You can watch 1:41 - 2:00 of my video above to see this in action.
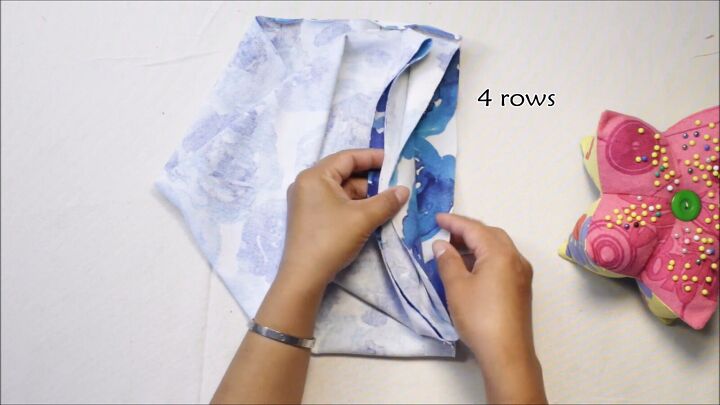
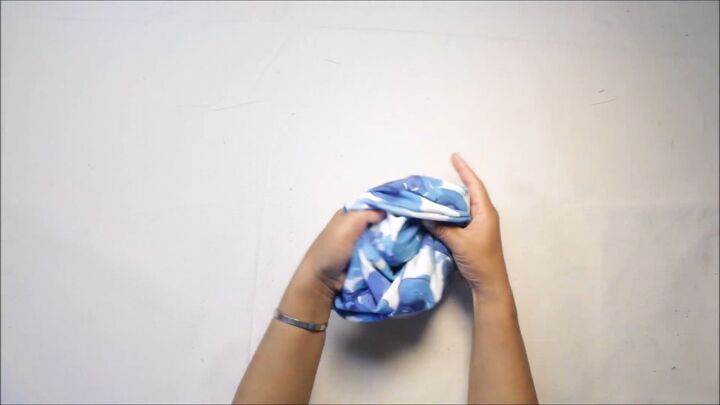
5. Pin and sew the raw edge
You should now have 4 rows of fabric. A top layer, two middle layers and a bottom layer.
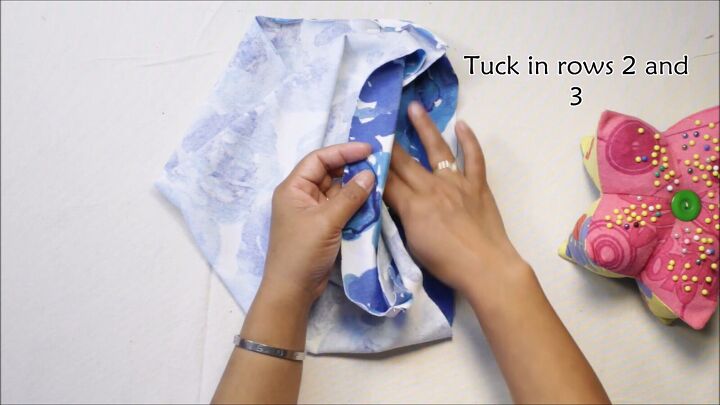
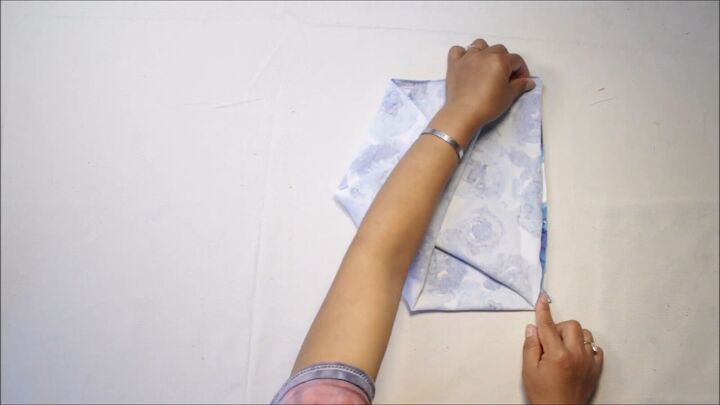
Tuck in the two center layers, rows two and three. Smooth them down, so they are nice and flat.
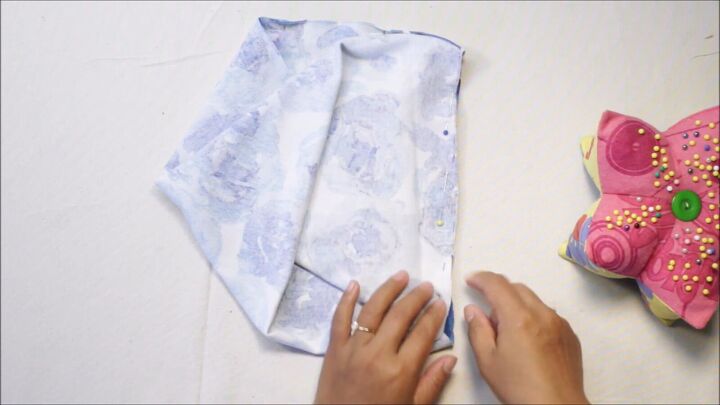
Next, you need to pin together rows one and four, the top and bottom layers.
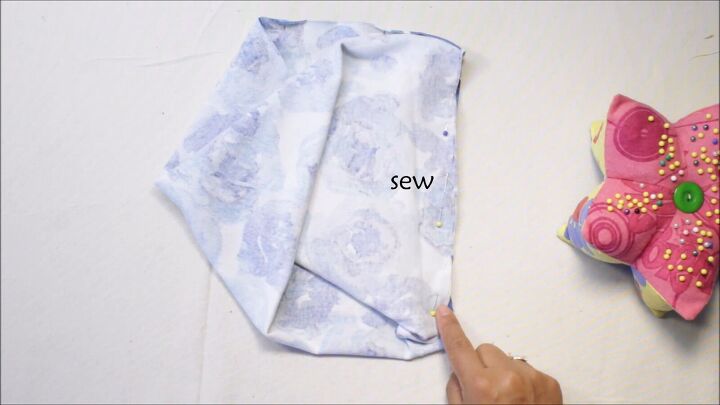
Now it’s time to sew along the edge with a 1cm seam allowance.
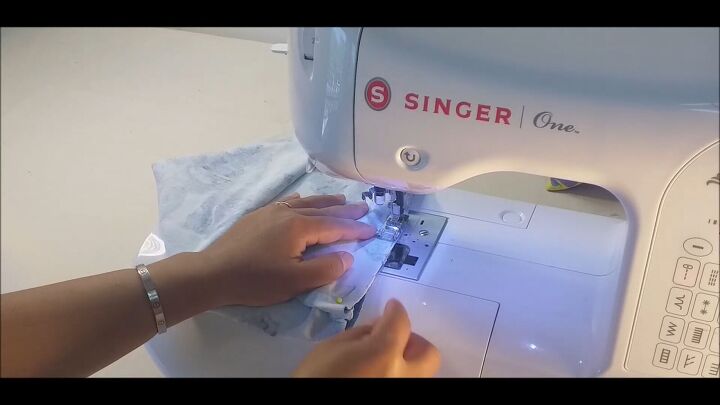
Start with a backstitch and then sew along the circumference of the twist beanie creating a neat hem.
Once you get to your last pin, you will need to start pulling fabric out and continue to sew.

This will be repeated a few times until you reach the beginning.
To prevent the hem from unraveling or coming apart with use, end with a backstitch.
I suggest watching the video (2:45- 3:48) to get a better understanding of how this sewing technique works.

6. Close the opening
Take the twist beanie and turn it right side out through the hole you left open at the beginning.
Now you can sew the opening closed.
7. Flip the beanie inside out
To make your DIY beanie look more professional, flip it inside out again so that the seam where you sewed up the opening is not visible.

You will notice you have this little hole at the top which makes the hat more versatile.
You can use it as a scarf, a headband, a regular beanie, or as a hat with an opening for your ponytail!

I cannot wait to wear this during winter.

The twist on top gives the beanie a bit of a slouch, I love it.

How to sew a beanie
This is definitely a project you could sew on a weekend and would be a perfect gift.
I hope you enjoyed learning how to sew this twist beanie with me. Leave me a comment down below!
The author may collect a small share of sales from the links on this page.


Comments
Join the conversation