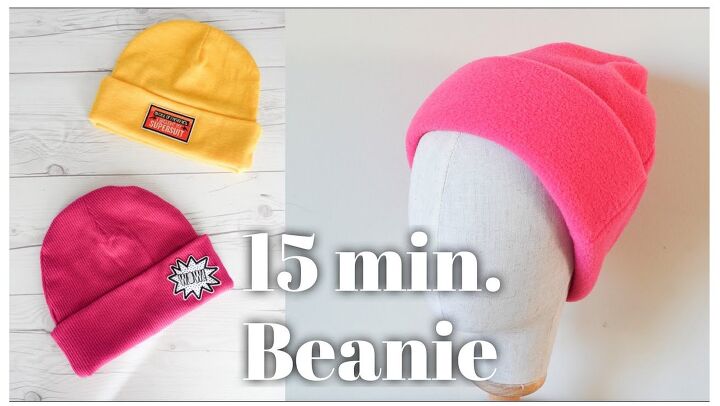
Super Easy DIY Gift: How to Sew a Beanie

In this project I'm going to show you how to sew a beanie hat, using a cozy hat you already have as the pattern.
I did make some miscalculations in the sizing of the first hat I made, but I soon worked out where I went wrong and the second DIY beanie, I made was a perfect fit. Here's how to get it right the first time!
Tools and materials:
- Knitted beanie as pattern
- Fleece or knit rib fabric
- Sew-on motifs (optional)
- Tailor's chalk
- Pins
- Scissors
- Sewing machine
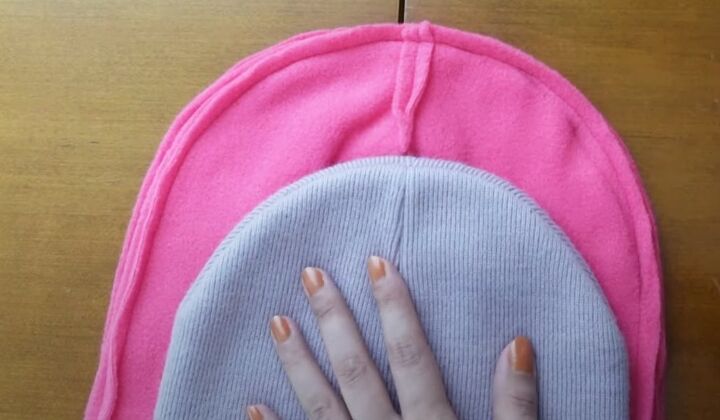
1. Pattern and fabric
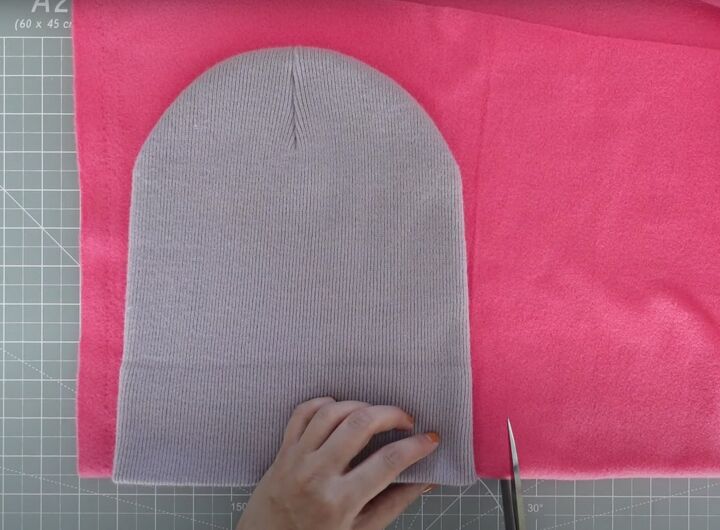
I used a knit rib hat as my pattern.
I folded my fleece double and placed the hem of my hat on the fold, then cut around it, allowing 3/4 inch for seams and added ease. I cut a second piece in the same way.
A word of warning here: Knit rib fabric stretches a lot more than fleece does, so bear that in mind when making your pattern.
If your pattern hat is knit rib, you will need to size it up at least 2 inches wider than I did if you want to make a new one in a fleece fabric.
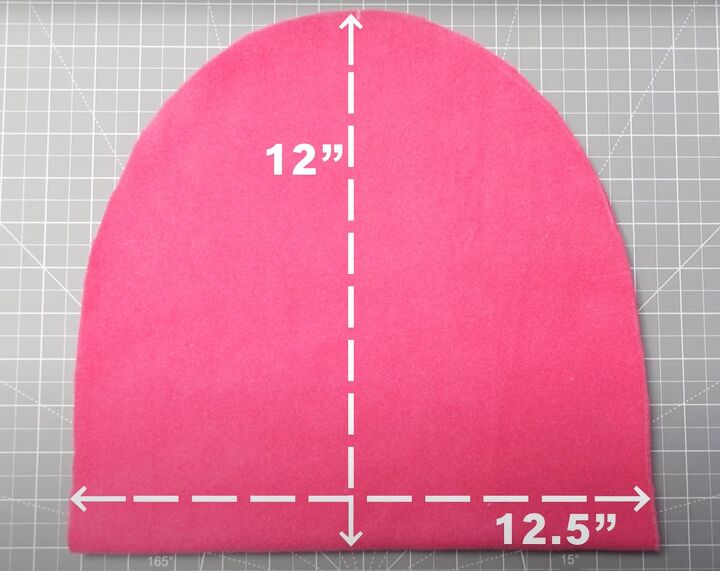
For fleece, I'd recommend making your hat at least 12.5 inches wide by 12 inches deep for the finished size.
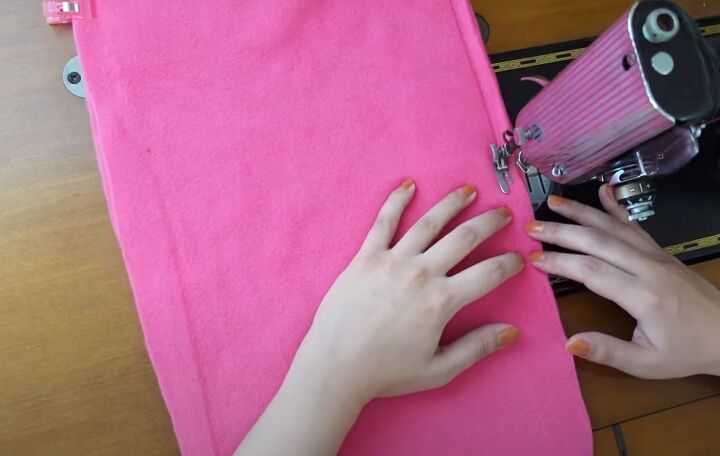
2. Stitch main seam
I opened the pieces out and placed them on top of each other with right sides together.
I sewed them together around the edge, leaving about 4 inches unsewn.
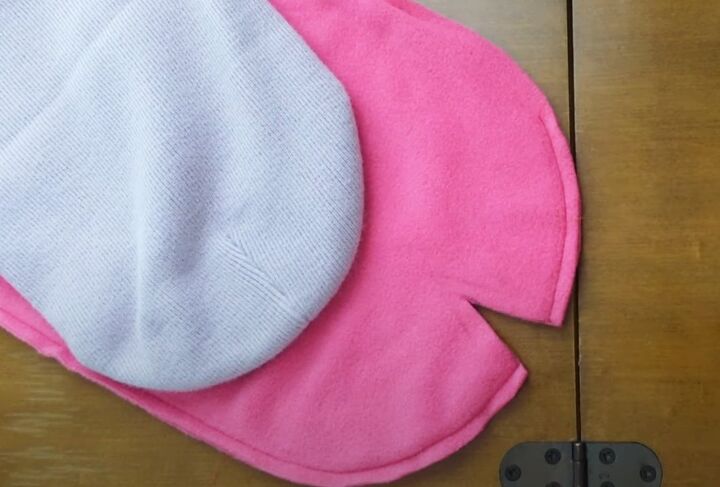
I turned the hat inside out through the opening, pushed the lining inside and tried it on.

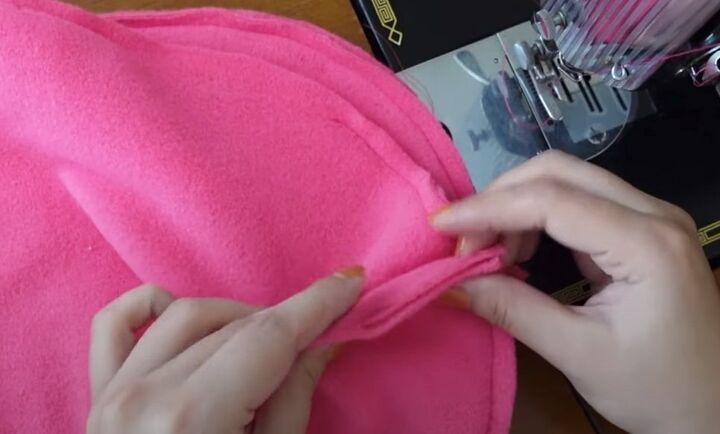
3. Add dart
I realized that the top needed more shaping. I found the center of the hat and marked a small dart either side of it.
I drew a second dart outside the first one, the same length as on the original hat, then cut out the smaller dart shape to reduce bulk.
I cut the same shape from the other end of the hat.
I opened the seam just enough to sew the darts.
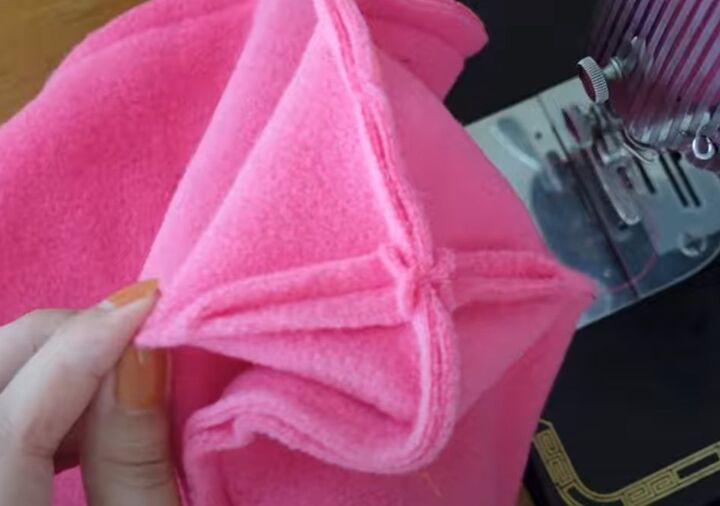
After sewing, I opened the darts and stitched them to the original seam.
4. Shape top
I was still unhappy with the shape at the sides, so I marked and stitched a more rounded shape on each side.
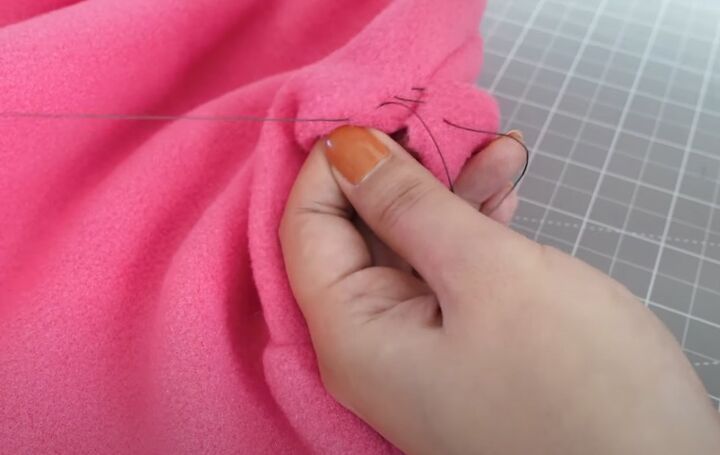
I closed the opening inside the hat using a ladder stitch.
How to sew a beanie
Beanies make great sewing gift ideas because you can personalize them in so many ways.
I made hats for my children and added sew-on motifs, but plain beanies are just as well received.
Once I'd worked out the sizing and the shaping process, the next hat took me just 15 minutes to make.
Tell me in the comments if you prefer the fleece or knit rib versions!
The author may collect a small share of sales from the links on this page.


Comments
Join the conversation
Rib knit is so stretchy so it feels more comfortable than fleece. Thank you for sharing!