How to DIY Custom-fitted Ripped Jeans

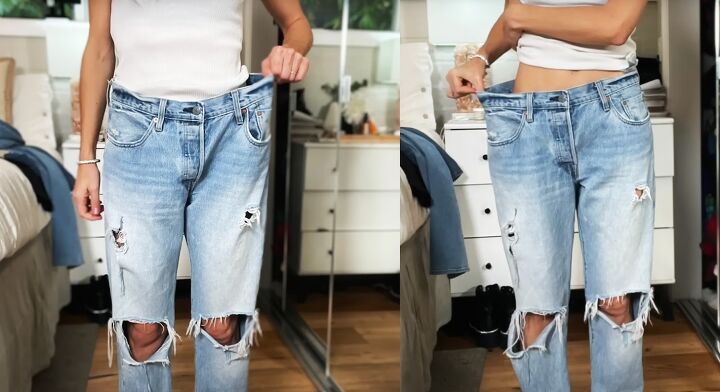
Most of us have a pair or two of jeans that are just too big and baggy. They could be ones we already own or intentionally go and thrift.
Today, we're going to see how to customize jeans without having to remove the waistband and all that entails.
Instead we're going to cut them down the sides and re-wrap them around our bodies to get perfectly fitting custom ripped jeans.
Tools and materials:
- Pair of too-large jeans
- Seam ripper
- Scissors
- Pins
- Sewing machine
1. Open the side seams
I really like the intentionally reconstructed look, with the overlapped waistband and sides, so that was my inspiration.
I started with a pair of ripped jeans that were probably 2 to 3 sizes too big for me.
Use a seam ripper to open the side seams as far as you can.
If you're lucky, your seams will be held with just one stitch, as mine were. That meant I could slide the red ball on the seam ripper inside the seam and take it straight up the leg as far as the pocket area.
From that point, you'll need to work more carefully but the goal is to open both side seams completely as far as the waistband, then cut straight through the waistband.
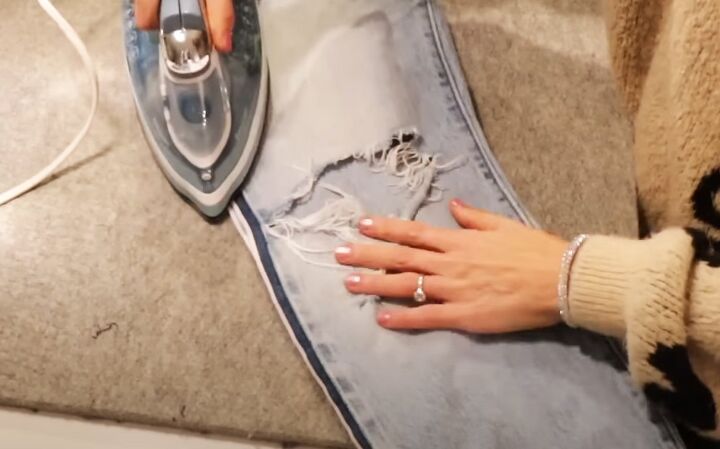
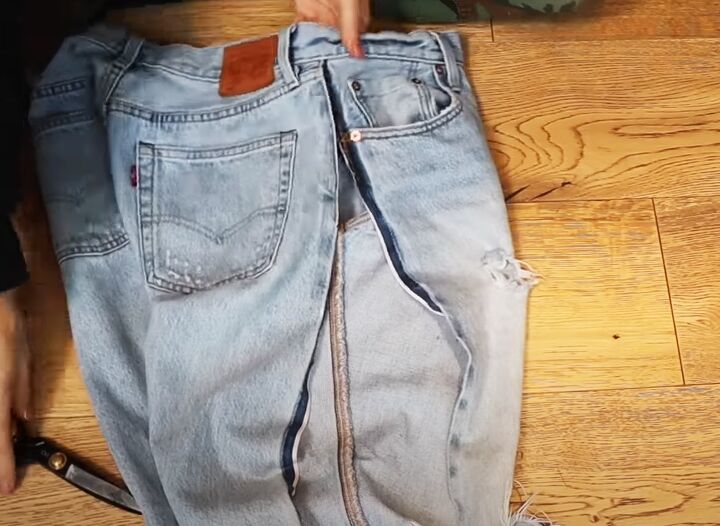
2. Press the seams
Remove any loose threads or stitches and press the side seams open flat.
As you can see, the inner part of the seam on mine is unbleached, giving a really neat dark blue stripe down each side that I intend to use as a design feature.
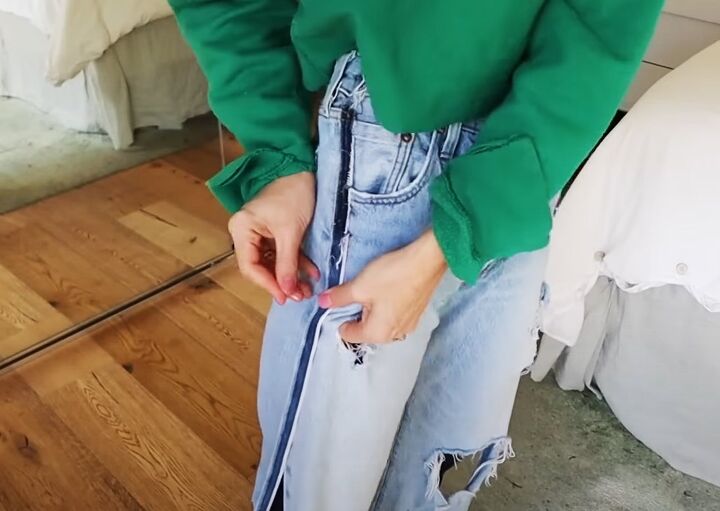
3. Re-wrap the jeans
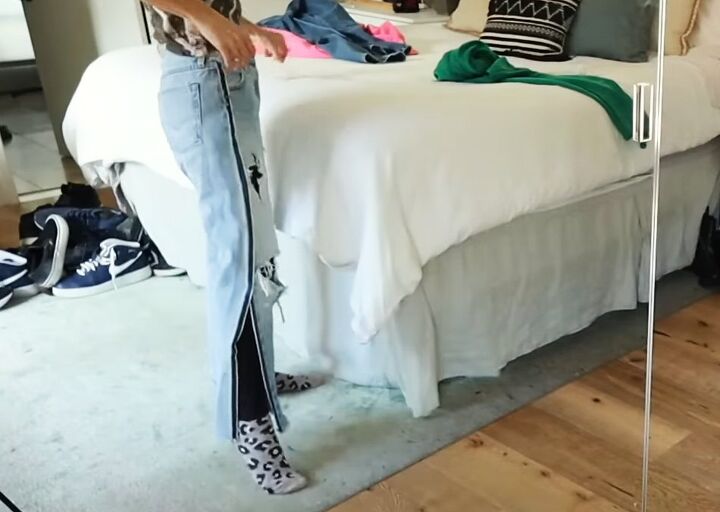
Pin the jeans around your body at the waist so they don't fall off. I'm doing it over yoga pants so I can film it, but of course you should wrap yours directly around your body.
Start adjusting the jeans at your waist, deciding where you want them to sit and how tightly they'll fit. Make sure to keep the adjustments even on both sides and pin the waistband in place.
Continue down both side seams, pulling the back of the jeans over the front on each side, pinning in place and checking in the mirror until they feel and look a good fit.
Fit a 10 to 12 inch section at a time on one side and then move to the other side until you reach the lower leg.
Decide if you want to leave the bottom 6 inches or so of the leg open, as I did, or close them to the ankle.
4. Sew the new seams
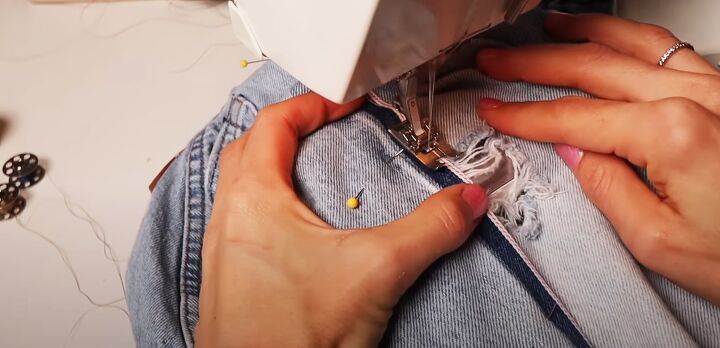
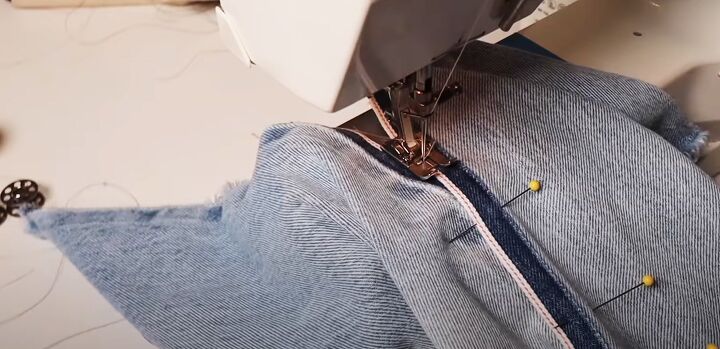
Use a straight stitch to sew the side seams. I made a feature out of the dark blue exposed seam, so I sewed down both sides of it to make it lie flat.
Start just below the waistband and stitch down the front edge of the seam on the right side as far as you can. Keep the fabric flat on the inside so you don't catch an extra layer in your sewing.
When it becomes too difficult to handle the material, remove the jeans from the sewing machine and turn them around to continue sewing from the bottom of the leg upwards.
Repeat on the other leg.
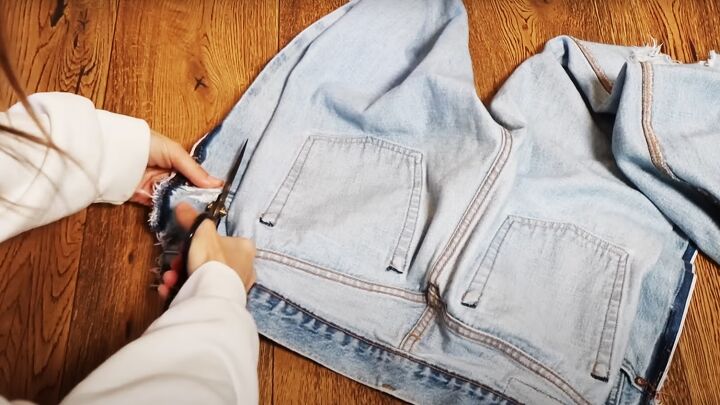
Before stitching down the second edge of the seam and the waistband, cut away as much excess fabric as you can at the waist to make the sewing easier.
Sew straight down from the waistband on to the back edge of the seam to the bottom of the leg.
Sew a zigzag stitch over the raw edge of the waistband.
5. Finishing
Turn the jeans inside out. Cut off the excess fabric down the length of the new seam, leaving a half inch seam allowance.
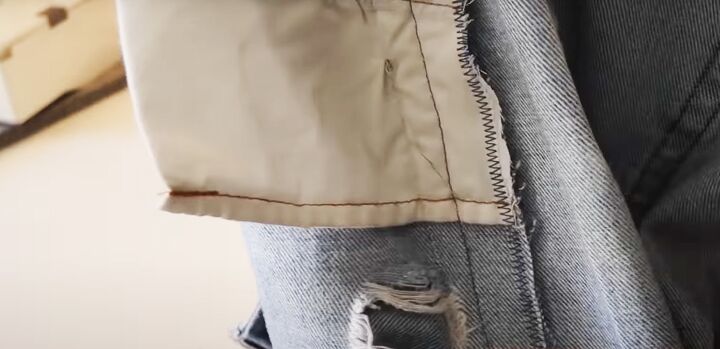
Finish the raw edges of the seams with a zigzag stitch.


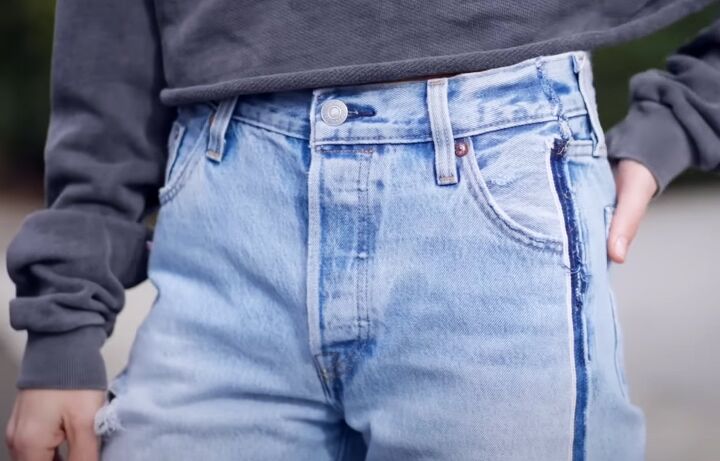
DIY custom ripped jeans
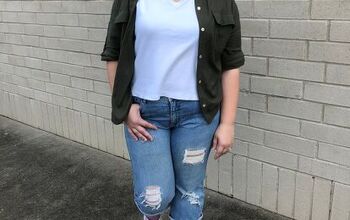
I was delighted with the way my jean hack worked out. My finished custom ripped jeans are somewhere between a slouchy boyfriend and a high-waisted tight style and they fit me absolutely perfectly. Plus they have the really cool reconstructed style that I love.
I paired them with high-heeled red ankle boots for the photos, but they look equally awesome with sneakers.
If you got a few custom jeans ideas from this, please let me know in the comments below.
For more DIY fashion content, check out my Dolce & Gabbana Dupe Tutorial: How to DIY a Denim Patchwork Bag.
The author may collect a small share of sales from the links on this page.


Comments
Join the conversation