DIY Distressed Jeans

I love the look of distressed jeans, but who wants to spend money on jeans that are torn up? I decided to put my DIY skills to use and distress a pair of jeans I already had and it has become one of my most popular blog posts. I have since done three other pairs and it is so easy! You can use jeans you already have on hand or find an inexpensive pair secondhand (in case you are afraid of messing up!)
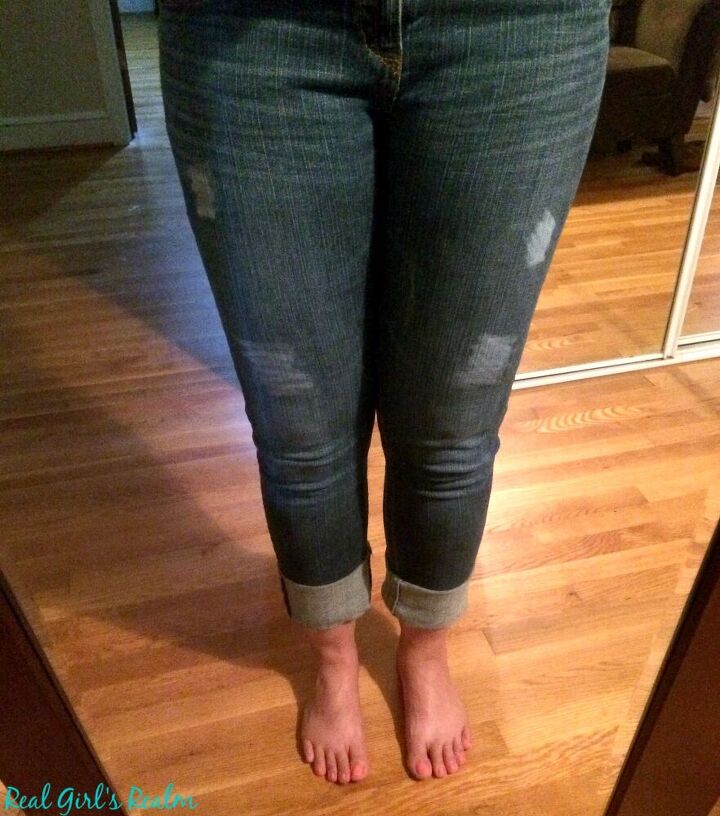
I decided I wanted a few threadbare areas and distressing on the edges of the pockets. Put on the jeans and use a piece of chalk to mark the location and size of the distressing.
Decide if you want complete holes with the edges frayed or holes with the strings still attached across the middle (which is what I did.)
Once you have decided on the look you are wanting, use scissors to make your cuts. I made a small cut at the top and bottom of the area where I wanted the distressing to be.
Use tweezers to pull the vertical strings, one at a time, out of your cut area. This will leave the white horizontal strings across the opening. It took a little while to do this step, but I worked on it while watching my favorite TV shows!
Here is a look of what the hole looks like after fraying.
Use a disposable razor to shave the edges of the pockets on the front and back, to get a worn look.
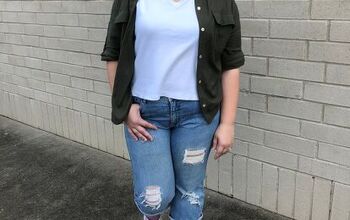
When you finish distressing them, throw them in the washing machine and dry them to soften the distressing. They are the perfect compliment to a plain T-shirt!
Enjoyed the project?
Resources for this project:
See all materialsThe author may collect a small share of sales from the links on this page.


Comments
Join the conversation