DIY Distressed Jeans

In this tutorial, I will be showing you how I thrift flipped two pairs of jeans into an amazing distressed, bell-bottom pair. This design is super-cute and was easy to make! I hope you give this thrift flip a try!
Tools and materials:
- 2 pairs of jeans
- Seam ripper
- Scissors
- Ruler
- Chalk
- Pins
- Sewing machine
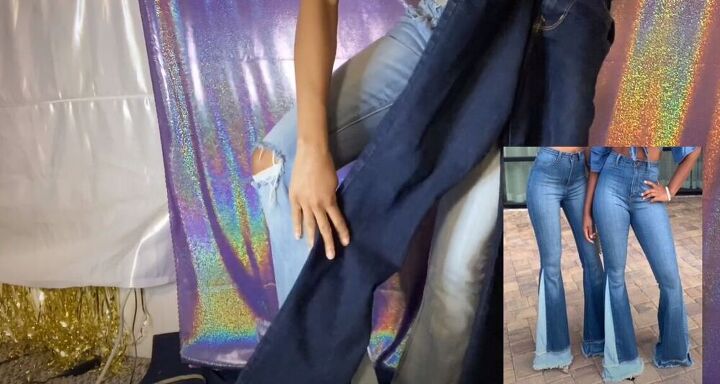
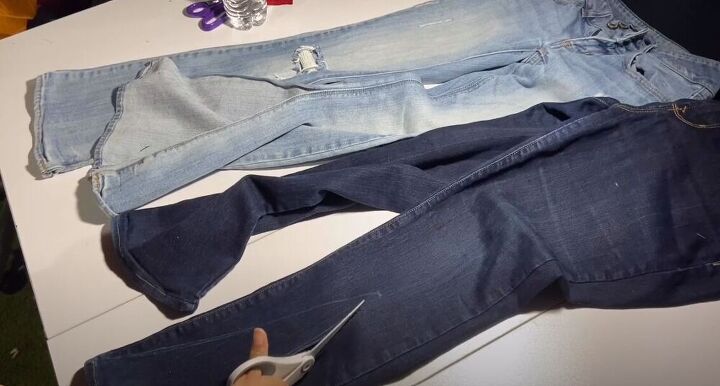
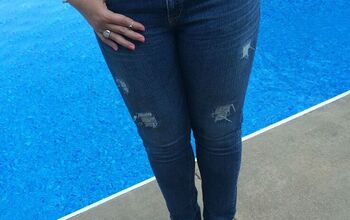
Here are the two thrifted pairs of jeans that I would use to make the distressed bell-bottom pair.
Create the two-toned bottom
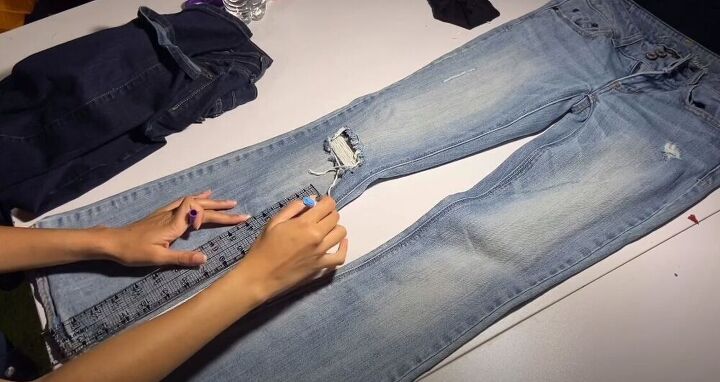
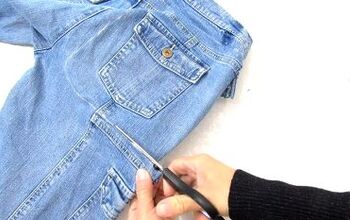
To kick off this thrift flip, I measured 13 inches from the bottom of the jeans.
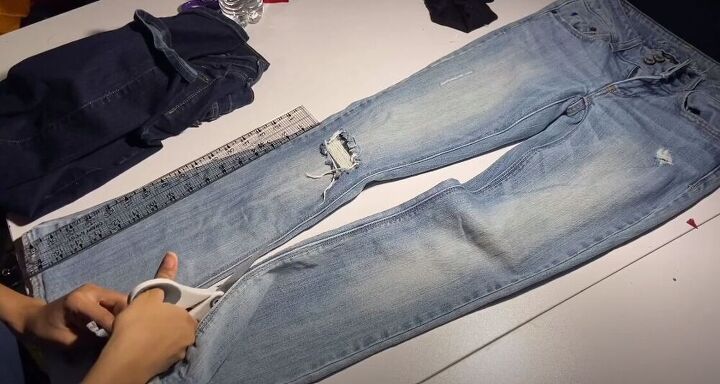
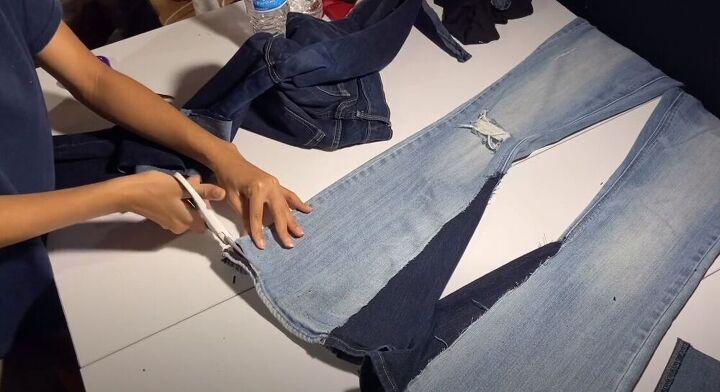
I grabbed scissors and cut open the inner side seam until that 13-inch point.
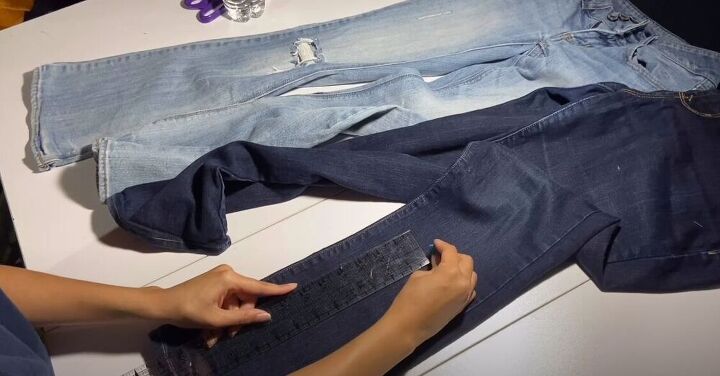
I then took the second, dark pair of jeans and measured 13 inches up in the middle of the leg.
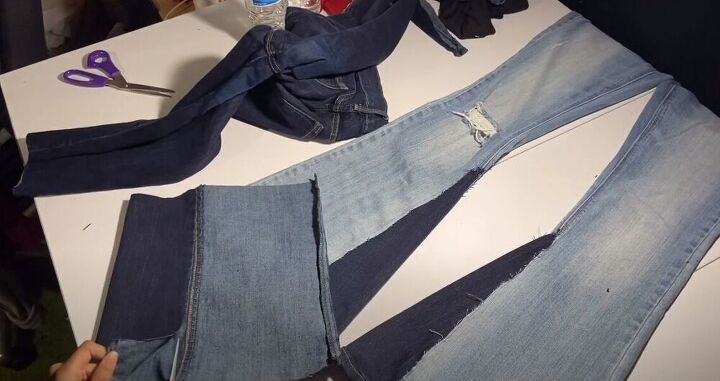
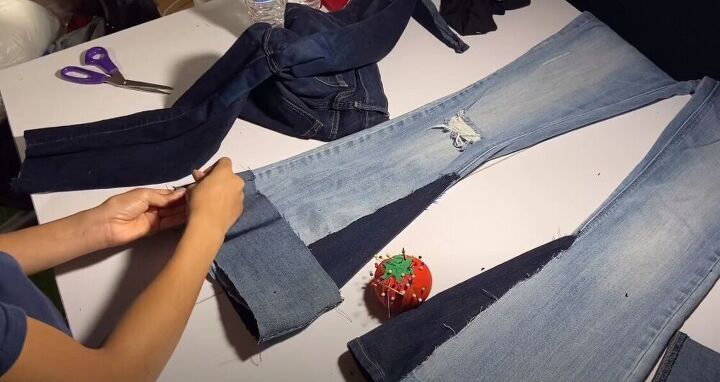
I used a ruler and chalk to draw a triangle shape, on the front of the leg, from the 13-inch marking in the middle down to the bottom of the jeans. I cut out the triangle, making sure to cut both the front and back layers of the leg.
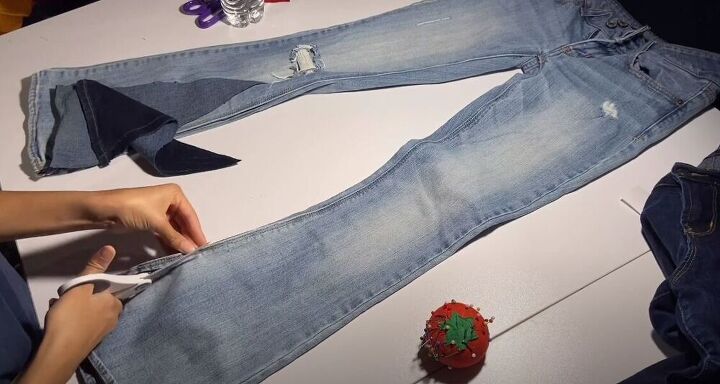
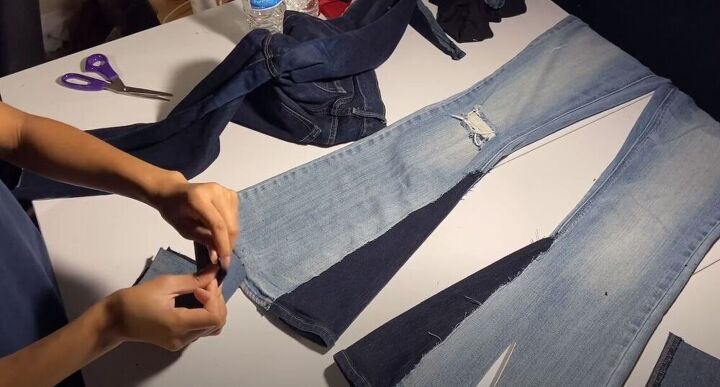
I placed the triangle inside the open leg and then decided to cut off the thick edge of the lighter jeans to get more of a frayed look.
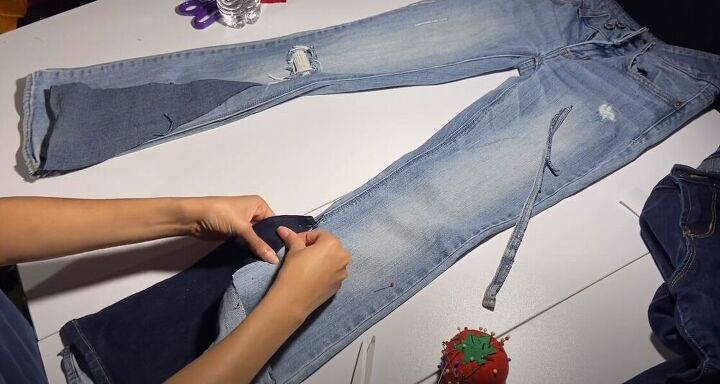
Next, I pinned the triangle piece to the pair of jeans. Normally I would pin right sides together, but this time I pinned the wrong side of the light jeans to the right side of the triangle piece.
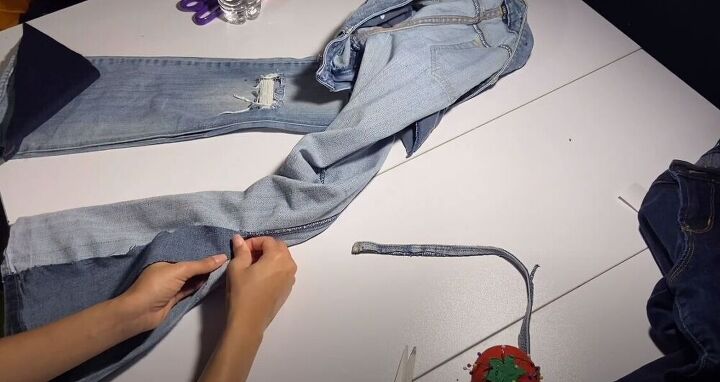
I turned the jeans inside out, which is what I should have done in the first place and continued pinning. I made sure to do the same on the other leg.
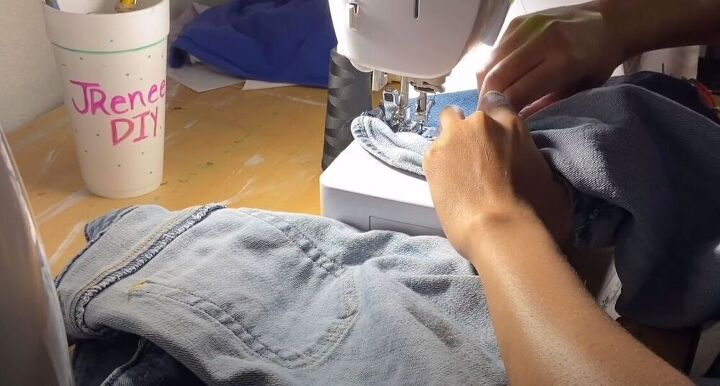
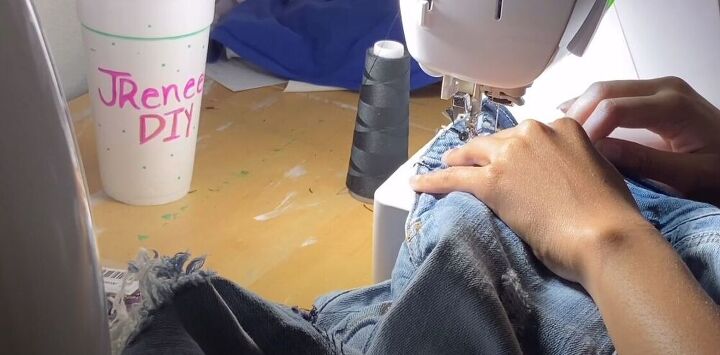
I took the jeans over to my sewing machine and carefully sewed along the pinned lines.

Add to the bottom of the jeans
After sewing, I took a second look at the picture I was copying and realized that I had made a mistake. I was determined to fix it! I cut off the bottom of the second leg of the dark jeans. I made sure to also cut off all the thick parts of denim.
I cut open the piece of the leg, and then folded the bottom part over and cut it off and in half.
Next, I pinned the two pieces together on the short edges.
I cut off the bottom hem of the jeans as well.
After sewing and topstitching the bottom piece, I placed it, right sides together on the bottom of the jeans. I matched up the side seams with the seams of the bottom piece and pinned it on. I repeated this step on the other leg.

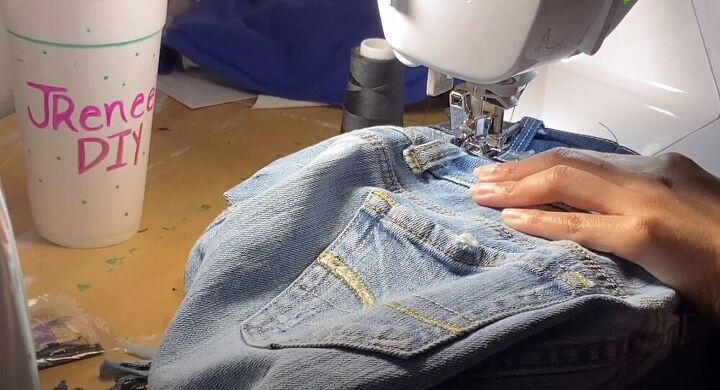
I went ahead and sewed the pieces down with a straight stitch. I decided to topstitch as well to get a more professional look!

Add the second waistband
In the next step, I started working on the waistband for the pair of jeans. I took the darker pair and cut off the waistband.
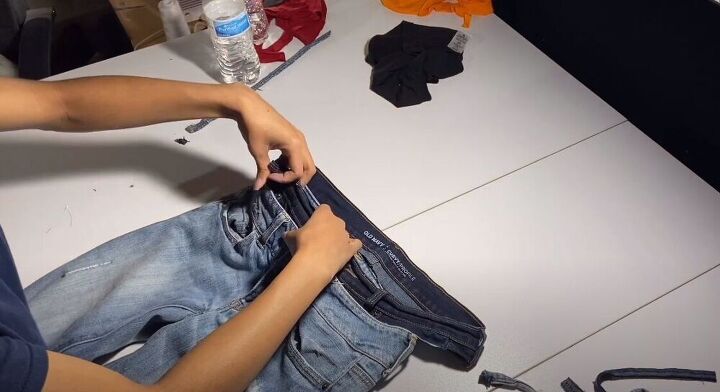
I went ahead and started pinning on the waistband. It was a little big for the second pair of jeans so I decided I would add in two darts at the back.
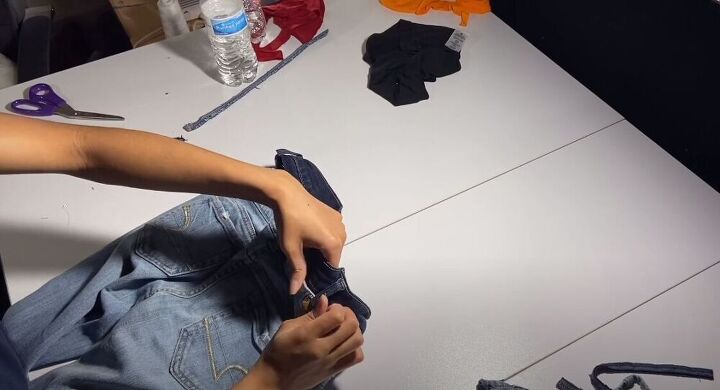
I continued pinning until I reached the back. To make the darts, I pinched on the inside of the dark waistband and carefully pinned the waistband on.
I moved to the sewing machine and started by sewing the darts. I cut the excess fabric after sewing.
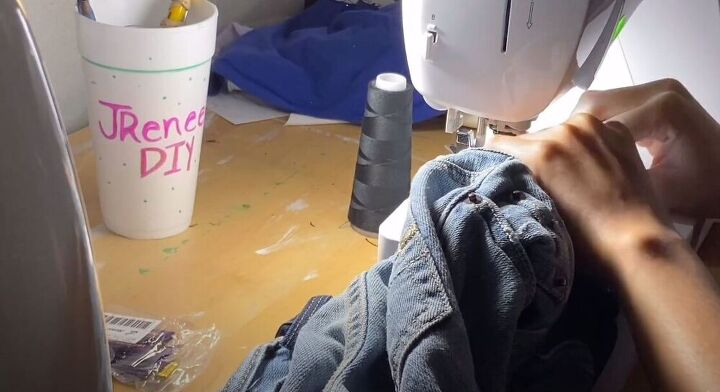
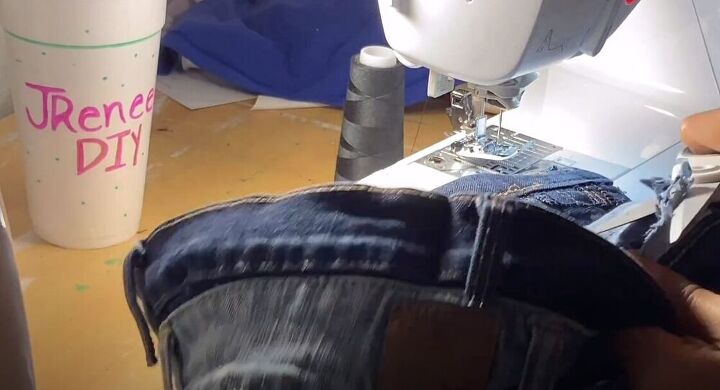
I then sewed the waistband on. I took my sweet time on this step because the jeans were bulky and I wanted the end result to be perfect.
After I had finished sewing, I went ahead and cut off all the excess fabric from the waistband.
All that was left to do was sew down the belt loops from the attached waistband.
Finish the jeans
I decided to iron the top because it was so bulky.
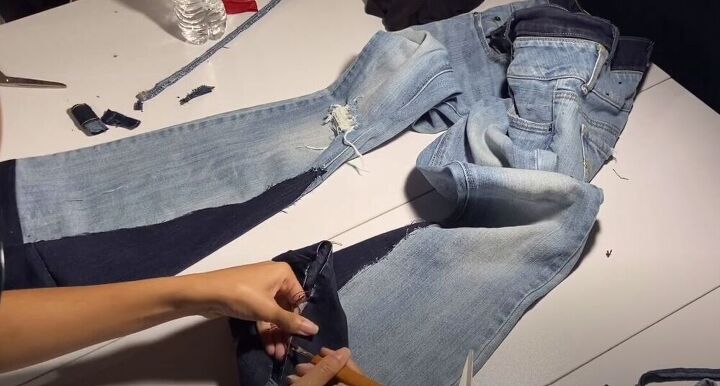
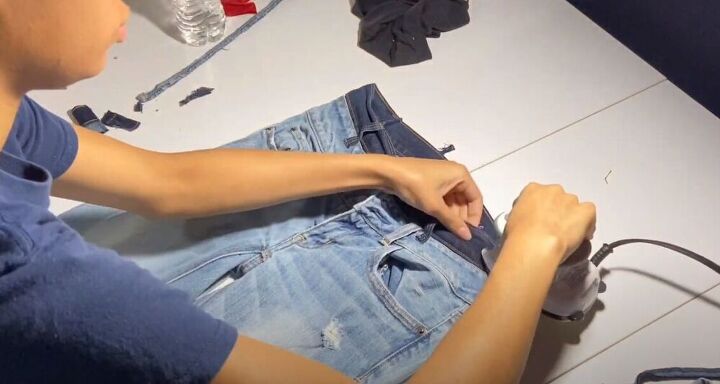
I worked a little on distressing the jeans by using a seam ripper to pick the threads from the bottom. I threw the jeans in the washer and dryer to help add to the whole distressed style.
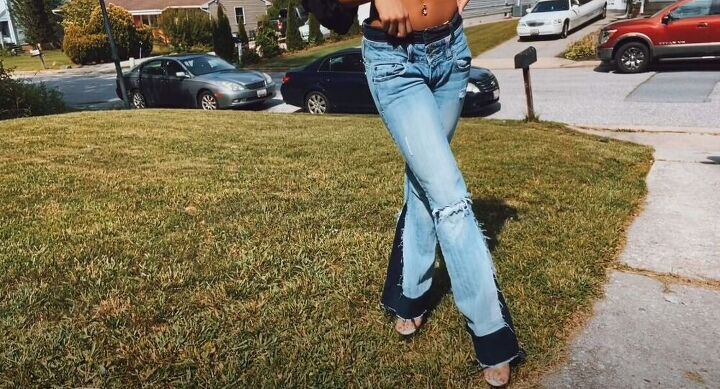
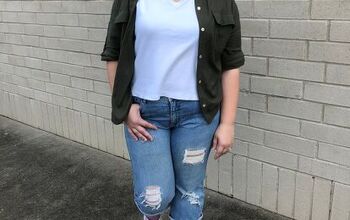
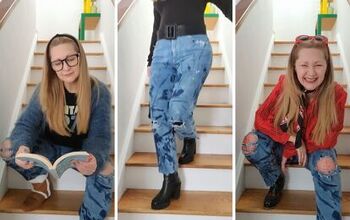
I just love the way these jeans turned out! I was searching for a pair of bell-bottoms and this thrift flip was the perfect way to get an amazing distressed pair! Share your thoughts on this jeans thrift flip in the comments below!
The author may collect a small share of sales from the links on this page.


Comments
Join the conversation
I was lucky that I found me a pair of Bell Bottom jeans at a Yard sale and they fit me perfect....My new Halloween outfit for this year is coming together....just need to find the right shoes and top then its complete ....Love how you did yours...they came out awesome ....thanks for sharing !!
LOL, can't tell you what we used to call those clear acrylic stilettos LOL. I would be banned from this site.