How to Make a Fun Colourful Hair Barrette

I like to Personalise my accessories and sometimes you just need a splash of colour to really make a difference. Starting with blank DIY copper Hair barrette that’s already marked out with bead size compartments ready to glue some colour in!
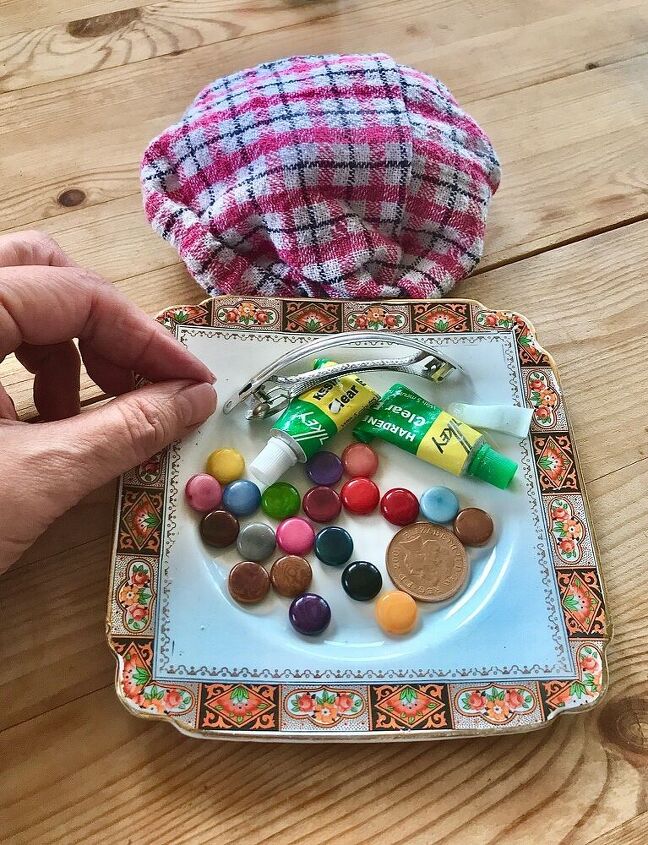
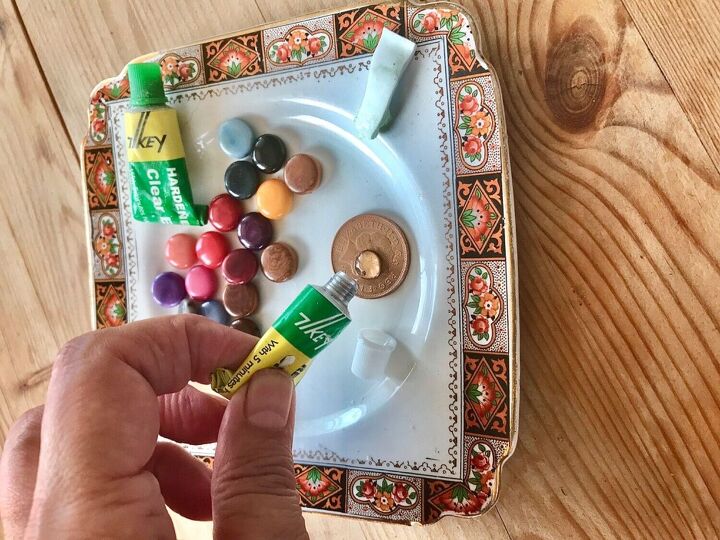
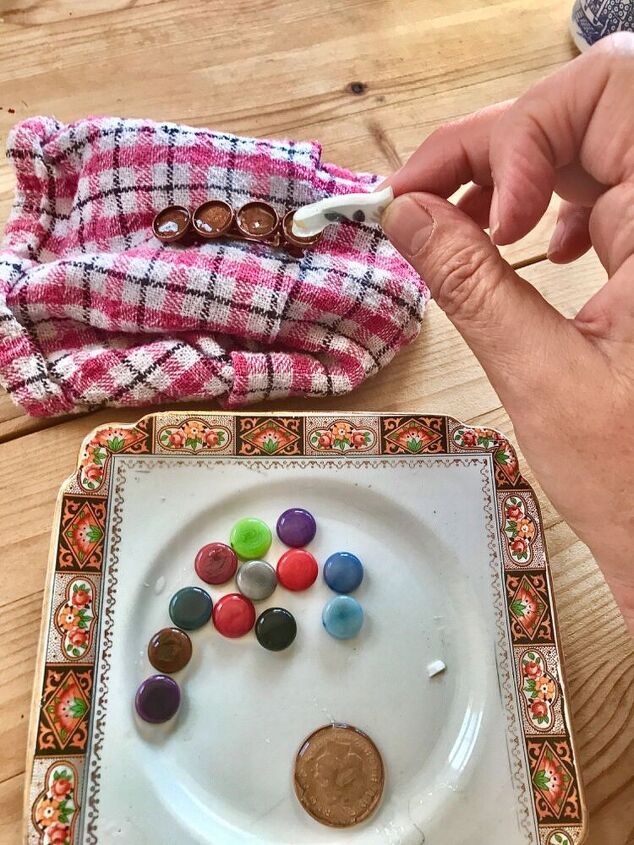
Mix up two part epoxy resin
I begin by mixing two globules of the same size of each resin hardener and epoxy Glue Onto an old copper coin using a ceramic stick to amalgamate the two until well mixed together and ready to fix the beads.
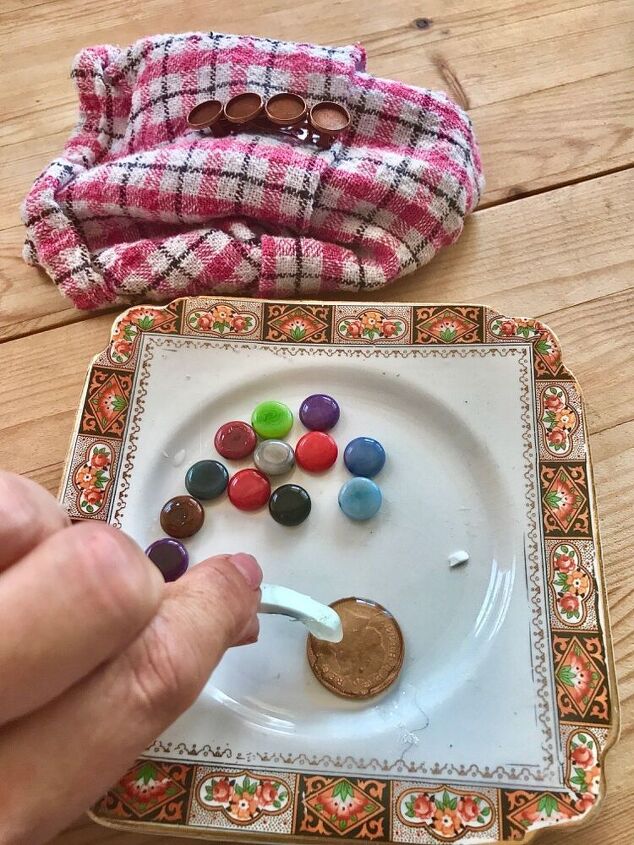
Put glue on hair barrette
I put little blobs off the mixed glue into the little cup bases and then decide which of the lovely colourful Tagua beads to stick first.
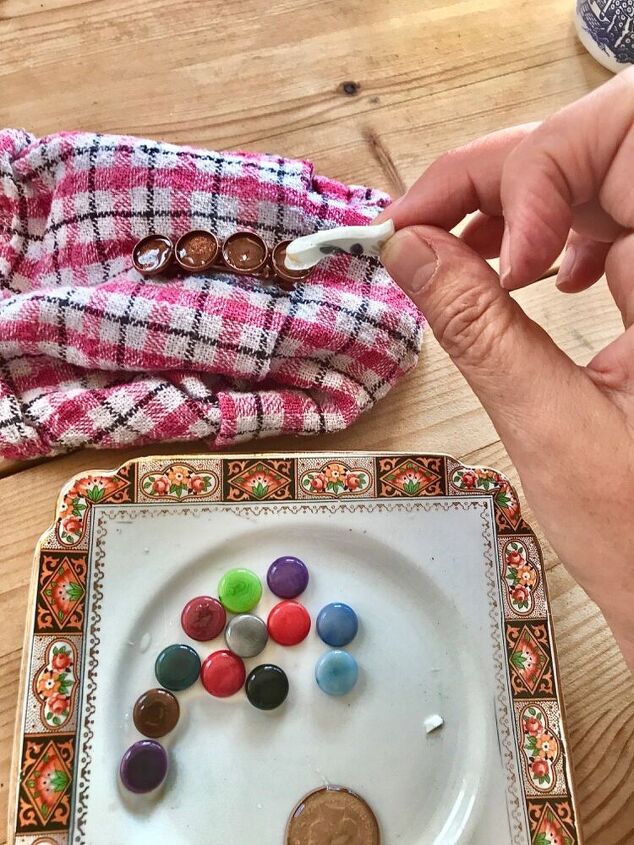
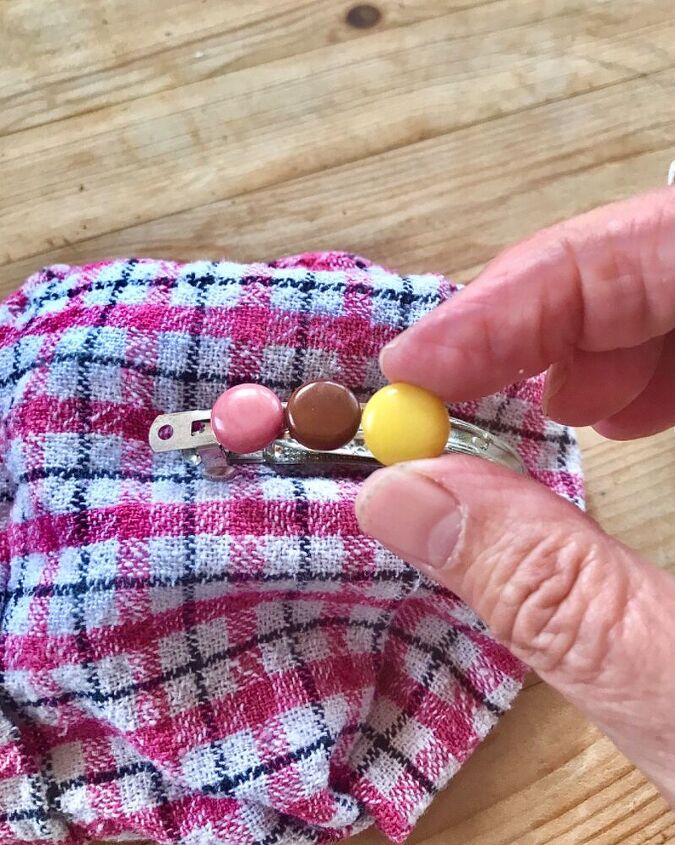
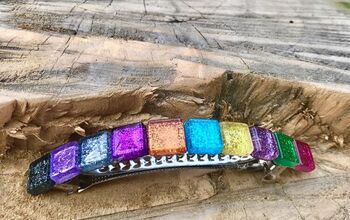
I rest the hair barrette into a dip in the scrunched towel which helps keep it Upright and in position for the beads to glue. Settle the beads in the order of sequence I like and wait for them to dry.
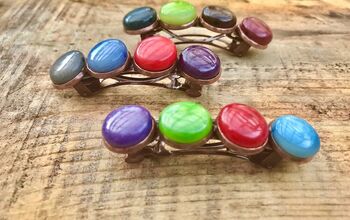
I make a few more in various colour combinations. Let them dry and be firmly set in
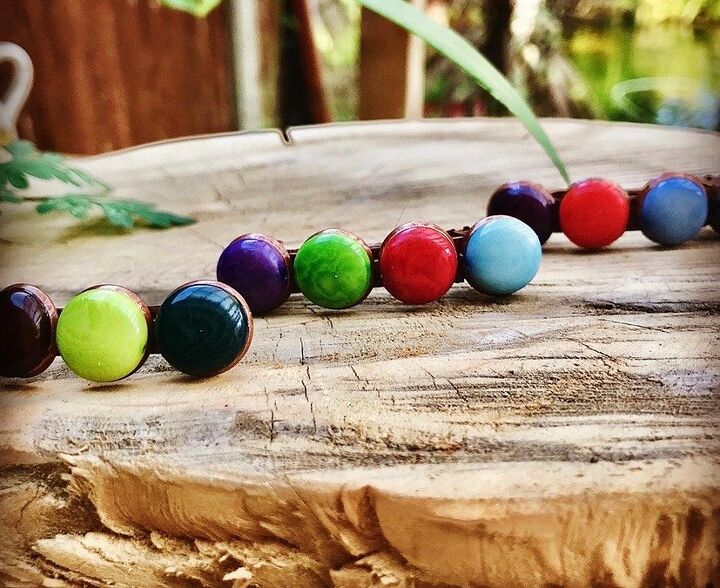
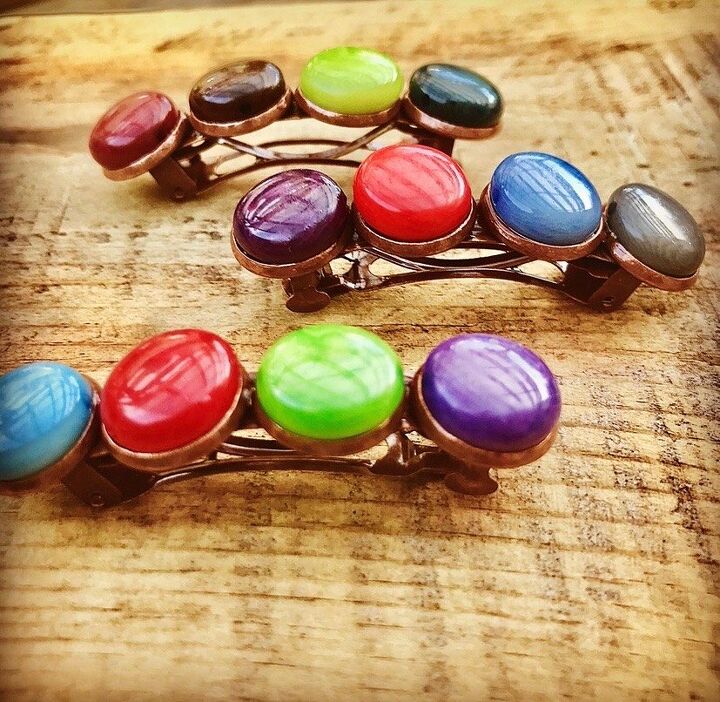
Im so thrilled with the result and they really are so sweet and colourfully original. As well there’s so many combinations sure to suit every outfit!
The author may collect a small share of sales from the links on this page.


Comments
Join the conversation