How to Make Dainty & Romantic DIY Polymer Clay Rose Earrings

In this DIY, I’m going to show you how to make a gorgeous pair of polymer clay rose earrings. If you’ve never worked with polymer clay before, now’s your chance to begin!
Creating jewelry from polymer clay is much easier to do than you might have thought. Let me show you how it’s done.
Tools and materials:
- Polymer clay
- 2 Flat padded ear posts
- Cutter
- Glue
- Ruler
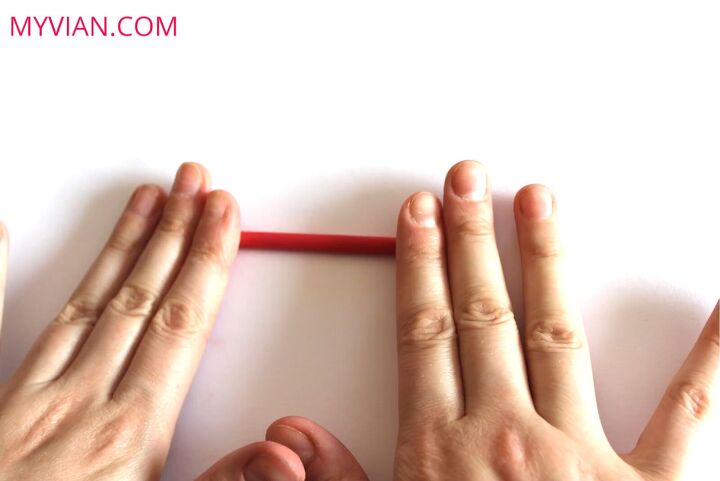
1. Roll the clay
Start by forming your polymer clay into a sausage shape, using the tips of your fingers to roll it on the table. You want to roll the clay until it is 11.5cm (4.5 inches) in length.
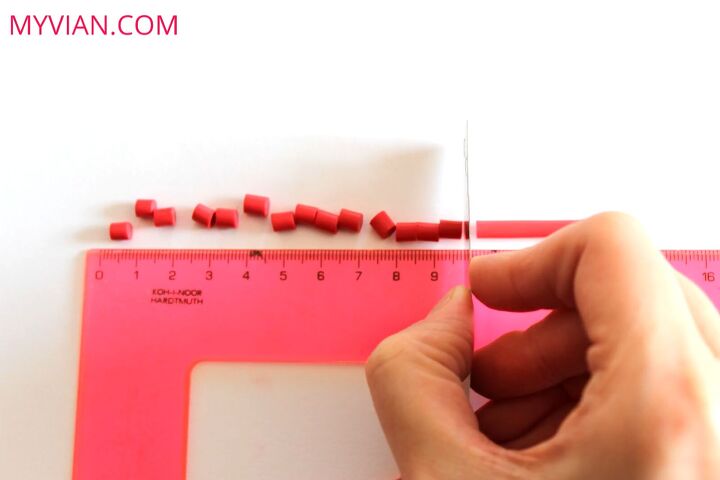
2. Cut the clay
Next, use your cutting tool to cut the long piece of clay into smaller pieces, each measuring 0.5cm (0.2 inches).

3. Roll into balls
Roll the little pieces into balls and then flatten the balls by pressing them between your thumb and your forefinger. Press them until they are very flat.
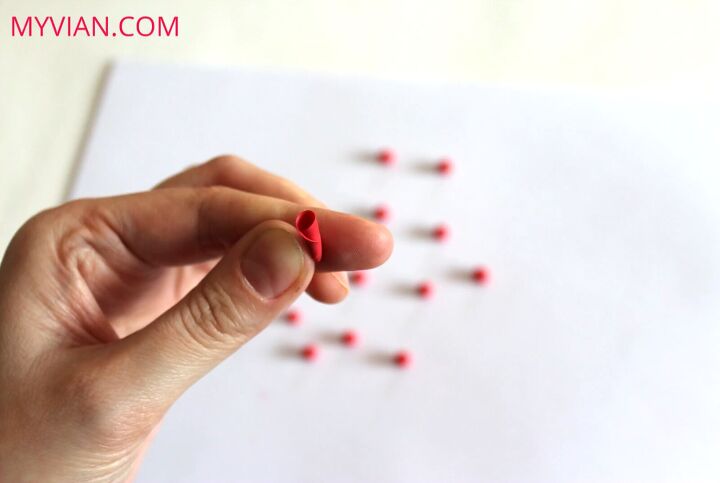
4. Shape the clay
Next, roll your flat piece of clay so that you have the cylindrical sort of shape shown above.
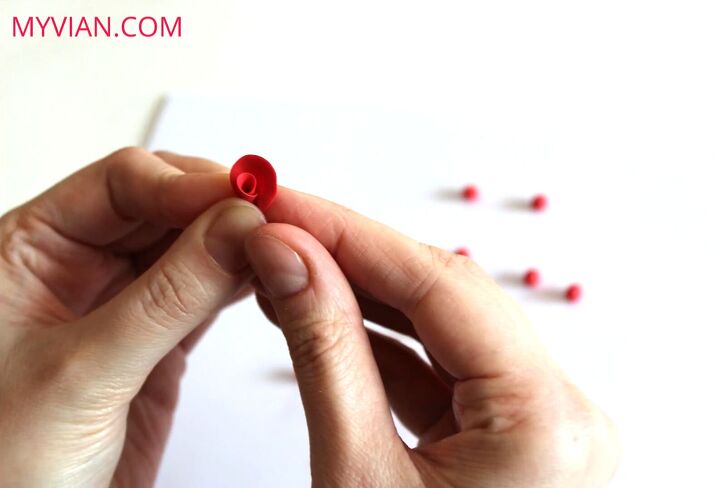
5. Create a rose shape
Now take another piece of flat clay and wrap it around the first one to create the appearance of layered petals. This second piece will wrap around half of the first one.
You should press the bottom of the two pieces together firmly but make sure that the tops aren’t pushed together too much as you want it to look voluminous.
Add the third petal on the opposite side to the second one. Remember to press the bottom of the clay firmly to the other parts but keep the top of it open.

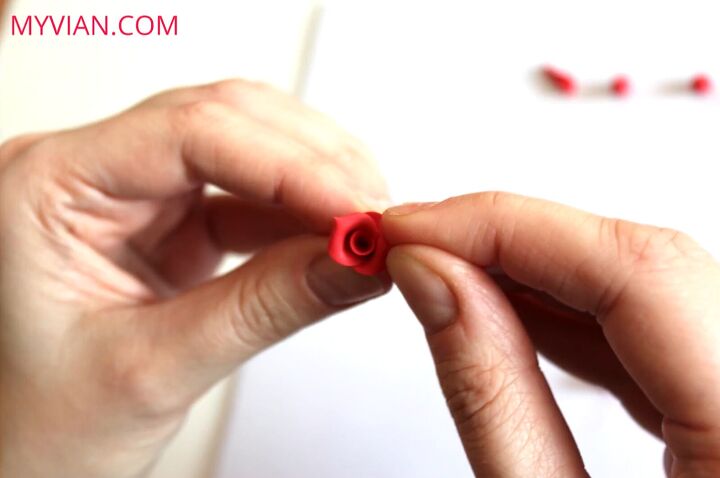
Repeat this process of adding on petals. Pinch the outsides of the petals slightly to create a realistic appearance of a rose.
When you’ve finished adding all the layers of petals, your rose should look like this.

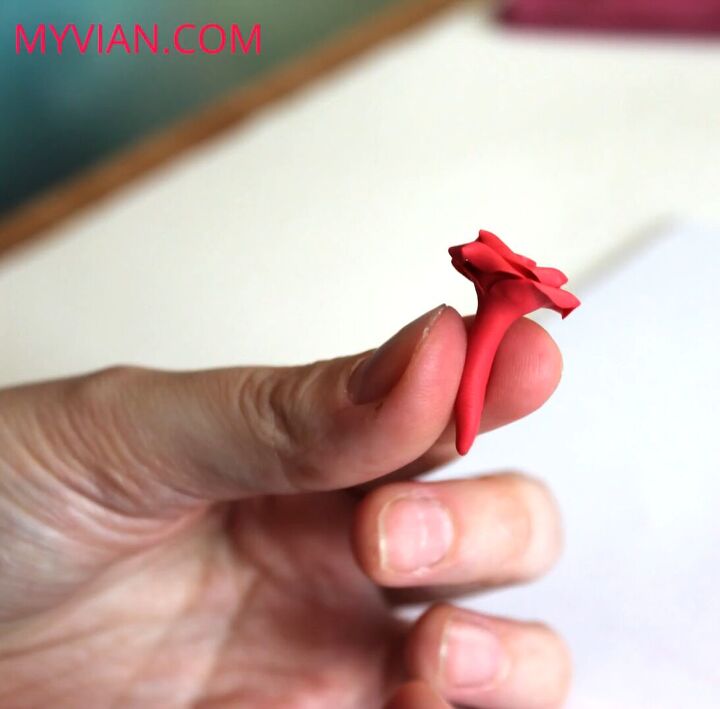
6. Cut off the top part
Use the cutter to cut off the top part of the rose.

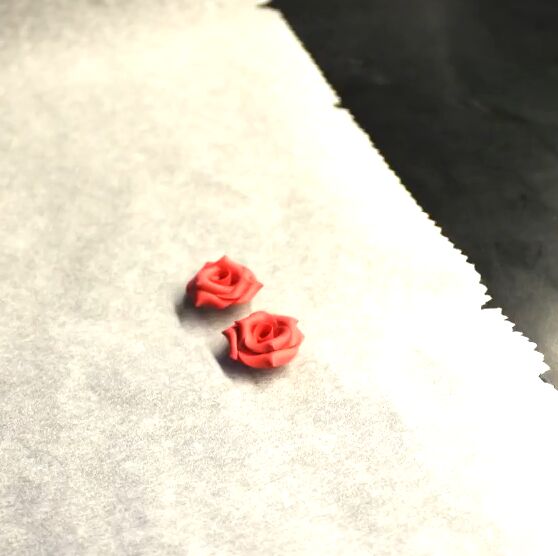
7. Make the second earring
Now repeat the whole process to make the second earring. Make sure that you use the same number of pieces as the first earring so that the two end up the same size.
8. Bake
Now that you have your two earrings, bake them in the oven. Check the instructions on your packet of polymer clay to see how long for and at what temperature.
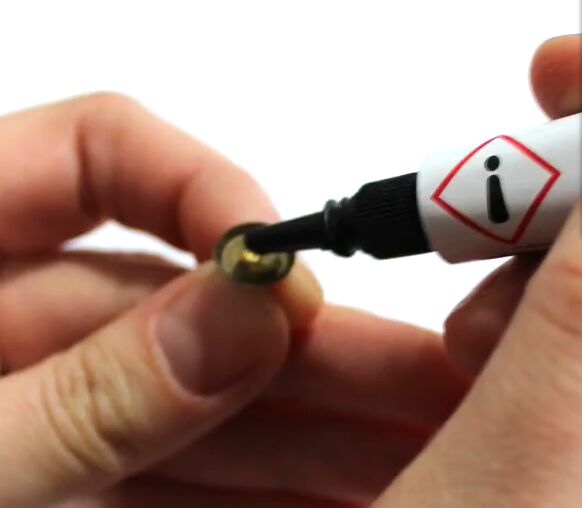
9. Create the earrings
The final step is to stick glue onto the back of your flat padded ear posts and stick the ear posts to your polymer clay roses. And you’re done!
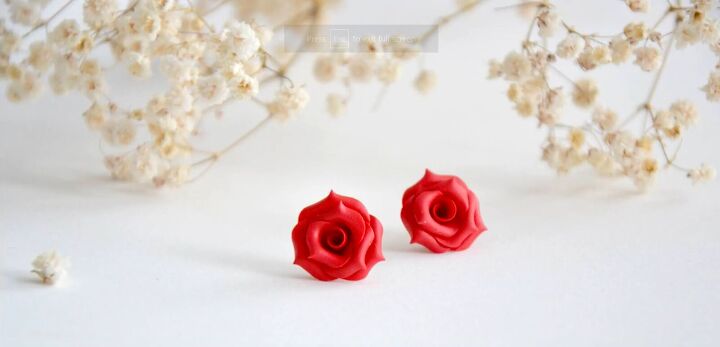
DIY polymer clay rose earrings tutorial
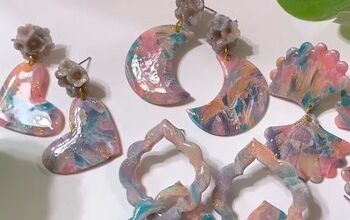
Here we have our polymer clay rose earrings. The roses look so realistic and dainty. These are a beautiful and feminine accessory that will help to brighten up your whole face.
Remember that when working with polymer clay you’ll get better over time, so if you made a few mistakes, keep practicing and soon you’ll be smooth sailing.
The author may collect a small share of sales from the links on this page.


Comments
Join the conversation
Think I’ll try these with my 16 year old lovely granddaughter Vanessa! Thank You. So Beautiful