How to Make Adorable DIY Sunflower Polymer Clay Earrings

In this DIY, I’m going to show you how to make sunflower polymer clay earrings. With spring beginning, these earrings will give your accessories that much-needed splash of color.
Who can resist the bright yellow of sunflower petals? Follow me as I show you step by step how to make this beautifully intricate design.
Tools and materials:
- Polymer clay (pale blue, green, brown, yellow)
- Jump rings
- Earring stud posts
- Acrylic roller
- Blade/flat knife
- Needle
- Ball shaping tool
- Cookie cutters - large and small
1. Roll the base
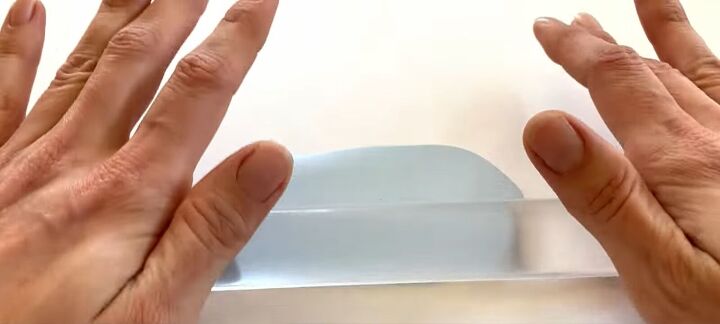
Use the acrylic roller to roll a flat slab of your pale blue clay that is approximately 2-3mm (0.08-0.1 inches) thick. Your slab should be large enough to cut two circles with your larger cutter.
Tip: If there is any dust caught in the clay, you can use rubbing alcohol and a tissue to remove it.
2. Cut the shape
The next step is to cut two large circles carefully. Then proceed to cut two small circles inside the large ones (keep these circles as you will need them later).
Pay attention that they are placed identically on both pieces as you want the earrings to look symmetrical.
3. Make the first sunflower center
Now you’re going to start creating the sunflowers. Start by creating the first brown center by cutting some brown clay, rolling it into a ball, and shaping it into a flat circle.
Next, place the center piece onto the earring using a needle or a ball shaping tool and press it flat. Then you want to make some little dotted marks on the brown clay to look like the center of a sunflower.
4. Make the leaves
Next, shape the main leaves with your green clay. Place the leaf under the base of the sunflower and draw the lines on it. Repeat for the other main leaf.
Tip: To remove fingerprints, just press the leaf against some paper (or whatever surface you’re working on).
5. Make the second center
Add the second sunflower center. This one will be in the middle and more circular than the first. Use the ball shaping tool and needle to create a more realistic shape and texture.
6. Make small leaves
Add three tiny green leaves; these will be the base for the third sunflower.
7. Make the sunflower petals
Now, prepare plenty of tiny yellow chunks and roll each into a nice petal shape. Once done, you can start placing the petals around the two centers.
Next, you will need half-sized petals. Add plenty of these in the center of the flower for a more realistic look. Continue adding petals until you are happy with the result.
8. Add the final touches
Add a few final touches for the texture of the sunflower center. You can add a few tiny leaves if you feel like there should be some more.
When you have your first earring complete, repeat the process for the second one. For the best result, create the other earring as a mirror image of the first one.
9. Bake & add fastenings
Finish off by baking your clay; check the instructions on your clay to see how long for and at what temperature. Lastly, attach the jump rings and the earring studs, and you’re done!
Here we have the finished DIY polymer clay sunflower earrings. As you can see, I’ve used the center parts that we removed earlier to attach the jump rings to.
DIY sunflower polymer clay earrings tutorial
I love the intricacy and detail of this design. All of the little lines and dots created by the dotting tool and the needle create a really realistic appearance that looks beautiful!
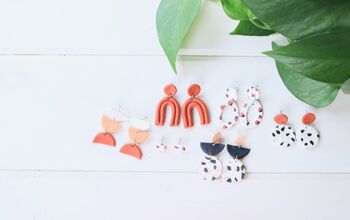
Here are some other color combinations; let me know which one is your favorite!
Enjoyed the project?
Suggested materials:
- Polymer clay (pale blue, green, brown, yellow)
- Jump rings
- Earring stud posts
- Acrylic roller
- Blade/flat knife
- Needle
- Ball shaping tool
- Cookie cutters - large and small
The author may collect a small share of sales from the links on this page.





Comments
Join the conversation
Really Nice!!! Thanks for sharing