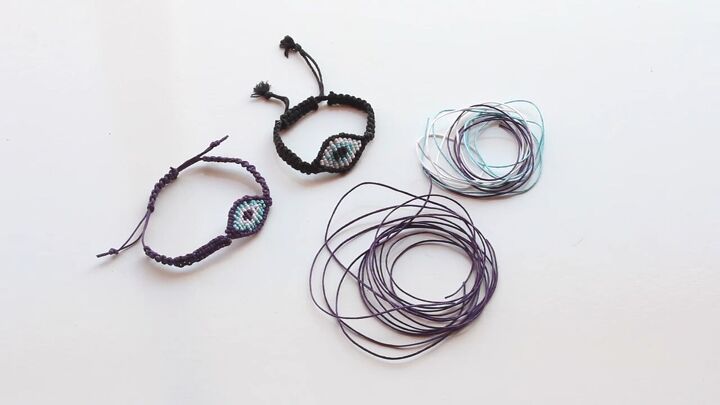
How to Make an Evil Eye Bracelet Using Easy Macrame Techiques

I’m back with a new bracelet DIY. Today, I’ll be showing you how to make an evil eye bracelet. Let’s get right into it.
Tools and materials:
- Waxed cotton cord
- Glue
- Scissors
- Strong tape or clipboard
1. Cut your cords
You’ll need 3 strands with 31.5 inches for the outside part of the eye and three with 24 inches for the inside.
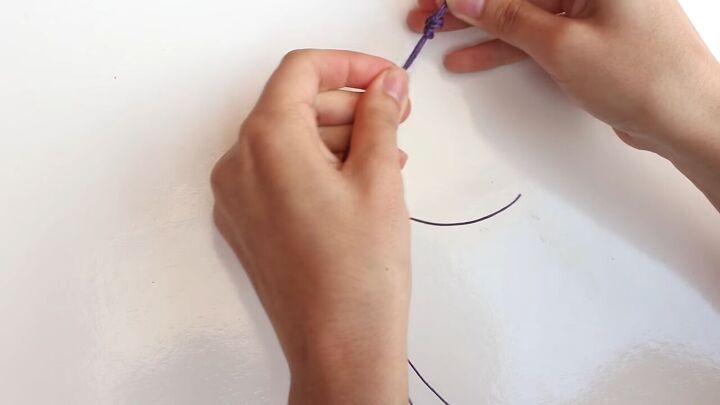
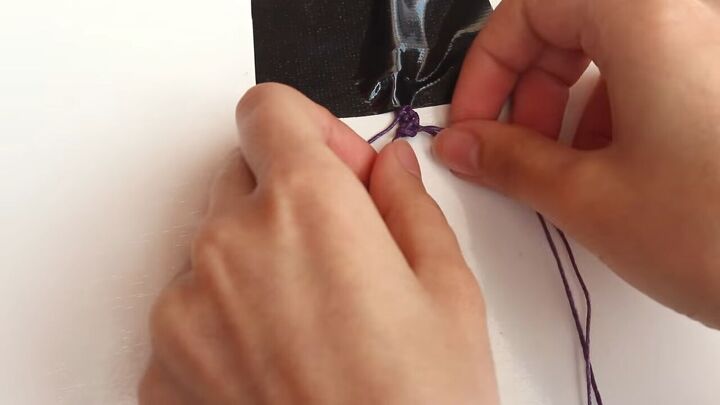
2. Make a knot
Gather two of the longer cords and make a knot about 6 inches from the top. The extra cord will be the wristband for the bracelet.
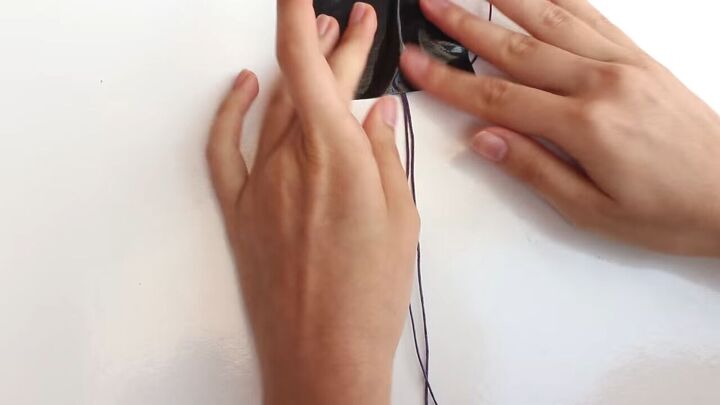
3. Clip or tape down the cord
Hold the cord in place with a piece of strong tape or clip.
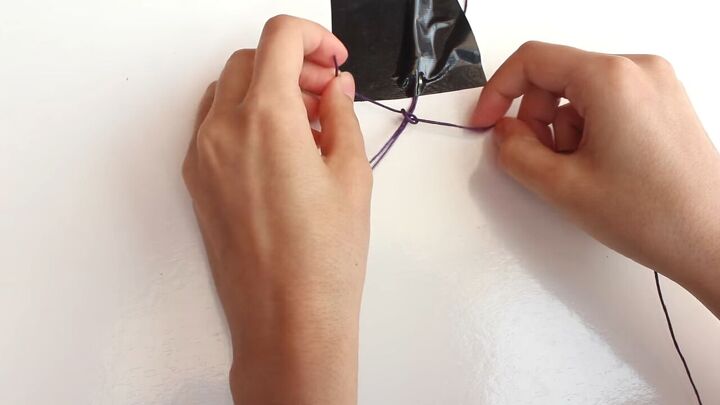
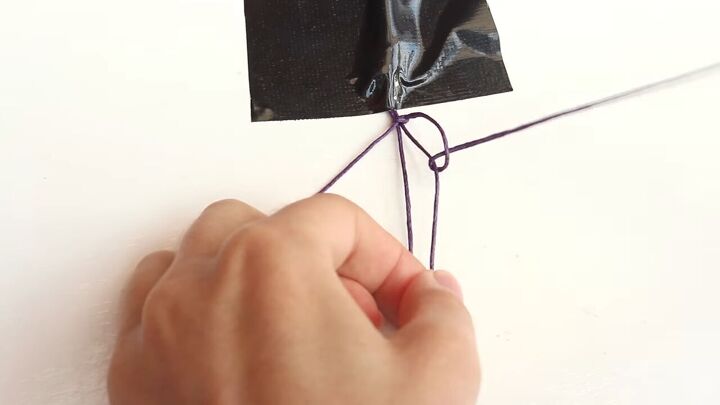
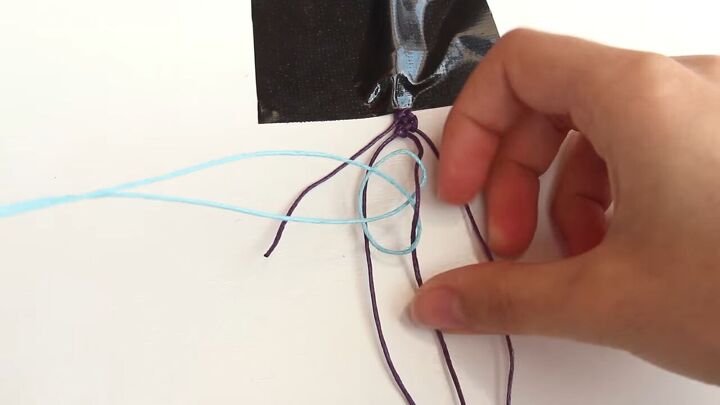
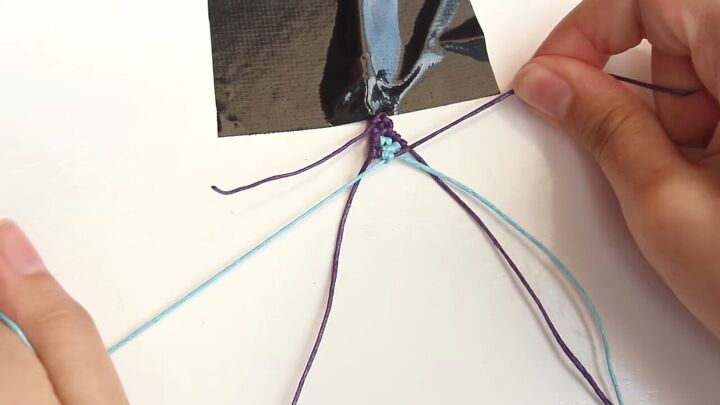
4. Tie a cord to the other cords
Grab the other longer cord and tie it at the top with a simple knot. This will be the working cord, the one connecting all the knots together.
5. Make two half hitch knots on each side
Place the cords under the middle one. Then, bring the end through the loop.
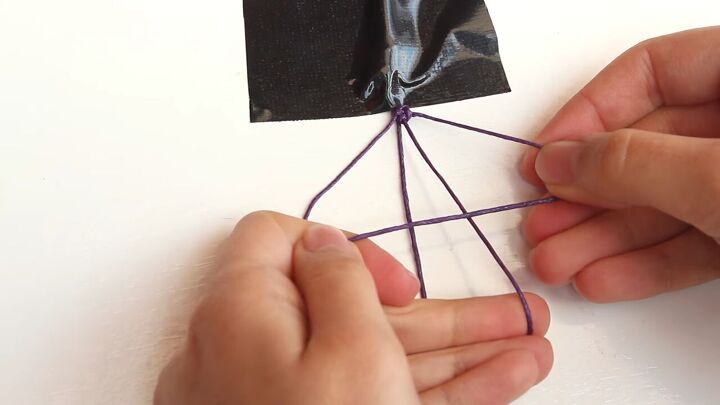
Make another knot, this time with the cord over the middle one, and also bring the end through the loop.
Repeat these two actions for the left cord.
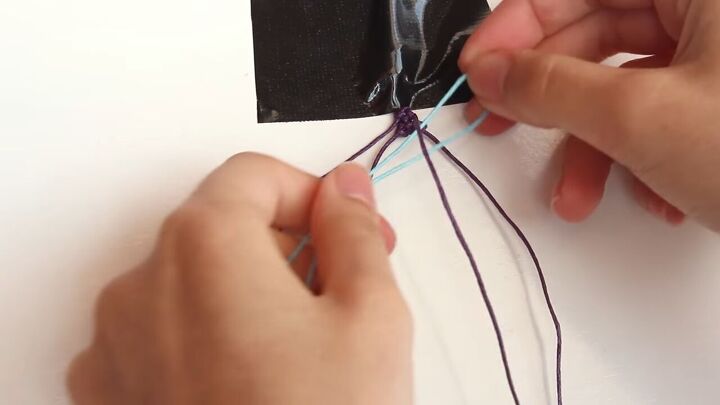
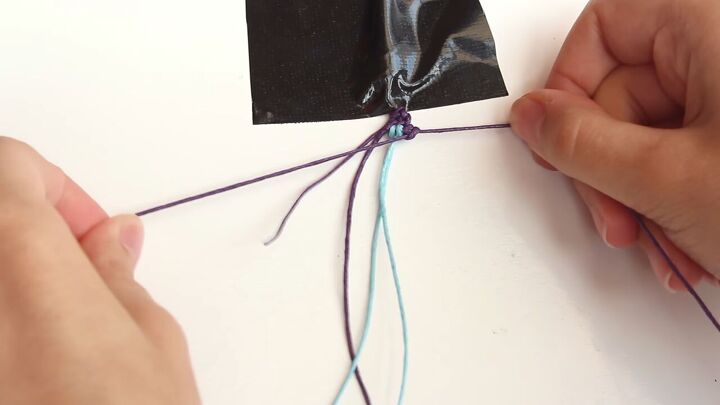
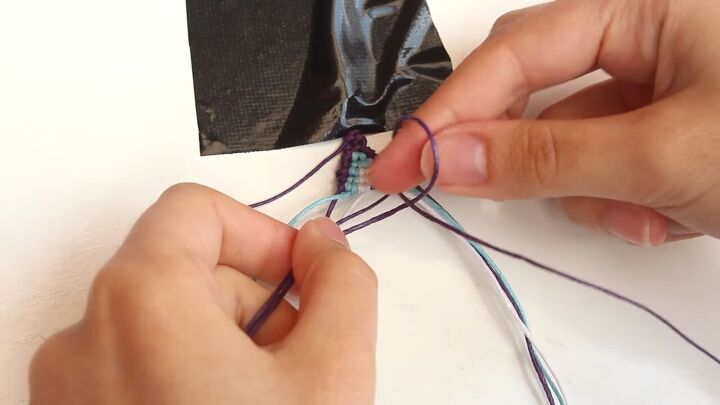
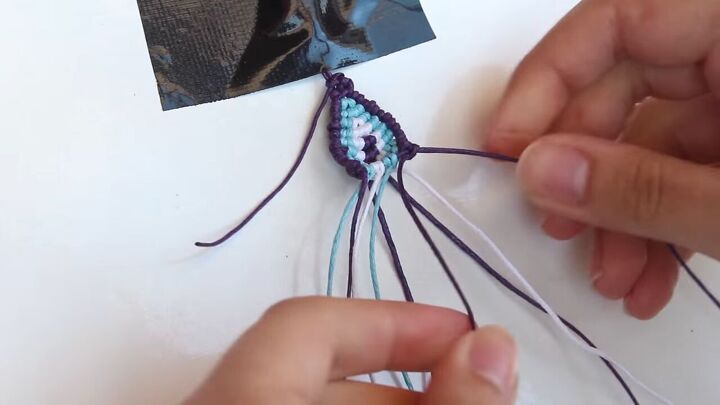
6. Add the blue cord
Fold the blue card in half and place it under the purple cord.
Pull both ends through and pull it tight.
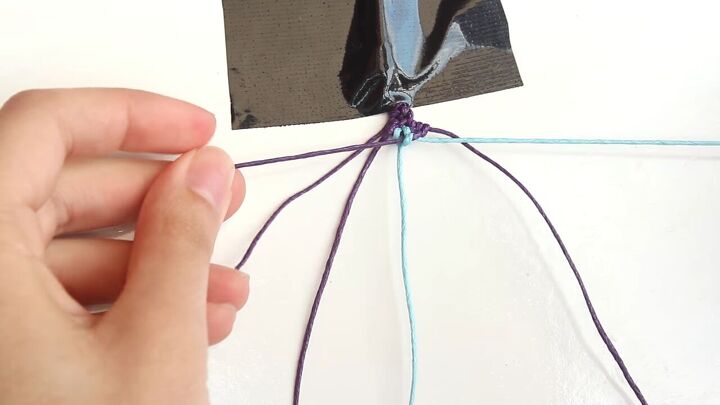
7. Repeat
Repeat step 5 three times, doing one under and the other two over the cords.
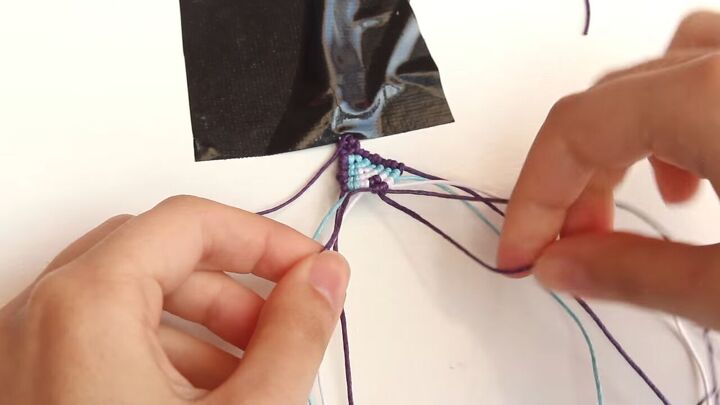
8. Knot the blue cord
Now, knot the blue cord over the working purple cord twice and pull the end downward.
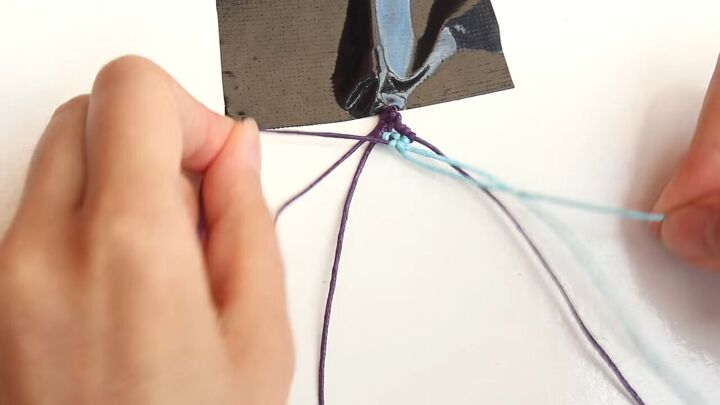
Repeat with the other blue cord.

9. Repeat
Repeat this same pattern until you meet the middle of the next row.
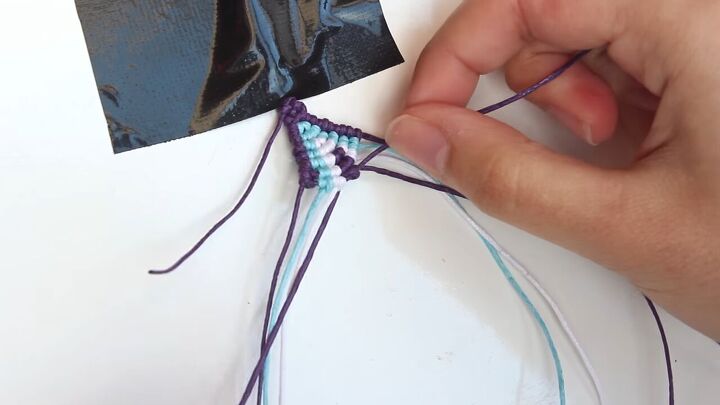
10. Add the white cord
Add the white cord as in step 6 and carry on knotting until you reach the next row.
11. Add another purple cord
Once you finish knotting the white cords, add another purple cord.
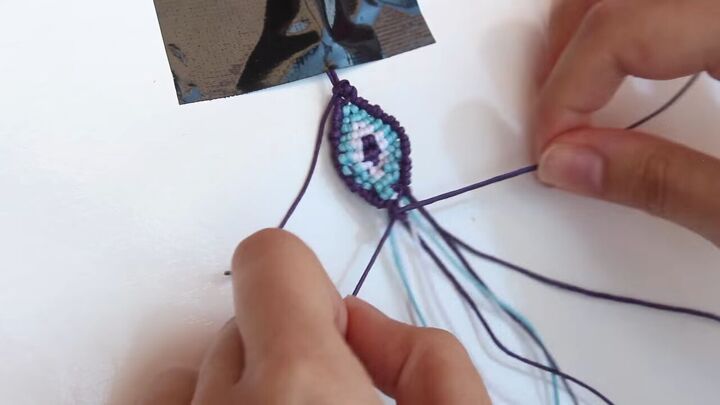
12. Continue knotting until you reach the center
Once the next row is complete, we’re going to start decreasing the number of knots to create that oval shape. Continue with the pattern until you reach the center.
13. Continue, but tie only one of the purple cords
For this row, instead of tying both purple cords, tie just one. I tied the one on the left, but it will probably help pull the other knots and get a better alignment for the colors if I’d chosen the one on the right.
Make sure to pull the working cord tight to avoid any big gaps in between knots.

Adjust the shape in between each row.
Continue knotting the rows and removing a cord on each one. It might look crooked right now, but just keep it as straight as you can and we’ll even it out later.
14. Finish the last row
On the last row, make just two knots on each side, one under and another over the cord. You can also use a pointed object to help push the knots.
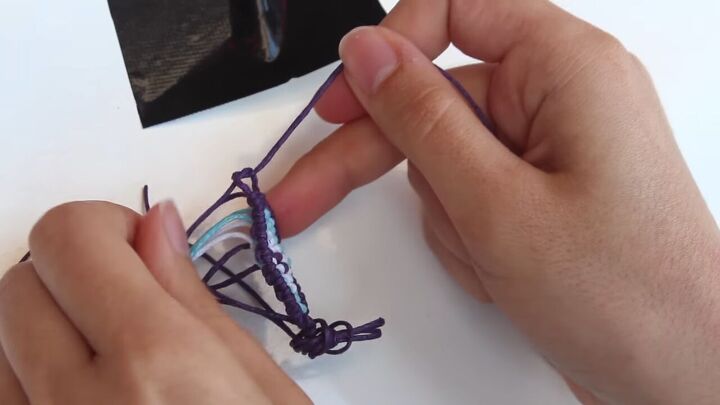
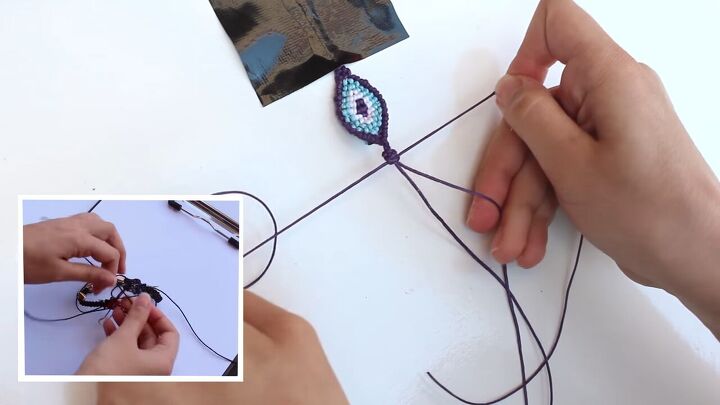
15. Tie the working cords
To keep the knots from moving, tie together the two working cords.
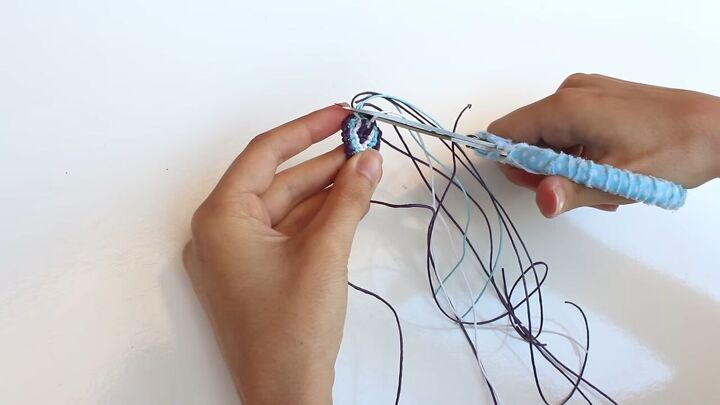
16. Cut and glue the skipped cords
Cut the skipped cords and add a drop of glue to secure them. Once the glue is dry, you can trim them shorter.
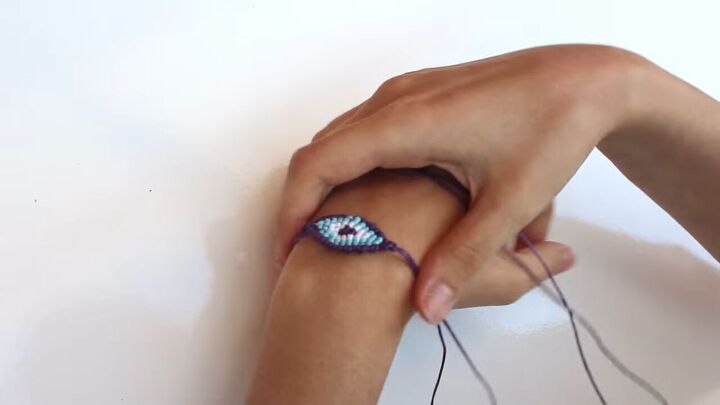
17. Tie
Tie it around your wrist as it is or make a wrist band.
To make a wristband, use square knots. You can see how to do this in my previous tutorial on square knot friendship bracelets.
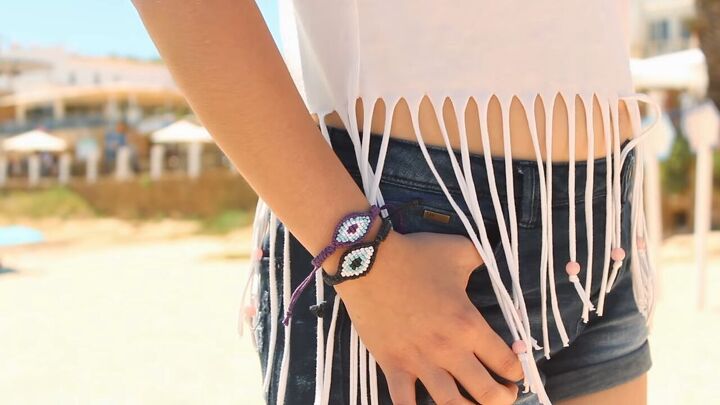
How to make an evil eye bracelet
That’s it for this macrame evil eye bracelet tutorial and here’s the finished DIY evil eye bracelet! Thanks so much for following along and let me know what you think about this tutorial!
The author may collect a small share of sales from the links on this page.


Comments
Join the conversation