Moody Triple Strand Stretch Bracelet Tutorial
Do you ever have days where you start with the intention to make one thing and it turns out to be something entirely different?
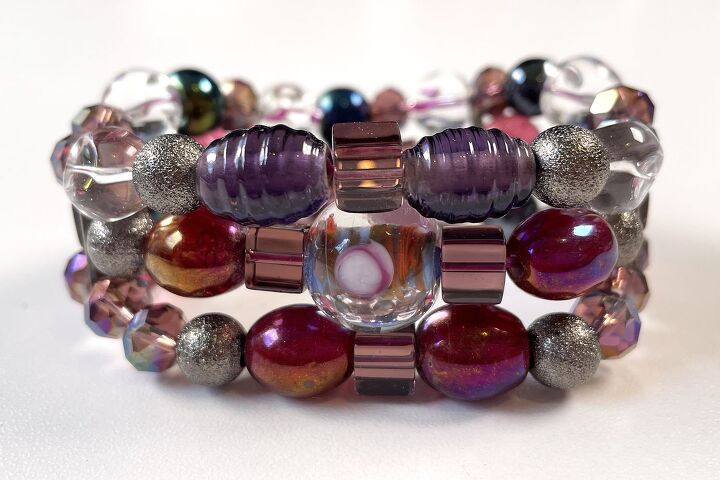
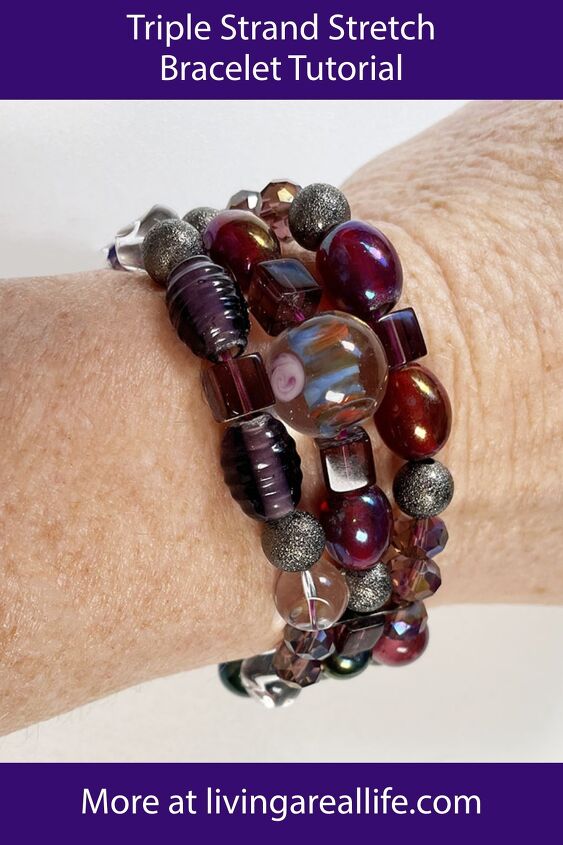
That’s what happened to me today. I started outthinking I’d make a little dainty daisy stretch bracelet and instead it turned out to be this moody triple strand stretch bracelet. I really love how it turned out but it wasn’t at all what I had planned.
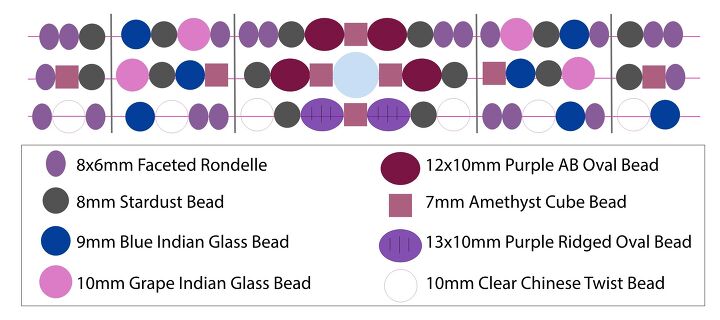
I used a whole lot of random beads but I did lay them out in a pattern. Scroll down for a layout diagram of the beads.
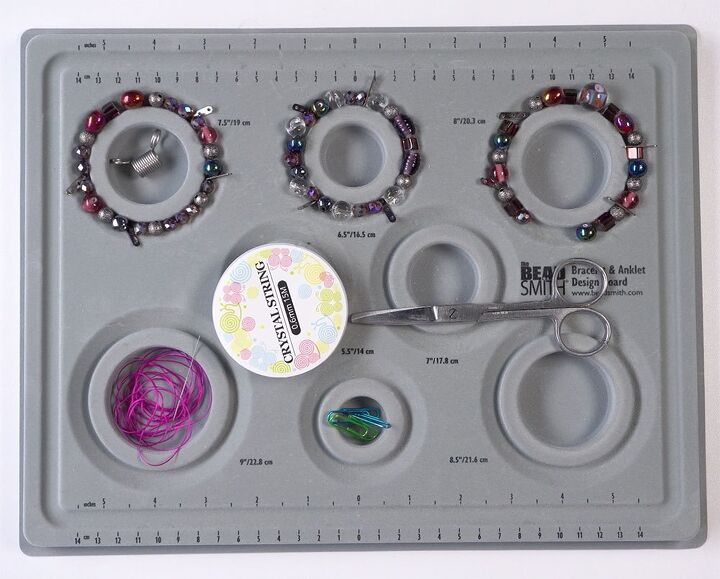
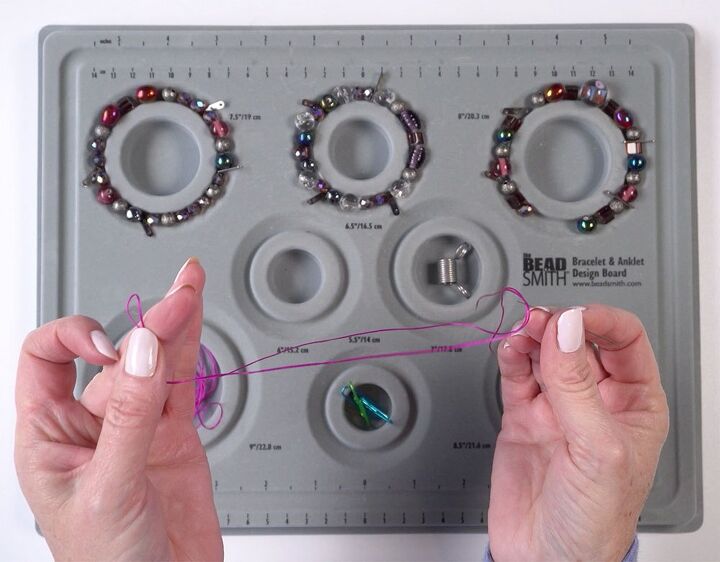
Before we start, I wanted to tell you about this new bracelet and anklet bead design board that I’ve found. It’s specifically designed for bracelets and anklets. It has lots of different sizes.
Materials
To make this bracelet you will need:
- 14mm Blue, Brown and Pink Indian Glass Lampwork Round Bead x1
- 8X6mm Purple AB Electroplated Glass Faceted Rondelle x18
- 10mm Grape Indian Glass Lampwork Round Beads x4
- 9mm Blue Indian Glass Lampwork Round Beads with AB Finish x9
- 12x10mm Purple AB Indian Glass Lampwork Oval Beads x4
- 8mm Black Stardust Beads x 14
- 7mm Amethyst Crystal Glass Cube x7
- 13x10mm Purple Lampwork Ridged Oval x2
- 10mm Clear Chinese Crystal Twist Beads x6
- 17mm Black 3-Hole Spacer Bar x 4
- 0.6mm Clear Elastic x 1.5m
Please note, for demonstration purposes I have used hot pink elastic so you could see better.
Tools
The tools I used to make this bracelet are:
Instructions
Watch the video or read the instructions below. Scroll to the bottom for the layout diagram which will make things easier to follow.
Lay Out the Beads
Lay the beads out onto three of the bracelet templates. I used some additional 3-hole spacers to mark the spot where the bracelets will be connected.
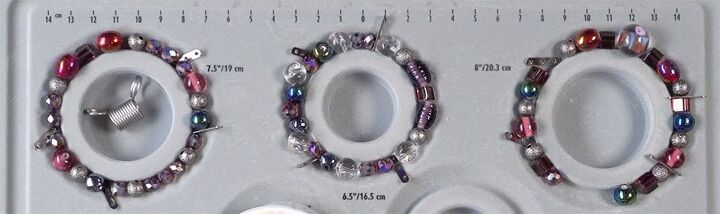
Here is the layout of the beads, it does differ slightly from the picture above as I moved beads around a bit when I was stringing – Rosie (the cat) had walked over my bead board after I laid them out and things had gotten moved around a bit.
I laid out the beads starting with the clear, blue and brown focal bead on the centre strand. For the other two strands, I wanted to make an ‘indentation’ for the focal bead to sit in so used the cubes with the oval beads on either side to create this.
Preparing The Elastic
As with any stretch bracelet, you need to pre-stretch the elastic so that it doesn’t over stretch while you’re wearing it. To do this, take small sections and give it a good pull. Cut the elastic into three 50cm long pieces. We are going to string each piece on double elastic so put the two ends of one piece together and thread them through the needle.
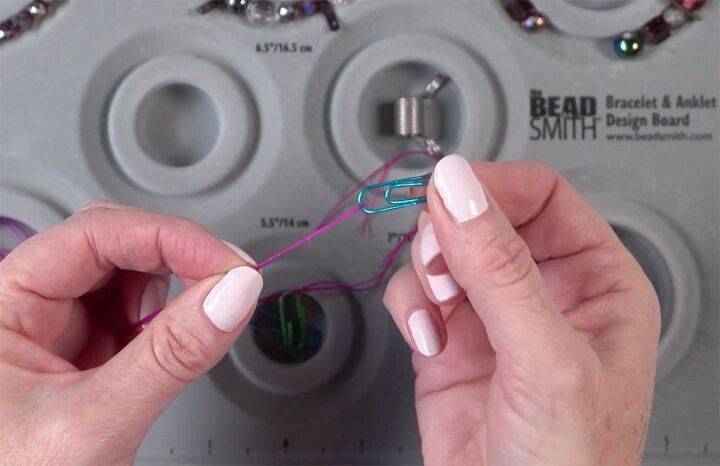
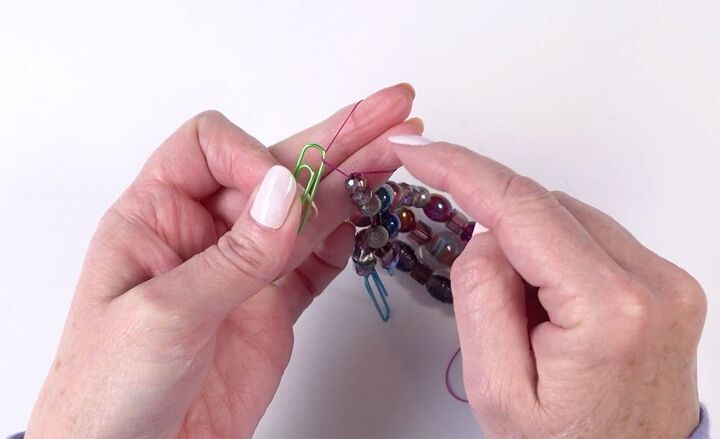
Next thread the paperclip onto the folded end. This will stop the beads from falling off.
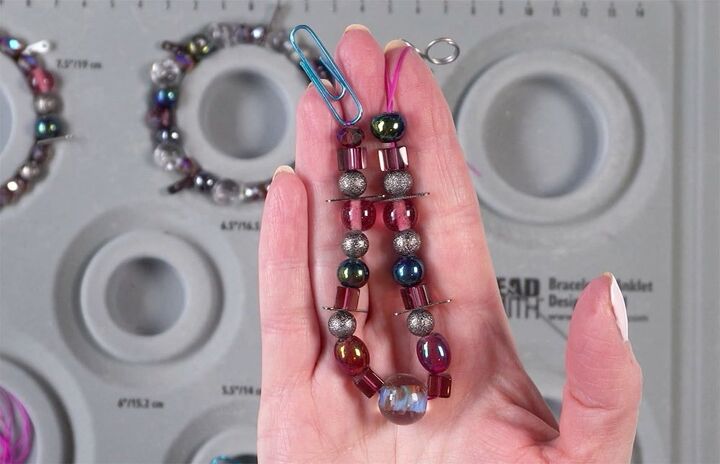
Thread the Centre Strand
Using the diagram above, thread on the beads from the centre strand. Make sure you thread through the centre hole of the 3-hole spacer bar. Unthread the needle and add a bead stopper to the end.
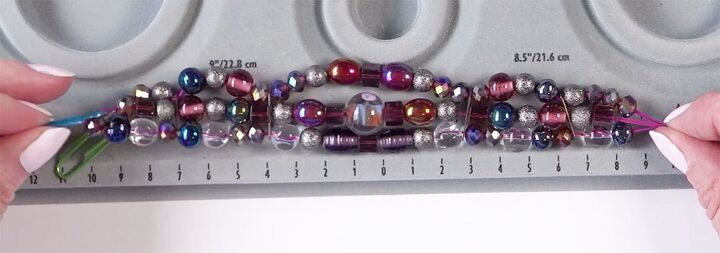
Thread the Second and Third Strands
Thread the first three beads on and then thread through the end hole of the 3-hole spacer bar. Continue threading using the diagram.The grey lines represent the spacer bar. Unthread the needle and add the end of the thread to the bead stopper.
Repeat for the third strand.
Note: The sections won’t be exactly the same length as the beads are all different sizes, but it will work.
Tie the Knot
Here’s how to tie the special knot that won’t come undone.
Remove one strand from the bead stopper and hold the end to stop the beads falling off. Holding your fingers in the loop created by the paperclip, remove it.
Thread both the cut ends through the loop, then take one end over and back through the loop again.
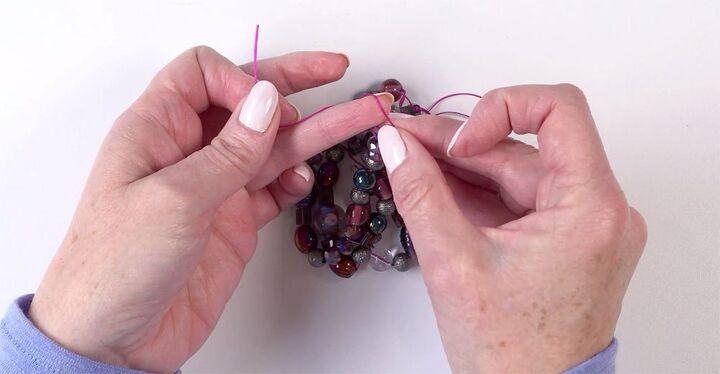
Pull the elastic tight so that there are no spaces between the beads. Tie a knot.
Thread the two ends back through the centre of the bracelet, crossing them and bring them back up to the top. Tie another knot.
Repeat that last step a couple more times.
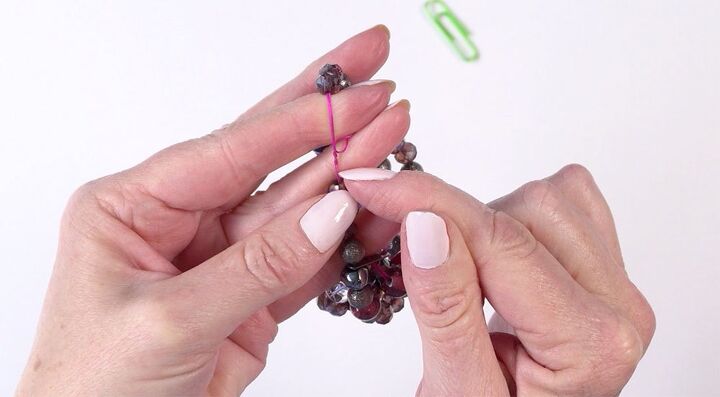
Cut off the ends at about 2mm from the knot. If you insecure about the knot, you pop a little bit of glue on it, but I’ve never had a problem with this type of knot coming undone. The knot will just disappear inside the closest bead.
Repeat this knot for the other two strands.
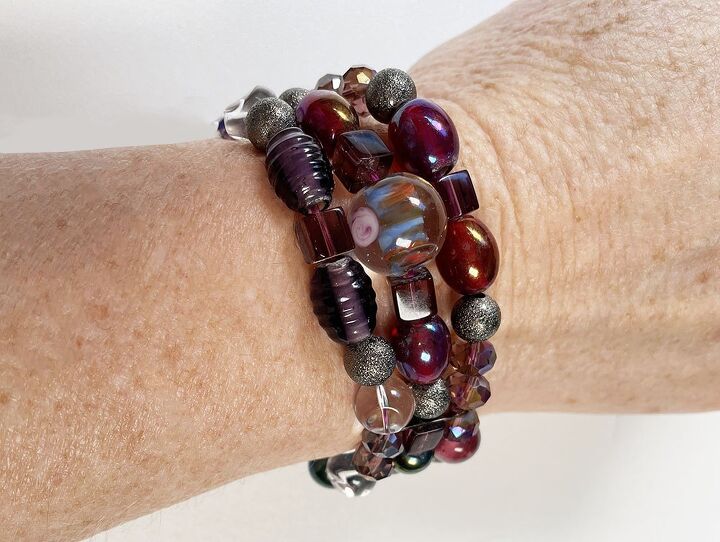
I absolutely love how this turned out. It’s dark and moody (which I love), it has a bit of edginess to it with the combination of dark beads and the metal. Also, what’s not to love about a stretch bracelet.
If you would like to see more tutorials, subscribe to our YouTube channel and ring the notification bell so you will never miss a thing.
⇓ REMEMBER TO PIN THIS PROJECT FOR INSPIRATION AND SHARE WITH YOUR FRIENDS!!⇓
If you like my blog be sure to click on the RECOMMENDED button and SHARE it with your friends! It’s the best way for my blog to grow so I can continue to give you great content. I would love for you to be part of my family so sign up to receive my emails. Every time I post a blog, I will send you an update email. Also, follow me on Facebook HERE, Instagram HERE and Pinterest HERE.
Come by and say Hey!
The author may collect a small share of sales from the links on this page.


Comments
Join the conversation