How to Easily Make Lucky Resin Flower Jewelry Using Clovers

Today, we’re going to make resin flower jewelry with clovers. Clovers are the perfect plant to make DIY resin jewelry out of. They’re everywhere, and if you’re lucky enough to find a four-leaf clover, you’ll have an instant good luck charm!
If you’re interested in making DIY pressed flower resin jewelry or you just want to know how to make jewelry with resin, keep reading.
Tools and materials:
- Resin
- Jewelry molds
- Clovers
- Paper towel
- Bowl of water
- Book (or heavy item)
- Resin paint
- Precision knife
- Jewelry materials (chains, hooks, etc)
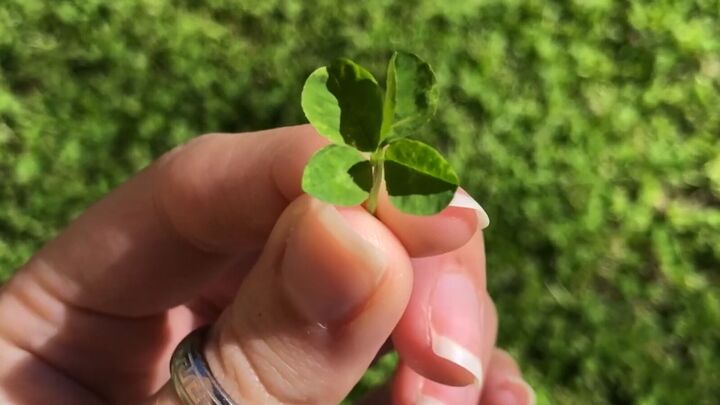
1. Gather your clovers
The process for this is entirely personal, so pick ones that are shaped how you like. The more vibrant the color, the better they’ll look. I picked a good bunch since I’m going to be making several pieces of jewelry.
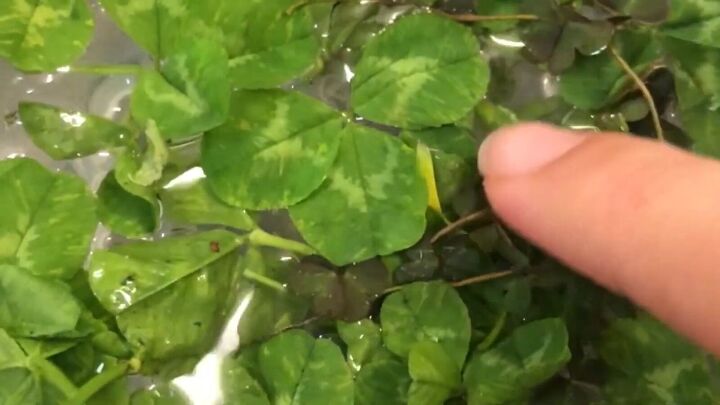
2. Place in water
Fill your bowl of clovers with water and gently press them down into the water so they can soak. Be careful not to tear or crumple them.
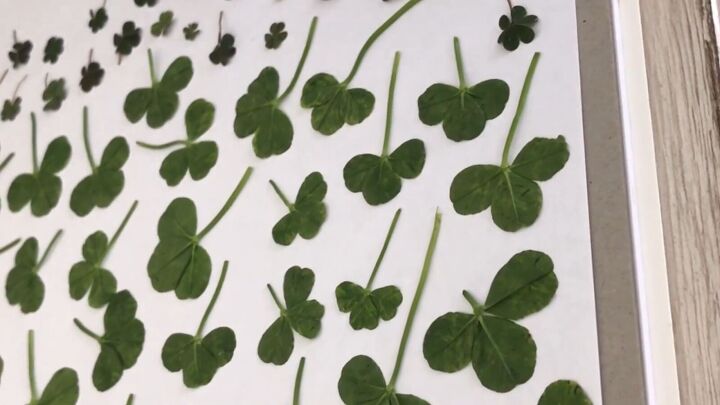
3. Soak off excess water
Use pliers to carefully pick out the clovers and set them on a paper towel to soak a bit of the excess water, then transfer them to a clean surface.
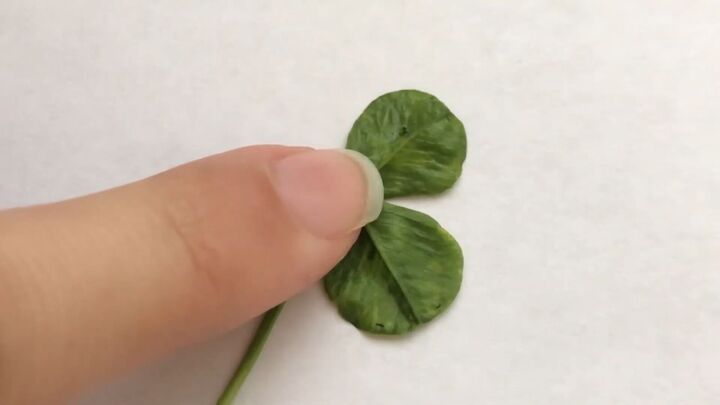
4. Flatten the clovers
To flatten the clovers, start by gently pressing down against the stem to break it.
Then, lay a book across them and let them sit.

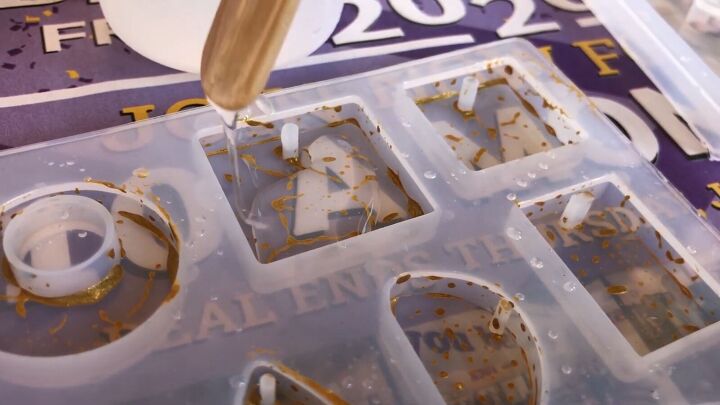
5. Add gold paint to the mold
Prepare your mold by using paint to create designs you like. The molds I’m using come with the hole already punched, so take that into consideration when you create your own resin flower jewelry.
6. Surround the clover in resin
Use a craft stick to gently pour enough resin into the mold so it just barely covers the bottom.
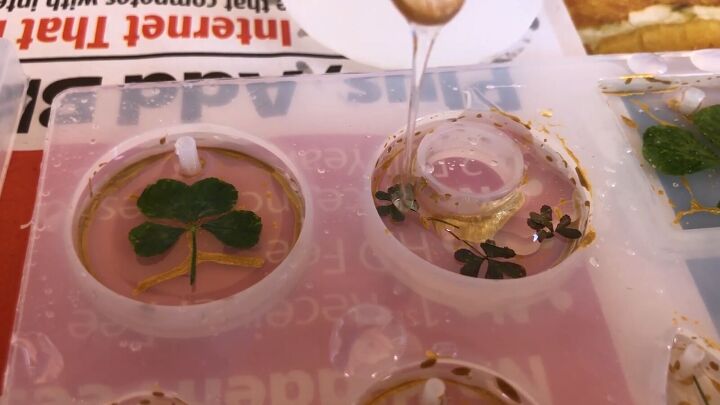
Gently place your flat clover into the mold. In the bigger molds, I added two or three clovers. Place them however it looks good to you, then use the same craft stick to pour resin over the clovers.
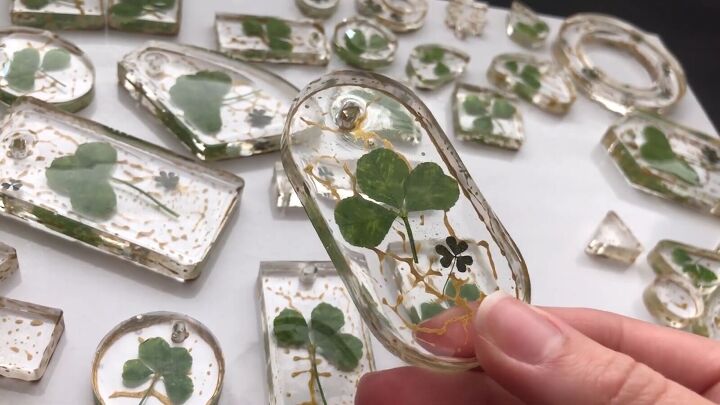
7. Cure and remove from molds
Once the resin has cured (dried and hardened), remove your jewelry from the molds and inspect them.
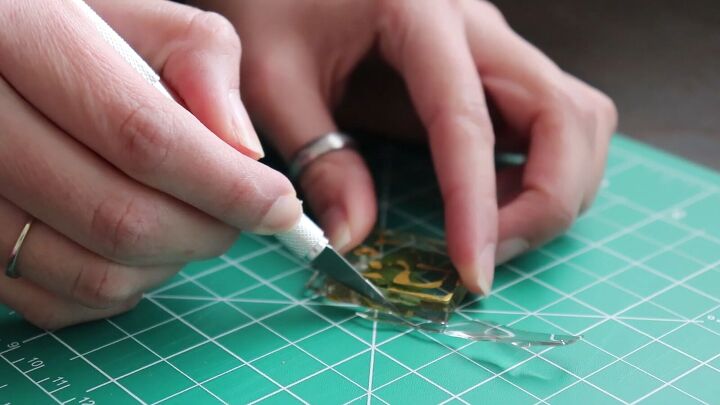
8. Remove imperfections
Sometimes, the resin can stick together, overflow, or settle wrongly and create imperfections so use a precision knife to cut off any extra bits and make sure the jewelry looks how you want it to.
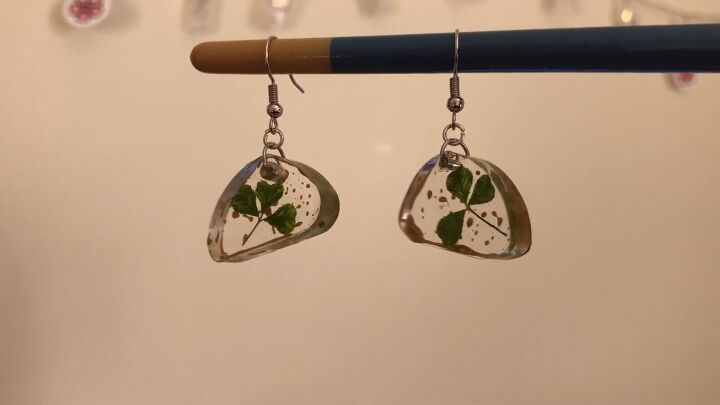
9. Accessorize!
Add chains, clasps, or hooks to your new resin flower jewelry and they’re ready to wear.
Here are a few more that I’ve made:
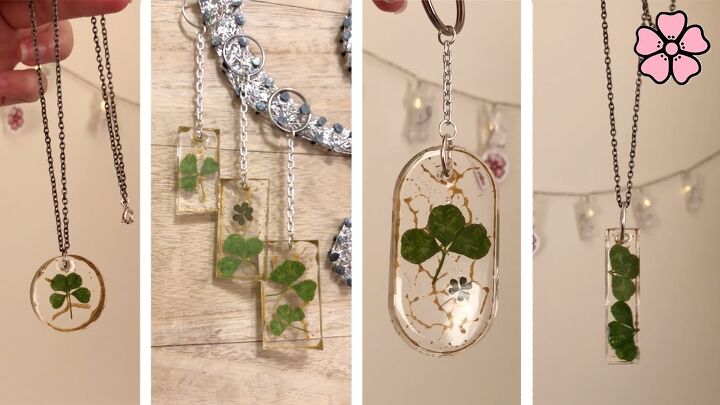
Resin flower jewelry tutorial
Using resin for jewelry making is a popular use for the craft material. I hope this tutorial shows you that you can make really cool jewelry with something you can find in your backyard or at the park.
Let me know if you decide to try this and how it works out for you!
The author may collect a small share of sales from the links on this page.


Comments
Join the conversation