How to Make Cute DIY Pinched Leather Earrings

Oh fellow jewelers, have I got a fun, chic, and easy earring for you! I have been seeing a lot of super-cool teardrop leather earrings all over Pinterest. realized I can totally make my own DIY pinched leather earrings!
Let me show you how.
Tools and materials:
- Longnose pliers
- Round nose pliers
- Cutter tool
- 6 leather or faux leather teardrop pieces or cut the pieces yourself with a die cutter machine
- 8 rondelles (or any small round beads will do)
- 2 headpins
- 4 1-inch small chains
- 2 shepherd's hooks
- Scissors
- A board
- B board
- C board
- Cardboard
- Tape
I used real leather but you can totally use faux if you want.
I love these types of earrings designs and wanted to make my own version.
You can buy teardrop-shaped leather or faux leather pieces, or you can cut your own with a die cutter machine. Here, I'm going to cut my own. If you have the shapes already, you can skip these first steps.
1. Prep the earring shape
Tape the stencil to the material so that it stays in place while you cut. Make sure the teeth are facing the material.
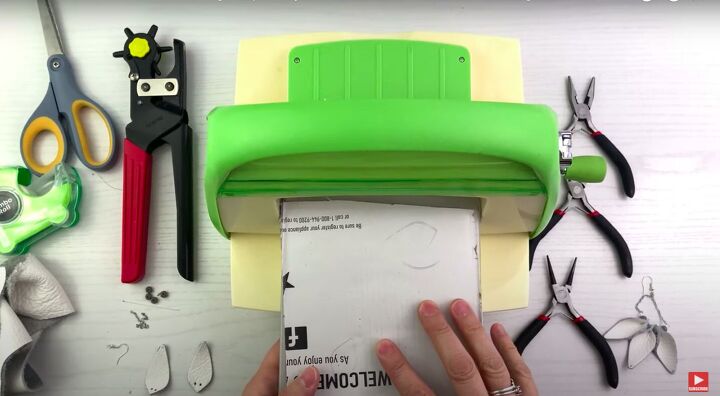
2. Arrange the materials
Place the fabric backside up on an A board with a B cutter board on top.
Next, place a piece of cardboard on top of the B board and then place the C board on top.
I am using so many layers because the material is not thick enough to pass through the machine properly.

3. Pass the boards through the machine
Feed the material through the machine and use your arm to twist the knob. This will pass the material through the machine.

4. Cut out the shape
This particular machine does not fully cut the leather. As you can see, it has created the outline of the shape that I want and I'm going to use sharp scissors to cut around it.
With other materials, this machine can cut all the way through.
Repeat five more times for a total of three pieces of leather per earring.
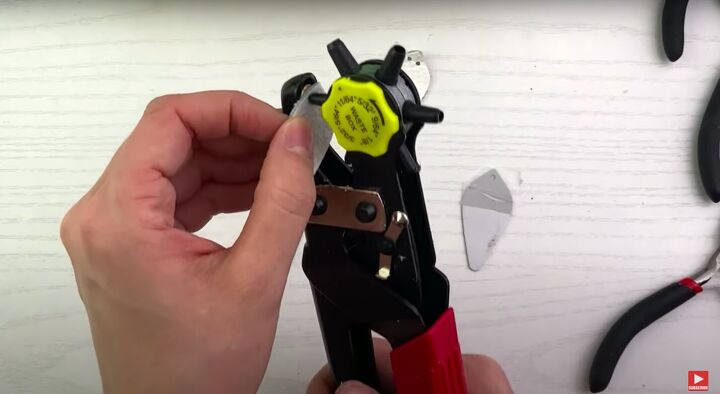
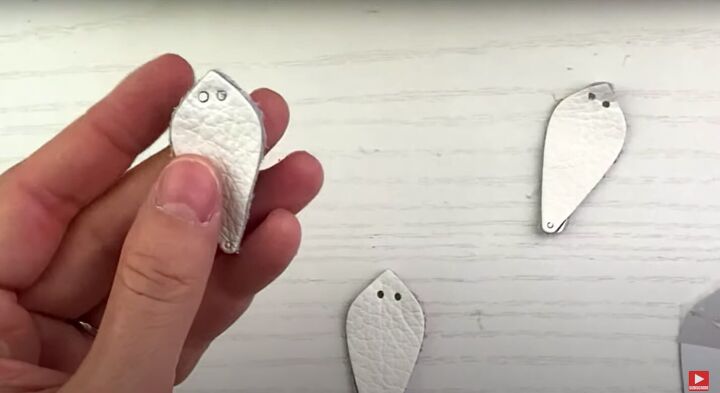
5. Cut holes in the leather
Use a hole cutter on the smallest setting, which is 5/64th of an inch, to cut out holes in the material.
Punch out two holes at the top to run a wire through it.

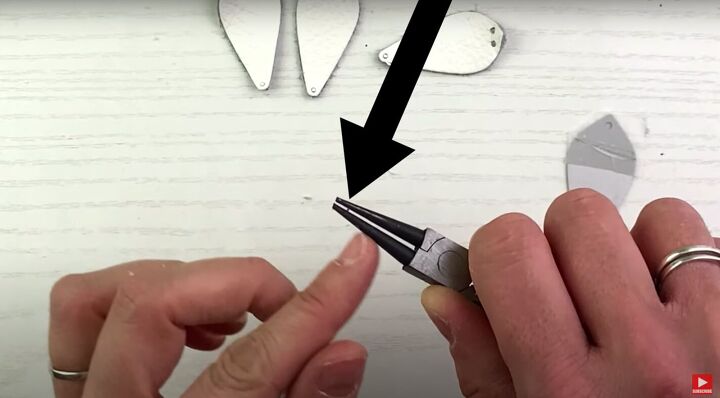
6. Prepare the headpin
Use a pair of wire cutters to cut off the flat top of a headpin.
7. Create a loop
Use a pair of round nose pliers to grip the headpin.
Make sure the pin is situated pretty close to the edge of the pliers as demonstrated in the picture.
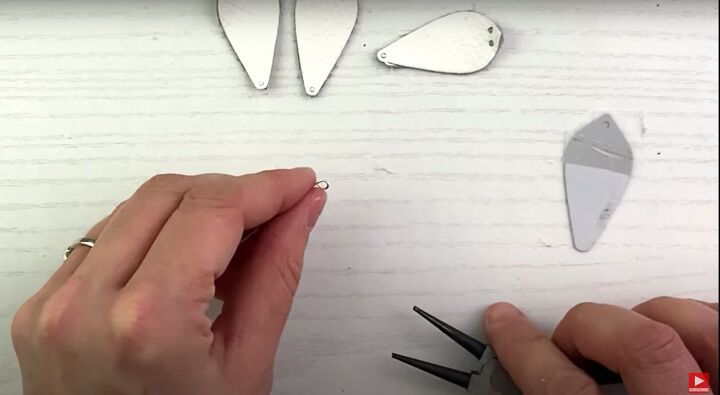
Use the pliers to curl the pin around to create a small loop.
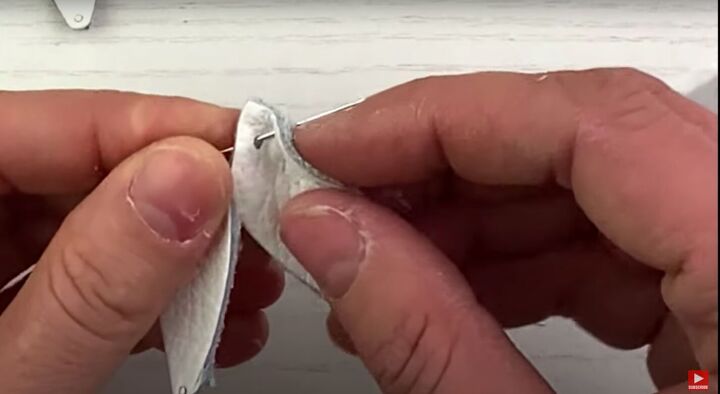
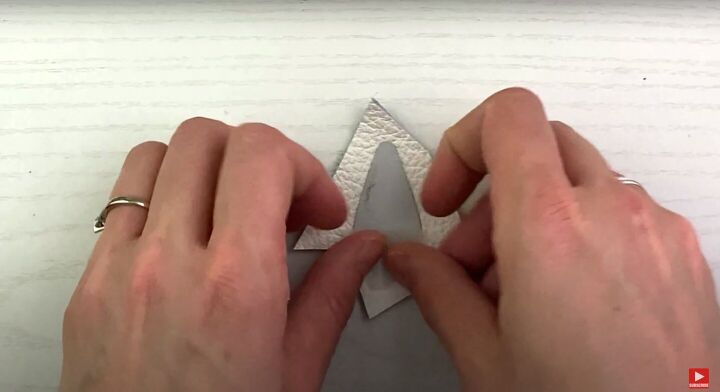
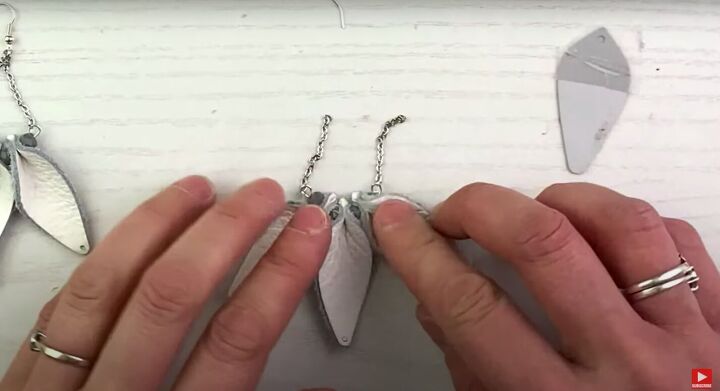
8. Assemble the earring
Feed a rondelle bead through the pin, weave the first piece leather through the pin, add another rondelle, the second piece of leather, the third rondelle, and then the last piece of leather.
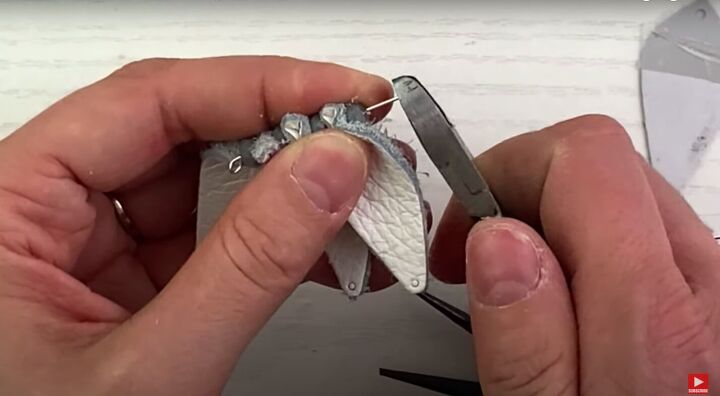
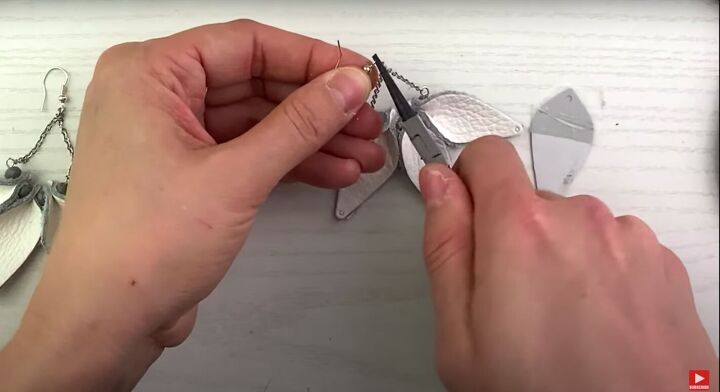
9. Trim the excess
Trim the excess wire with a pair of wire cutters. Be careful not to cut off too much. You need some wire to create a seal.
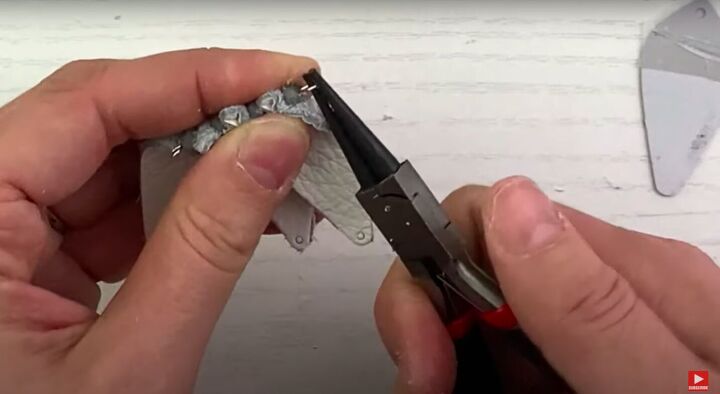
10. Seal the earring
Curl the edge of the wire with the round nose pliers to seal the earring.
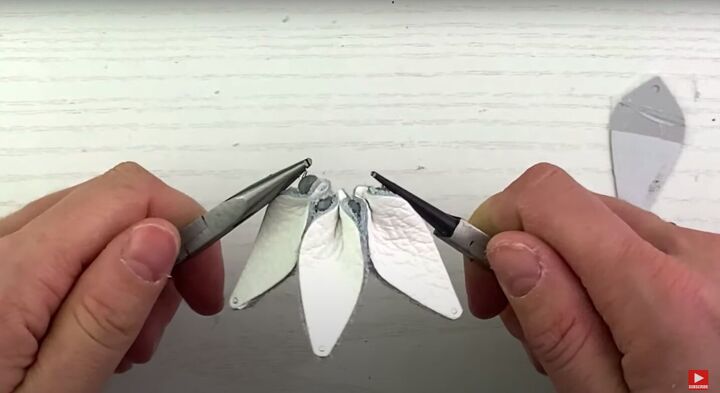
11. Adjust the earring to the desired shape
Use two pairs of pliers to adjust the loops so that they are facing the same direction and angle.
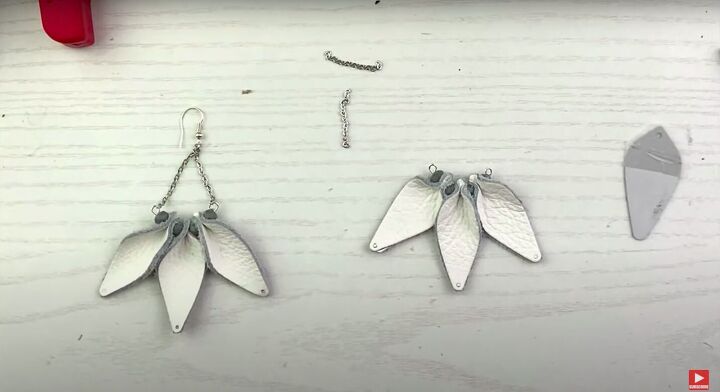
12. Attach the earring hooks and chains
Cut the chains using wire cutters to your desired dangle length.
My chains are an inch in length. If you would like to make them longer, you can. I recommend up to three inches if you love a good dangle.
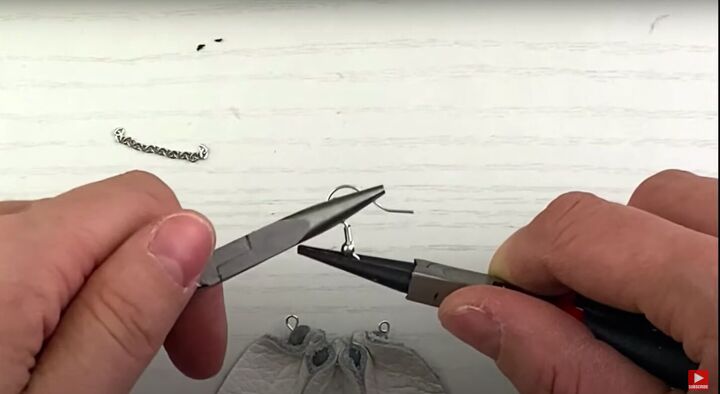
Use pliers to twist the earring hook to the side so that the material of the earring will be facing out when you are wearing it.
Use pliers to gently open the rings on either side of the earring and attach the bottom link of the chain to either side.
Attach the last link of both chains to the earring hook.
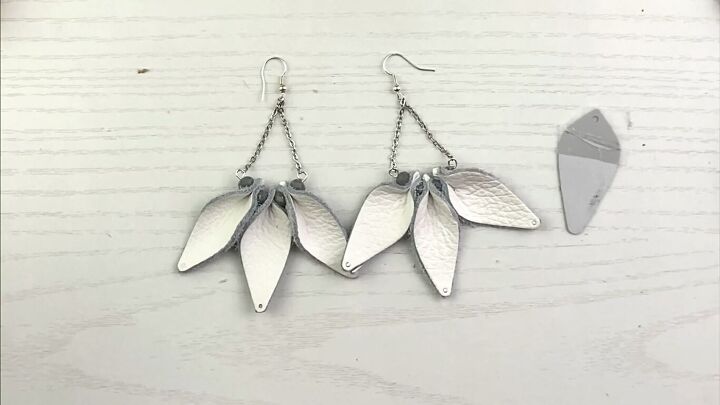

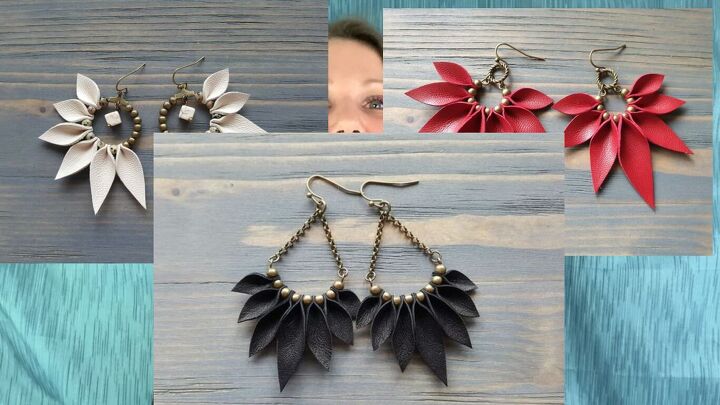
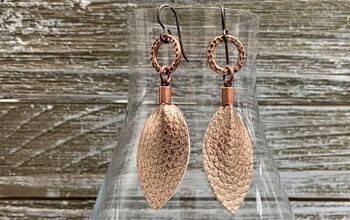
DIY pinched leather earrings tutorial
This is the final look! Aren’t these earrings so stinking cute?! Chic and easy with some sparkle is always my jam!
If these earrings are too dangly for you, you can always cut the chain shorter. These earrings are totally customizable so you do you!
Let me know in the comments what you think!
The author may collect a small share of sales from the links on this page.


Comments
Join the conversation
Those are darling! Wow!