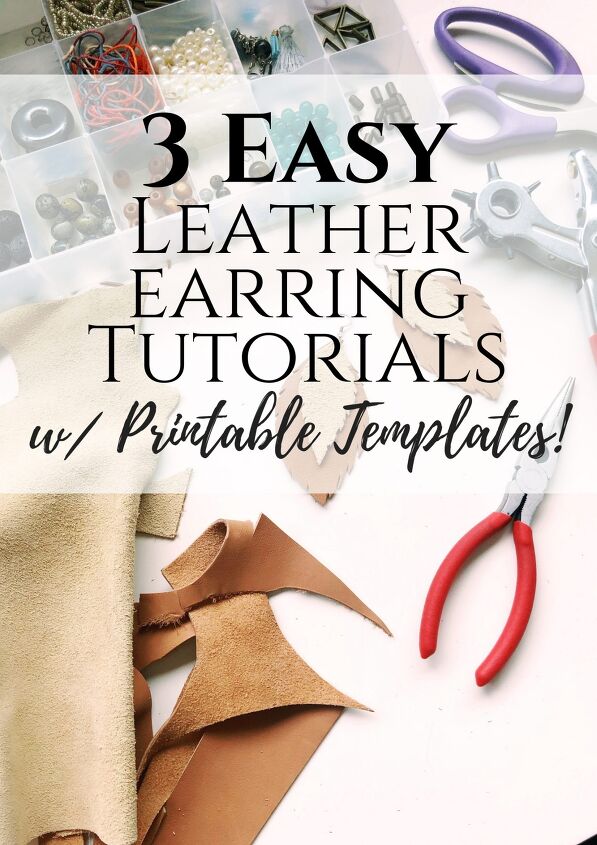
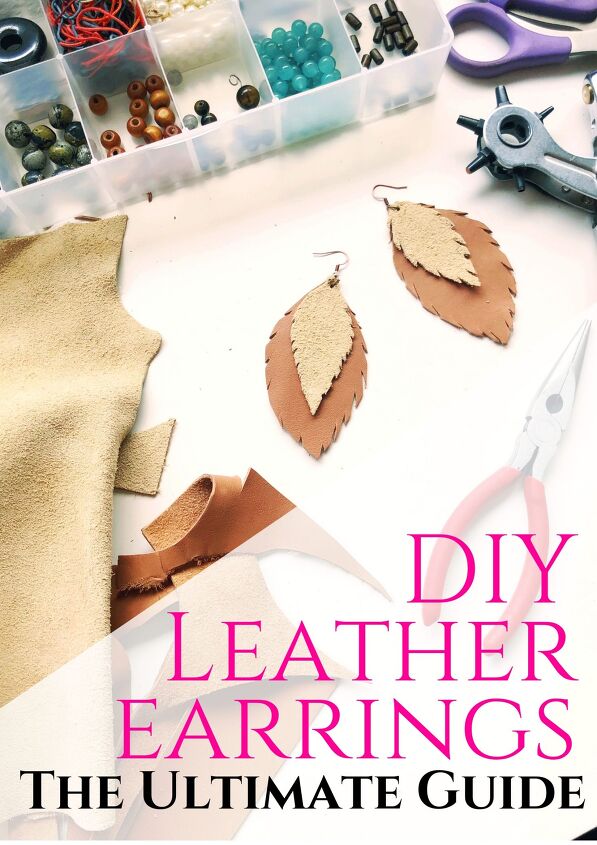
How To Make Leather Earrings : The Ultimate DIY Leather Earrings Guide
This post may contain affiliate links for products I love and recommend.
In this ultimate DIY Leather Earrings guide, you’ll learn how to make leather earrings in several different ways. You’ll learn where to get leather earring supplies and even access printable earring templates! Basically, I’ll hold your hand and walk you through each style step-by-step so you’ll have a huge variety of leather earring styles to make, sell and gift by the time you’re done!
One of my favorite things to create is DIY leather earrings because they make a massive statement, can be whatever size you like, yet still feel incredibly lightweight. While Joanna Gains may have brought them back for a moment, I think we’ll see variations of them forever.
I got my start as a professional crafter by making quality jewelry and accessories to sell at farmer’s markets and craft fairs around town. While it was so much fun, now I am also grateful to show you how to make leather earrings and other projects here on Creative Fashion Blog.
Like everything I create, if you decide to use your new leather crafting skills to create a supplemental income for yourself, I’ll be here to cheer you on! If you just want to make them to elevate your own closet or to give as gifts, that’s awesome too!
No matter how big or bold, every leather earring I have ever made is as lightweight as my feather ones. I love the casual bohemian aesthetic and textures. Sometimes, you can never really have too much of a good thing.
To complete each project, you don’t really need much. Set aside about 30 minutes to put your leather earrings together and buy your supplies through the shoppable affiliate links below.
Pro Tip: There are several reasons working with leather is easier for projects like this than synthetic materials. For one, you don’t have to worry about edges fraying, the material is beautiful from both the front and back of the fabric, and leather is extremely durable and lightweight. Your chances of coming out with an end result you are truly proud of are higher when the materials are better to begin with.
A Quick Explanation Of Basic Jewelry Supplies
To learn how to make leather earrings correctly, let’s briefly go over some DIY jewelry supplies. The correct supplies will make this project so much easier and allow you to really use your creativity and come up with unique designs.
- Open Jump Rings: These tiny metal hoops are the basic connectors in between chain, closures, and other jewelry materials. They are extremely inexpensive and will save you so much wasted energy trying to re-link individual chain pieces.
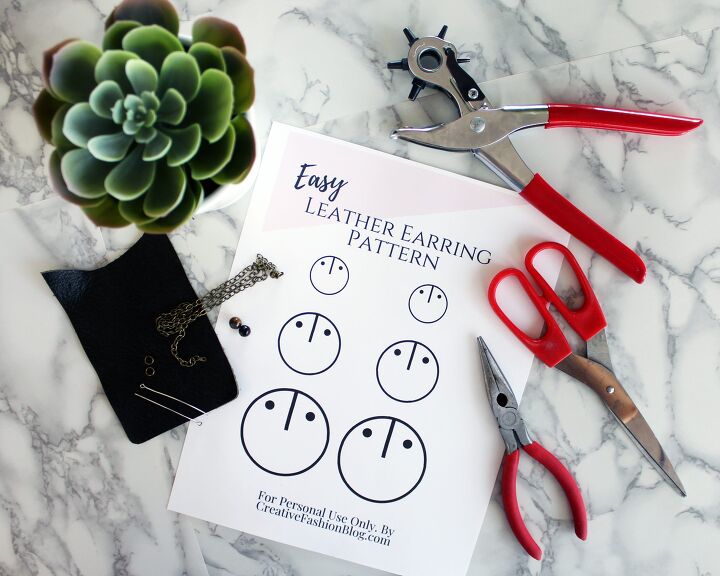
- Leather Hole Punch: I prefer an adjustable leather hole punch for it’s extra versatility, but you will be surprised how often this little tool comes in handy. For today’s tutorial we’ll be using it to create little holes in your leather earrings DIY template but it will also come in handy when you want to add an extra hole into a belt, a purse, or even shoe refashions.
- Basic Jewelry Chain
: Interlinked chain comes in handy in almost any DIY jewelry project. Use them to create necklaces for your favorite DIY wire wrapped pendants, body jewelry, earrings, and more. I like to buy jewelry chain in bulk because it takes up almost no space in your craft room and always comes in handy
: Basic jewelry pliers are a must-have for connecting jump rings, chain, and wire-wrapping. Basically, anytime you are working with metals of any kind, jewelry pliers are going to come in handy. I like to buy kits of three since they come with needle-nose pliers, bent pliers for extra-tight corners, and wire cutters to remove any excess that could lead to clothing snags.
Earring Fish Hooks: These basic earrings blanks are the piece that actually creates a functional earring. the fish hook design make them ideal for nearly every dangle earring type and are the go-to for every earring tutorial on Creative Fashion Blog.
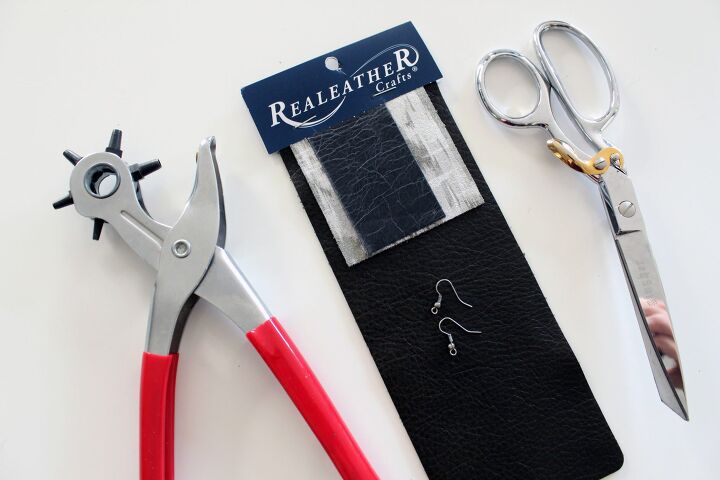
Supplies for DIY Leather Earrings
My supply lists are now shoppable for your convenience! Just click any link below to gather everything you’ll need to make your own leather earrings without even having to leave the house. If you’re all ready, let’s get started below!
Shop Basic Jewelry Supplies:
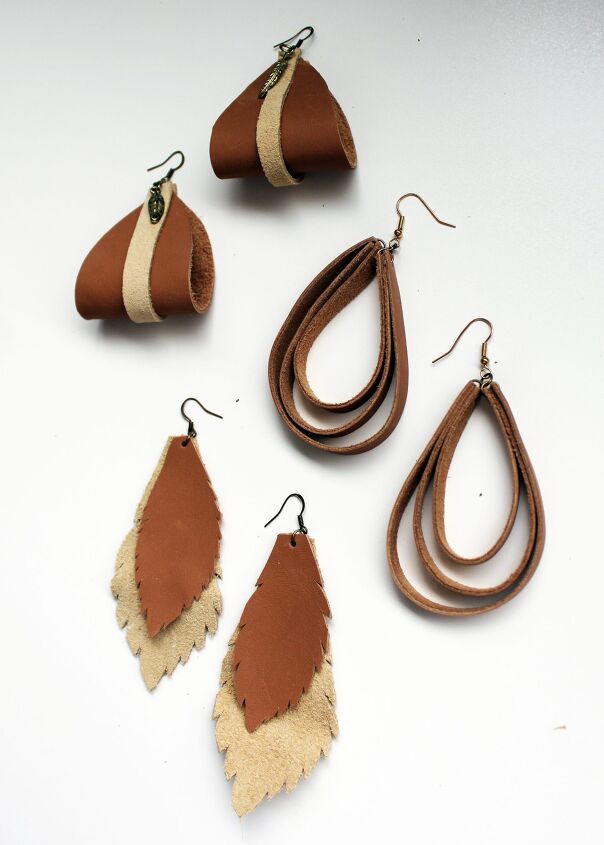
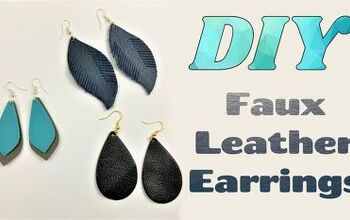
How to Make Leather Earrings 3 NEW Ways!
How To Make DIY Leather Earrings w/ Boho Feather Layers
These lightweight earrings are perfect for every day. The feather shape has a bohemian vibe that still remains polished and chic. By completing this specific project, you’ll learn how to work with leather, the basics in creating your own earrings, and how to layer leather pieces within a single jewelry piece.
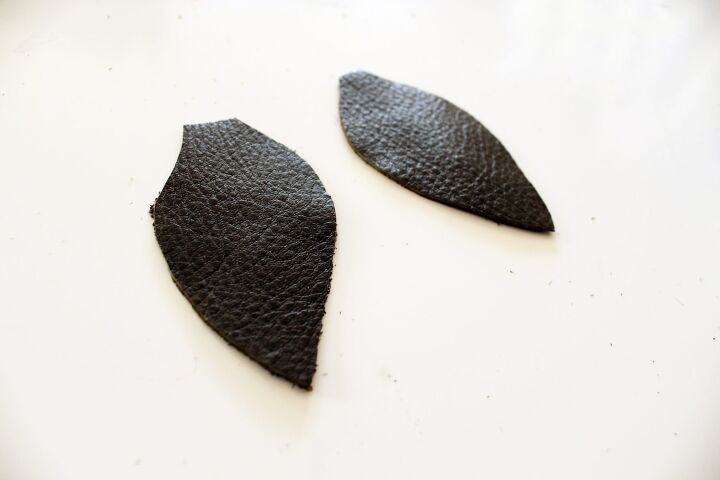
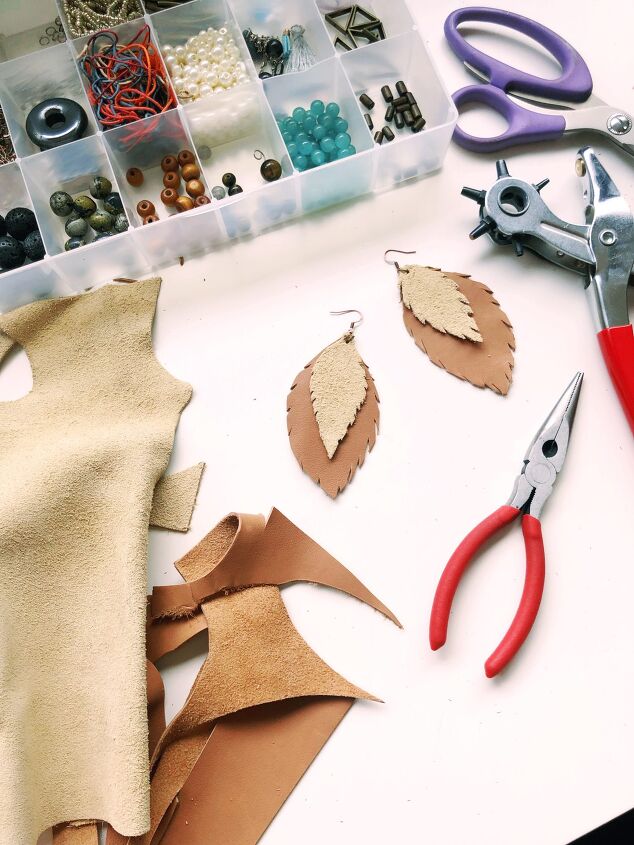
First, you are going to take the largest piece of leather and cut a large, rough feather shape. You want these pieces to measure about 3 1/2″ long. Don’t stress if they are not exact or even symmetrical. You’ll be playing with the edges, later on, to make them look more authentic anyways.
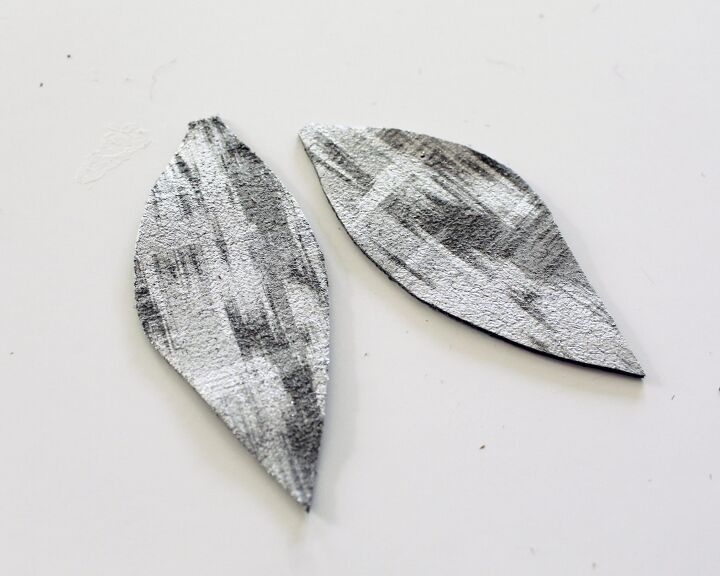
Next, take an accent leather scrap and cut a slightly smaller feather shape. These are about 3″ long.
Use you scissors to cut tiny slits along both sides of the shape to give it a feather look. I like to make my slices uneven and even cut small triangles into the sides in places for a more uneven look.
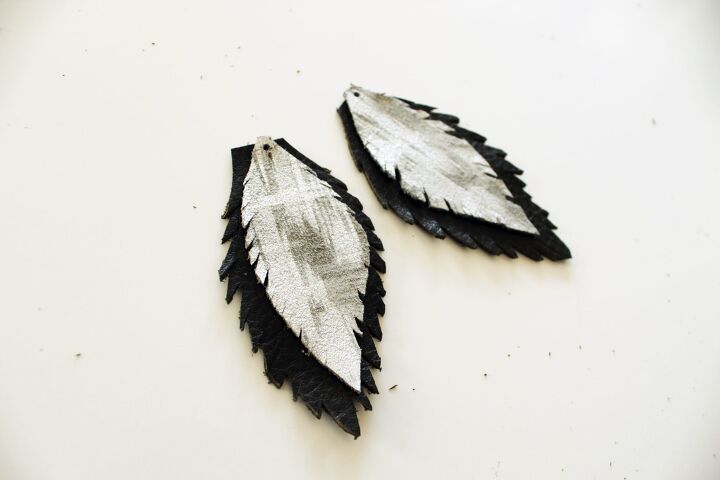
Use the leather hole punch on the smallest setting to create holes in the top of all four pieces. Be sure to make the holes close enough to the top of your earring so a jump ring can slide through but far enough away that the leather won’t tear.
If for some reason you mess up and create a hole too close to the edge that your leather does tear, don’t stress. Just trim off the torn leather piece and try again. Natural feather’s aren’t symmetrical anyways so if your finished earrings have slight variations, they will still look professional and intentional.
That’s the beauty in beginning with this project!
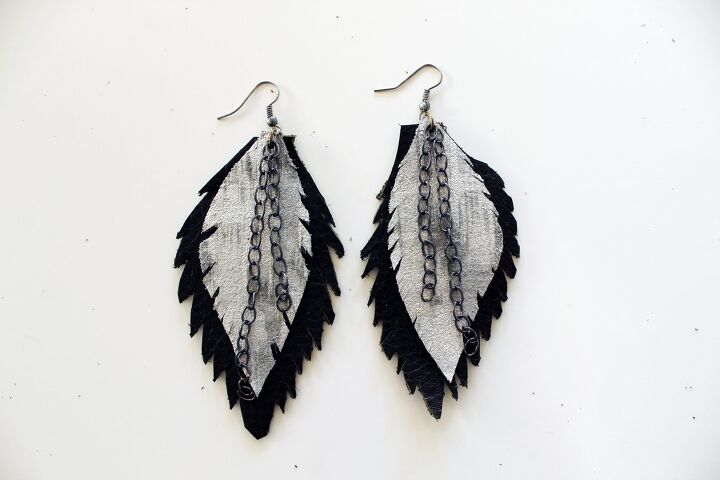
Once your holes are punched, slide a small jump ring
through the holes, through a piece of chain, and attach to the earring hook blanks. Use your jewelry pliers to close the jump ring back and your earrings are ready to wear.
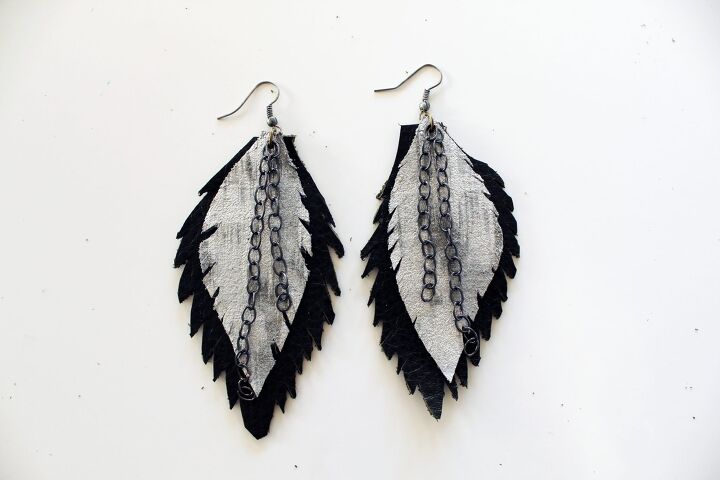
These earrings are some of my favorites because you can wear them with almost anything and they are so lightweight! I hope you like them!
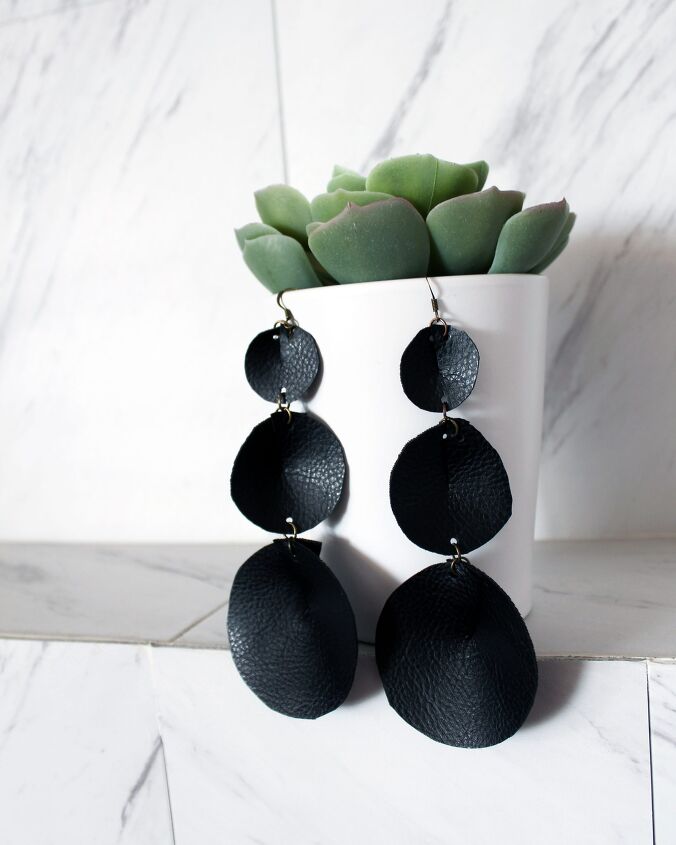
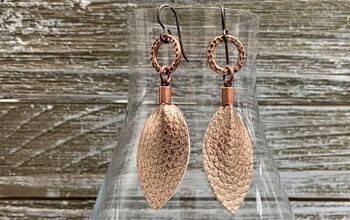
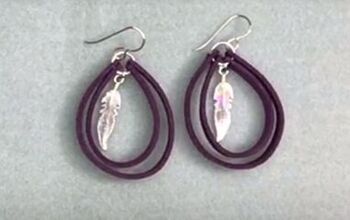
How To Make Leather Earrings w/ a 3D Dimensional Shape
To learn how to make leather earrings with some 3D dimension, all you need to do is print out the free template below and cut out the different sizes. Your free template will arrive in your inbox within a few minutes.
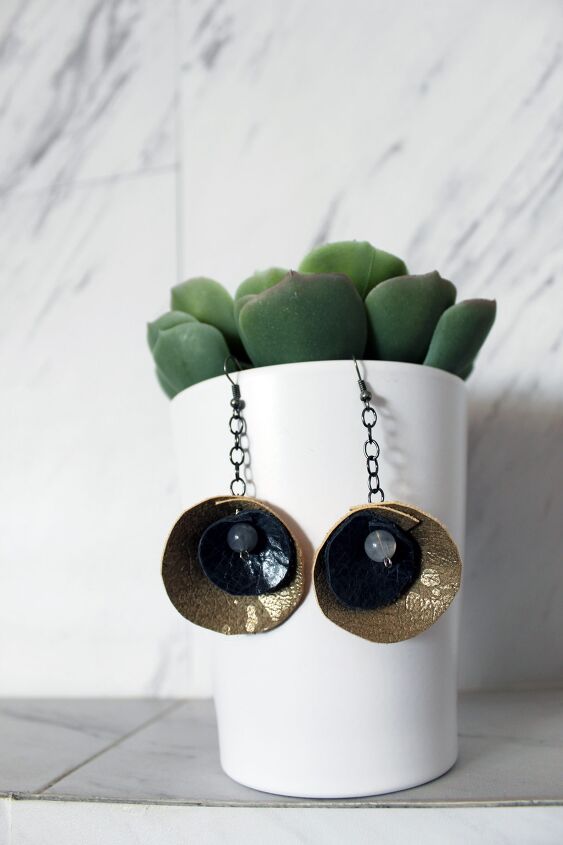
From here, feel free to play around with designs and different variations. I created 3 simple variations to show the printables versatility but I also want to invite you to come up with your own designs as well!

Since this project takes very little fabric, you can get even more creative and experiment. You could cut one pair of each size and layer them to create a long, boho look. Or, incorporate basic jewelry chain
and use open jump rings to attach them to your leather like the middle example. You could even incorporate all of those ideas to make the chain connect two layered sizes of leather with a simple stone bead in the center. The possibilities are endless to create something you really like!
After you’ve printed out the FREE template cut out the size you’d like to begin with. I like to print all of my templates on card stock paper so they hold up better if I want to make more for friends and family.
Once you have your earring template, it’s time to cut it out in leather. I’m using fabric scissors in this tutorial but if you plan to use a rotary cutter, be sure to use one with a small blade since you will get more accurate small curved cuts.

Now it’s time to assemble your leather earrings DIY. Before I ever pick up my pliers, I like to lay the design out flat on a table to picture it all together. I also use my leather hole punch to make assembling it a piece of cake.
Once you’re happy with the overall look, use your jewelry pliers to open your jump rings and loop them through the punched holes in your leather pieces. The overlapping cuts create a beautiful cone shape that creates a 3D dimensional finish to your leather earrings. This is where doing the prep-work beforehand comes in especially handy!
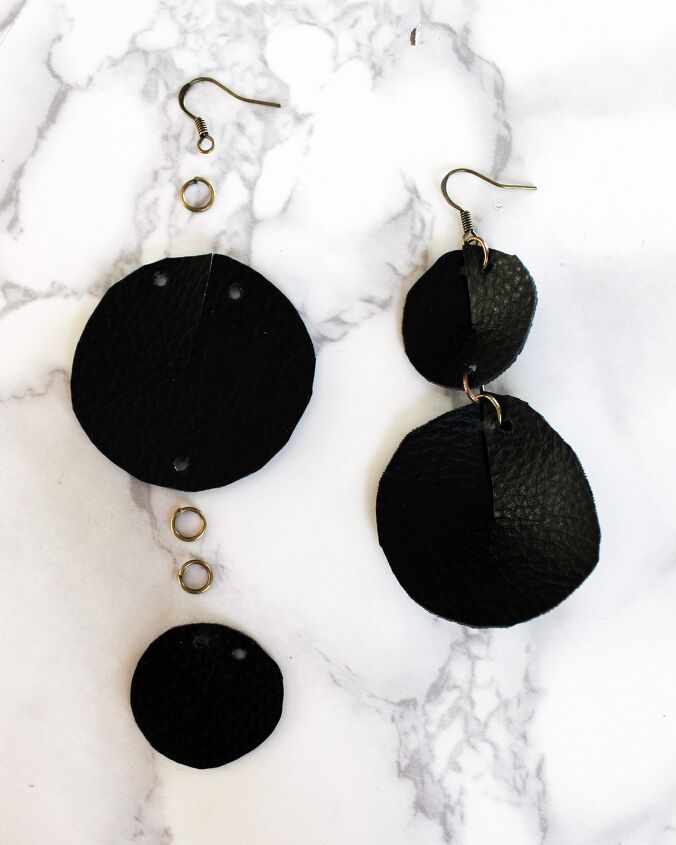
This is what my largest leather earrings looked like as it was going together. I wanted to show you how I lay each material out in advance and put everything together.
Now feel free to play around, experiment and come up with a few new designs that are all your own!
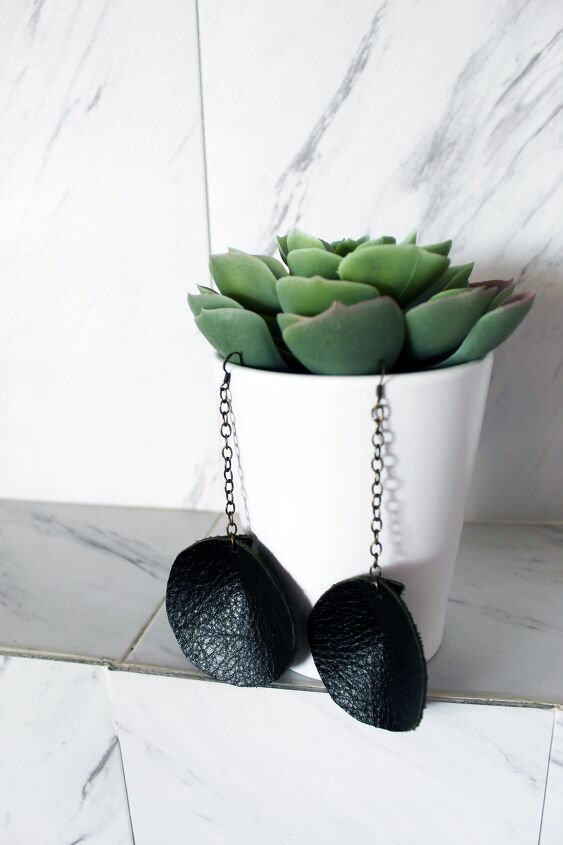
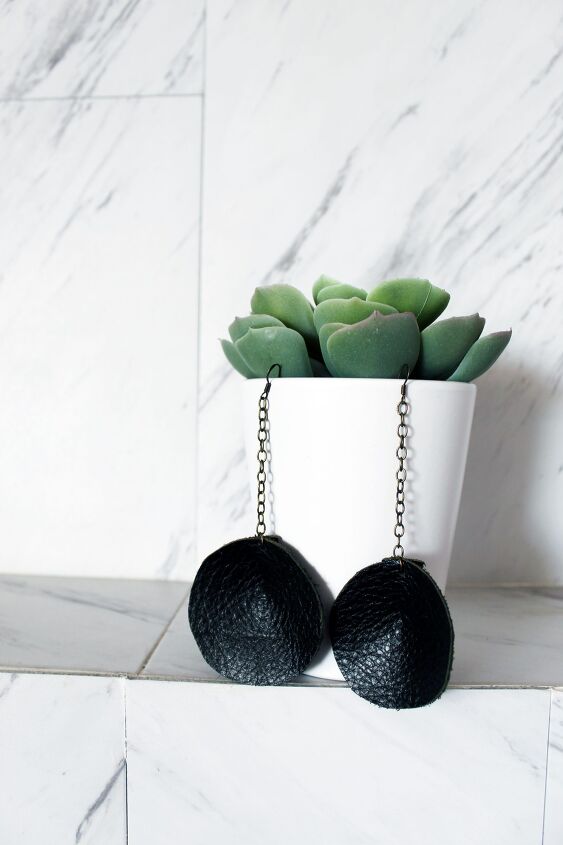
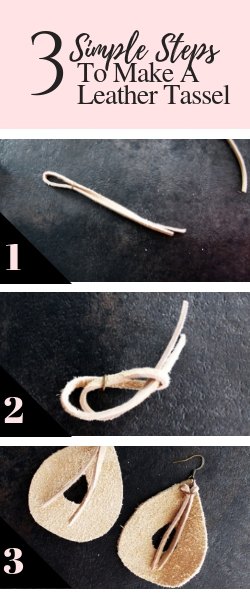
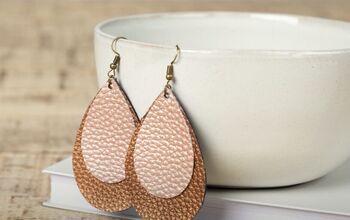
How To Make Leather Earrings w/ Leather Tassels
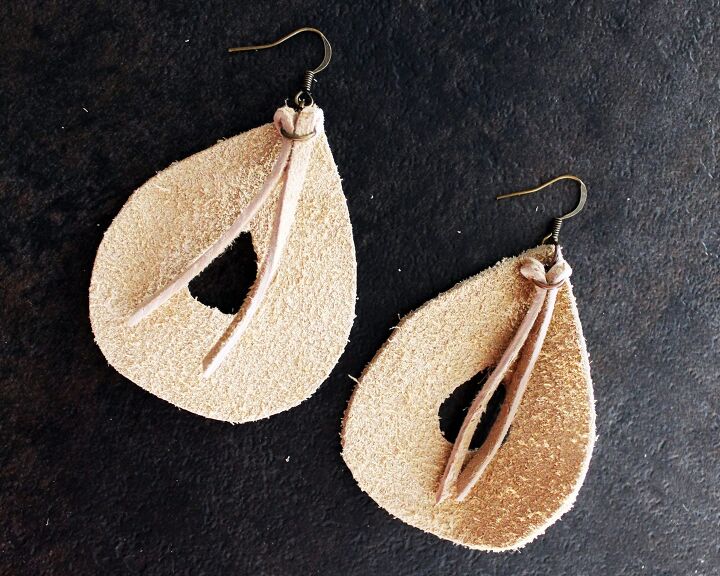
These earrings also come with a totally free printable template with three teardrop sizes so you can choose what style suits you best. You can also use the template to stack the leather to create different tiers, layer them, or create unique waterfall effects. Being free to come up with your own designs is part of the fun after all!
After printing out the free template above, cut out the earring size you like most in card stock. Again, when cutting jewelry templates, use card stock paper since it holds up better if you’re making several leather teardrop earrings at a time.
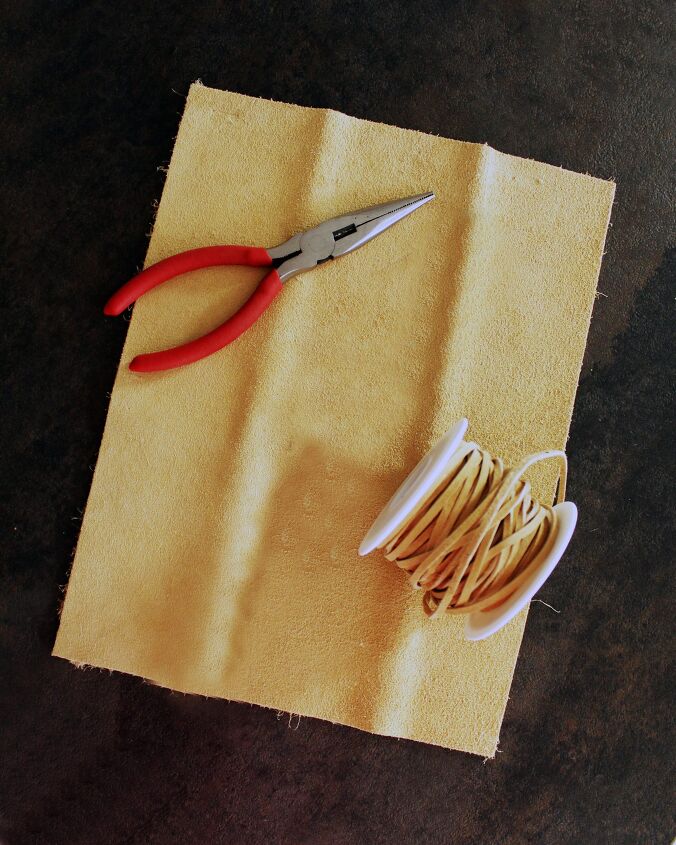
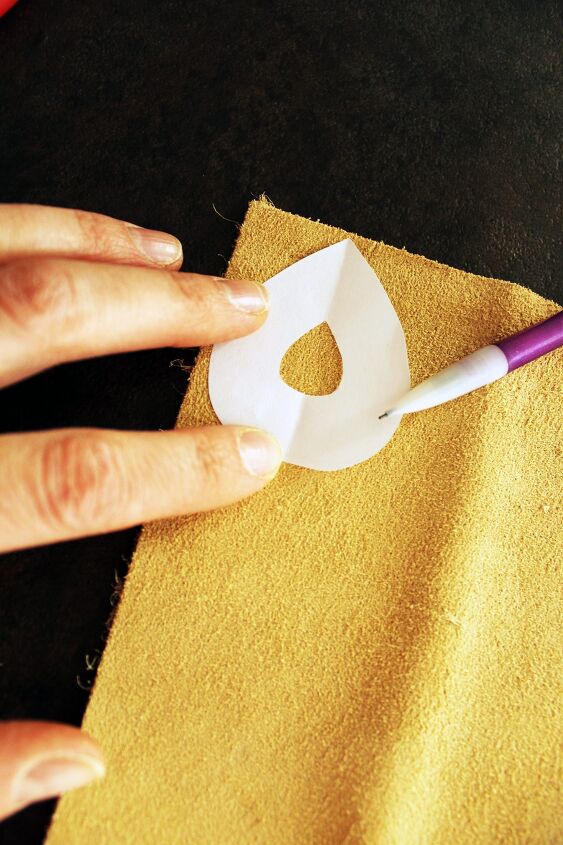
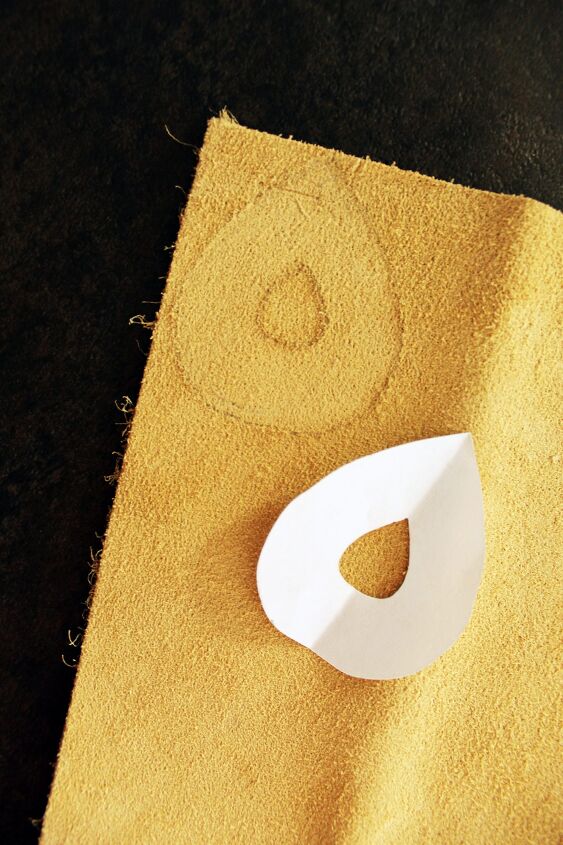
Lay your paper template over your craft leather and trace the design with a pencil. By using a pencil, you can keep these marks light and avoid any ugly finishes when your earrings are complete.
Remove the paper template and cut our your teardrop shape. You can fold the leather in half to slice a hole in the center circle to make it easier. Repeat this process to make two identical leather teardrop shapes.
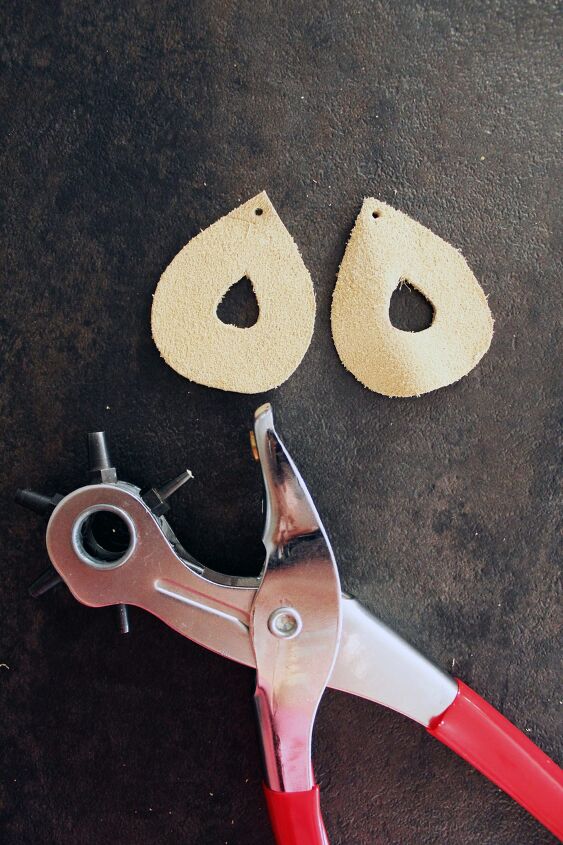
Now that the basic shape of your leather teardrop earrings are complete, its time to punch holes. Use the smallest hole in your adjustable leather hole punch available. Keep it close to the top so it’s easy to slide your jump rings through, but not so close that your leather will rip.
Now take an open jump ring and use your jewelry pliers to slide it through your newly punched hole. Then, slip an earring fish hook through the back end of the jump ring before closing it back up with your pliers. You could leave your new earrings like this… or we could get even more creative.
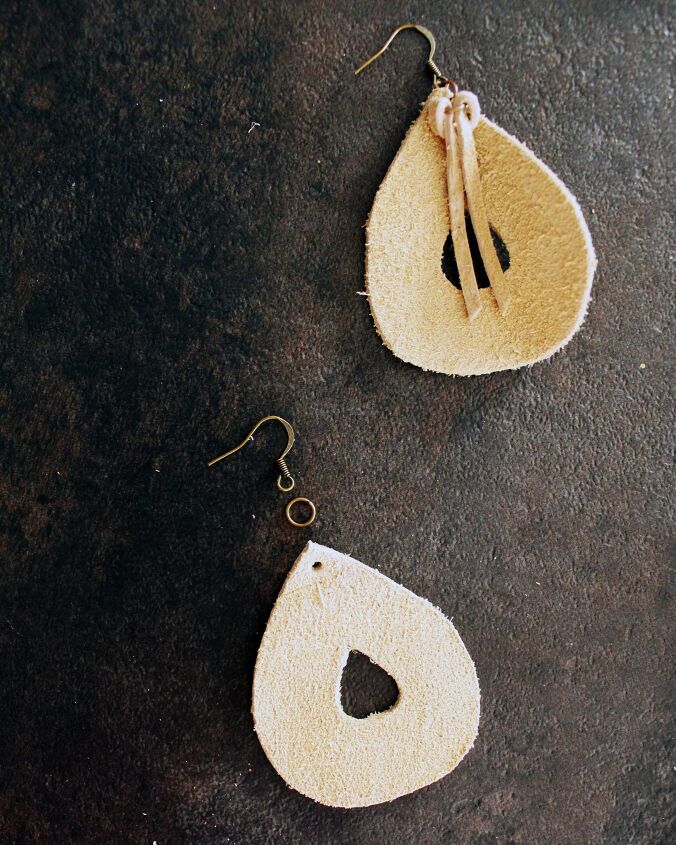
I had some deerskin lace on hand that matched my craft leather too perfectly to leave out. To create a simple tassel, just fold your lace in half, slide it through a closed jump ring, and then pull the two loose strands through the leather hoop on the opposite side. Pull it tight before carefully opening the jump ring and attaching it to your leather teardrop earrings.
Now that your earrings are complete, it’s time to wear them! Or, if you’re anything like me, it’s time to make more in different styles and colors and get even more creative.
As always, if you have any questions while you are making this (or any) DIY on Creative Fashion Blog, please don’t hesitate to reach out! I absolutely love hearing from you guys and love hearing about your projects!
The author may collect a small share of sales from the links on this page.


Comments
Join the conversation