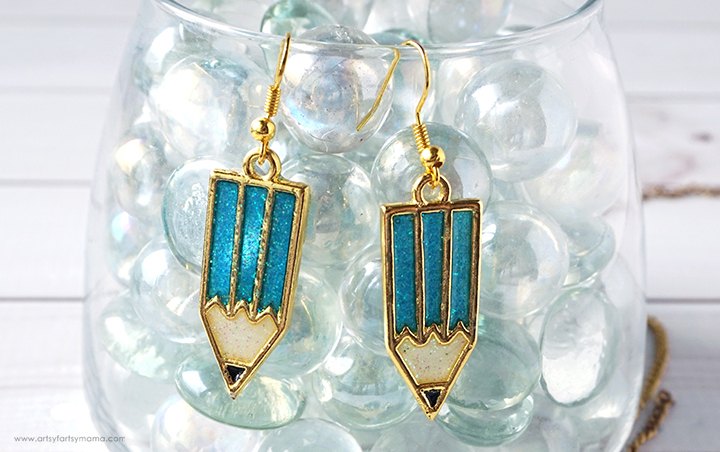
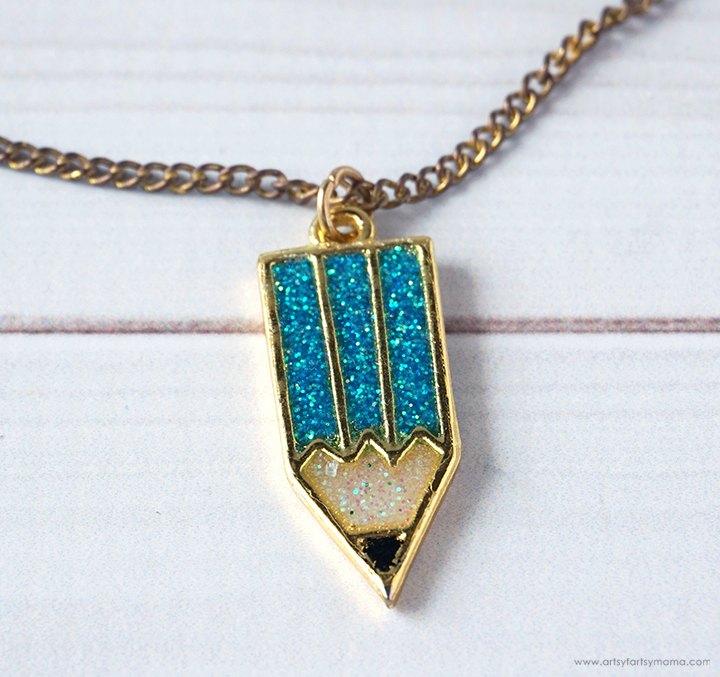
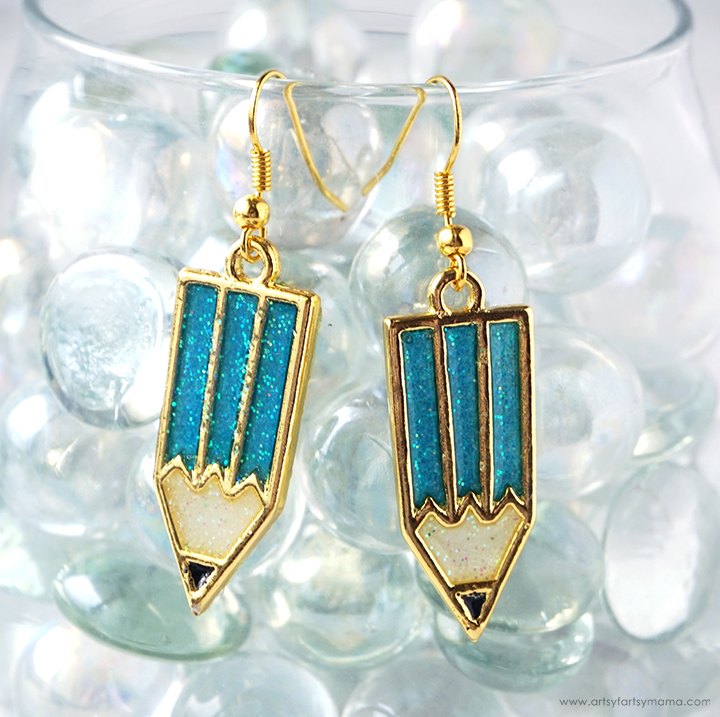
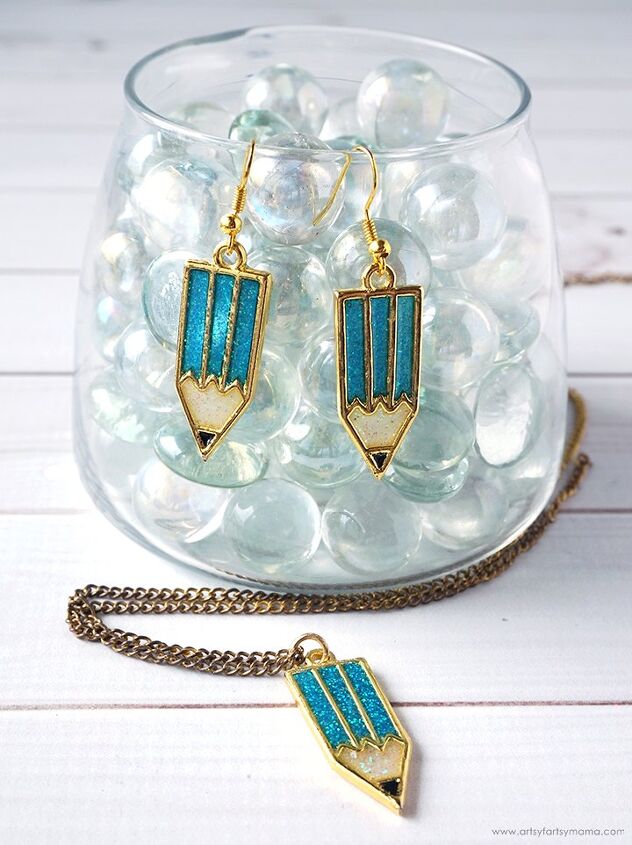
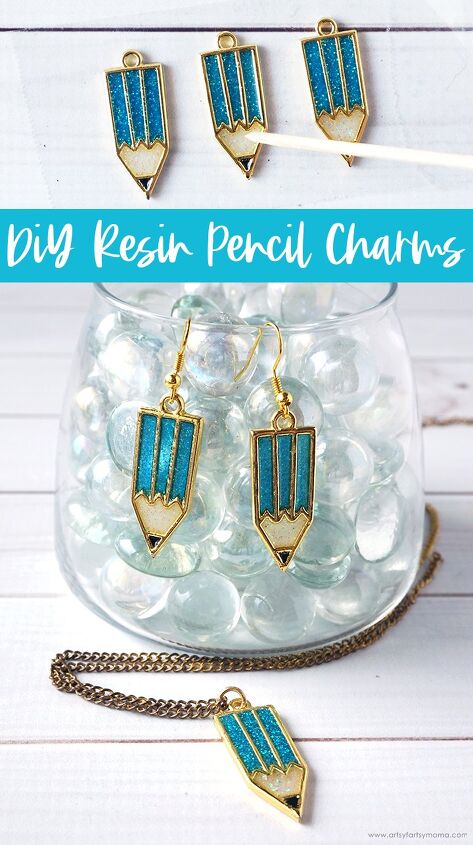
DIY Resin Pencil Charms
$20
2 Hours
Medium
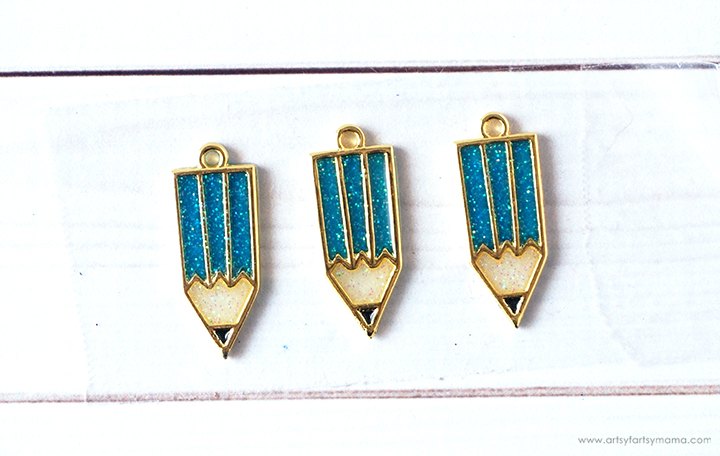
These DIY Resin Pencil Charms are the perfect back to school accessory!
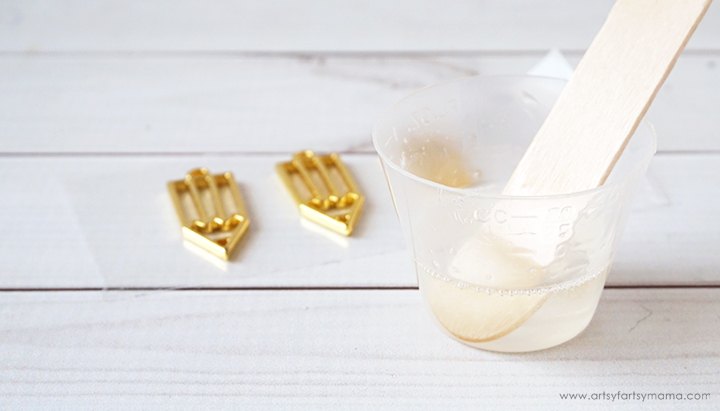
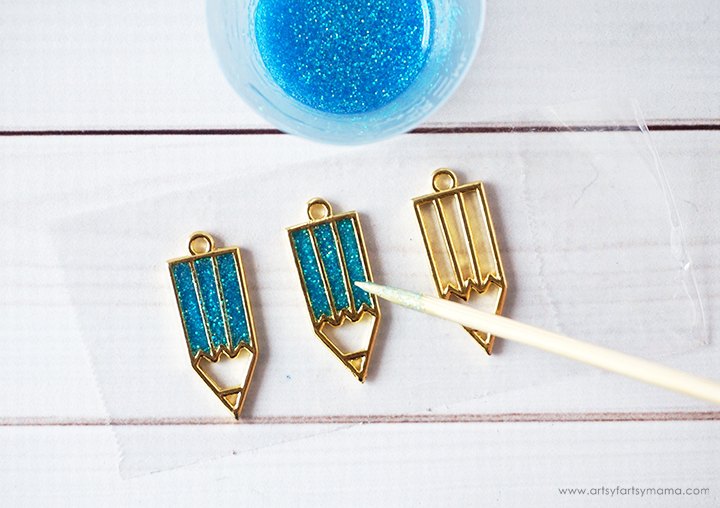
- EnviroTex Jewelry Resin
- Gloves, Mixing Cups, and Stir Sticks
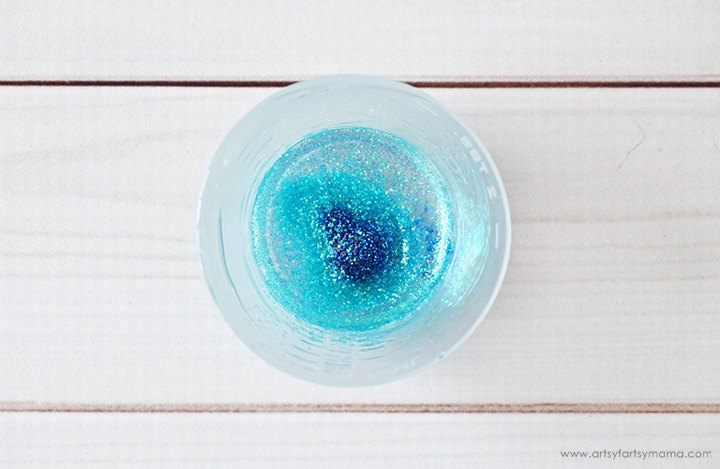
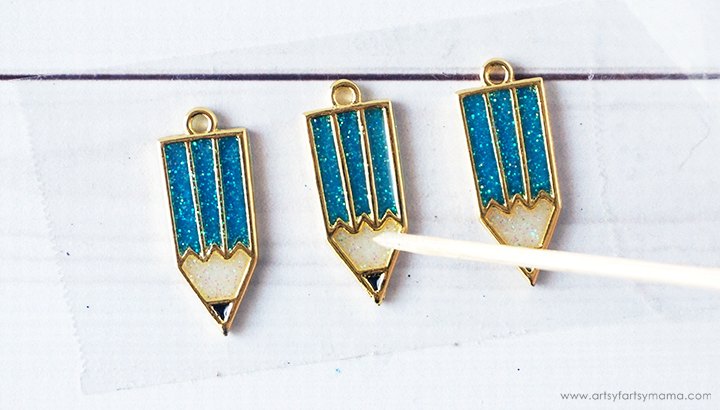
- Castin’ Craft Transparent Resin Dye
- Glitter
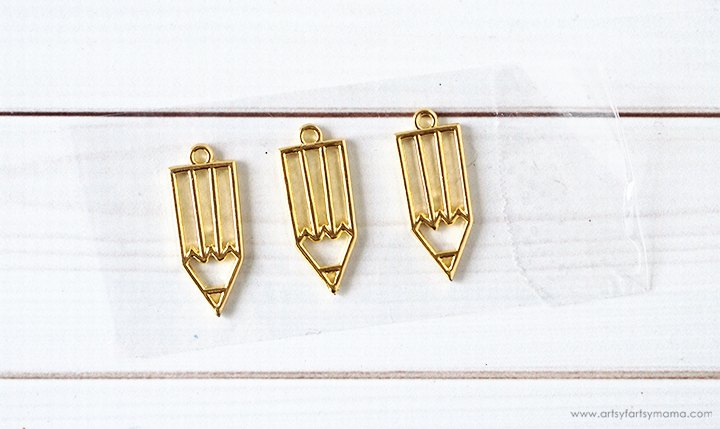
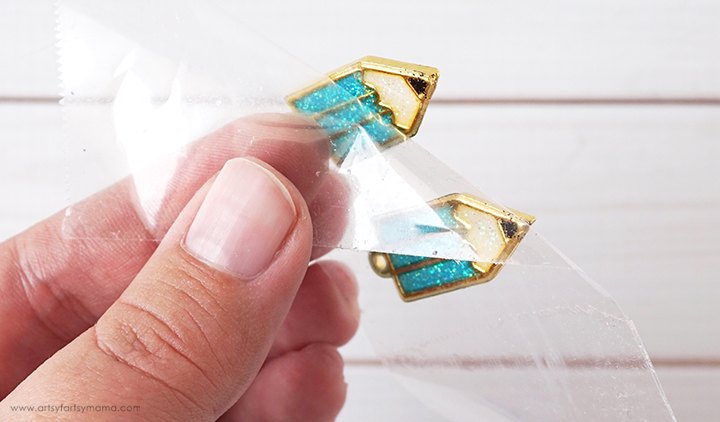
- Clear Packing Tape
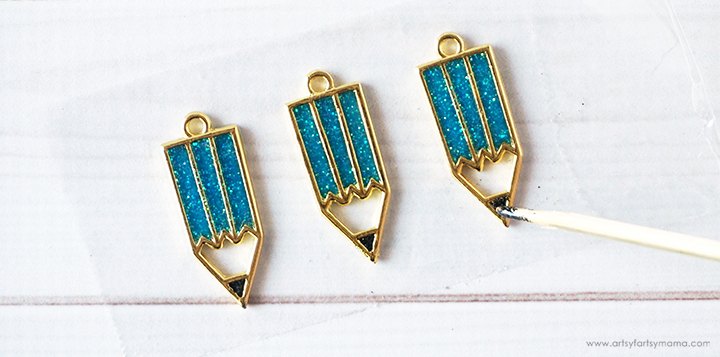
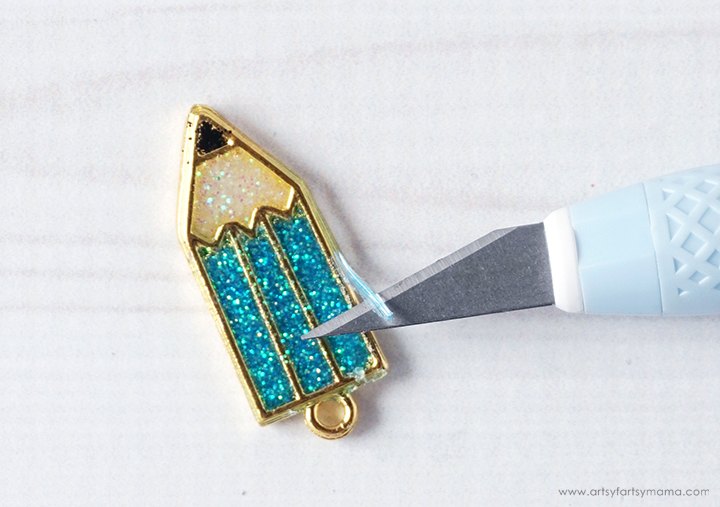
- Toothpicks or Skewers
- Open Bezel Pencil Charms
- Jump rings, earring hooks, necklace chain
The author may collect a small share of sales from the links on this page.

Want more details about this and other fashion and style ideas? Check out more here!


Comments
Join the conversation