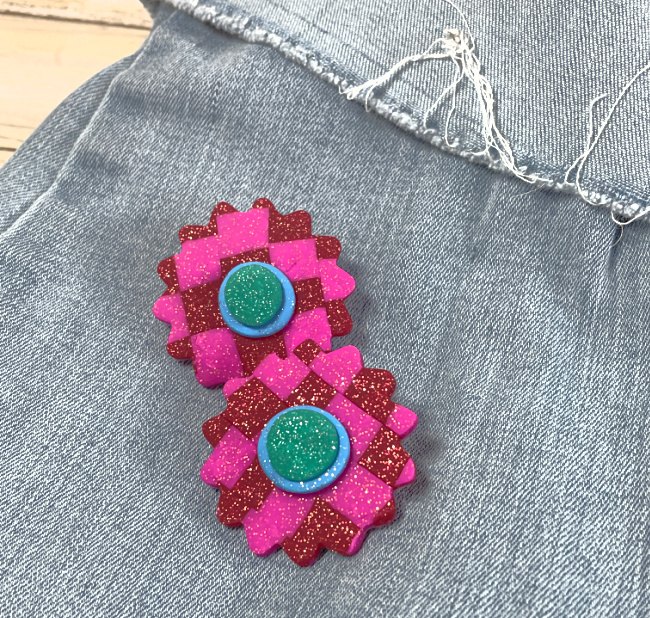
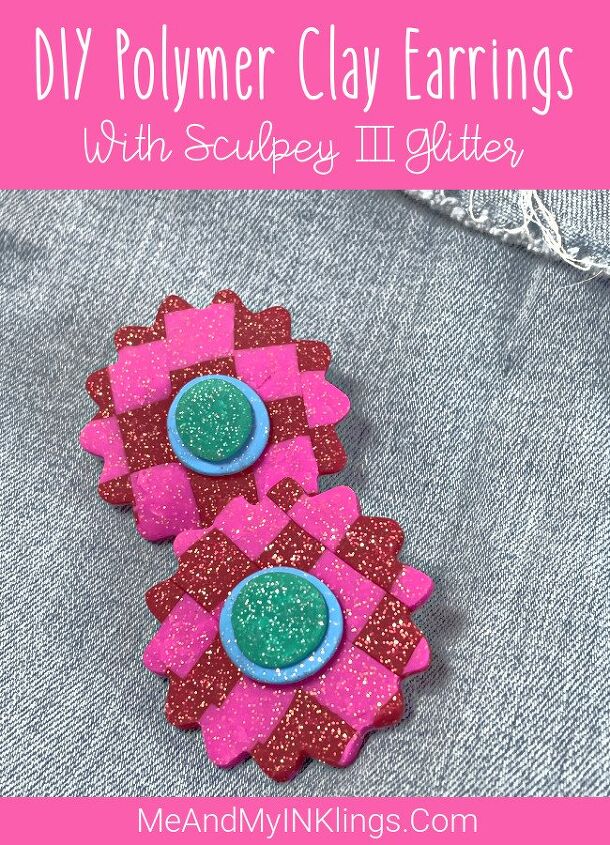
Flower Polymer Clay Earrings DIY
These glitter polymer clay earrings are easy to make and fabulous for gifts.
.This polymer clay earrings DIY is great for beginners! When I found out that Sculpey had new Sculpey III GLITTER clay, I was ecstatic and excited to give it a try. The clay is so great to work with because it is soft and comes in such a great variety of colors. I love that it bakes up perfectly every single time too. These earrings are super festive and perfect for summertime. Making them is just as much fun as wearing them
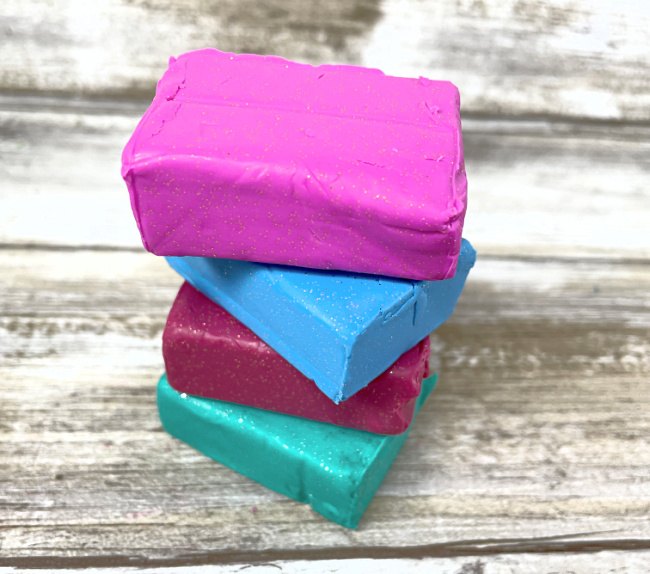
- Sculpey III Polymer Clay in Glitter Colors
- Clay Tools (Rolling and Cutter)
- Sculpey Blades
- Leveling Bars (OPTIONAL) – I usually use these for baking.
- Sculpey Clay Mat
- Baking Sheet
- Oven for Baking
The magic of working with polymer clay is that every project comes out a tiny bit different than planned. Regardless of how the clay colors or combined – they somehow create magical masterpieces. Before you get started, choose your clay colors and get the package opened up to be totally prepared.
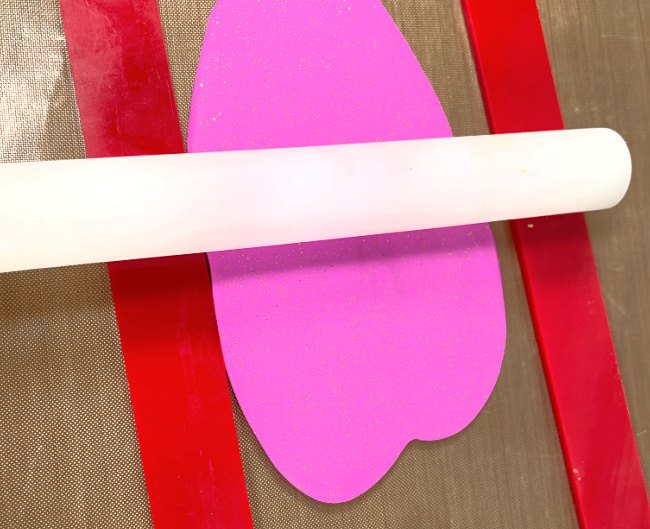
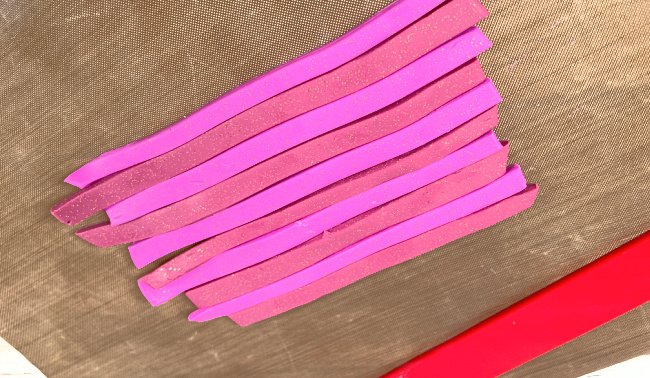
Using the first color, break off two blocks and roll in hands to soften the clay. Once it is softened, roll into a oblong shape and place on the mat.
Step Two
Use the roller to flatten the clay. If leveling bars are available, they are a fantastic way to make your clay all the exact same thickness. I like them for things like this where colors are going to end up side by side.
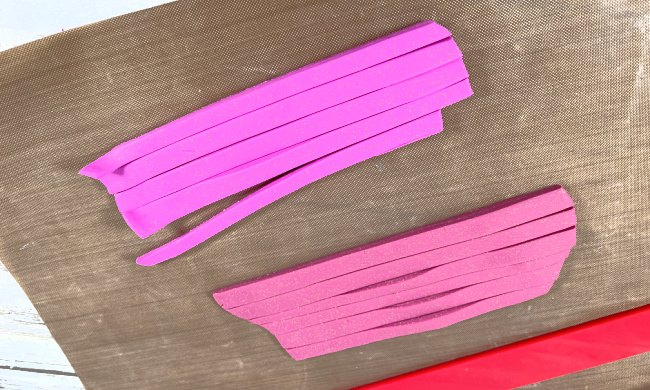
Cut the rolled out clay slap into thin strips. The best tool for this is the cutter blades. They are SHARP and work so great.
Do the same thing with an alternating color of clay.
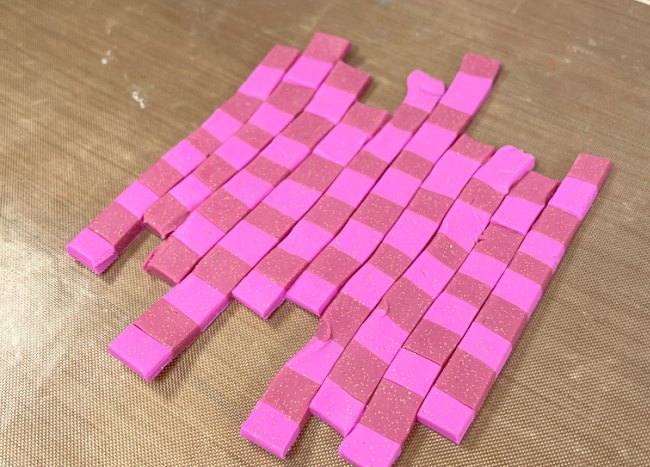
Step Four
Then – line the strips up side by side, alternating each time. Use the roller to roll the clay together.
Once they are rolled together, cut them into strips the opposite way and line them back up so they are zig-zagged in colors.
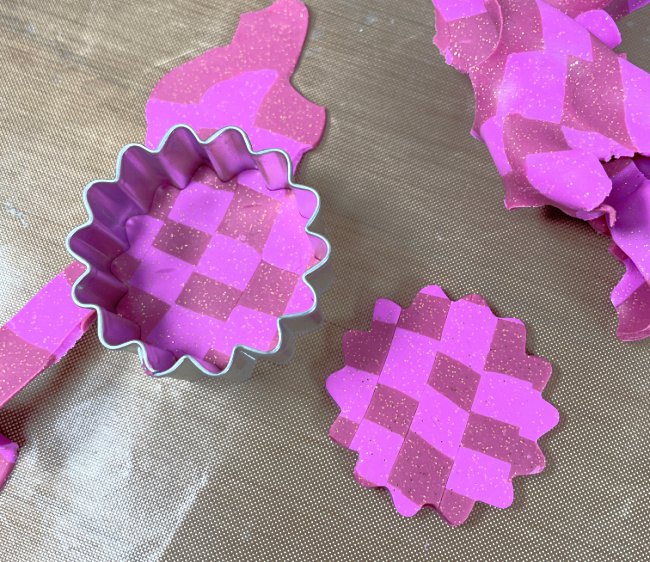
Step Five
Roll this out until the sides where the strips meet can no longer be seen. Use a cutter to cut out two flowers (or any shape at all).
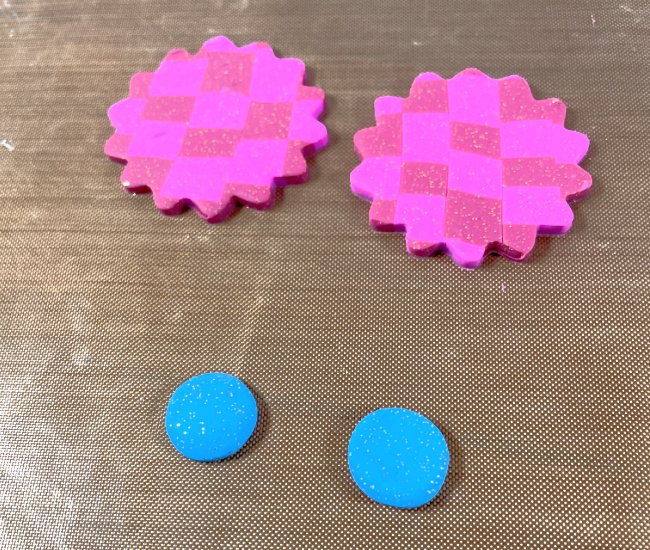
Step Six
Add centers to the flowers by rolling little balls of clay and pressing them flat into the flower.
Step Seven
Bake for 15 minutes at 275 degrees them remove from oven and let cool completely. The work mat can be transferred right on to a baking sheet to go into the oven.
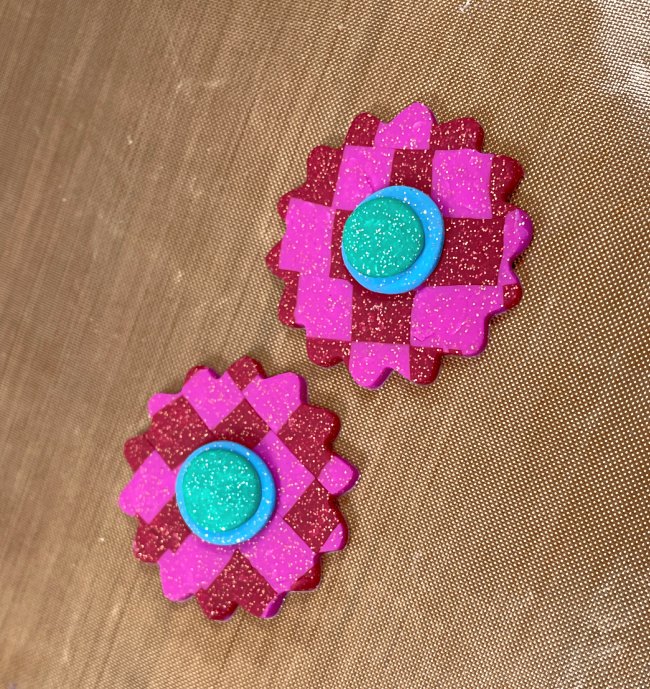
The glitter will REALLY show up at this point.
Once the clay has cooled, add earring backs with a strong adhesive like E-6000. To keep them flat, put them in a bowl of rice and press down to get that great surface for adhering the glue.
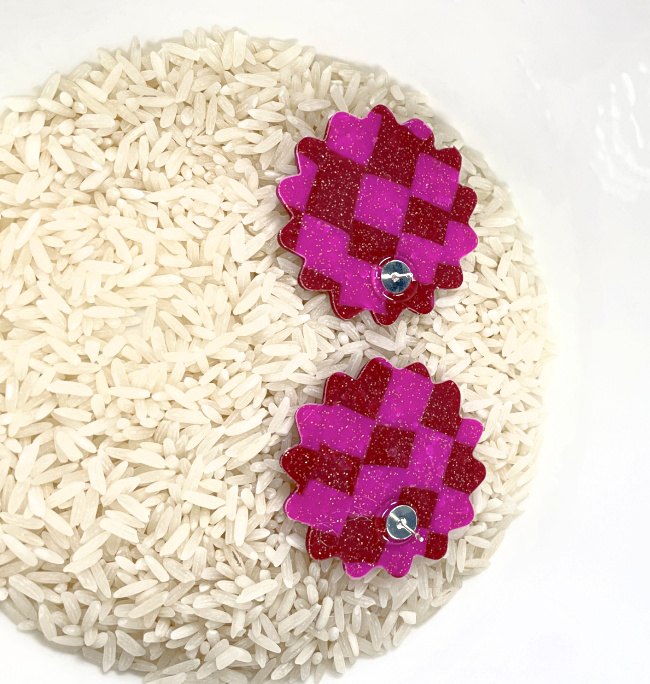
Once the glue has dried, they are ready to wear.

Sharing is Caring! Too busy to make this right away?! Pin it for later! Pin this project to your favorite craft board on Pinterest and it’ll be waiting for you when you’re ready.
This post contains affiliate links. If you make a purchase, it is no extra cost to you but supports me and my small business.
XOXO,
Laura
The author may collect a small share of sales from the links on this page.


Comments
Join the conversation
I am wondering if a person could make buttons instead of earrings? Would they be sturdy enough to be washed in the washing machine?