Use This Polymer Clay Applique Tutorial to Make Pretty Floral Earrings

Earrings brighten and beautify your face. This gorgeous polymer clay appliqué tutorial will help you make earrings to accentuate your beauty even more. Here’s how to make these amazing flower earrings using the polymer clay appliqué technique.
Note: Polymer clay is an oven-bake modeling material that is versatile, pliable, and simple to use. It stays continually soft and can be baked in your home oven. You can buy it at art supply stores.
Tools and materials:
- Polymer clay in green, light pink, and dark pink
- Exacto knife or small sharp knife
- Blank cabochon earring setting - about 20mm diameter
- Sewing needle
- Paper towel
- Earring clasps
1. Make the Base
It’s important to condition or warm and knead the clay before you use it. When you roll and stretch the clay, it increases its pliability and reduces the risk of it breaking.
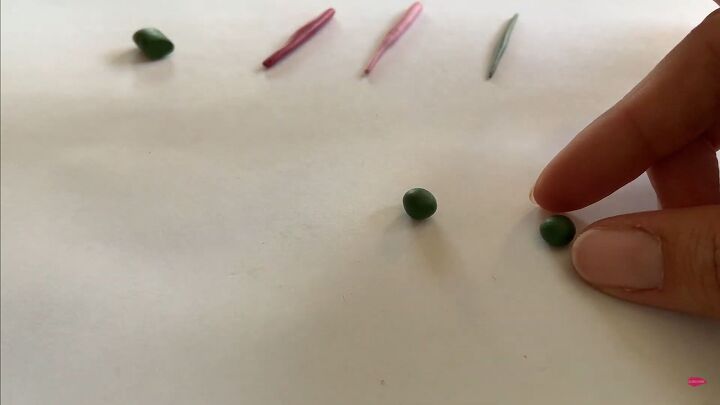
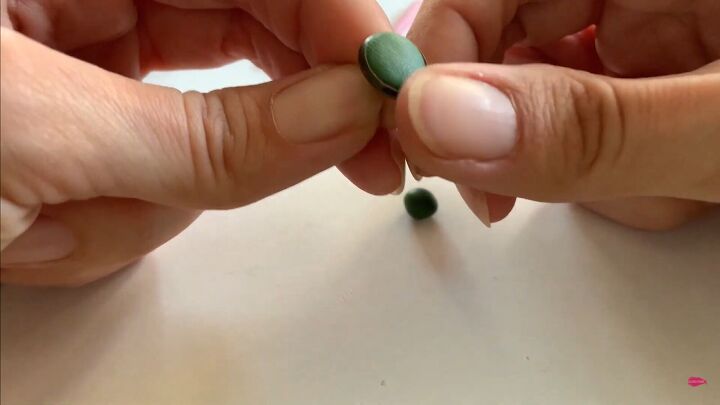
Slice a small amount of the green clay with an Exacto knife. Manipulate the clay by rolling it into a ball with your finger.
Place the balls into the earring circle base and stretch it to create a flat disc. Press into place leaving no gaps.
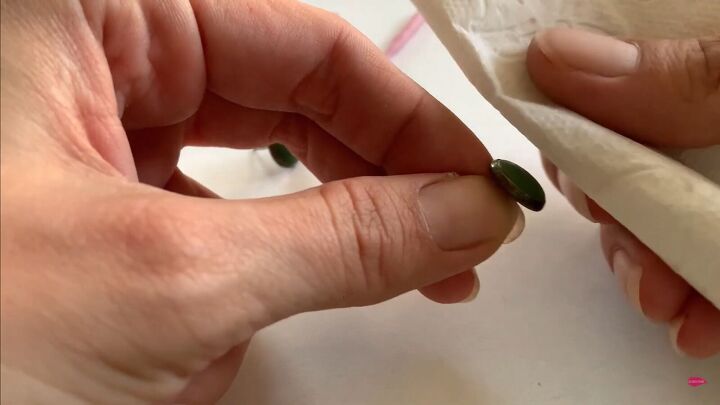
Wipe with a paper towel to remove any fingerprint residue and to clean the entire surface of the earring base.
2. Make the Stems
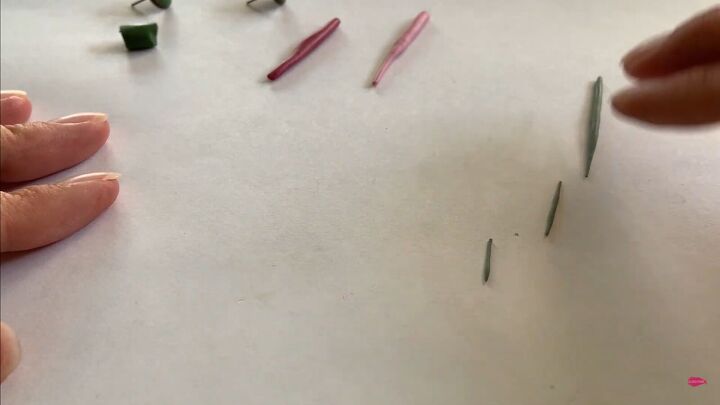
Use the green clay. Slice a small piece and roll the green clay into a very fine and thin roll. Use the sewing needle to cut thin, small strips.
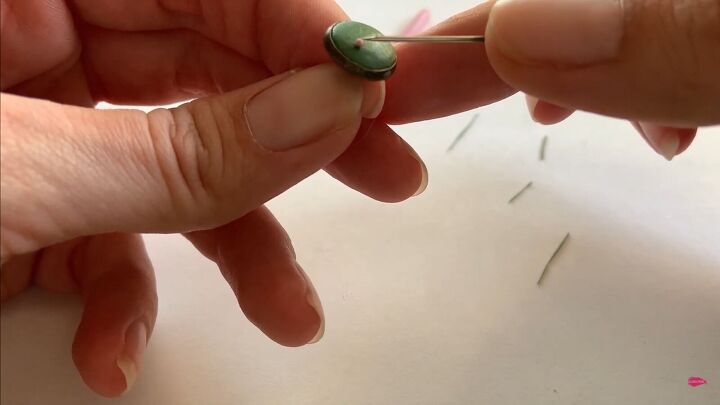
3. Make the flower center (pistil)
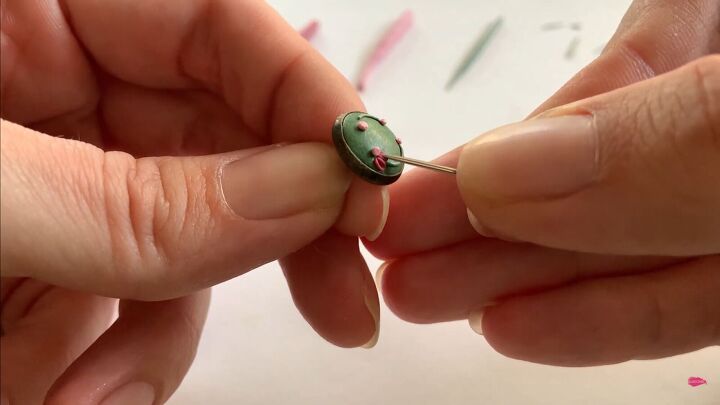
The flower centers or pistils will be pale pink. Use the needle to pinch off tiny little pieces of the pale pink clay. Roll these little balls with your fingertip to make them as round as possible. Lay them on the earring base with the needle at the top.
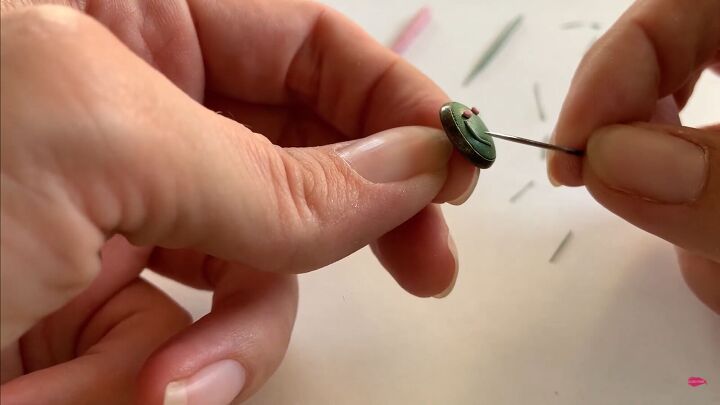
4. Apply the stems
Use the needle to place the stem in a curved shape directly underneath each of the pink balls.
Apply a second stem and place them in an open U shape.
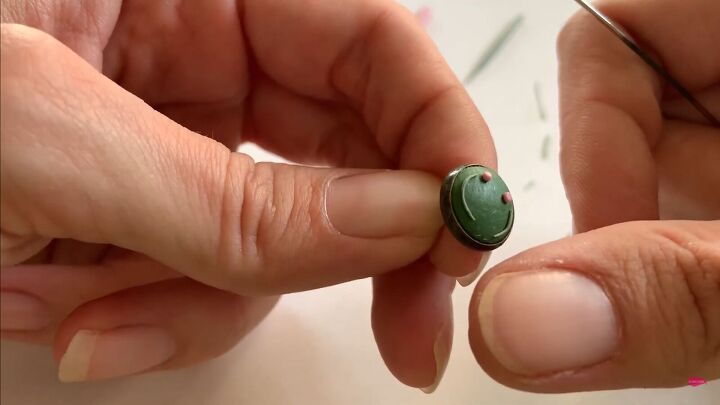
5. Add more pink
Roll two tiny pink balls and place them on the other end of the open U shape.
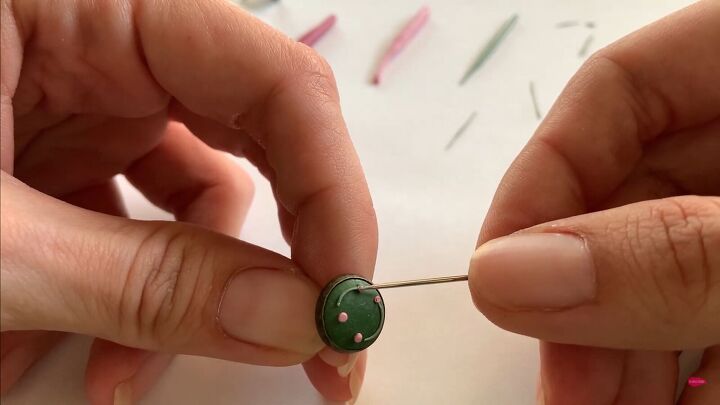
6. Make the petals
Pinch off and roll some of the darker pink clay into a log. Pinch off from this thinner log several small pieces. Roll them with your fingers into little ovals.
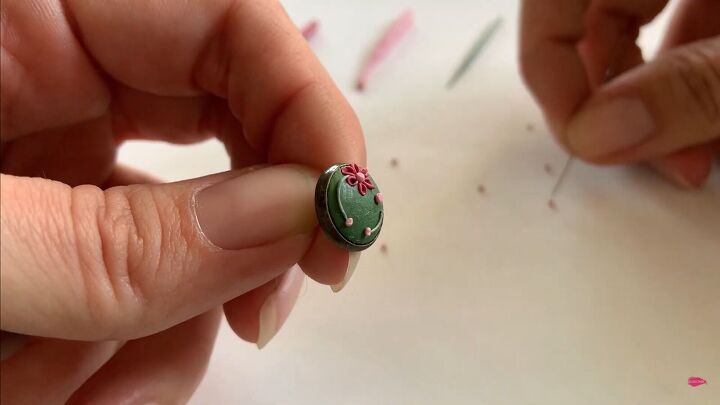
Pick them up with the needle and press them into the larger pink flower center. Press the needle down into the center of the oval to create an indented petal.
Do this process for both flowers. Each flower will use 6 darker pink ovals for a total of 12 ovals.
Once they are in place, use the needle to affix them by pressing and deepening the hole in the petal.
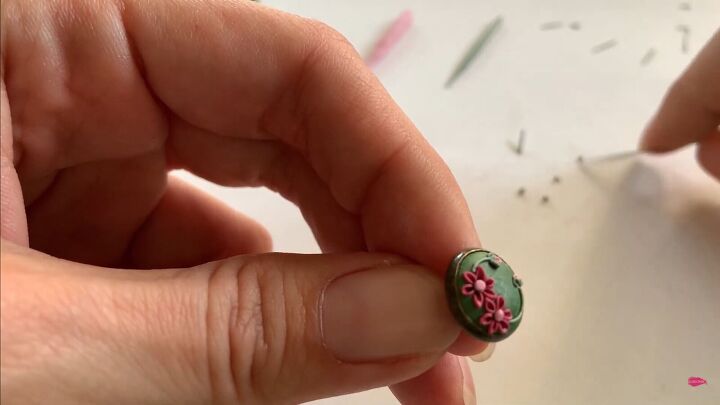
7. Make the leaves
Cut tiny pieces off the thin green strip and gently roll them with your fingertips into balls. Lift one ball up with the needle and place it on top of the stem by the small pink ball without petals. Press the needle into the center. The top of each stem gets two larger leaves.
Add smaller leaves to the length of each of the stems. Each stem has about 6 to 8 leaves.
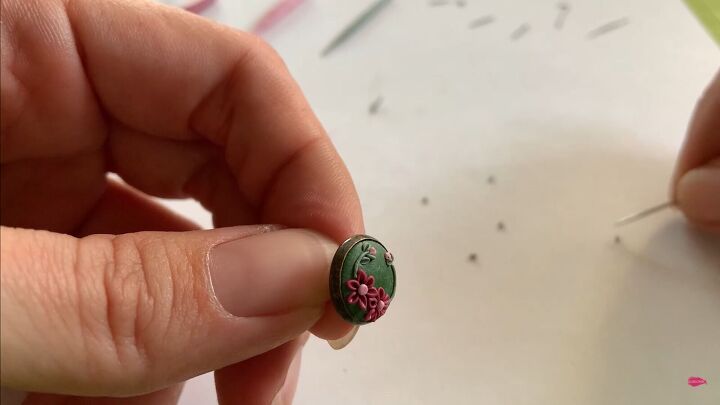
Polymer clay needs to be baked. The brand will have the recommended temperature and length of time for baking. Some people use a toaster oven to make polymer clay jewelry but that’s up to you!

Polymer clay appliqué tutorial
These stunning polymer clay appliqué earrings are definite conversation starters with their delicate floral pattern. Please let me know in the comments if you’ve made them and how easy or hard it was. If you wear them, please share a photo. I love seeing your work!
The author may collect a small share of sales from the links on this page.


Comments
Join the conversation