Make Your Own: Clay and Tassel Earrings

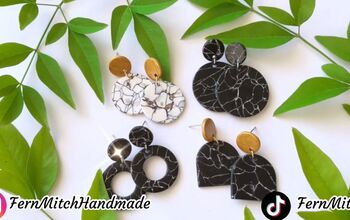
Today’s tutorial will show you how to make DIY clay and tassel earrings. Both of these pairs are super fun to make and easy to personalize. I
Tools and materials:
- Polymer clay
- Circle cutter
- Exacto knife
- Paint
- Jump rings
- Pliers
- Earring attachment
- Thread
- Cardboard
- Scissors
- Clamp beads
- Circular earring piece
Cut out your clay
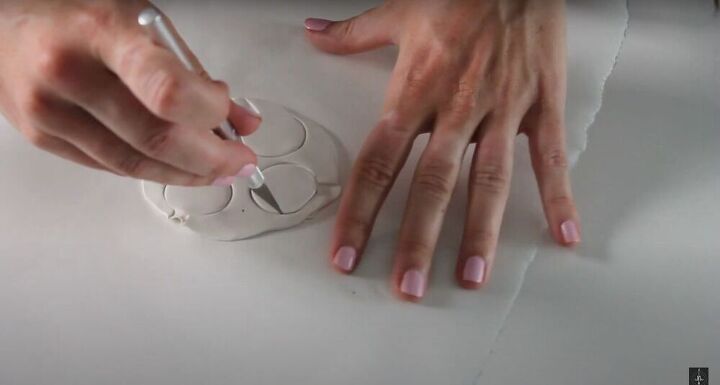
Using some leftover polymer clay, I decided to make some clay earrings. The first thing I did was knead the clay in my hands and then roll it out. If you don’t have a rolling pin, you could simply use a glass, as I did. Once your clay is flat, grab a circular cutter - I used a measuring spoon, so feel free to get creative with it - and cut out three circles. Use the Exacto knife to make sure they come out smoothly.
Add some texture
Using your knife again, cut one of your three circles in half. Next, put some holes into your clay - one on the straight side of your semicircles and the other on the edge of your whole circles. I also forgot to add a hole on the opposite end of the semicircle (on the top) so don’t be like me, and add that hole now! Finally, grab a rounded push pin and use the back to add some detail and texture to the semi-circles.
Paint your earrings
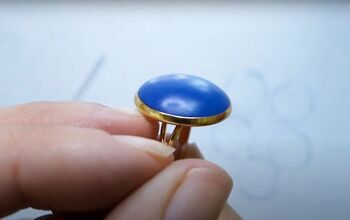
The next step is to bake and paint your clay. Your clay should come with instructions for how to bake them, so follow those. Next, I painted the earrings with a nice gold for the top part and a gorgeous teal blue for the bottom. (This is also where I added the forgotten hole!)
Put it together
Grab some pliers, earring attachments, and jump rings. Use your pliers to twist the jump ring open and slip it through the top hole of the semi-circle. Attach the earring piece and then close. Next, add a jump ring to the bottom hole of the semicircle and a jump ring to the hole in the full circle and with a third jump ring, put those together.
Make the tassels
For the second set of earrings, I’m actually using thread. Choose any color thread you like and begin wrapping it around a small piece of cardboard. I wound and wrapped the thread around the cardboard multiple times so that I have a large amount of yarn and I’m going to use this to make the tassels. Use some scissors to cut along one side of the cardboard - keep in mind when choosing your piece of cardboard, that however long your cardboard is that’s how long your tassels are going to be.
Attach the tassels
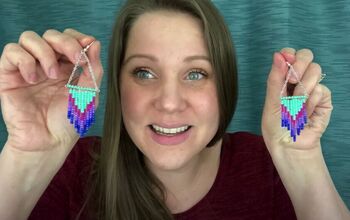
Separate the yarn into five different portions so that you have five different tassels. Take one of the tassels and wrap it around a circular earring piece and then take the bead clamp, wrap it around the yarn and pinch it closed. This is what’s going to secure the tassels onto the earring. Once your tassels are attached, use some scissors to trim off any excess fabric and make the yarn even.
Make it your own
There is no magic way to get this earring right, it really comes down to what you like. I chose to do five fairly thin tassels, but you can totally do three thick ones or seven thinner ones. Make it your own!
I might be a little obsessed with these DIY tassel earrings, so much so that I’m thinking of wearing them to an event I have tonight for work. I’m not typically an earring person, but I just love both of these pairs so much that it looks like I’m going to have to start making exceptions. Needless to say, I’m excited to add some glam!
Enjoyed the project?
Suggested materials:
- Polymer clay
- Circle cutter
- Exacto knife
- Paint
- Jump rings
- Pliers
- Earring attachment
- Thread
- Cardboard
- Scissors
- Clamp beads
- Circular earring piece
The author may collect a small share of sales from the links on this page.




Comments
Join the conversation
They're beautiful and best thing is that one can make them in any color one wants. Am going to try making them. Thanks 😊