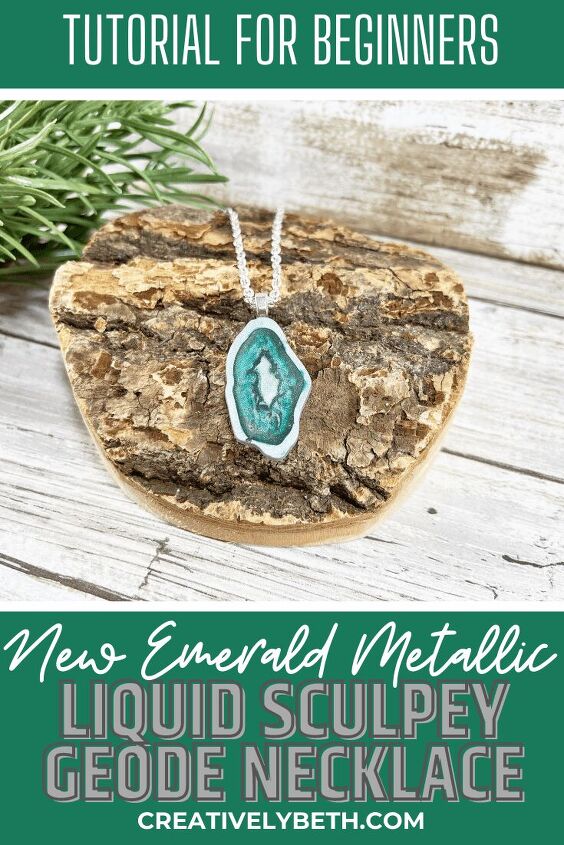
DIY Geode Necklace With Liquid Sculpey
Create a DIY Geode Necklace with Liquid Sculpey's newest color Emerald Metallic. Sculpey has a wide variety of colors, molds, and tools to make all of your traditional clay and liquid clay projects quick and easy to complete, even for beginners. Create custom colors in the new silicone mixing cup, light up the night with the new Glow in the Dark Liquid Sculpey, and show your softer side with Liquid Sculpey Amethyst Pearl.
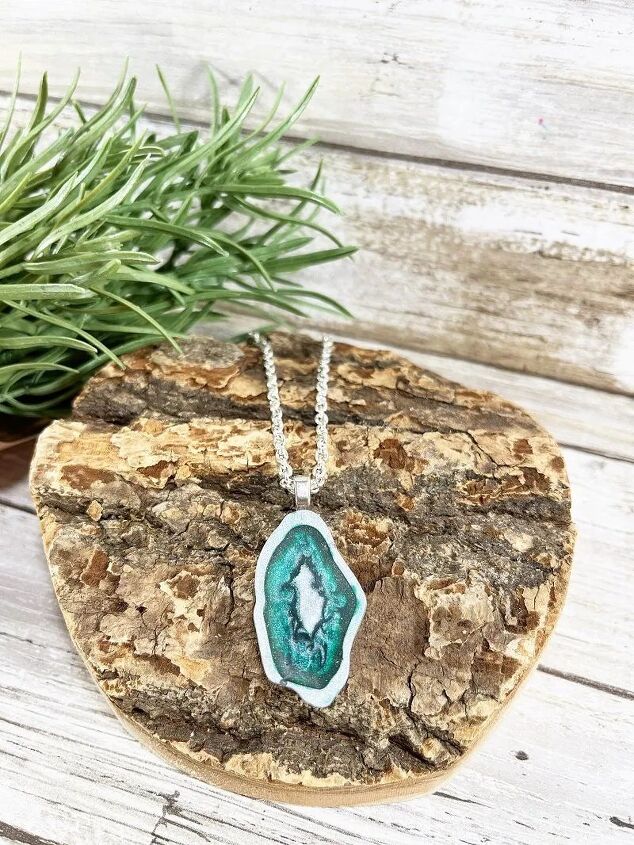
Liquid Sculpey DIY Geode Necklace
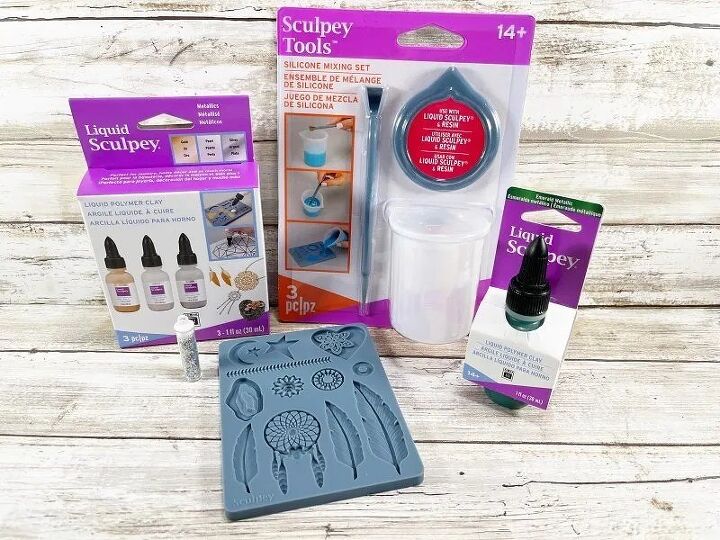
Here's what you need to make a Geode Necklace:
- Liquid Sculpey® Emerald Metallic – NEW
- Sculpey Tools™ Silicone Mixing Set – NEW
- Liquid Sculpey® Multi-Pack – Metallics: Silver, Pearl
- Sculpey Tools™ Oven-Safe Molds: Boho Chic
- Sculpey Tools™ Oven-Safe Work Mat
- Jewelry Bail – Silver
- Jewelry Chain with Lobster Clasp – Silver
- E6000 Adhesive
- Oven
- Baking Sheet
Here's how to create a Liquid Sculpey Geode:

STEP ONE
To begin the DIY Geode Necklace, gather all supplies. I always like to start by reading the directions and instructions for all new to me craft supplies. Then it's a good idea to make some test molds to see how the different colors of Liquid Sculpey will bake. Sometimes the colors will change slightly and either intensify or lighten.
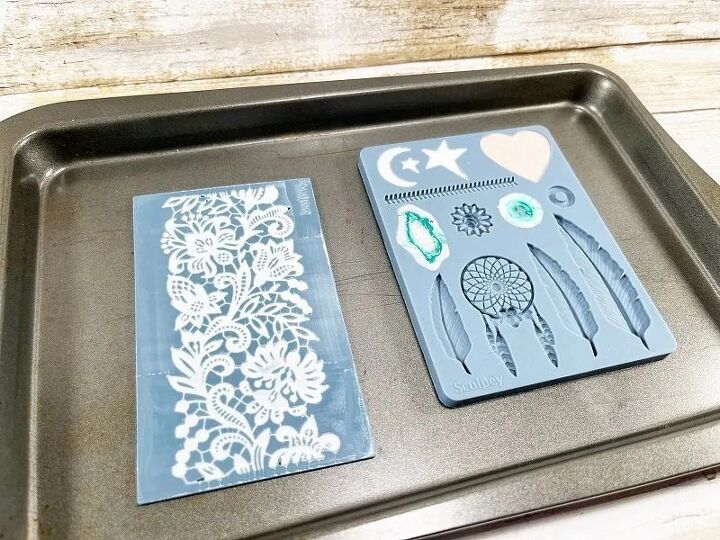
STEP TWO
The Sculpey Tools™ Oven-Safe Molds: Boho Chic includes the geode mold. I did a test mold first, not understanding that it was a reverse mold, so I tried to create the rings of the geode. Once baked and unmolded I realized that this mold is intended to be filled with the rim color first, baked according to the package directions and when unmolded, the rim color of Liquid Sculpey becomes the vessel for the rest of the geode colors.
So, the correct first step with this mold is to fill it with the color you want around the rim of your geode. I used Silver from the Liquid Sculpey Multi-Pack Metallics to fill the mold, then bake it in the oven according to the package directions. Once cool, remove the geode base from the mold and allow it to cool completely.
STEP THREE
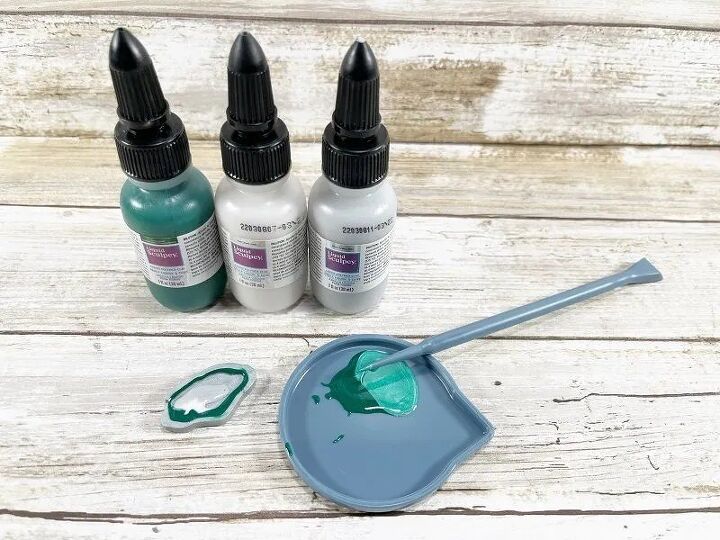
Using the lid and the tool from the Sculpey Tools Silicone Mixing Set, squeeze out a dime size puddle of Liquid Sculpey Emerald Metallic and Pearl from the Liquid Sculpey Multi-Pack Metallics. Pick up small amounts of the Emerald Metallic with the pointed end of the mixing tool and drop them around the outer edge of the geode. Mix the Emeral Metallic and Pearl together to create a lighter green, and repeat creating a smaller ring around the geode.
STEP FOUR
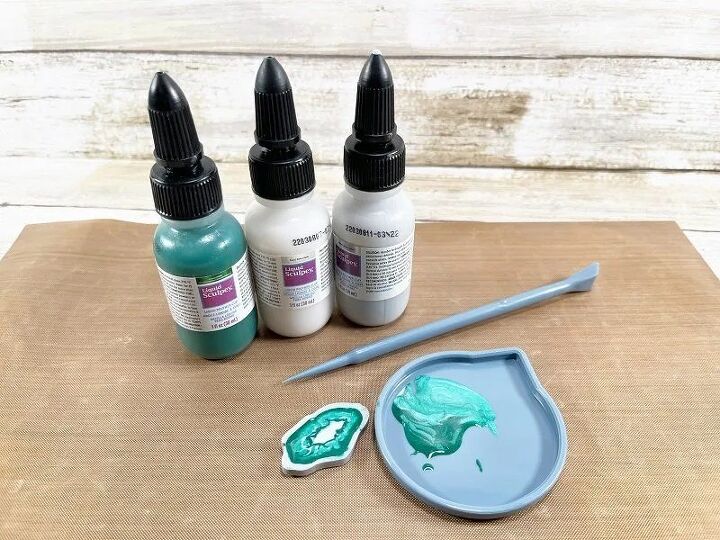
Squeeze a few drops of Liquid Sculpey Silver and Pearl in the very center of the geode. Pick up small amounts of the Emerald Metallic with the pointed end of the mixing tool and drop them around the inner ring of the geode. Finish by dragging the pointed end of the mixing tool through the rings to create organic shapes in the geode. I Like working on the Sculpey Tools™ Oven-Safe Work Mat because it is easy to clean up and you can quickly transfer your projects from your work table to the baking sheet.
Bake the geode one more time according to the directions on the package. Allow the geode to cool completely before moving on to the next step.
STEP FIVE
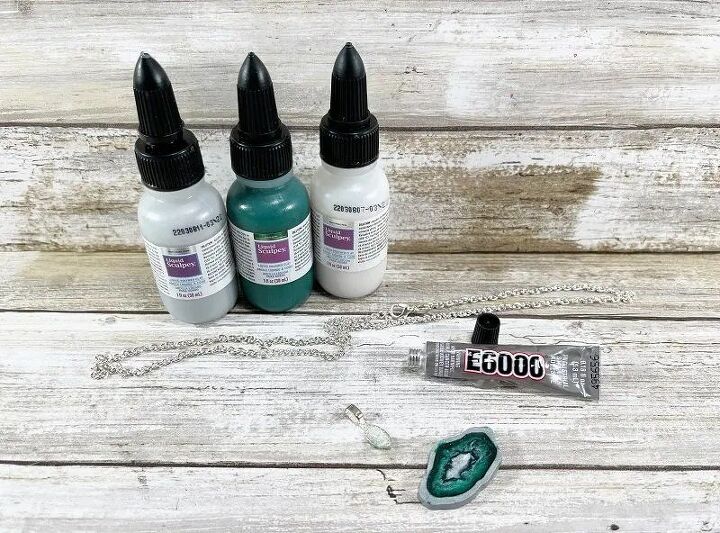
To finish the DIY Geode Necklace, attach a silver jewelry bail to the top back of the geode with E6000 Adhesive and set it aside to allow the glue to dry. Thread the geode charm on a silver chain necklace.
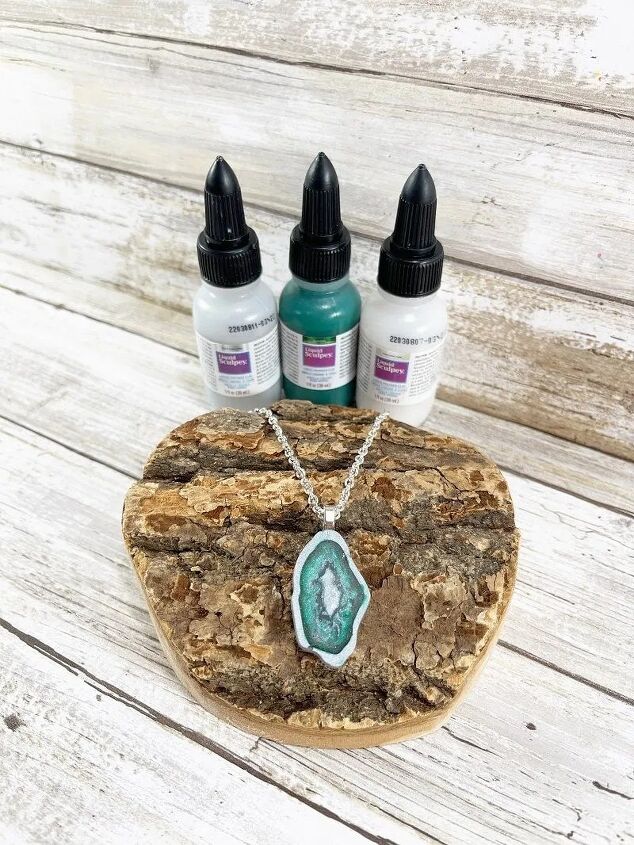
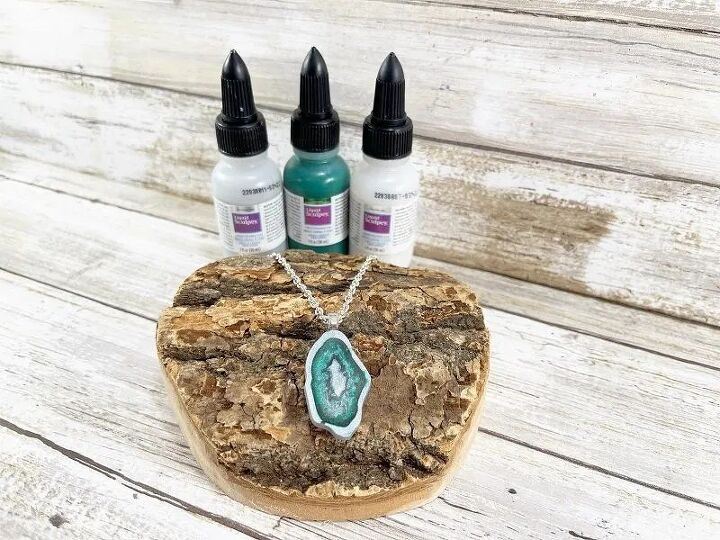
DIY Geode Necklace with Liquid Sculpey
I love how versatile Liquid Sculpey is. Creating fashionable jewelry is quick and easy with their line of Sculpey Tools oven-safe silicone molds and a wide variety of Liquid Sculpey colors. This Geode Necklace took about 30 minutes to create and would be perfect to make with younger kids. Teens and tweens would love to make these as a party craft, and it would be a fun crafternoon project to create with your girlfriends.
Sharing is Caring!
Too busy to make this DIY Geode Necklace with Liquid Sculpey right now? Pin it for later! I'd love for you to pin this project to your favorite craft board on Pinterest and then it’ll be waiting for you when you’re ready.
Visit my website Creatively Beth for a TON of Craft Tutorials, Home Decor DIYs, and FREE Printables.
Thanks for stopping by!
Creatively, Beth
The author may collect a small share of sales from the links on this page.


Comments
Join the conversation