How to Make a Party Time Necklace With Memory Wire
How to Make a Party Time Necklace with Memory Wire
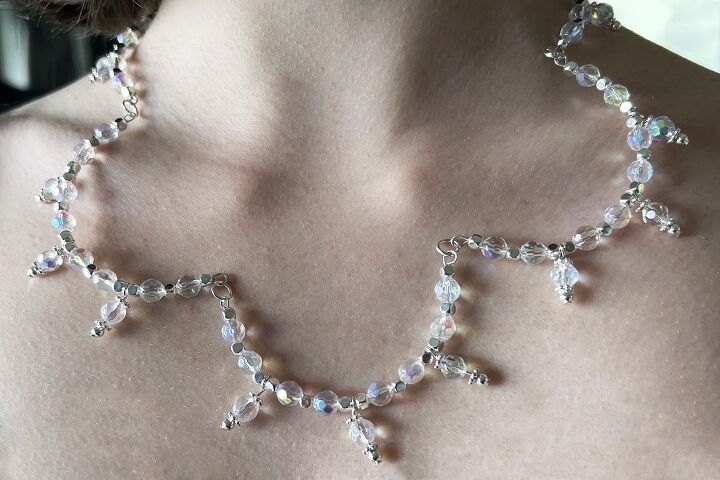
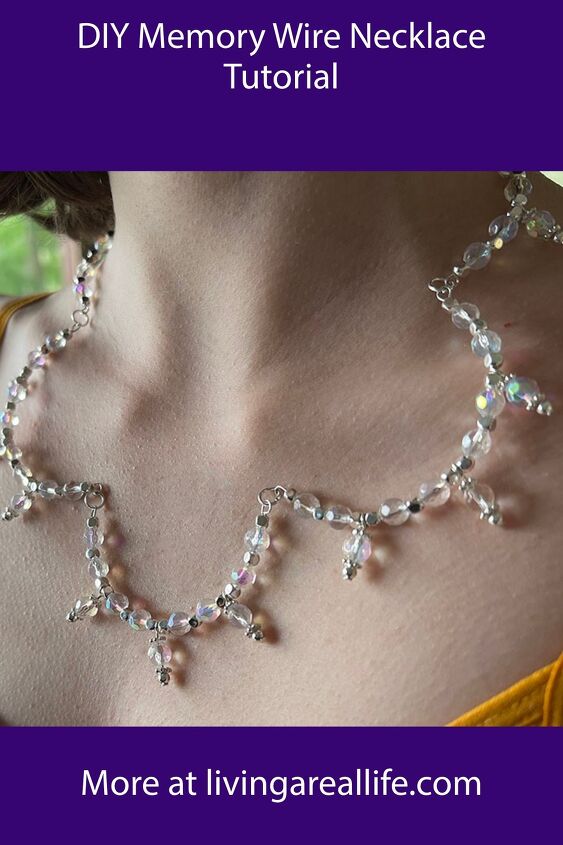
I’m getting ready for the Christmas parties so I wanted to make a statement necklace – and I’m making it with memory wire. I’m always looking for new and interesting ways to use memory wire so, in this project, I used it to make scallops.
Materials
Here’s what you will need make this wire wrapped bracelet:
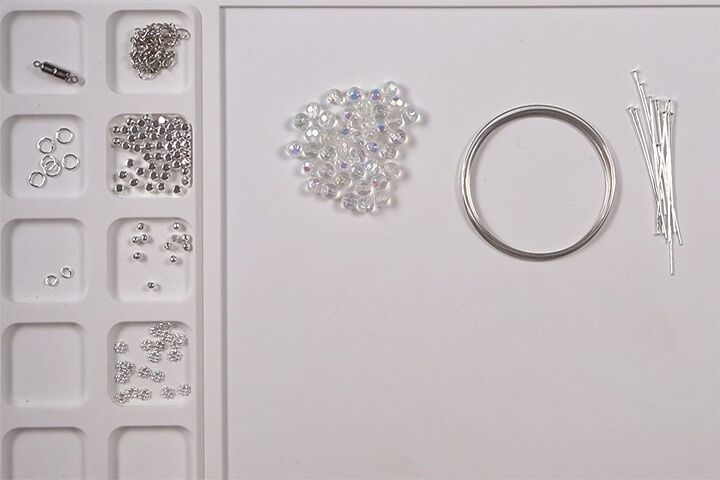
- To make this necklace set you will need:
- 6mm Crystal AB Crystal Glass Faceted Round Beads x43
- 4mm Silver Square Round Beads x 48
- 3mm Silver Ball x11
- 4mm Beaded Rondelle x22
- 5cm Silver Headpins x 11
- 5.7cm Silver Memory Wire x 5 Loops
- Silver Mother and Son Chain x 20cm
- 18mm Hematite Magnetic Clasp x1
- 6mm Silver Jump Rings x6
- 4mm Silver Jump Rings x2
Tools
- Chain nose pliers (2 pairs)
- Flush cutters
- Round nose pliers
- Memory Wire Cutters or old flush cutters
Save it for Later
If you like this project, remember to save this to your favourite jewellery making Pinterest board.
Instructions
Watch the video or read the instructions below.
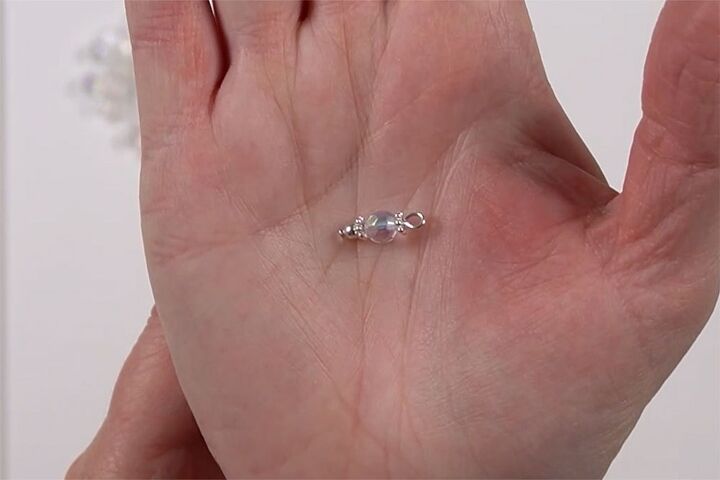
Making the Dangles
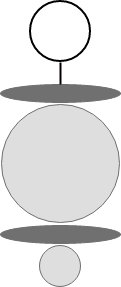
Onto a headpin thread the following:
- 3mm Silver Ball
- 4mm Beaded Rondelle
- 6mm Crystal Glass Bead
- 4mm Beaded Rondelle.
Bend the wire over at the top of the beads. Trim the wire to approximately 1cm from the bend and make a loop using the round nose pliers. If you’ve never made loops before, watch this video. https://youtu.be/wZZSOPFwqNc
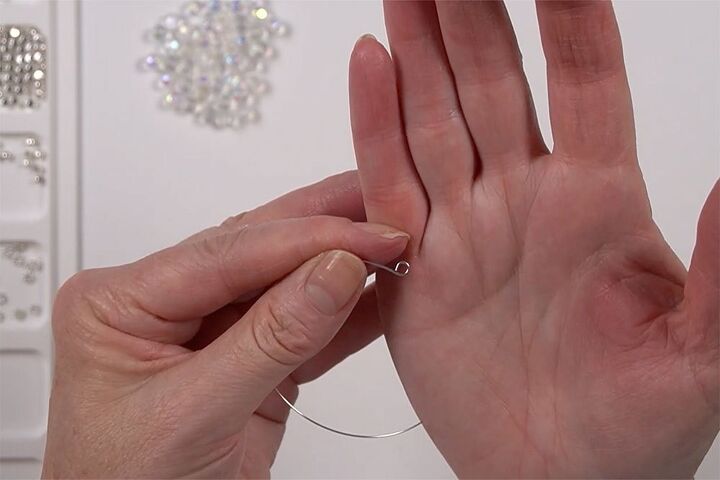
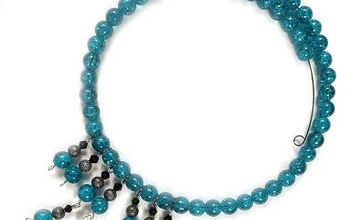
Making the Scallops
Cut three pieces of memory wire about ¾ of a loop long. Using the round nose pliers, make an outward facing loop in one end. Remember that memory wire is harder than standard wire so don’t be concerned if it takes 3-4 tries to get your loop closed.
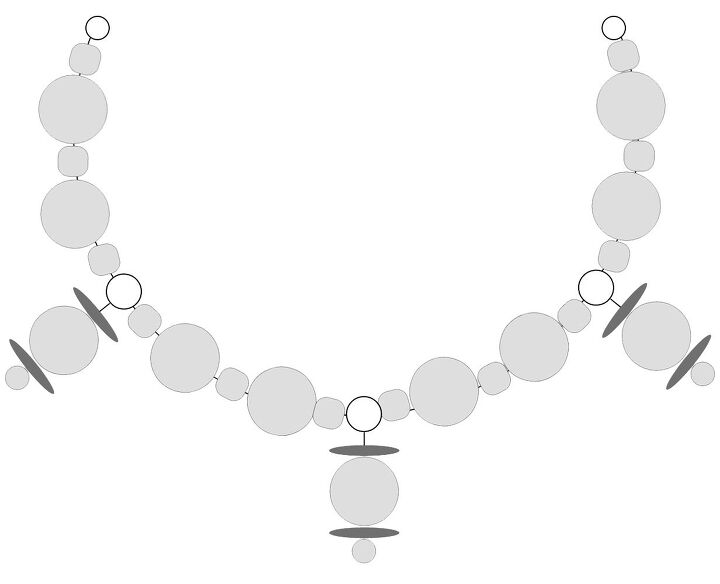
Thread on the Beads
Thread the beads onto the wire in the following order:
- Square Round
- Crystal Glass Bead
- Square Round
- Crystal Glass Bead
- Square Round
- Dangle
Repeat two more times.
Add the beads one more time without the dangle.
Trim the wire to 1cm from the beads and make a loop.
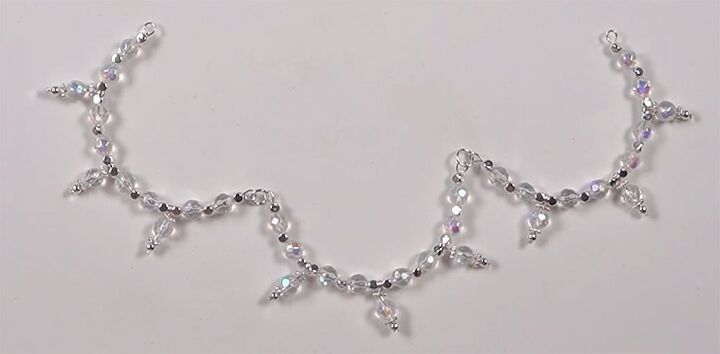
Joining the Scallops
Open one of the 6mm jump rings and thread on the end loops of two of the scallops. Check that they are going to sit right, then close the jump ring. If you haven’t used jump rings before, watch this video.
Repeat until all three scallops are joined together.
Making the Half Scallops
Cut two pieces of memory wire approximately half a loop long. Make an outward facing loop in one end of one. Thread on the beads in the following order:
- Square Round
- Crystal Glass Bead
- Square Round
- Crystal Glass Bead
- Square Round
- Dangle
- Square Round
- Crystal Glass Bead
- Square Round
- Crystal Glass Bead
- Square Round
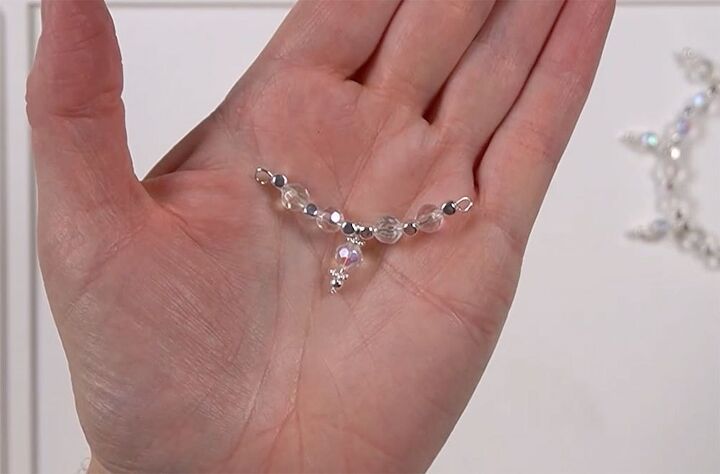
Trim the wire to approximately 1cm from the beads. Make another outward facing loop in the end.
Repeat one more time so that you have two half scallops.

Using the jump rings, add one half scallop to each end as you joined the other scallops.
Adding the Chain
Open one of the 6mm jump rings and thread on the last loop of the half scallop and the end link of the chain. If your chain finishes with a son link (small link), cut that link off so that you are threading a large link onto the jump ring. Repeat for the other end of the chain.
Lay the necklace down on the mat and find the centre of the chain.
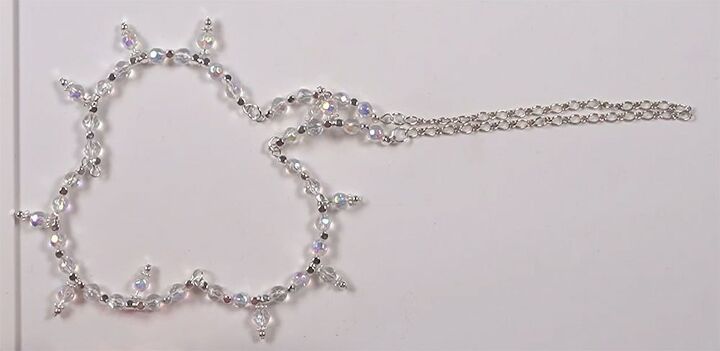
Cut the chain at the centre. Measure the chain against yourself to ensure that it’s the right length. If it’s too long, cut the required amount off each piece of chain. Remember that your clasp will take up approximately 2cm. You want each piece of chain to have a large link on the end so trim off the smaller one if necessary.
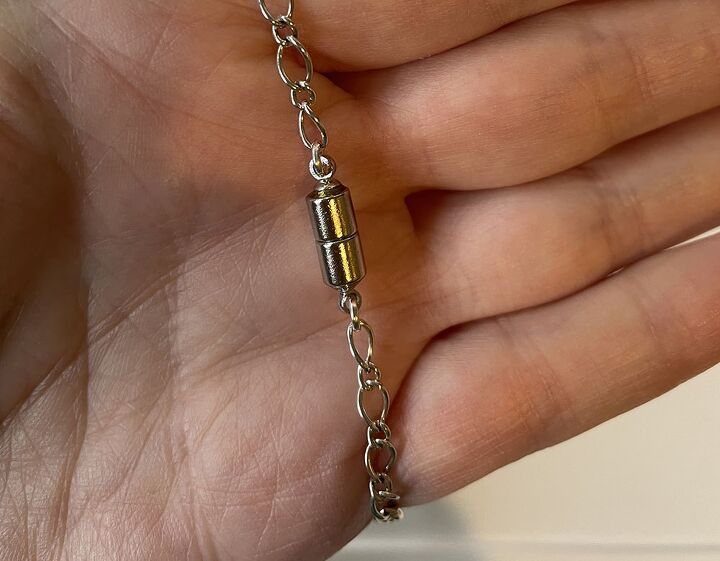
Adding the Clasp
Open one of the 4mm jump rings and thread on the end of the chain and the loop of the clasp. Close the jump ring. Repeat for the other side.
Now you have a beautiful, sparkly necklace to wear with all your holiday outfits.
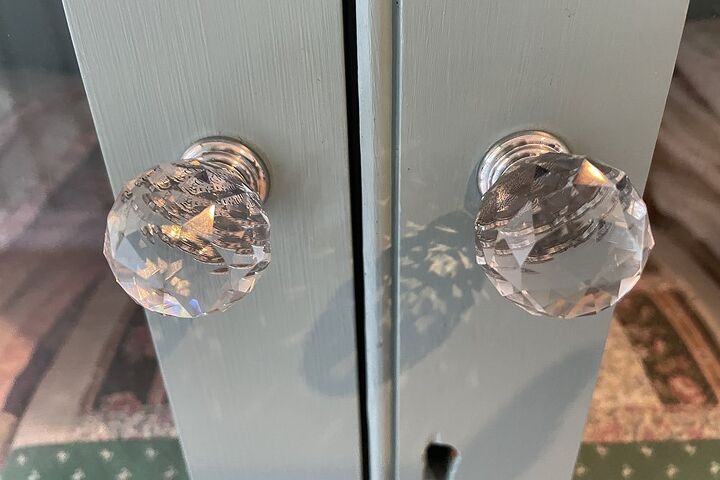
What I've Been Painting
If you would like to see what I’ve been painting (see video), check out this post.
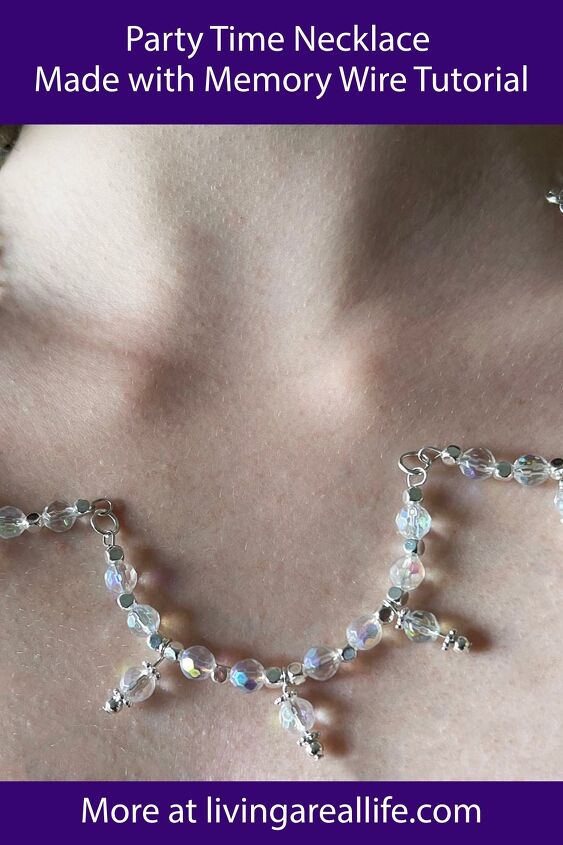
If you did enjoy it….. PIN FOR INSPIRATION AND SHARE WITH YOUR FRIENDS!!
⇓ PIN THIS ⇓
If you like my blog be sure to click on the RECOMMENDED button and SHARE it with your friends! It’s the best way for my blog to grow. I would love for you to be part of my family so sign up to receive my emails. Every time I post a blog, I will send you an update email. Also, follow me on Facebook HERE, Instagram HERE, and Pinterest HERE.
Come by and say Hey!
The author may collect a small share of sales from the links on this page.


Comments
Join the conversation