How to Make a Wire Wrap Pendant

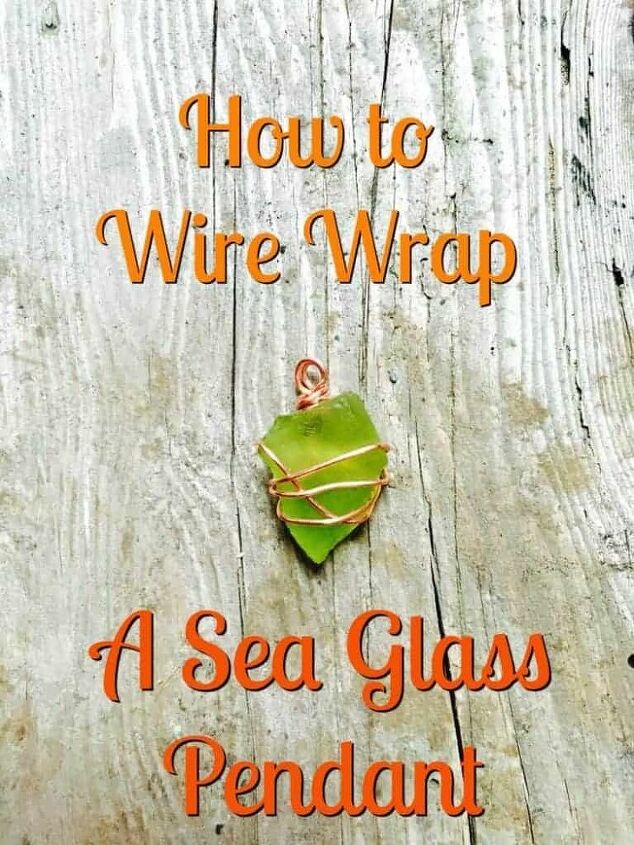
Today I am going to teach you how to make a wire wrap pendant. I am using a piece of sea glass but you can use stones, crystals or any other small object that you would like to turn into a pendant. The method is pretty much the same regardless of what kind of stone or crystal you are using. This tutorial is the same way that I make the wire wrap pendants and jewelry in my shop Crafty Little Gnome.
HOW TO MAKE A WIRE WRAP PENDANT
Supplies
1″-2″ Piece of sea glass
20 gauge jewelry wire
Round nose pliers
Bend nose pliers
Wire cutters
You can get all of these supplies at craft stores like Michael’s or Joanne Fabrics. There is a small, locally owned bead shop in my town where I like to buy supplies. They have a larger selection of beads and beading supplies than the bigger chain stores.
First you need to decide what part of your sea glass is going to be the top and which the bottom. Take the free end of your wire spool and let about 2 inches of the wire hang off the top of your glass. Don’t cut the length of wire yet. You can wrap it much tighter if the wire is still attached to the spool while you are working.
Next. hold the sea glass and wire tight in one hand and the spool of wire in the other. Start wrapping the wire from the spool around the glass as tight as you can. Wrap it as many times as you like. Use your other hand to help keep everything in place. In the picture above my fingers would normally be pressed over where the wire crosses to keep everything tight.
Once the glass is wrapped to your liking cut the wire from the spool leaving 3 or 4 inches or wire to work with.
Twist the two free ends a few times so that everything stays in place. Its okay if the wire isn’t super tight, we will address that later.
Now we are going to make a loop so the pendant can be strung from a chain. Use your round nose pliers and bend the free ends at a 90 degree angle parallel to the top of the glass.
Move the round nose pliers so that the bent end of the wire is between the pliers.
Here’s another angle
Now take the wire and wrap it up and over the pliers.
Now you have a loop at the top. To close the loop grasp it with your bend nose pliers and spin the free wire ends around. Use your pliers to tuck any loose ends. If the loop isn’t perfectly round take your round nose pliers, insert the loop into one of the ends as you spin and gently push the loop down the shaft of the pliers. This will help it become rounder.
If you want the wire to be tighter around your piece of glass take your bent nose pliers, grasp a piece of the wire and twist it gently so that it is slightly bent and tighter on the piece of glass. I did this only on the back side of the pendant as you can see above but depending on the look you want you can do it on the front of the piece.
Now your pendant is ready to be strung on a chain. Wire wrapped pendants make great inexpensive gifts and are a great way to turn a memento from your travels into a beautiful accessory.
Enjoyed the project?
Suggested materials:
- Piece of sea glass (Michael’s or Joanne Fabrics)
- Gauge jewelry wire (Michael’s or Joanne Fabrics)
- Round nose pliers (Michael’s or Joanne Fabrics)
- Bend nose pliers (Michael’s or Joanne Fabrics)
- Wire cutters (Michael’s or Joanne Fabrics)
The author may collect a small share of sales from the links on this page.






Comments
Join the conversation
I wire wrapped a piece almost just like this, but it started to slip, I put a tiny drop of E6000 glue on the back. How did you make yours stick and not slip?
Yes