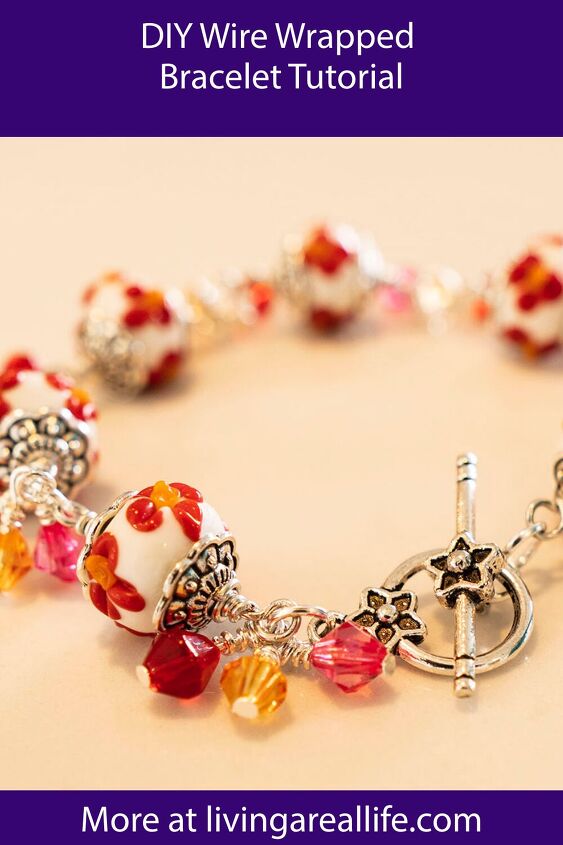
How to Make a Wire Wrapped Bracelet
How to Make a Wire Wrapped Bracelet
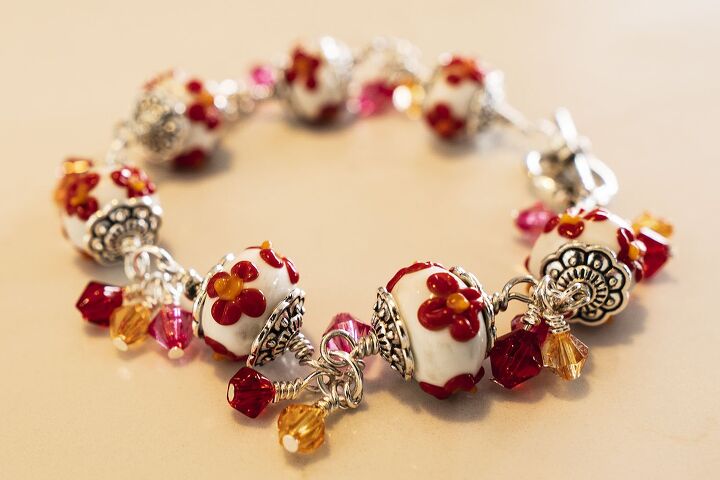
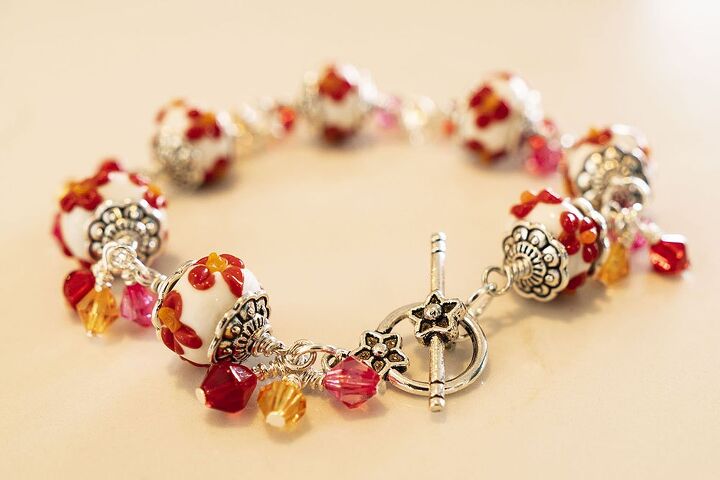
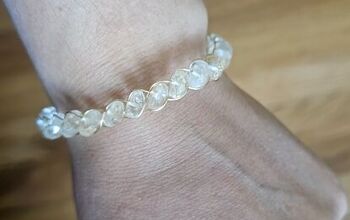
I love to wear red and I have a stunning necklace that used to be my Mum’s, but what I realised is that I didn’t have a red bracelet. Today, I’m showing you how I made this beautiful wire wrapped bracelet in red, orange and pink – seems very autumn themed but it really wasn’t planned that way. Might just be perfect timing for my Northern Hemisphere friends.
Materials
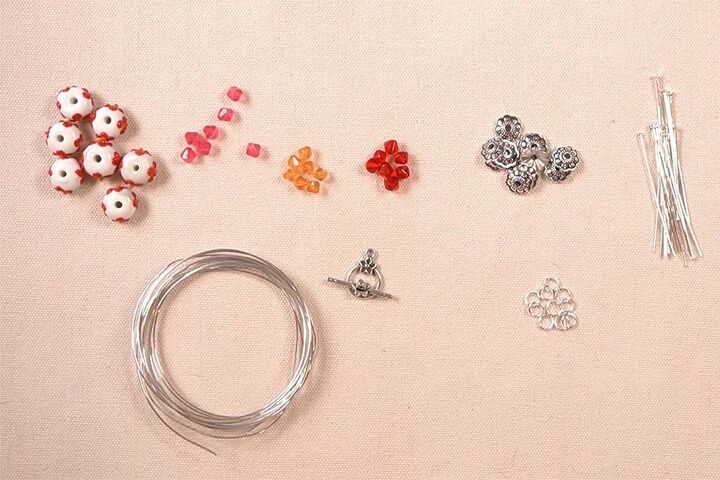
Here’s what you will need make this wire wrapped bracelet:
- 6mm Silver Jump Ring x9
- 11mm Tibetan Silver Flower Bead Caps x14
- 14x9mm White/red/orange Glass Applique Rondelles x7
- 6mm Orange Acrylic Bicones x7
- 6mm Dark Pink Acrylic Bicones x7
- 6mm Red Crystal Glass Bicones x7
- 13x20mm Silver Flower Toggle Clasp
- 20 Gauge Silver German Style Wire
- 5cm Silver Headpins x21
Tools
Save it for Later
If you'd like to save this tutorial for later, be sure to pin it to your most relevant Pinterest board.
Instructions
Watch the video or read the instructions below.
Step 1 – Make the Wire Wrapped Rondelle Components
Cut a piece of the wire approximately 6cm long. Make a wire wrapped loop. If you have never done this before, watch this video.
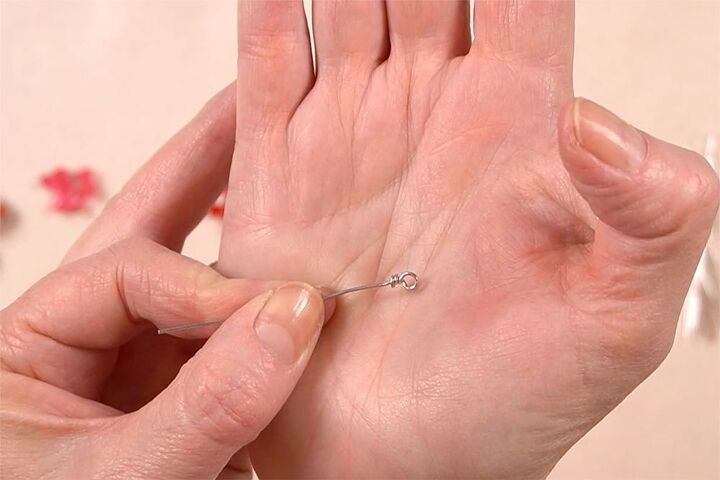
Make sure all the ends are tucked in.
Thread on a bead cap, the rondelle and another bead cap.
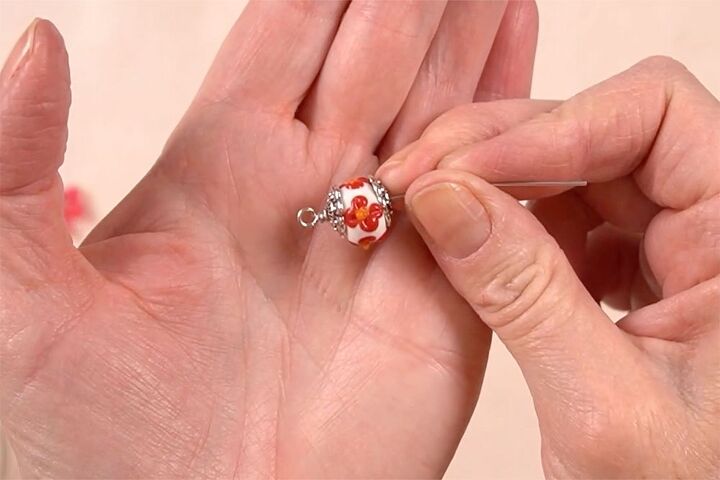
Place your pliers at the top of the bead cap and make aright angled bend in the wire over the top of the pliers.
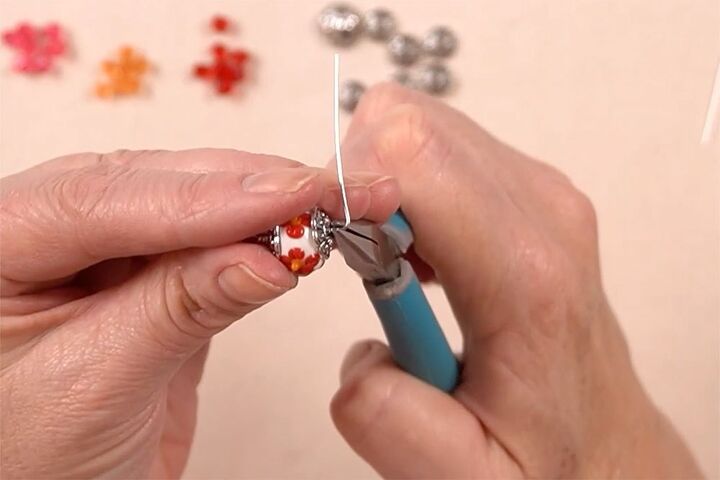
Make another wrapped loop. Trim off the end and tuck it in.
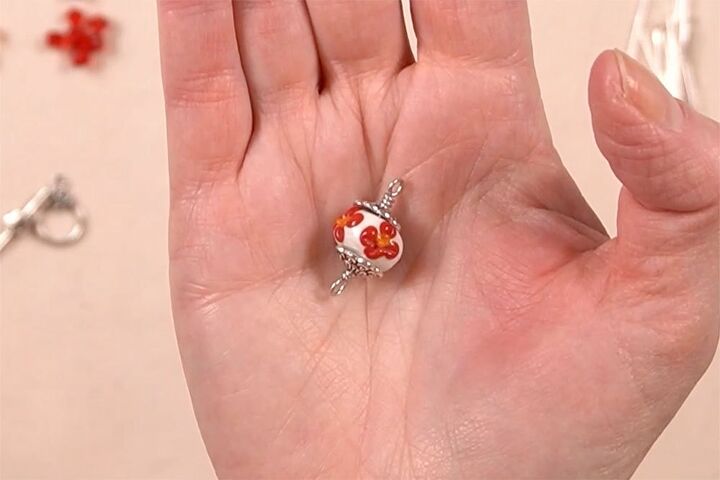
Repeat until you have seven of these components.
Step 2 - Make the Dangles
Thread one bicone onto a headpin. Using the same process as you did for the rondelles, make a wire wrapped loop at the top of the bicone.
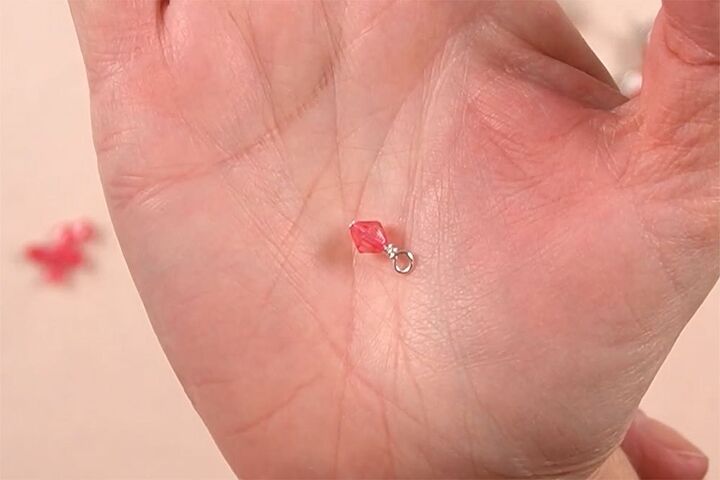
Repeat until you have all seven in all three colours wrapped in the same manner.
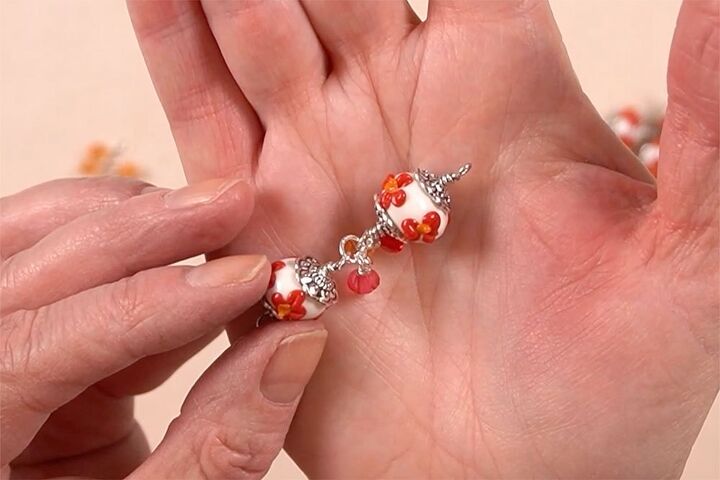
Step 3 – Join the Components
Open a 6mm jump ring and thread on one of the components in the following order:
- 1 Rondelle Component
- 1 Red Dangle
- 1 Orange Dangle
- 1 Dark Pink Dangle
- 1 Rondelle Component.
Close the jump ring.
Open another jump ring and thread on the end loop of joined components you have just made, the dangles in the same order as above, and another rondelle component. Close the jump ring.
Repeat this until you have added all of the rondelle components.
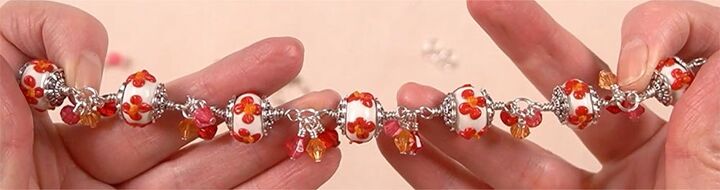
Check the bracelet is the correct size for you, remembering that the clasp will add approximately 2.5cm to the length.
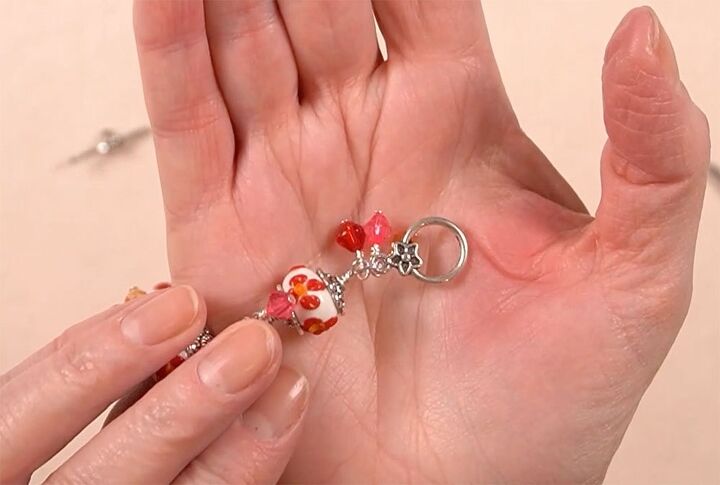
Step 4 – Add the Clasp
Open a 6mm jump ring and add the remaining three dangles in the order used above. Thread on the loop part of the clasp. Close the jump ring.
Open another jump ring. Thread on the loop of the other end of the bracelet.

Open the last jump ring, thread on the jump ring you have just added as well as the loop of the bar section of your clasp. Close the jump ring.
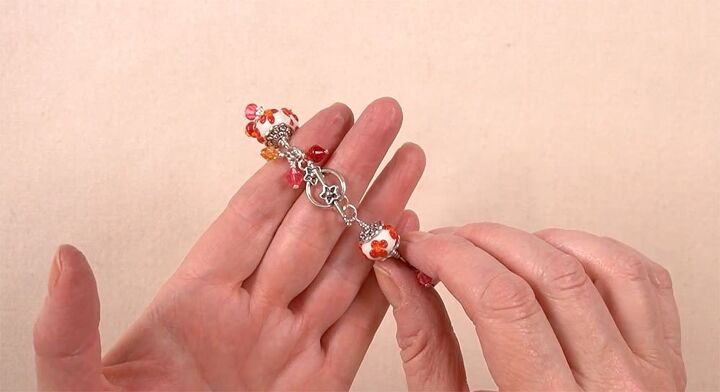
You will see that the clasp sits nice and flat. This is because we added that extra jump ring on the bar end.
I love this bracelet, it’s fun and quirky.
I hope you enjoyed this quick tutorial.If so...
PIN FOR INSPIRATION AND SHARE WITH YOUR FRIENDS!!
⇓ PIN THIS ⇓
If you like my blog be sure to click on the RECOMMENDED button and SHARE it with your friends! It’s the best way for my blog to grow. I would love for you to be part of my family so sign up to receive my emails. Every time I post a blog, I will send you an update email. Also, follow me on Facebook HERE, Instagram HERE, and Pinterest HERE.
Come by and say Hey!
The author may collect a small share of sales from the links on this page.


Comments
Join the conversation