Beginner-friendly Jewelry Tutorial: How to Make a Wire Wrapped Ring

Hello everyone! Welcome to today’s wire wrapping tutorial.
Learning how to make a DIY wire ring is the perfect way for beginners to practice wire wrapping techniques and end up with a gorgeous piece of jewelry. The ring we are making today is so simple but so stylish and it can be made with any color wire to customize the look.
All you need is a few inches of wire and basic jewelry tools to make these. Let’s get started with how to make a wire wrapped ring!
Tools and materials:
• Wire 16 - 20 gauge
• Ring mandrel (or ring sizer)
• Ruler
• Wire cutters
• Round nose pliers
• Chain nose pliers
• Rubber mallet (optional)
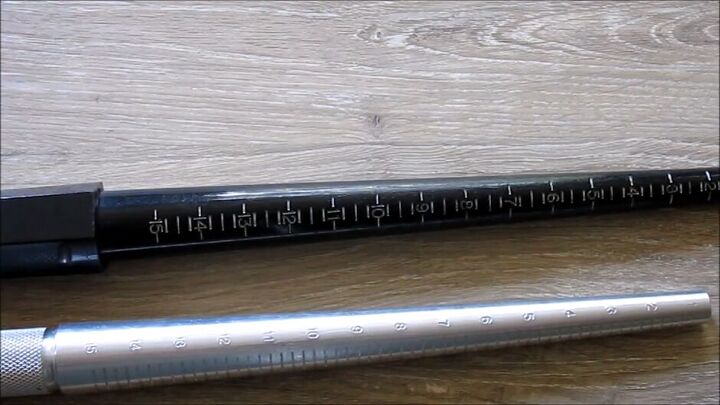
1. Determine the ring size
You can do this with either your ring mandrel or ring sizer but if you don’t have either of these tools, find a cylindrical object that is approximately your ring size.
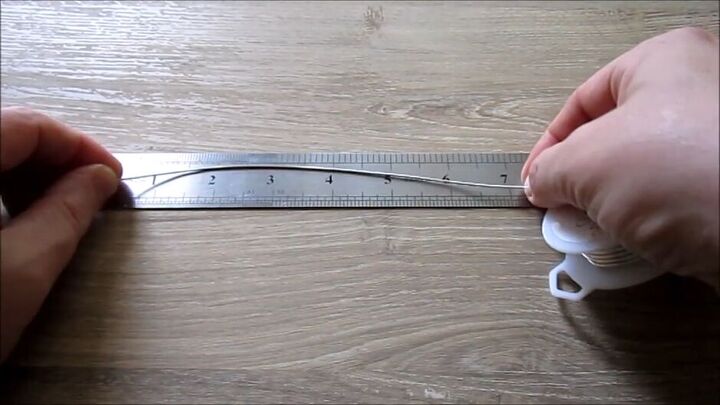
2. Measure your wire
Lay your wire on a flat surface and measure about 7 inches. Use wire cutters to snip this piece off.
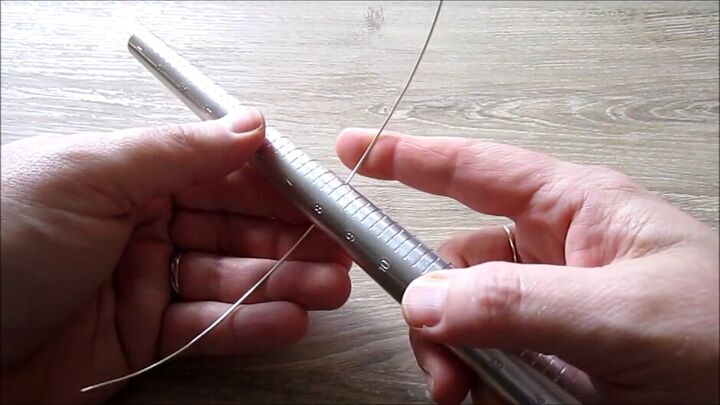
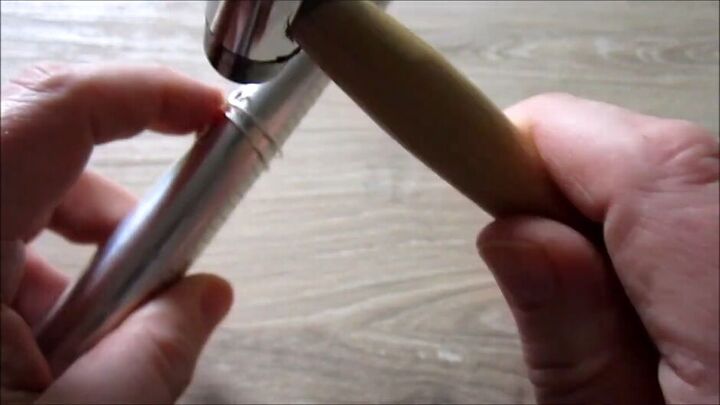
3. Start wrapping the wire
I suggest starting a size smaller than the ring you are trying to make. So, if you want to make a size 9 ring, start on a size 8.
Place the middle of the wire under your mandrel at the starting measurement.
Wrap the wires equally around the mandrel twice.
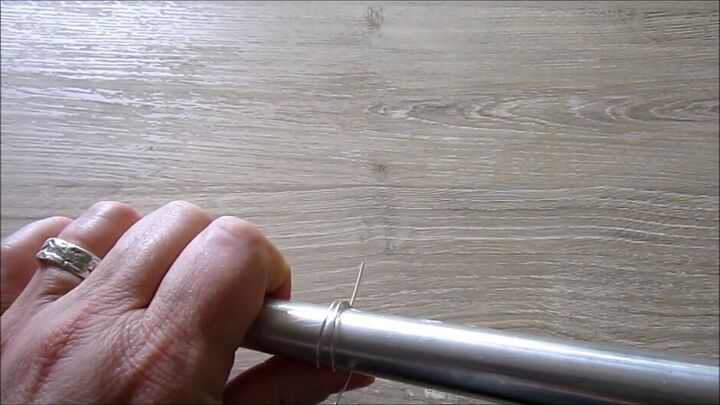
You will end up with two wires showing at the back.
And three in the front.
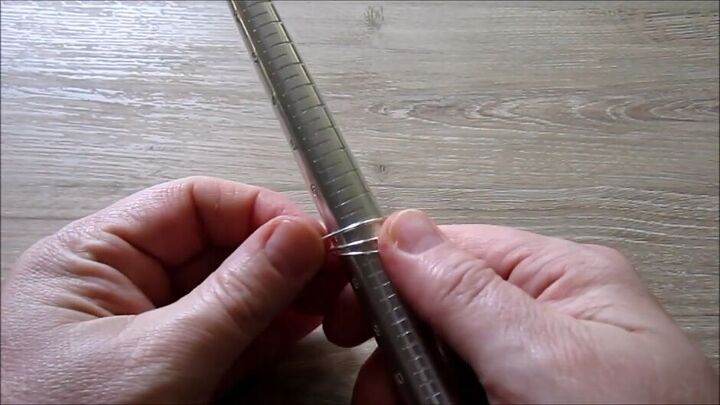
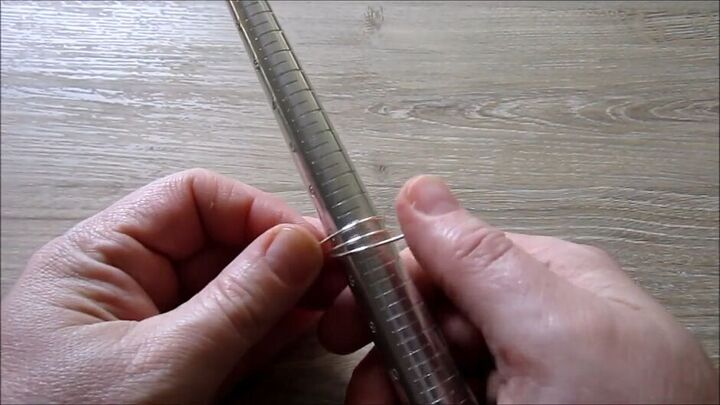
4. Tighten the wire
Pull on each end of the wire to tighten it up. As you can see above, even though I want my ring to be a size 9, I am tightening it to a size 8.
Remove the ring from the mandrel.
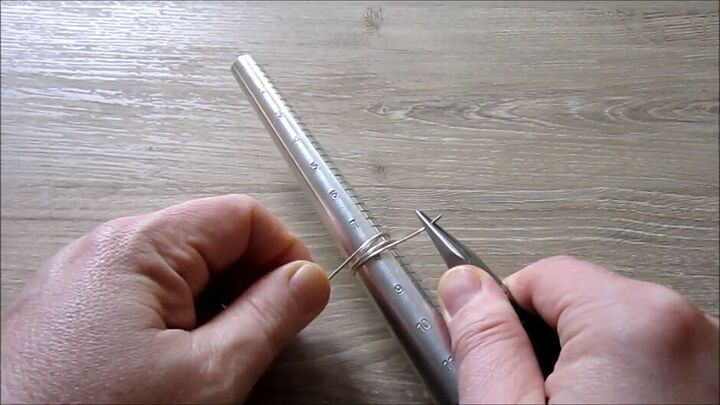
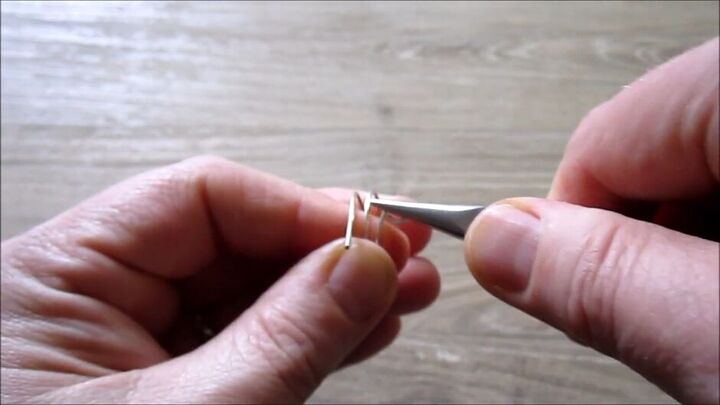
5. Cut excess wire
We are now going to cut off the excess wire. We want a flush cut, so ensure the wire cutter’s backside turns towards your work when cutting.
Use the ring spirals to measure where to cut off your excess wire.
Repeat on both sides of the ring.
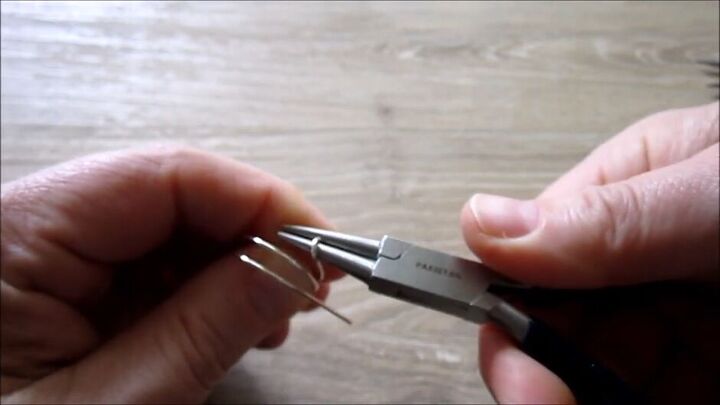
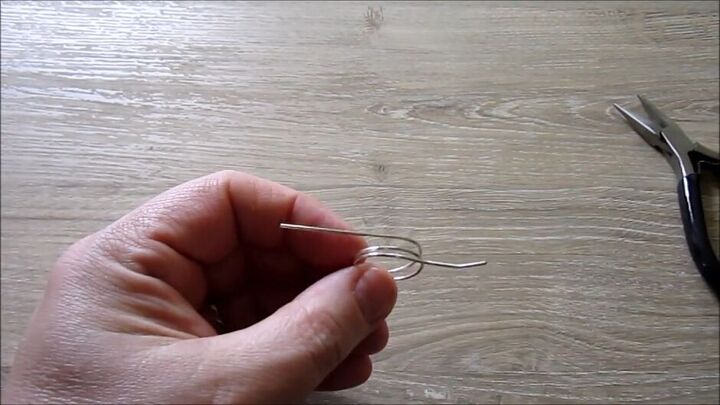
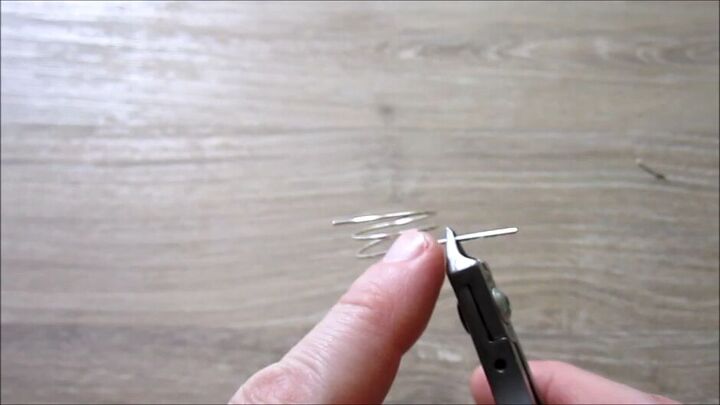
6. Make your loops
Grab your round nose pliers to make loops on both sides of the ring.
Our loops are going to face out so remember to twist away from you. You're just going to twist your wrists around and go as far as you can go.
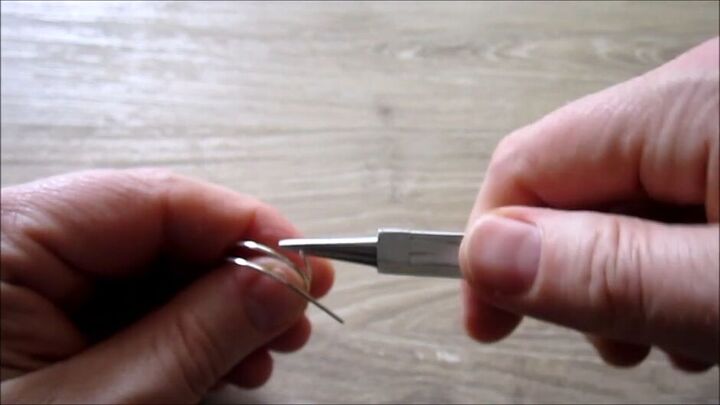
Then readjust your hand to the starting point.
Twist again to complete the loop.
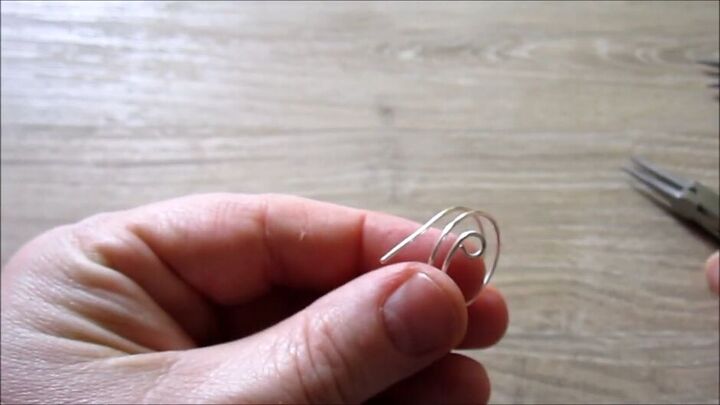
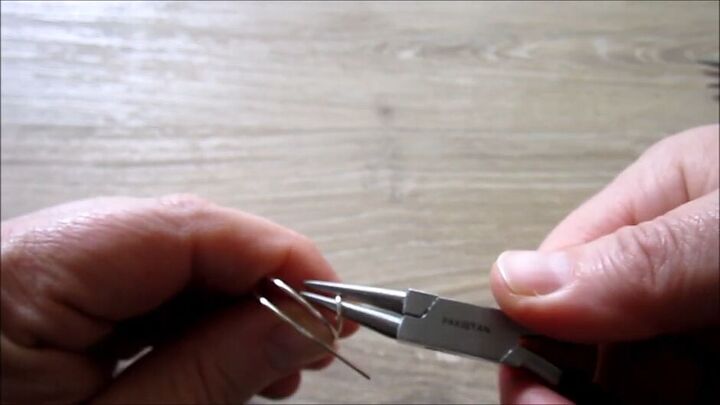
Your loop will not be lying how we ultimately want it to lie.
Take your chain nose pliers and pull the loop up so it is flat.
Adjust the loop so it is completely closed at its endpoint.

Repeat the process making a second loop on the other side of your ring.
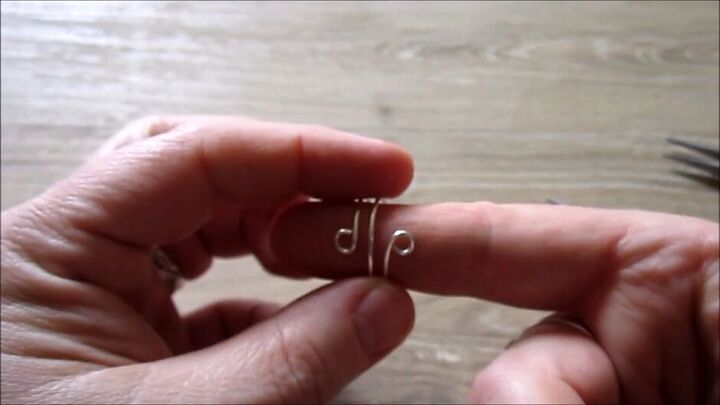
I suggest putting the ring on your finger to make sure everything is lying flat.
If you want to stop here, you can but if you have a mallet you can continue to the next step.
7. Harden up the ring
Place the ring back on your mandrel and start hammering it with a mallet to smooth it out and give it more of a professional finish.
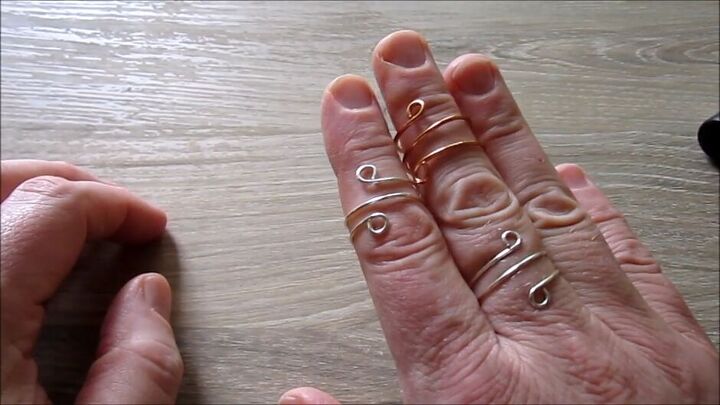
How to make a wire wrapped ring,
These are my finished wire wrapped rings. I think they are really cute and simple.
The rings can be made in various gauges and colors to create different looks.
I hope you enjoyed this tutorial and try it out yourself. Let me know how it went. Have a great day!
For more jewelry DIY inspiration, check out my post on How to DIY a Cute and Easy Button Necklace.
The author may collect a small share of sales from the links on this page.


Comments
Join the conversation