Crystal Jewelry in 2 Easy Steps

Wire jewelry is a great project for anyone looking to take on some new DIY projects. In this tutorial, we’ll learn how to make a crystal wire ring. Stick around for something beautiful and unique!
Tools and materials:
- Wire (wire diameter 0.5mm ) : 70cm( 28 inch)
- Crystal beads
- Pliers
- Wire cutters
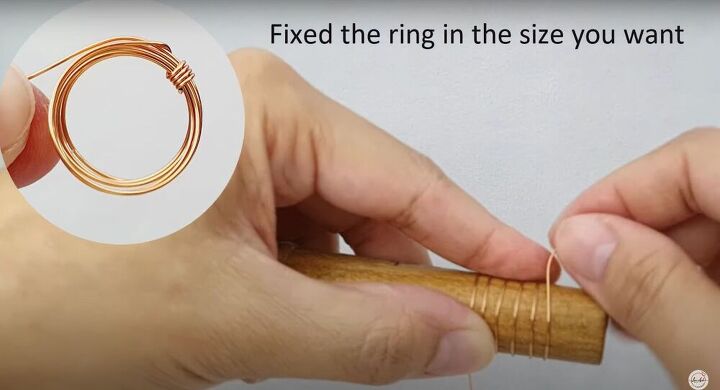
Create the base
Wrap your wire around a wooden cylinder that matches your desired ring size. Simply wrap the wire around the wood until you get the size you want. Once you’ve wrapped the wire a few times, pull it off and wrap the short edge of the wire around the circle to secure the loops together (pictured above). Leave the long edge free for adding the crystals.
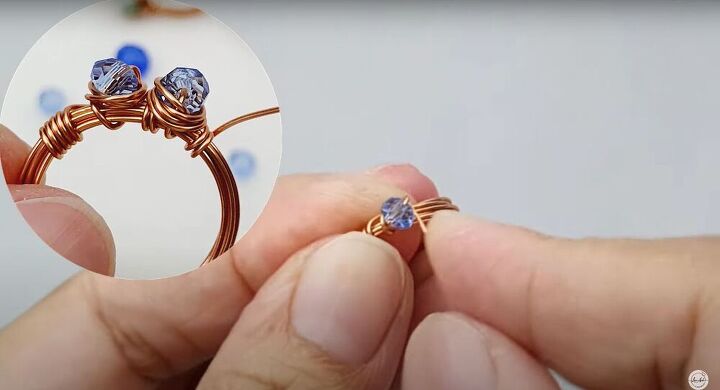
Add the beads
Slip the bead onto the long edge of the wire until it reaches the base of the ring. Then, wrap the wire under and around to keep the crystals securely in place. Try and create a sort of nest for the crystal to rest in. Add a second crystal and repeat. Continue doing this until you have created the look you like. For an in-depth look at this, check out the video at 3:26. Once you’re done, use pliers to push the wire down and secure it in place, keeping the crystals from moving.
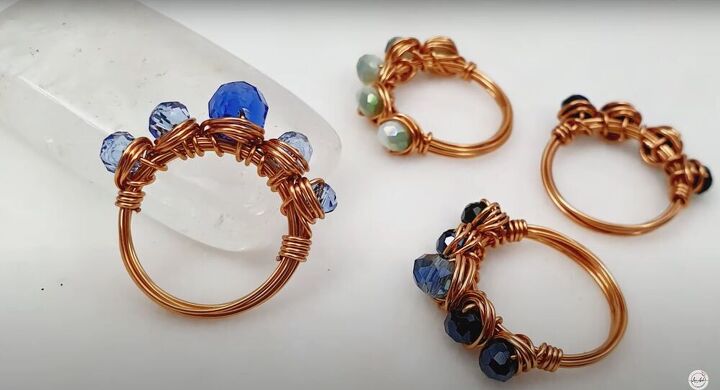
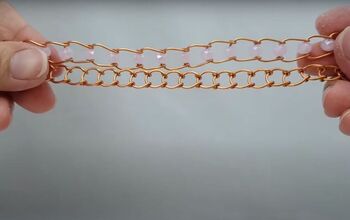
This technique is so easy and can be used to make rings, bracelets, or even pendants. Get creative with the patterns, colors, and crystals to really make this look like your own.
The author may collect a small share of sales from the links on this page.


Comments
Join the conversation
These are so beautiful and you made it look so easy! Definitely trying this! Thank you for sharing
Well..... I just liked who is in it! Short? I love it!