Memory Wire Rings

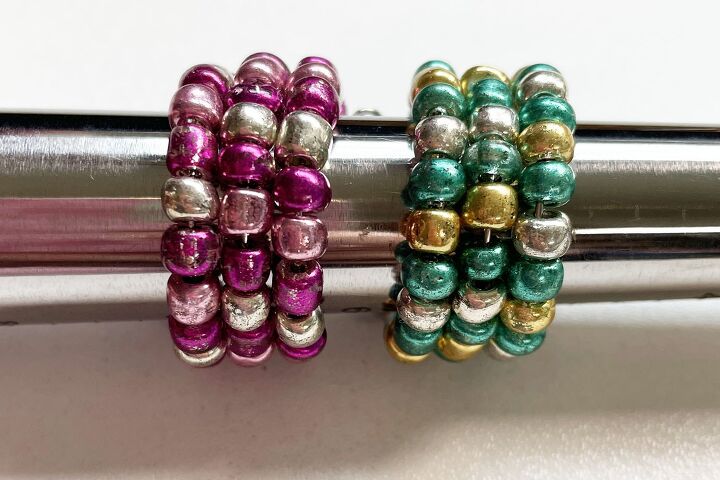
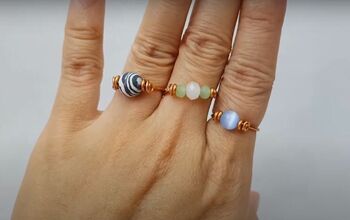
I’ve been on a bit of a memory wire kick lately so today I’m experimenting with ring size memory wire, to make some really basic rings.
These ones are super quick and easy and you don’t even need many supplies or tools. However, you will need a specialised tool – some memory wire cutters.
What makes memory wire so special is that it holds its shape. It comes in circular pieces of varying size. This one is a ring size. When you pull it out, it pings back to the original shape, within reason – if you pull it hard out of shape it won’t go back. Think 1970s slinky toy!
Materials
To make the Memory Wire Rings you will need:
20mm Silver Memory Wire Ring x 3.5 loops
You will need 6/0 Metallic Coloured Glass Seed Beads in the following quantities:
Green and Gold Ring:
- Dark Turquoise – approximately 30-35 (in the video I referred to these as emerald – whoops)
- Gold – approximately 30-35
- Silver – approximately 15-20
Purple and Orchid Ring:
- Purple – approximately 30-35
- Orchid – approximately 30-35
- Silver – approximately 15-20
Tools
The tools I used to make these rings are:
Instructions
Watch the video or read the instructions below:
Cut the Memory Wire
If you haven’t used memory wire before, it’s made from tempered steel which is very hard and requires special cutters to cut it. If you use your standard flush cutters, they will be damaged. Having said that, if you don’t have any memory wire cutters, you could try an old pair of cutters that it doesn’t matter if they do get damaged.
Cut a piece of ring size memory wire approximately 3 and a third loops, using the memory wire cutters.
Make a Loop
Using the round nose pliers, make a loop in one end of the wire. If you haven’t made loops before, please watch this video about making a basic loop.
Take the chain nose pliers and bend the loop so that it sits flat and is facing out. If you need to you can give the loop a little squeeze with your chain nose pliers to get it closed properly.
Thread on the Beads
Next, thread on the beads. The pattern is as follows:
1 Silver
1 Turquoise
1 Gold
1 Turquoise
After each run of beads, push the beads all the way to the end. That way, you’ll always know that you need to start threading again with a silver bead.
The amount of beads can vary, depending on how you cut the wire. Leave approximately 1cm of the wire without beads.
Make Another Loop
Using the round nose pliers, make another loop in the other end of the memory wire. Bend the loop so that it sits flat and is facing out like the other one.
That’s it, you’re done! Wasn’t that the quickest, easiest project you’ve ever made.
The cool thing about these rings are that they are adjustable. If you have larger fingers than me, the wire will stretch out, if your fingers are smaller, it will retract a bit.
Go, have fun with this!
Jewellery I’m Wearing
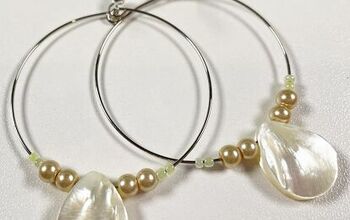
If you are interested in making the teardrop hoop earringsI’m wearing in the video, here’s a link to the tutorial.
You could go really crazy with this technique and make all kinds of hoop earrings. If you enjoyed this, please leave me a comment and let me know.
If you would like to see more tutorials, subscribe to our YouTube channel and ring the notification bell so you will never miss a thing.
⇓ REMEMBER TO PIN THIS PROJECT FOR INSPIRATION AND SHARE WITH YOUR FRIENDS!!⇓
If you like my blog be sure to click on the RECOMMENDED button and SHARE it with your friends! It’s the best way for my blog to grow so I can continue to give you great content. I would love for you to be part of my family so sign up to receive my emails. Every time I post a blog, I will send you an update email. Also, follow me on Facebook HERE, Instagram HERE and Pinterest HERE.
Come by and say Hey!
Enjoyed the project?
The author may collect a small share of sales from the links on this page.





Comments
Join the conversation