How to DIY a Super Cute Bodysuit From a T-shirt

How do you make an easy DIY bodysuit from any shirt or t-shirt with a pattern?
Today, I'm thrift flipping a soccer jersey into this beautifully fitting bodysuit using my bathing suit pattern that comes in sizes 0 - 24.
If you already have a bodysuit that fits well, you can use that as a template instead.
You'll need a shirt that's hip length or more on you and 2 or 3 sizes too large.
Tools and materials:
- Bathing suit pattern or bodysuit as template
- Oversize t shirt or soccer jersey
- Snap fasteners
- French curve
- Fabric marker
- Pins
- Scissors
- Sewing machine
- Serger (optional)
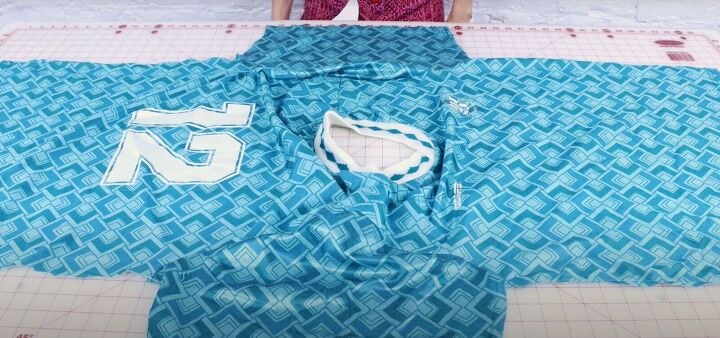
1. Deconstruct the shirt
Cut open the side and sleeve seams of the shirt and open it up.
Fold the back and front of the shirt in half so the center back and center front are on the fold.
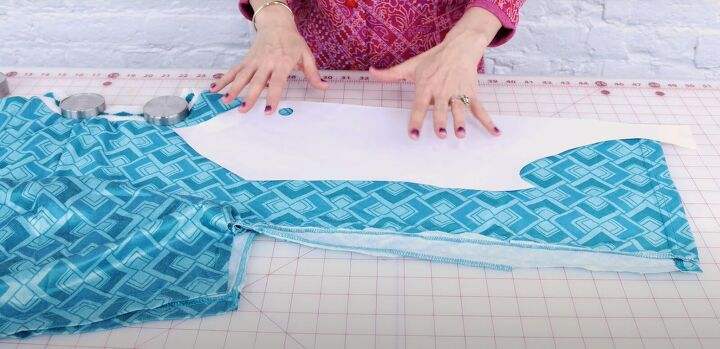
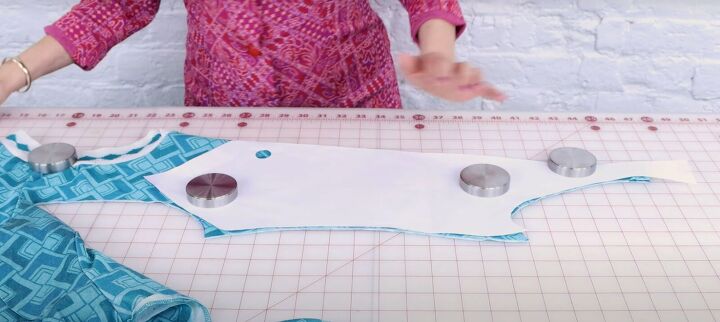
2. Bodysuit front
We're cutting this from the front of the shirt.
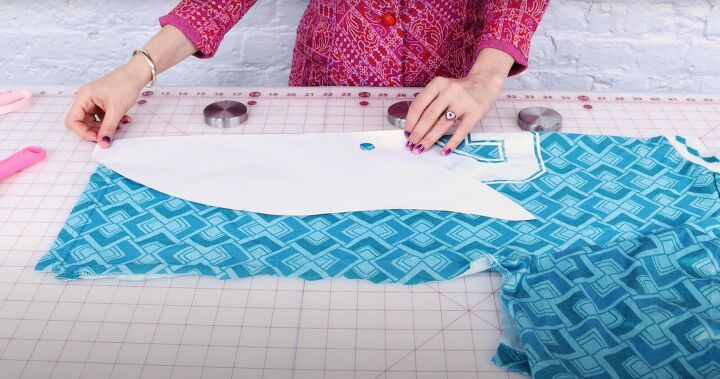
Whether you're using my pattern or your own, place the center front of the bodysuit pattern on the front fold of the shirt.
I wanted to use the shirt neckline intact on my bodysuit and also make the shoulders of my suit wider.
I measured from my shoulder to the top point of the pattern. I measured the same distance from the shoulder seam of the shirt and placed the point of the pattern at that mark.
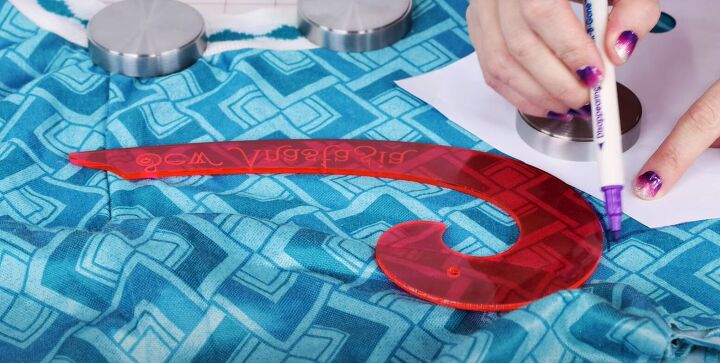
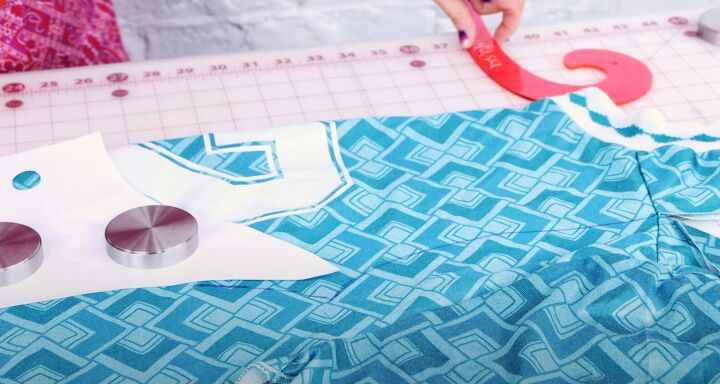
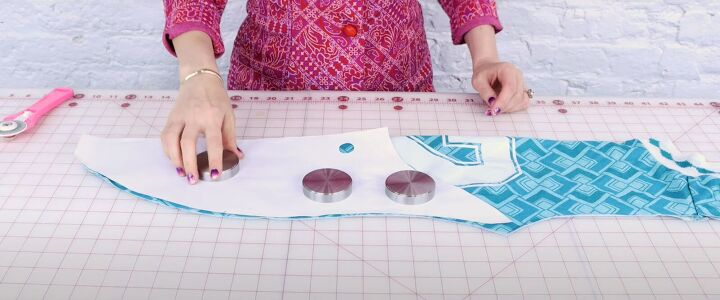
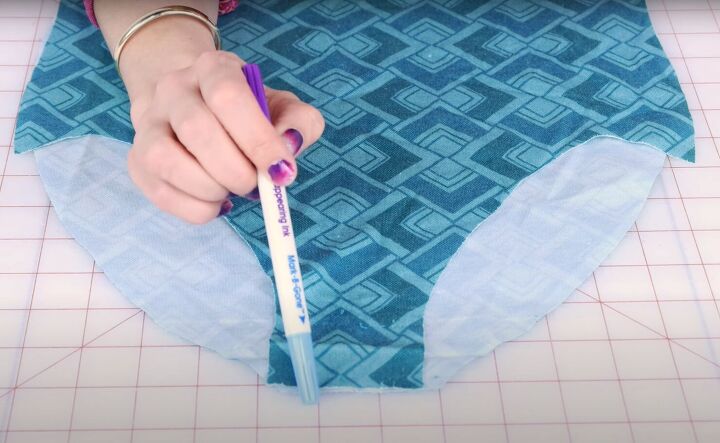
I used a French curve to mark out my armhole from the shoulder seam and tapered it to join the side edge of the bodysuit pattern.
Cut out the front of the bodysuit, leaving it attached at the shoulder.
3. Bodysuit back
Place the center of the back pattern piece to the fold of the shirt back. Match the waistline of the shirt to the waistline of the pattern.
Use the French curve to shape the armhole, matching the outer shoulder to the front. Taper the armhole line into the pattern piece.
Cut out the back.
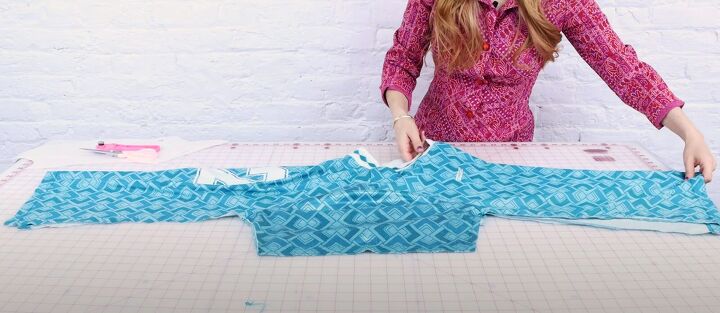
4. Torso length
Undo the hems at the bottom edges of the front and back and taper the back edge.
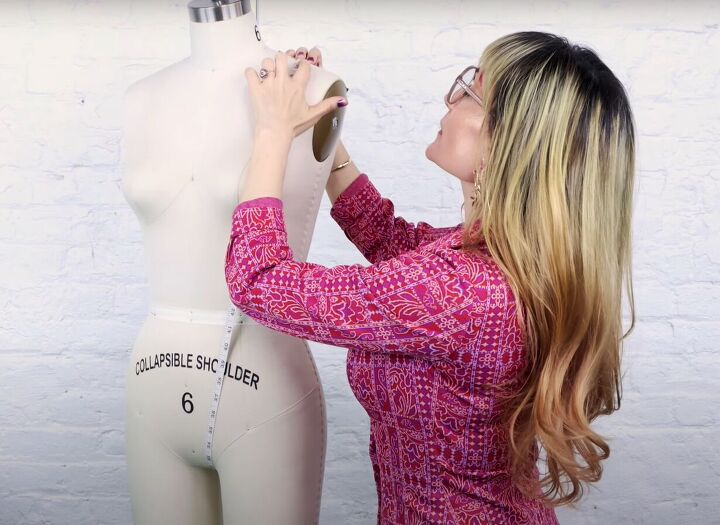
Take your torso length measurement and check it against the length of the bodysuit.
Try on your bodysuit and check if you need to add more fabric at the bottom, or cut some off.
Make sure the bodysuit is comfortable when you move around and sit down.
5. Assembling
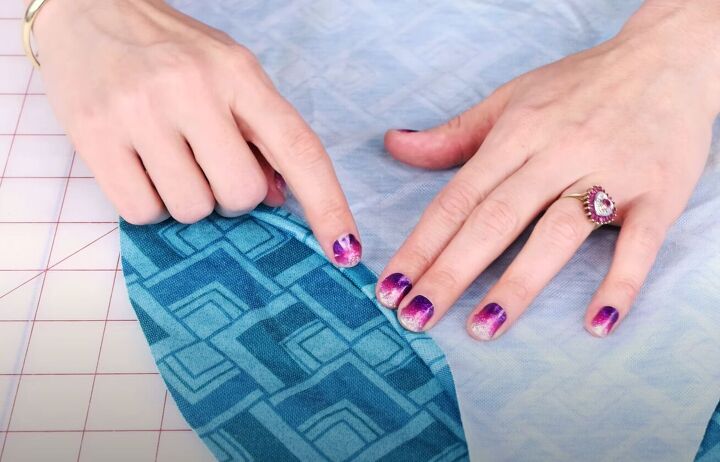
Sew the bodysuit side seams with the wrong sides together using a lightning bolt stitch or a serger.
Finish the raw edges of the armholes and leg openings.
Turn in a hem of about 3/8 of an inch around them and sew it on the inside.
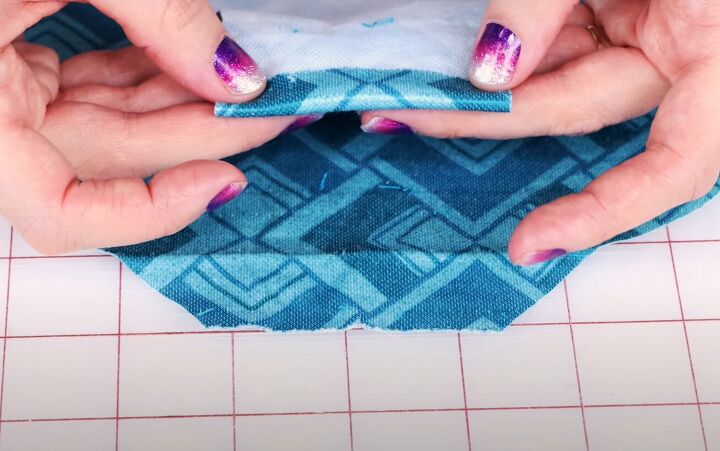
Make a half inch hem at the lower edge of the back and front and sew it down.

Hand sew two snap fasteners in place.


DIY bodysuit
Now you have a super cute bodysuit to wear with skirts, shorts or even just with a pair of tights. And it only took an hour!
You also have a well-fitting template to work with so you can make more in different fabrics, with and without sleeves.
I really love this bodysuit DIY and I would so like to see what you do with it. Please tag me in a comment below and let me know.
Next, check out my Super Easy Tutorial on How to Sew Socks.
The author may collect a small share of sales from the links on this page.


Comments
Join the conversation