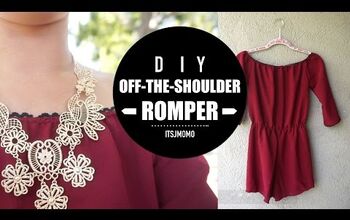
How to DIY a Cute and Comfy Romper for Summer

This DIY romper is a super easy, beginner-friendly sewing project that's perfect for summer!
The top is made entirely from rectangles so it doesn't require a pattern and it's a great project if you're new to sewing.
I'm using a technique I've shown previously that gives a shirred look to the top without having to do any shirring at all.
Tools and materials:
- Drapable non-stretch fabric
- Pair of shorts as template
- Single fold premade bias tape
- 1/2" wide elastic
- Safety pin
- Ruler
- Measuring tape
- Pins
- Scissors
- Sewing machine
- Serger (optional)
1. Cut out the bodice
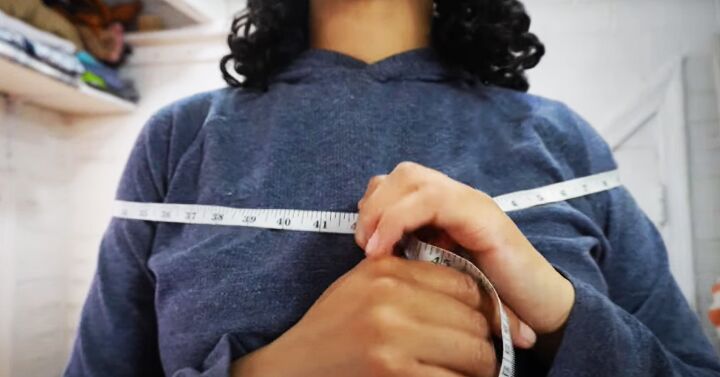
Measure around your shoulders loosely and add 4 inches plus seam allowance, then divide the total in half.
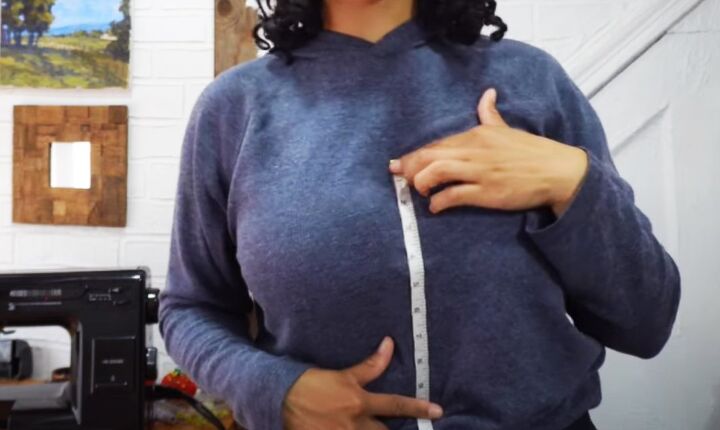
Measure from just above your bust to your navel and allow for a casing at the top and a seam allowance at the bottom.
Cut two rectangles from your fabric to those measurements.
Serge or finish the top edge of each rectangle. Turn the edge to the inside to make a casing before the elastic.
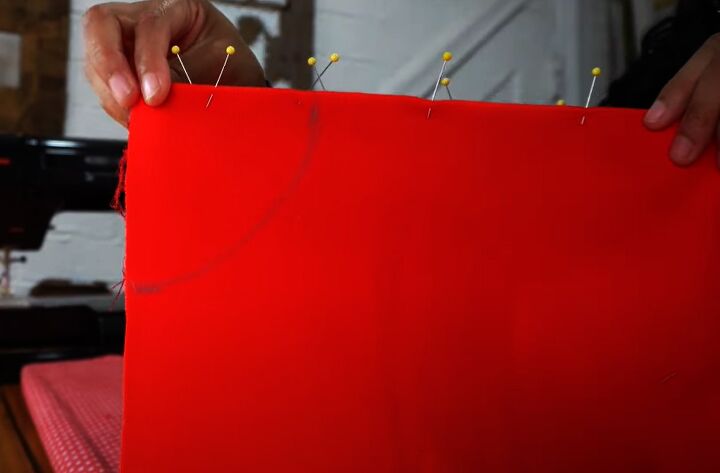
Before sewing, fold the rectangle in half lengthways. Measure 3.25 inches along the top edge and 4 inches down the side.
Join with a curved line and cut out through both layers, putting the cut out pieces aside.
Sew the casing in place.
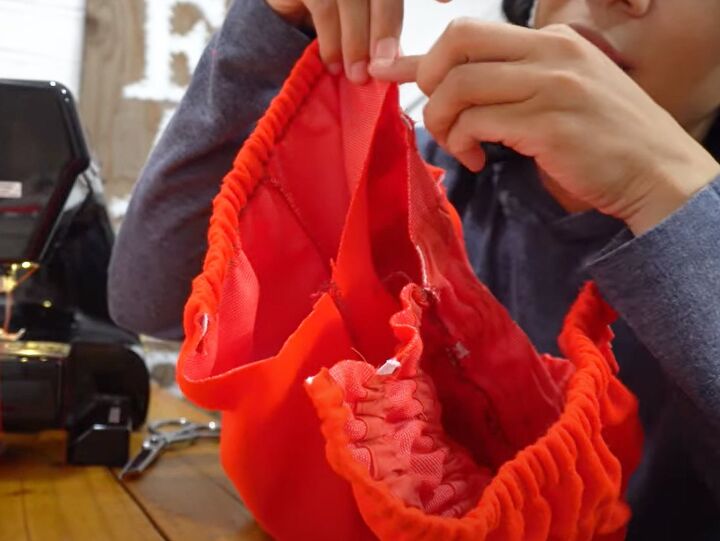
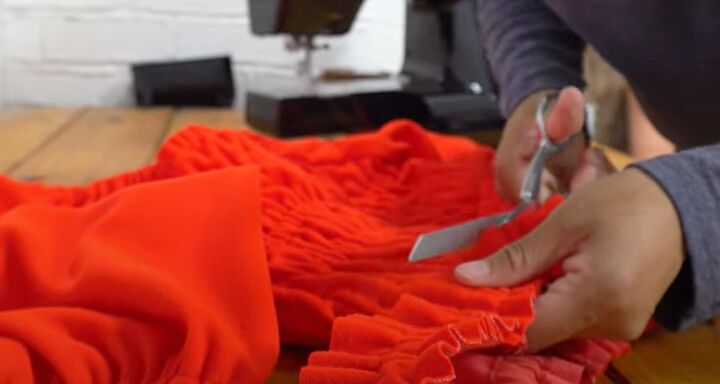
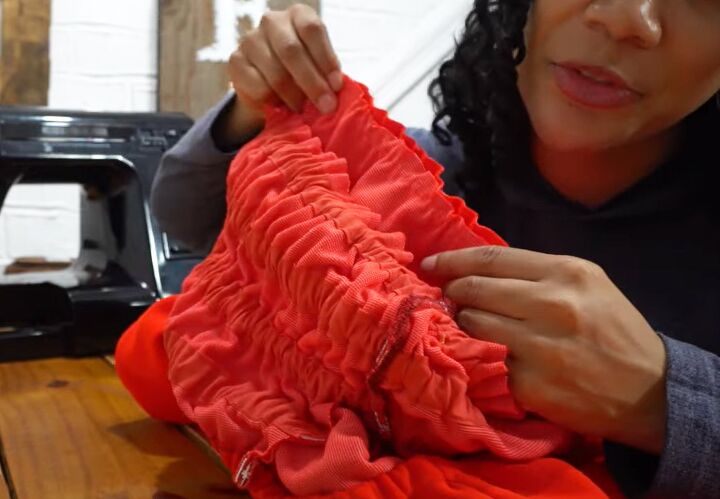
2. Elasticated bodice
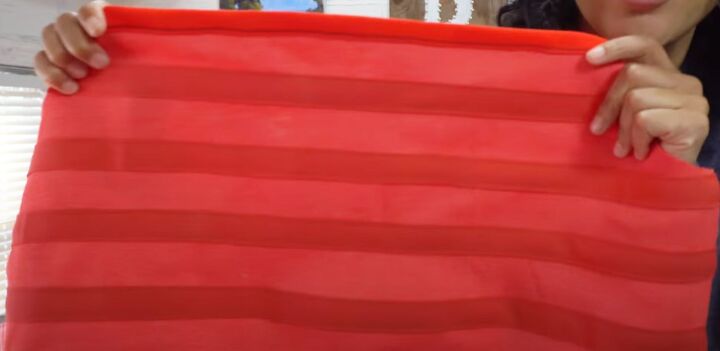
Pin the bias tape across the bodice on the wrong side, with 1 inch between the rows. Sew the bias tape to the bodice.
Cut strips of elastic to fit across your body at the front, varying the lengths as needed.
Cut the same number of elastic pieces for the back, making them all the same length.
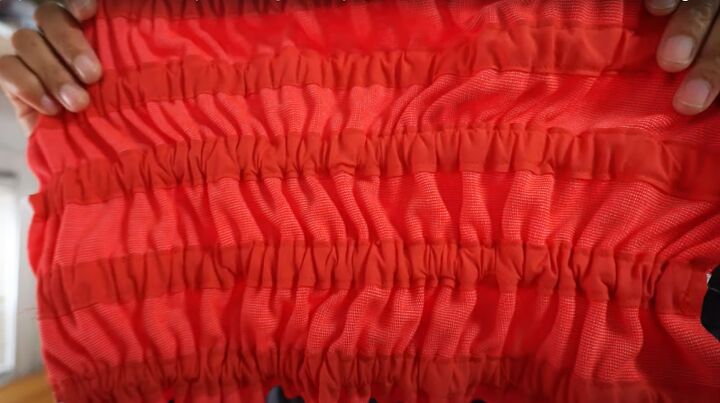
Feed the elastic through the top and bias casings and stitch down the ends.
Join the front to the back at the side seams, with the right sides together.
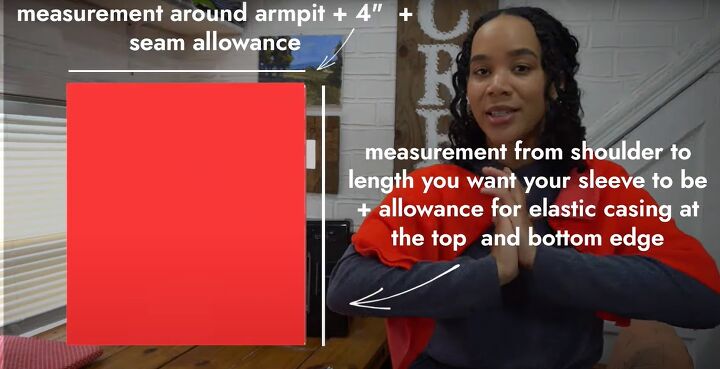
3. Cut out the sleeves
Measure around your armhole and add 4 inches plus seam allowance for the sleeve width.
Measure from your shoulder to the sleeve length you want and add allowances for top and bottom casings.
Cut two rectangles to these measurements.
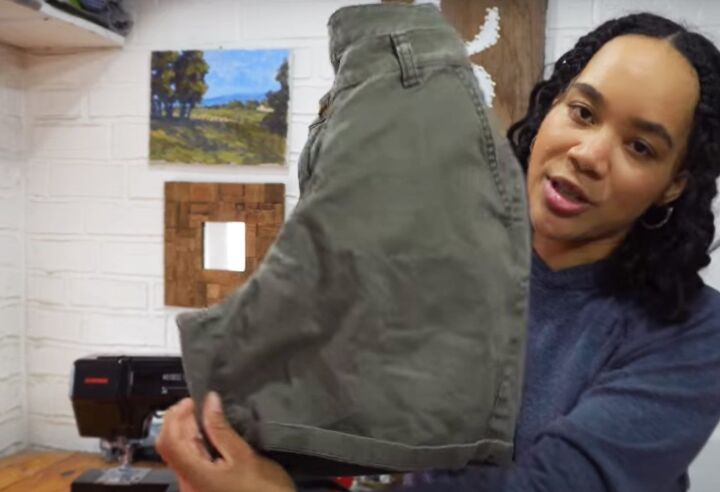
4. Cut out the shorts
Fold your shorts in half lengthways. Pull out the front crotch seam and trace around them on to your fabric, adding plenty of ease at the sides and an extra 3 inches at the top.
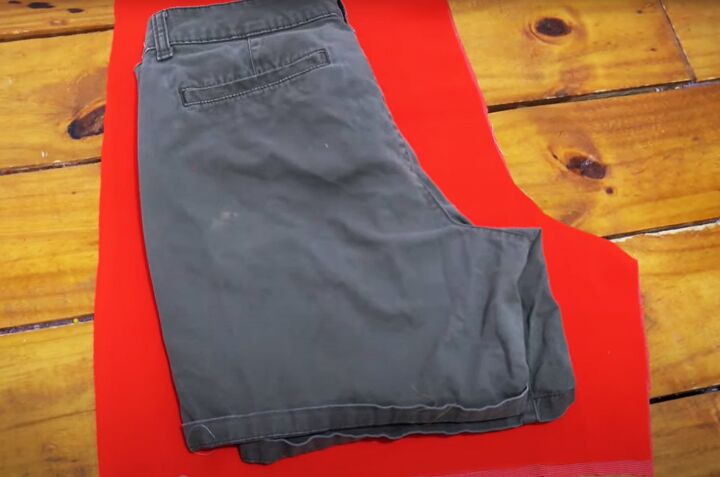
Refold the shorts and repeat for the back.
Cut two backs and two fronts.
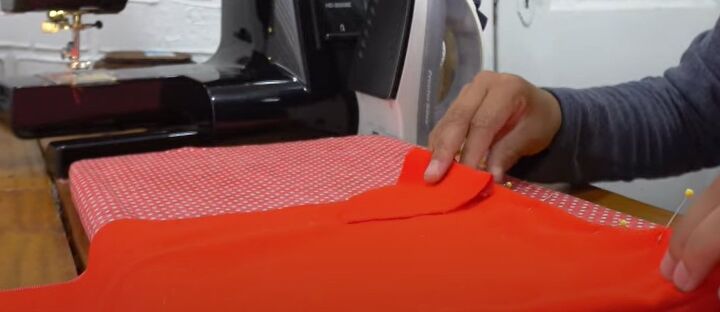
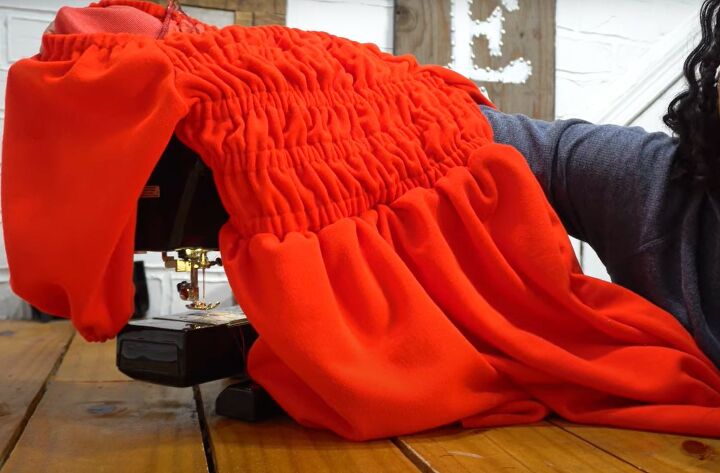
5. Insert the sleeves
Serge or finish the top edge of the sleeve.
Turn the top down to make a casing and press.
Fold the sleeve in half lengthways and use the cut-out armhole from the bodice to cut the corresponding piece from the sleeve.
Stitch down the casing. Insert the elastic and sew the ends in place.
Sew the sleeve seam with the right sides together and finish the raw edge.
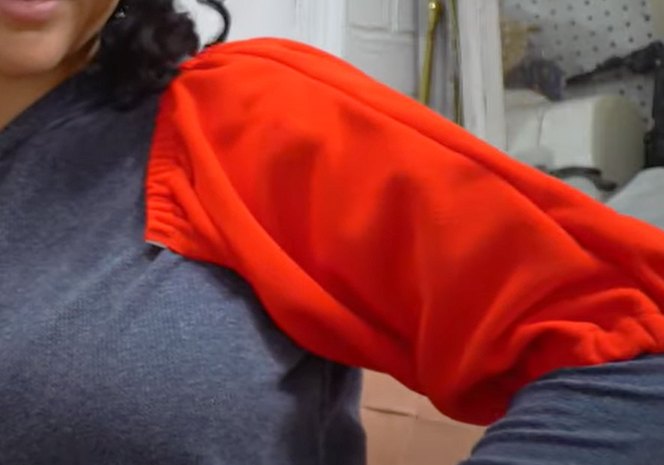
Make a casing at the lower edge in the same way and insert the elastic.
Repeat for the second sleeve.
Pin and sew the armhole curves for the sleeves and bodice together, with the right sides facing. Finish the raw edges.
6. Sew the shorts
Join the two back pieces along the crotch seam, with the right sides together. Repeat for the front pieces.
Sew the front shorts to the back shorts along the side and inner crotch seams.
7. Add the shorts to the top
I decided that the bodice was longer than I wanted and meant the shorts would sit too low on my body.
I cut off the lower row of elastic at the front and back, leaving a seam allowance.
Run two rows of gathering stitches along the top edge of the shorts, backstitching at the beginning but not at the end.
Gather the shorts a little, remembering that the romper has to be pulled up over your hips.
Pin the shorts to the bottom of the bodice, matching the center front, back and side seams to the seams on the shorts and stretching the bodice to fit.
Try on the romper to make sure you can get it on and off.
Sew the waist seam.
Finish the raw edge of each leg and turn up and sew a single hem.

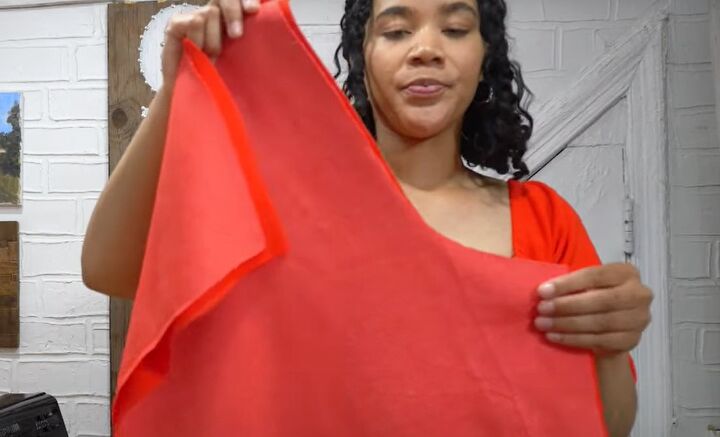
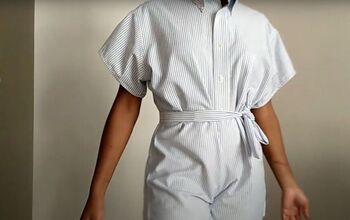
DIY romper
This is the easiest romper DIY I have ever done. I love this way of making the bodice, it fits perfectly and is so quick to do.
The outfit would look great with a belt too. You could even use different fabrics for the top and shorts.
I hope you enjoyed seeing how to sew a romper the (very) easy way. Use a soft cotton or crepe for the best result and please let me know how you get on.
The author may collect a small share of sales from the links on this page.


Comments
Join the conversation