How to: Make a DIY Romper for Summer

I am so excited to share this great summertime tutorial with you all. Sew a DIY romper for the perfect outfit to wear in the heat!
Tools and materials:
- Button-down shirt - oversized
- Tailor’s chalk
- Ruler
- Scissors
- Pins
- Shorts

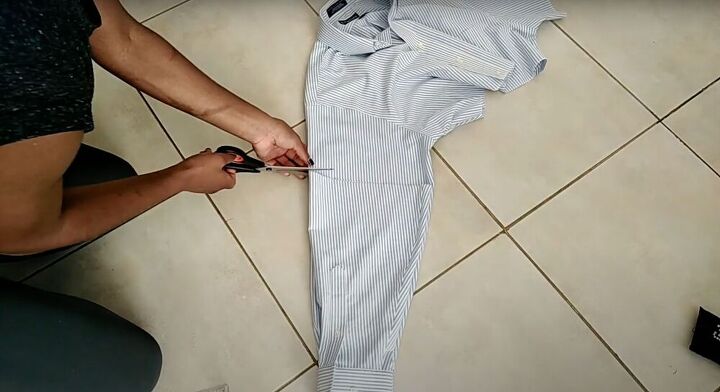
Cut your shirt
Put the shirt on and then use tailor’s chalk to mark the desired length of your sleeves. Next, mark where you’ll cut your waist and then take the shirt off. Lay the shirt flat and extend your lines using a ruler. Cut your waist and sleeves. Once that’s done, take the bottom half of your shirt and remove the buttons. Cut along the side seams. (The two front pieces will be used as the front piece for your romper).
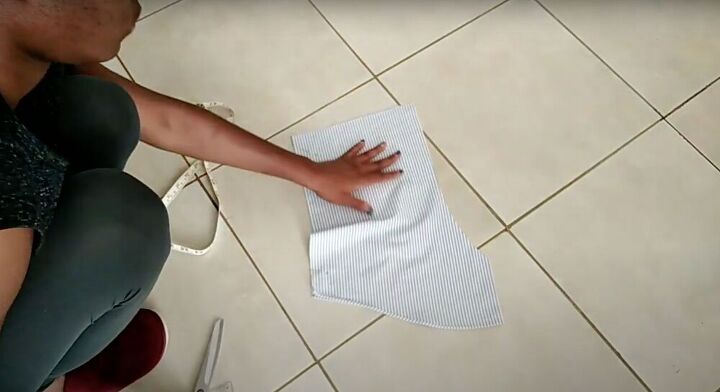
Cut the crotch
Place your front pieces on top of each other, right sides facing. Pin in place and cut off any excess fabric to adjust. Next, place a pair of shorts, folded in half, over your fabric and trace out the crotch. Cut around, adding seam allowance. Folding the last bottom piece in half (right sides facing) repeat the same princess for the back piece. My back piece came out to be about two inches less than my front, so I added a 2.5-inch strip that I took from the sleeves.
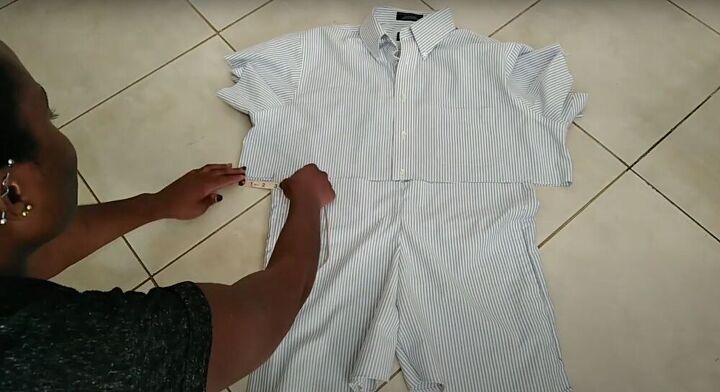
Make the bottom piece
Place the two front (bottom) pieces together and sew along the curved edge. Then, take your completed front and back pieces and place them right sides together, aligning the seams and sewing. Next, place the top and bottom pieces together and measure how many inches to take off from the top to match the bottom piece. Turn the top inside out and pin where the shirt needs to be altered.
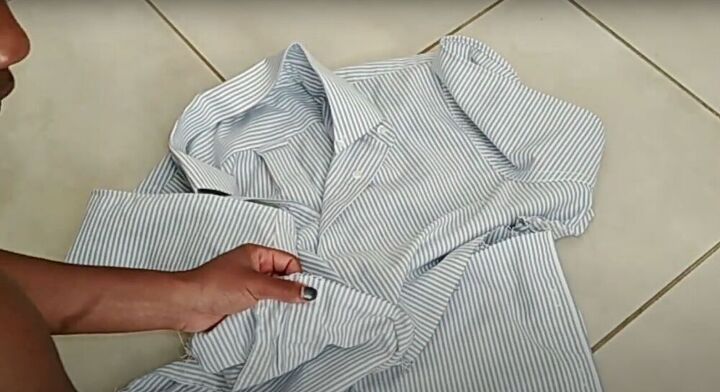
Connect the top and bottom
Fold the raw edges of the sleeves twice and hem them. Sew the sides in a diagonal line (where you marked) and then cut off any excess fabric. Next, flip the shirt right side out. Align the edge of the top with the edge of the bottom so the right sides are touching and pin. Sew them together to finish the romper.
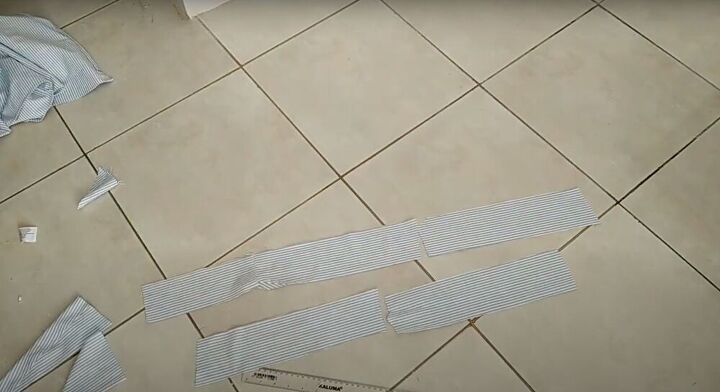
Make the belt
If your shorts are uneven, simply cut them to even them out. Next, take any leftover fabric (including the sleeves) and cut strips to make a belt. Align the short ends of the strips and sew them together to make one long belt.
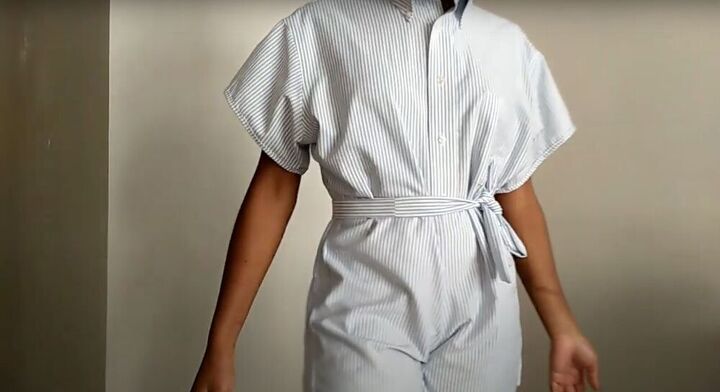
This DIY romper tutorial is a favorite of mine. If you have an old boyfriend's shirt, or maybe something from your dad's closet, this tutorial is perfect for you. Rompers are great in the summertime and I can’t wait to wear mine out!
The author may collect a small share of sales from the links on this page.


Comments
Join the conversation
That's adorable! Reminds me of a jumper I made using a designer brand pattern (ESPRIT) back when I was much younger! Great instructions too!