Step-by-Step Tutorial: How to Cut Stylish Korean Air Bangs

If you’re ready for a new hairstyle to try at home and you love the look of Korean air bangs, this one’s for you!
Follow along to see how I cut and style my Korean curtain bangs myself.
Best hair cutting scissors!
Tools and materials:
- Tail comb
- 2 claw clips
- Hair cutting shears
- Round brush
- Hair dryer
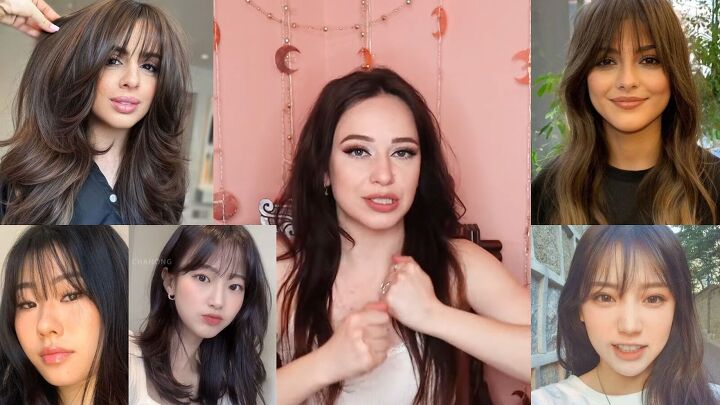
Here are some inspo pics for these air bangs!
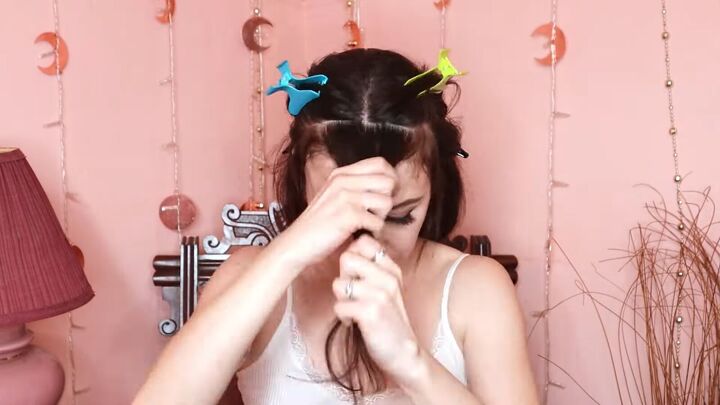
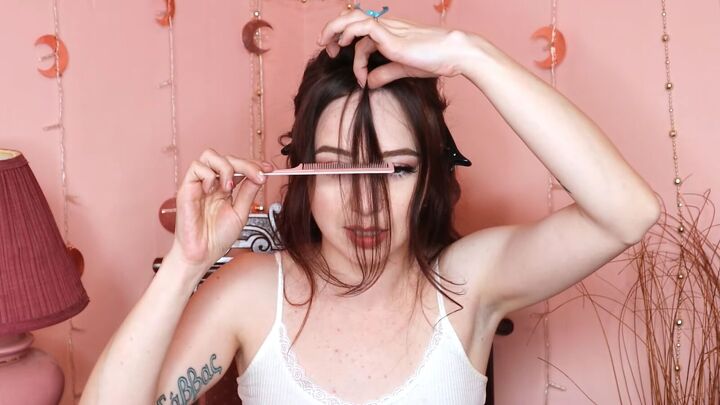
1. Sectioning the bangs
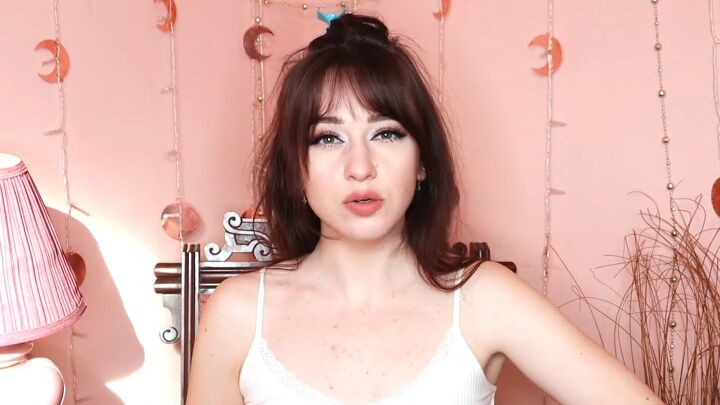
Start off with clean, dry hair. No need to straighten the hair if yours is naturally, relatively straight.
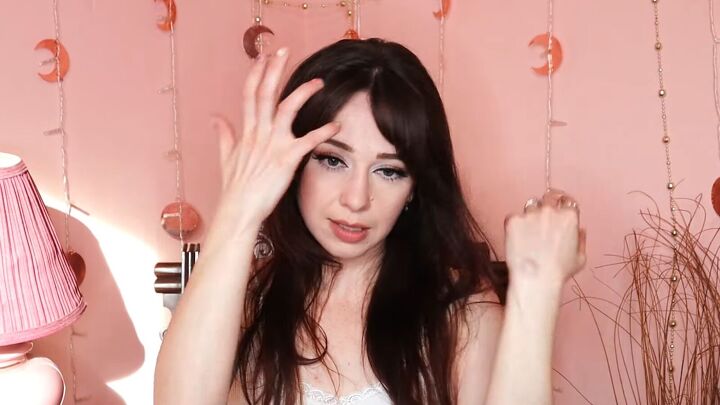
Part your hair in the center and note the distance of 2 fingers from your hairline and backward.
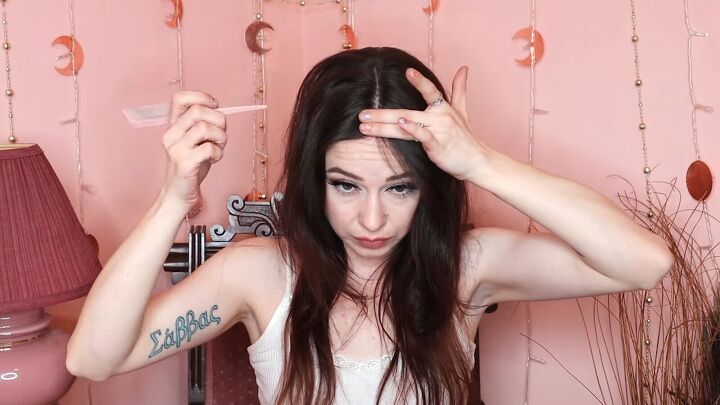
Separate the hair from that point and all the way to the top of your ear.
Use a claw clip to pull back the hair behind this area.
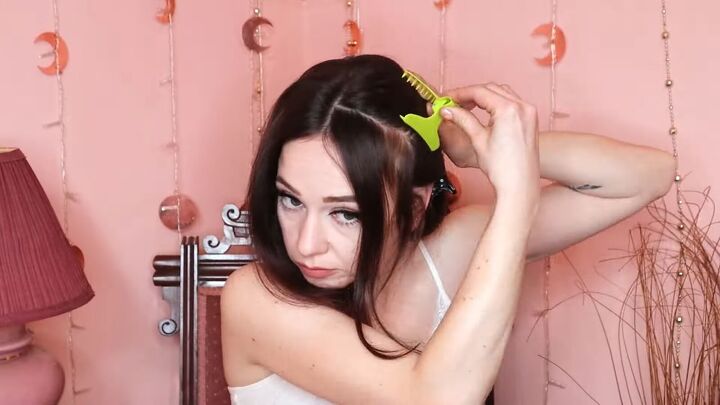
Repeat on the other side.
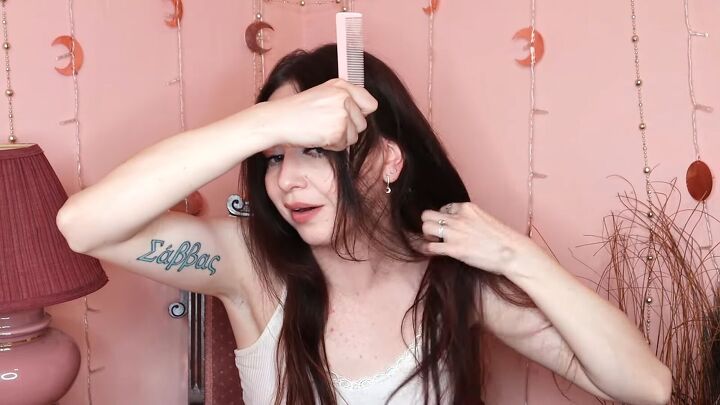
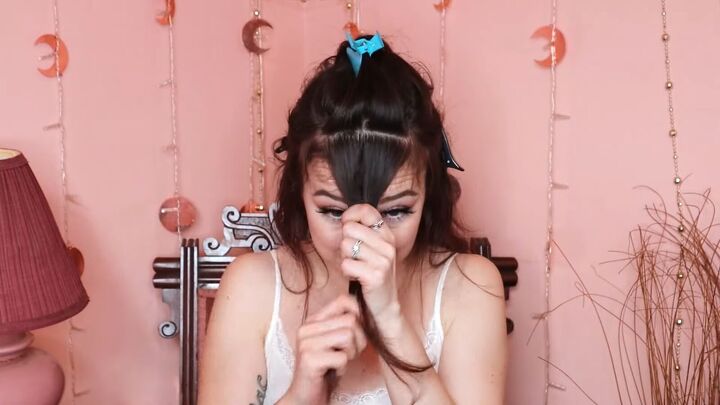
Get the horizontal part line as straight as you can by moving small clusters of hair with the tail comb.
Then hold the bangs section in 1 hand and clip back the rest of the hair behind it into 1 claw clip.
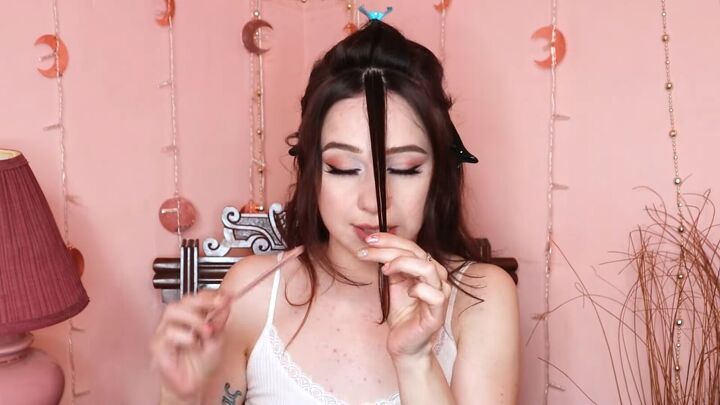
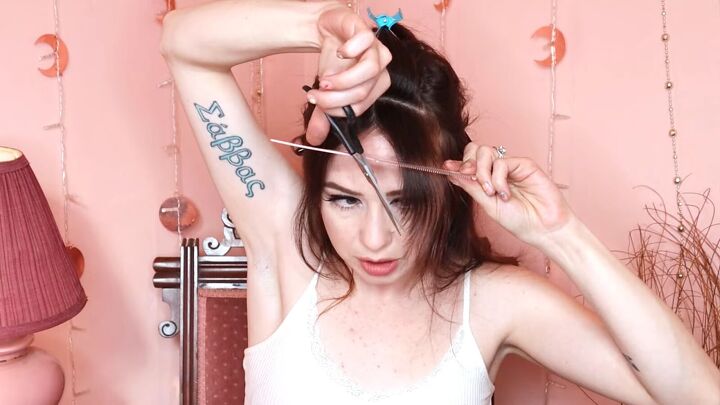
2. Cut the middle section
The goal is to cut the bangs in an arch shape.
The plan is to split the bangs section into 3 different sections, cut them different lengths and then blend them together.
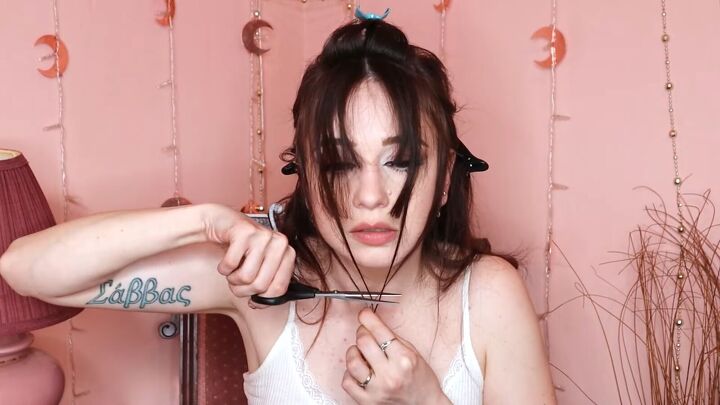
Start by grabbing the center section, which should be smaller than the outer 2 sections.
Keep in mind that when styling these Korean air bangs, the volume will use up some of the hair length.
Pinch the section up slightly and note a suitable length.
When you let that section down, allow for a bit more length that will go toward the volume.
Cut this middle section while holding it taut.
Remember: you can always shorten it more later.
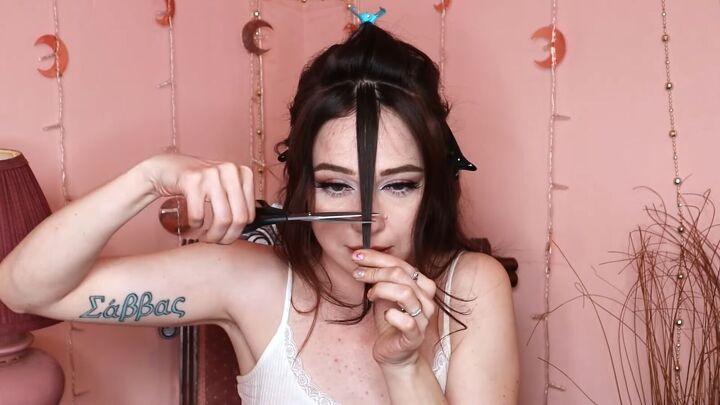
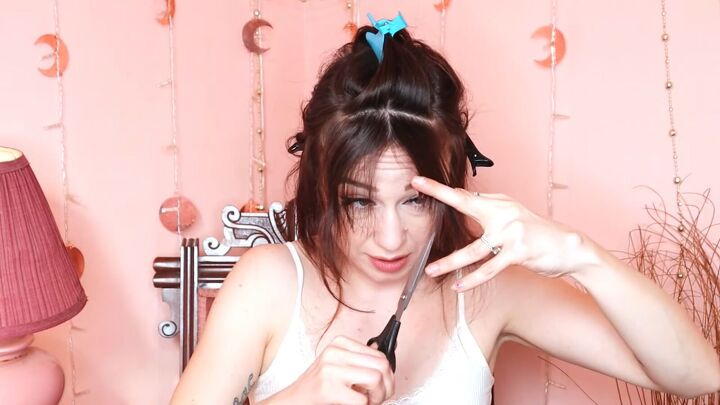
To check if they were cut enough, just pinch up at them toward the root to see if they fall in the right place on your forehead.
3. Split the side sections and cut
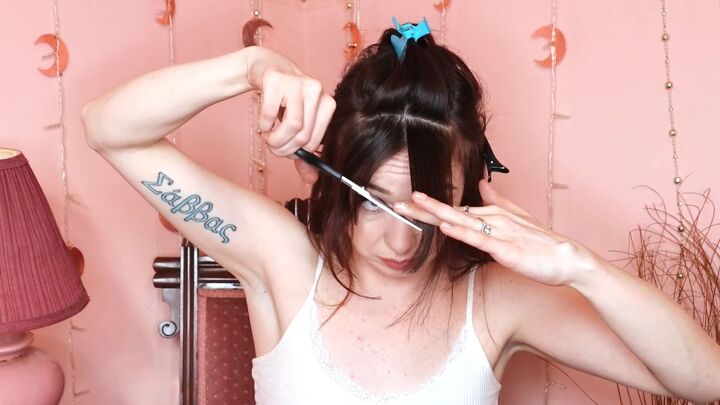
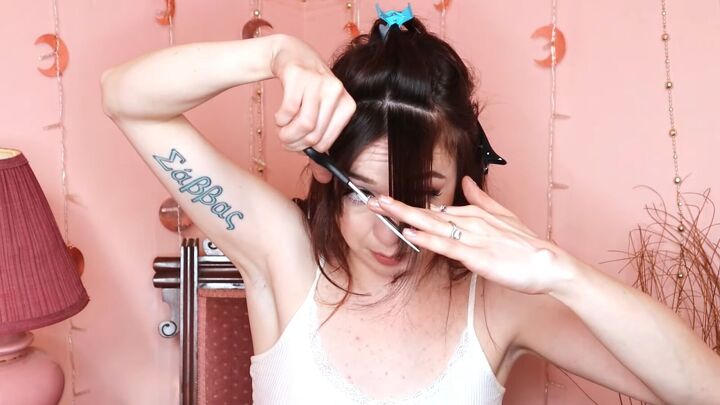
Next, split each of the side sections into 2 equal parts and hold the sections adjacent to the already-cut middle section.
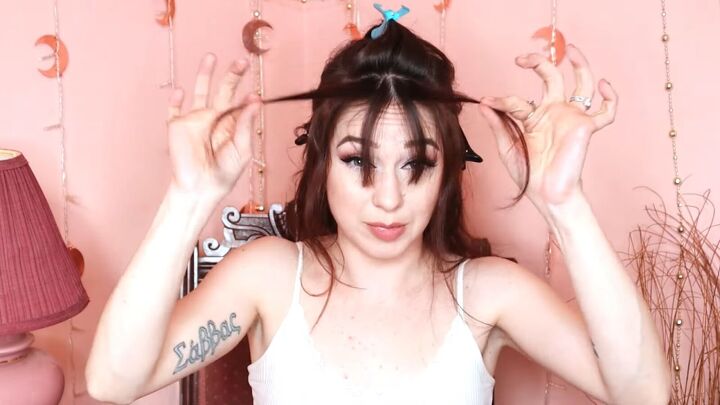
Pull them forward and cut them at your lip.
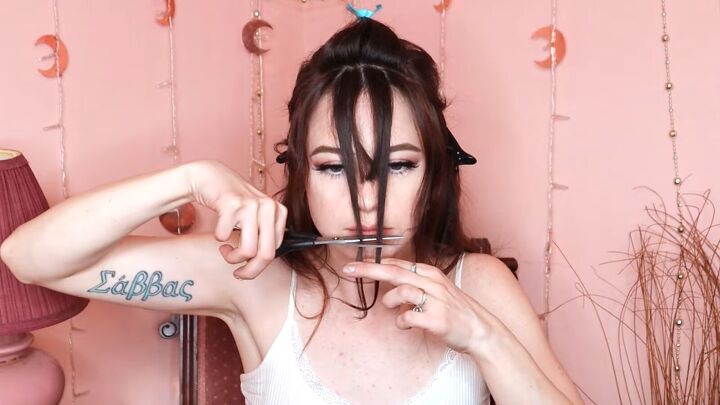
4. Gather and cut the last section
Next, pull the rest of the hair for these Korean air bangs to the front and cut them below your chin.
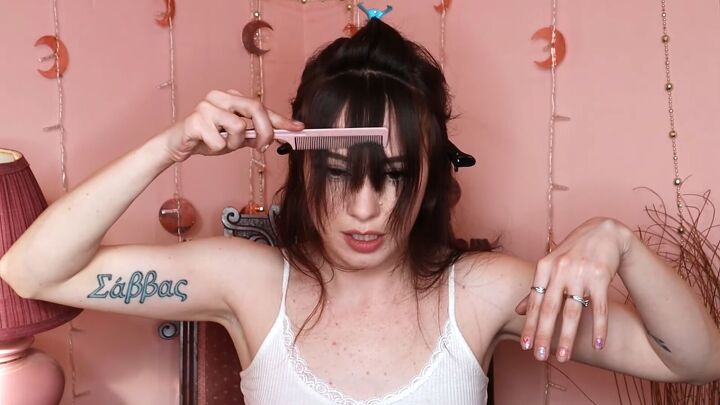
5. Blend and thin
Gather 1 side of the air bangs together with the help of your comb so you can clearly see the 3 different lengths.

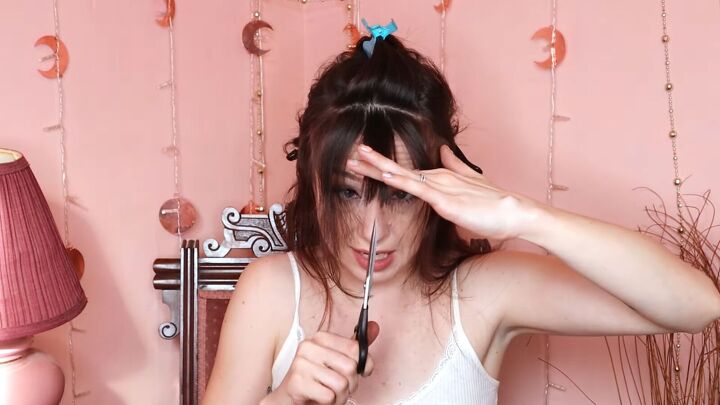
Cut the tip of the shortest section at an angle to meet the next.
Then continue by cutting the 2nd to meet the 3rd at a gentle curve.
If the transition is still looking stark, cut gingerly with your shears pointing upward to create the curve and thin the ends.
Use your comb to splay out half of the bangs to ensure you didn’t miss any pieces.
Trim any hair as needed. When this side looks well blended, repeat this blending on the other half of your air bangs.
Then gather pieces from both sides and make sure they are even.
Use your comb and bunch up the hair to simulate the volume after styling to help see how the hair will fall.

Then add more hair from the sides to check if they appear even.
Very gently snip upward to soften anything that still looks blunt. This will help the air bangs sit flatter and look less bulky.
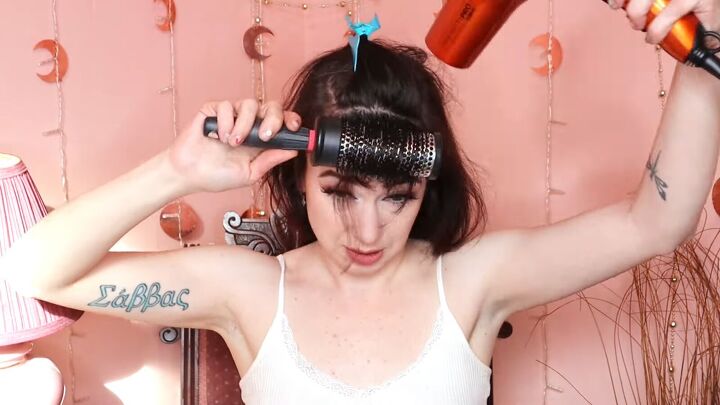
6. Style
Wet your bangs. Then use a round brush and blow dryer to add volume to your Korean air bangs.
Roll the brush under the bangs so that they curve toward your face.
Here’s the final result of these Korean curtain bangs.
I’m happy with the results, and next time I will probably use less hair to begin with.
You can also style them as side bangs:
Korean air bangs
I hope you loved this Korean air bangs tutorial! If so, leave me a comment down below.
Next, try out a classic red lip makeup tutorial with me.
The author may collect a small share of sales from the links on this page.


Comments
Join the conversation
Love it 😍