DIY Painted Leggings
Huzzah! The season of crafting is officially here! 🙂 Not that we don’t craft throughout the year, but now it’s a no-holes-barred kind of crafting. Christmas is coming, and we need gifts! We feel no shame (ok, less shame) in creating giant craft messes, spending hours fiddling with projects, and making multiple trips to the craft store to get forgotten supplies! In honor of our favorite crafty time of year, we at Partners in Craft offer you the “Nifty Gifties,” a series focused on DIY gift making! We have rounded up our favorite straightforward/fun/you-won’t-lose-your-mind projects to help you not only check gifts off your list but also be inspired and have fun! Be sure to make something for yourself while you’re at it…
Our first Nifty Gifty is inspired by our love of fabric painting and my personal need for holiday leggings. I may have made this pair for me… but plan to make more for super customizable gifts! I love this project so much, that I keep making them for various seasons! It takes time, but the results are worth it! Head over to our DIY Painted Leggings tutorial for full step by step instructions!
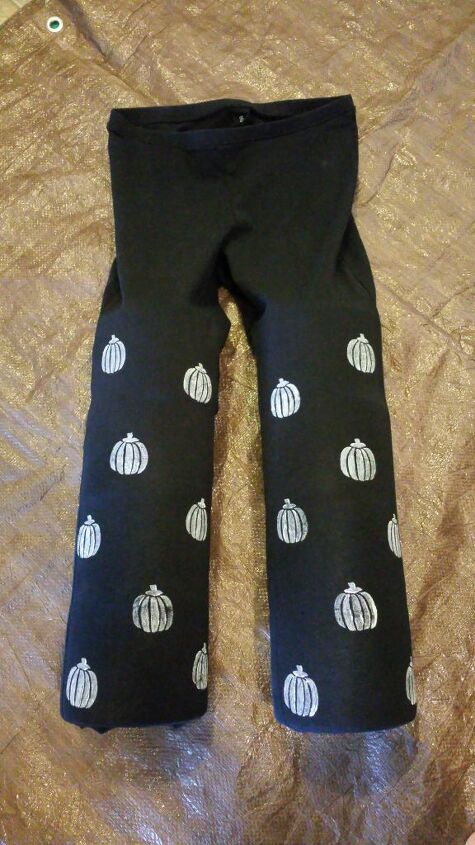
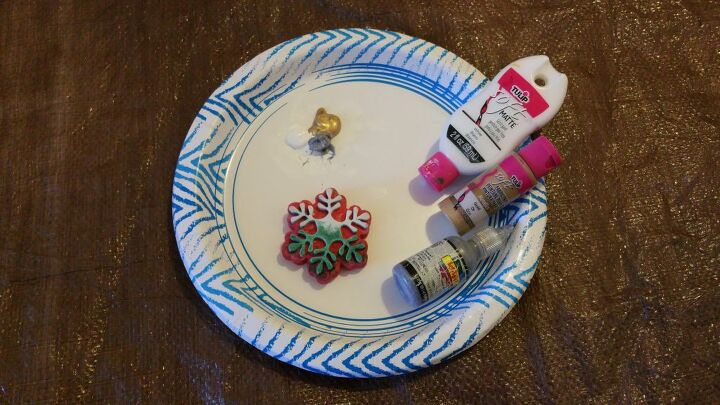
Once you’ve checked out the tutorial, you are ready to gather your supplies! I used cotton leggings from Hue, which came in a 2-pack from Costco! If you can’t find foam stamps, you can make your own by collecting some sticky-backed foam shapes and craft foam from the kids’ section at the craft store. Use a plastic lid as the stamp’s base, with my trusty E6000 glue to hold it all together.
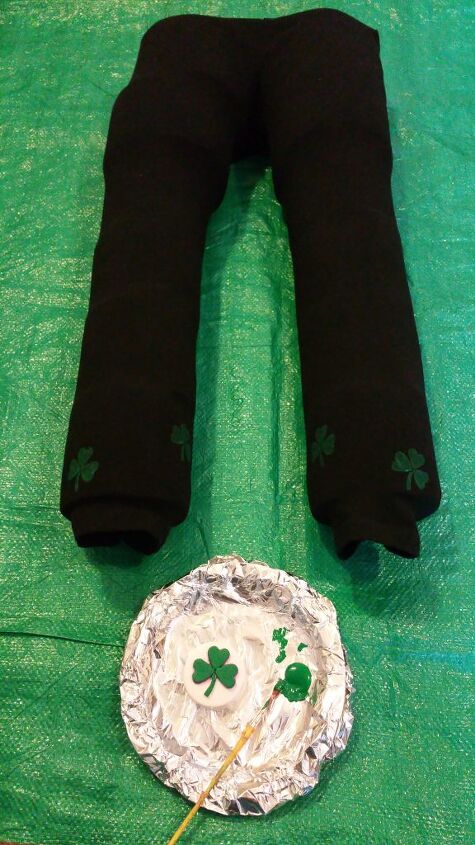
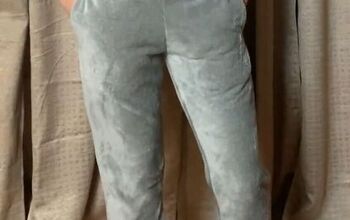
The trick is in the stuffing. I used paired-down paper towel and TP rolls to stretch the legs as they would be when worn. Then, I got painting!
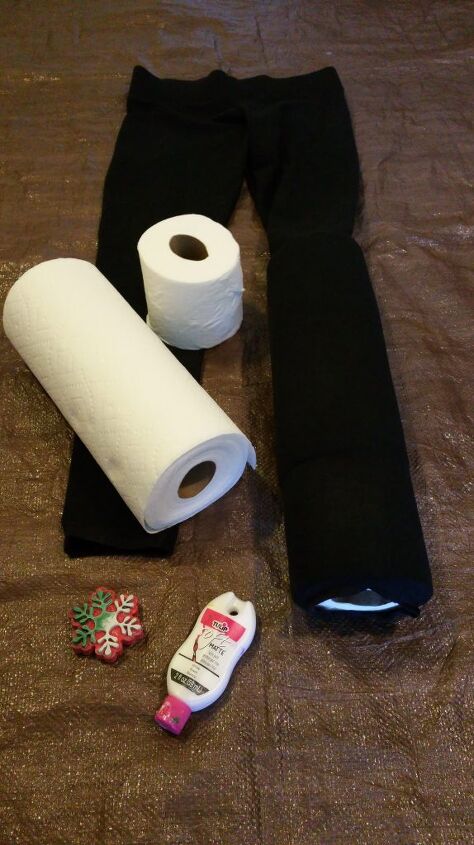
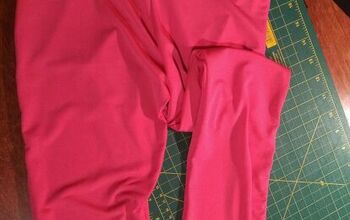
It’s always wise to do your first stamp on paper towel as a test! Time to prepare those leggings! Since stretchy pants stretch when worn, I needed to stretch the fabric before painting it. After much pondering, I discovered the perfect stuffing- toilet paper rolls! I purchases two sizes of rolls and used whatever size fit best in the legs of the pants.

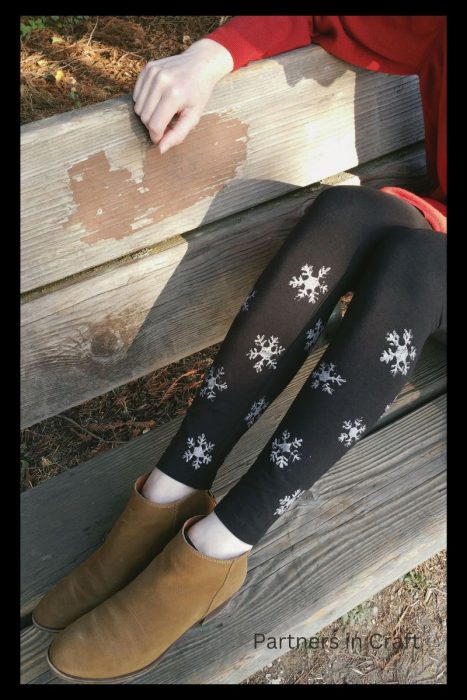
work from the bottom of the leg, and stamp 2-3 designs on one leg then do a similar pattern on the other. I tried to space everything relatively evenly on the front as well as the sides of the legs. I then let the front of the pants dry for at least half an hour.
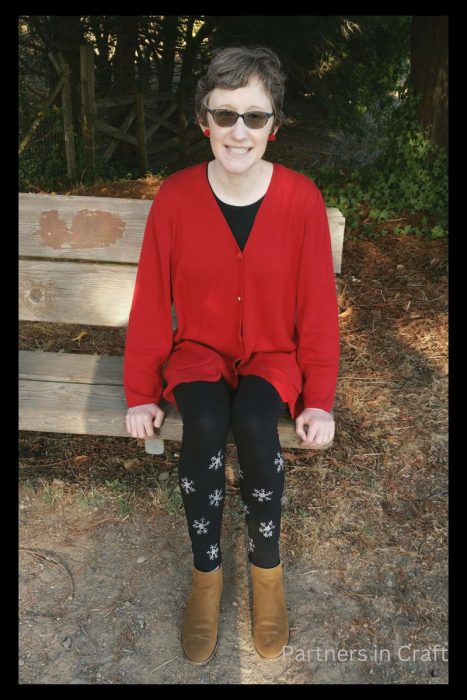
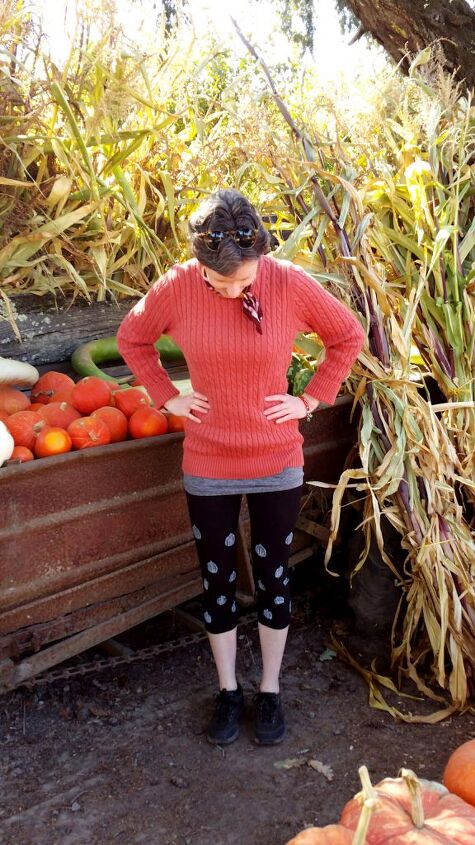
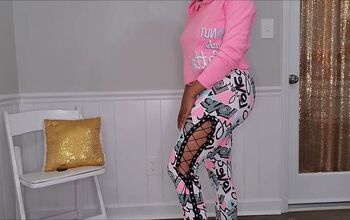
I paired my holiday leg wear with a thrifted, oversized sweater and ankle boots. My earrings were super easy to DIY- just glue holiday pompoms to post earring backings! (Check out a similar idea here!)

Ok, Everyone, happy crafting! Wishing you great success, great gifts, and fun times! Stay tuned for more Nifty Gifty inspiration next week! As for me, I gotta go clean up (some) of this mess… 😉
Follow us!
The author may collect a small share of sales from the links on this page.


Comments
Join the conversation
I think I would do paw prints because they would be year round. But that is a genius idea. I would never have thought of paper towels to stuff the legs
Oooh paw prints! 🐾 ❤️ That's a genius idea!! 😀