Lemon Jewelry Tutorial: How to Make Polymer Clay Earrings

In this tutorial, we’re making lemon jewelry! I’ll show you how to make polymer clay earrings with a lemon slice cane. Let’s get started!
Tools and materials:
- Polymer clay
- Cutting tools
- Pasta machine
- Silicone brush
- Needle tool
- Cookie cutters
- Rubbing alcohol
- Nail sander
- Gloss glaze
- Jump rings
- Earring posts
- Superglue
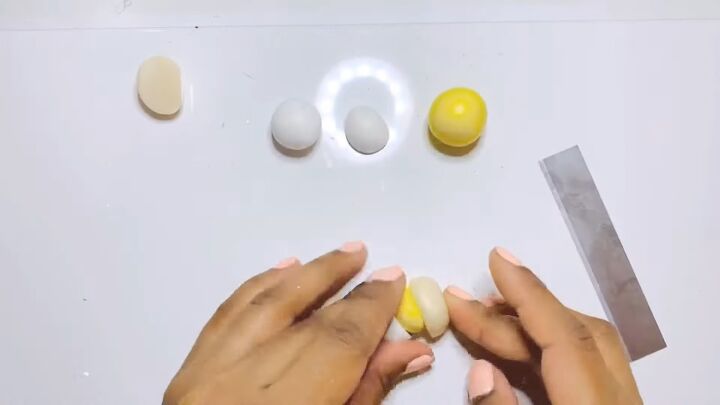
1, Mix white, yellow, and translucent clay
To make the core of the lemon, add translucent and white clay to yellow clay and mix it thoroughly.
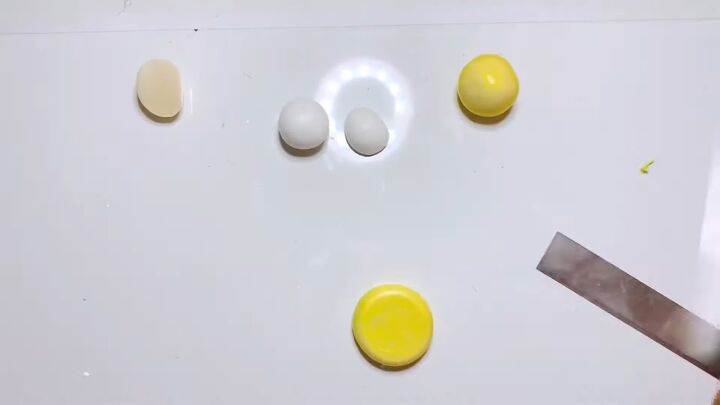
2. Shape it into a disc
Shape the clay into a ball and flatten it to create a disc shape.
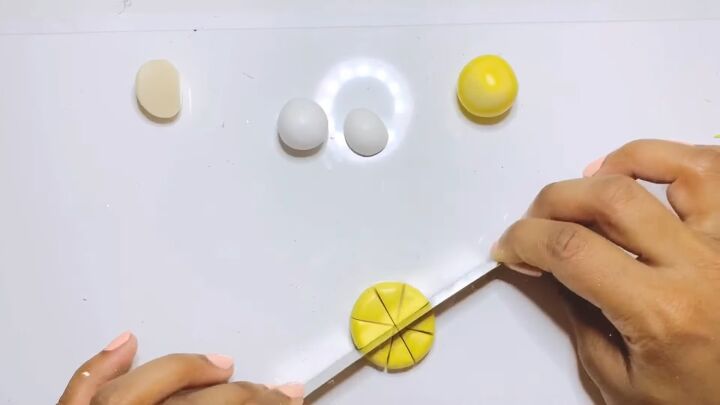
3. Slice the disc
Cut the disc into 8 equal parts.
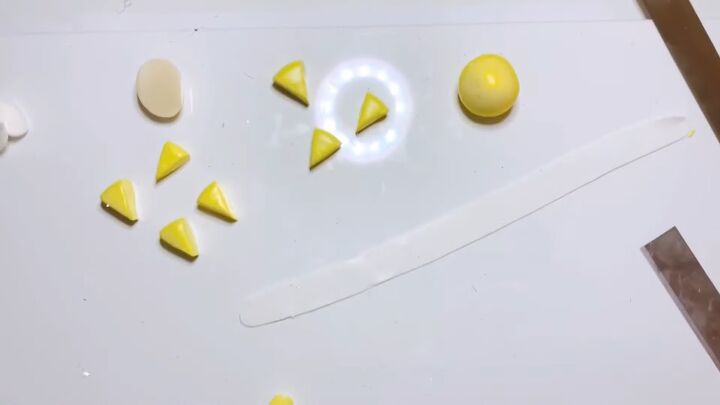
4. Flatten white clay
Flatten a bit of white clay in your pasta machine at the thinnest setting.
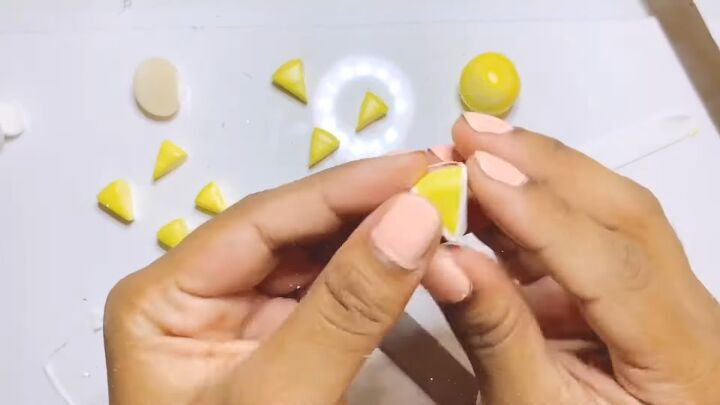
5. Cover four of the wedges in white clay
Shape the white clay around the wedge of four of the yellow slices, but don’t cover the curved edge.
6. Put the wedges back together
Sandwich the wedges without the white border in between the ones that have it.
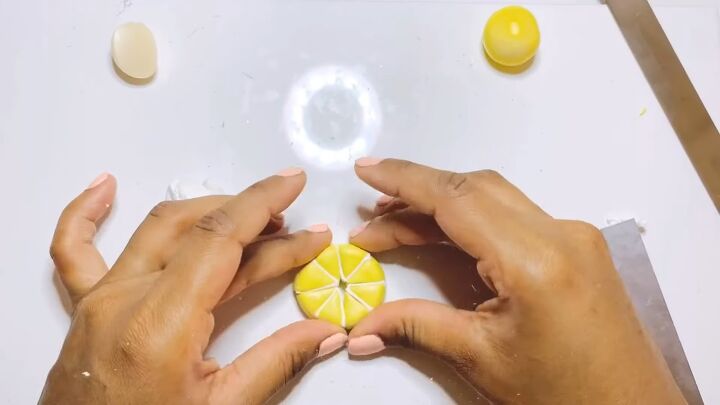
6. Fill the center with white clay
Roll a white snake to fill the middle of the lemons.
Cut off the excess.

7. Add a white trim around the lemon
Roll a sheet of white clay on the 5th thickness setting of your pasta machine, and wrap it around the lemon.
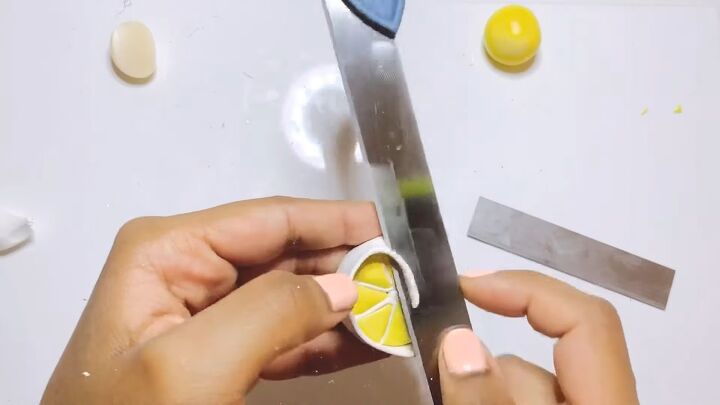
Trim the excess.
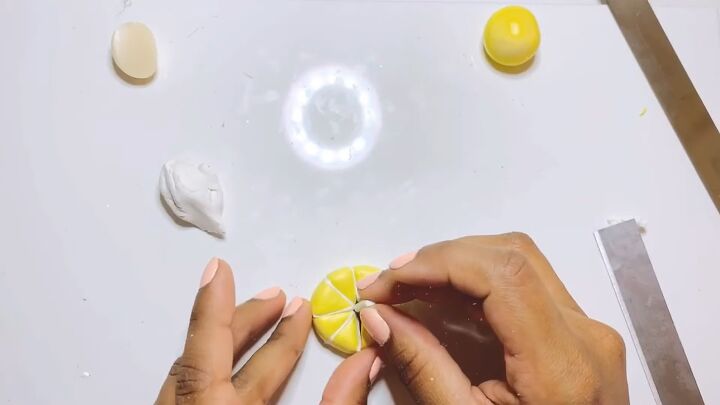
8. Add a yellow trim around the lemon
Repeat step 7 with yellow clay to create the peel.
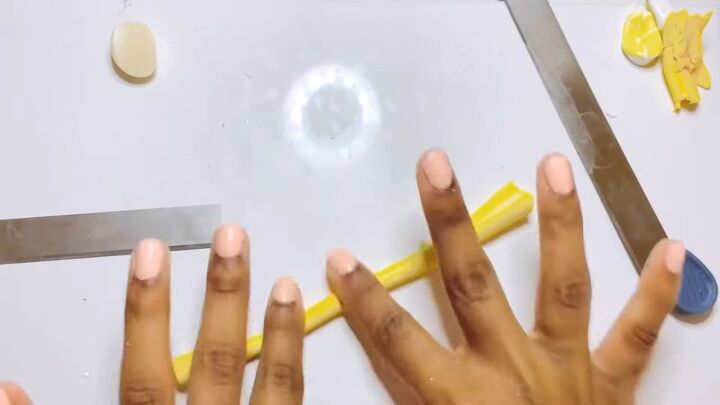
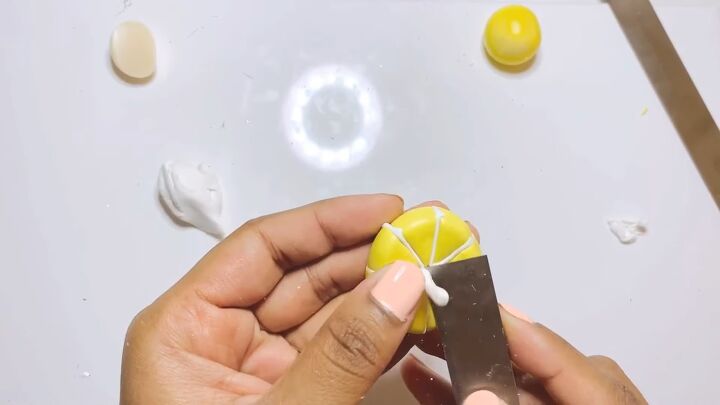
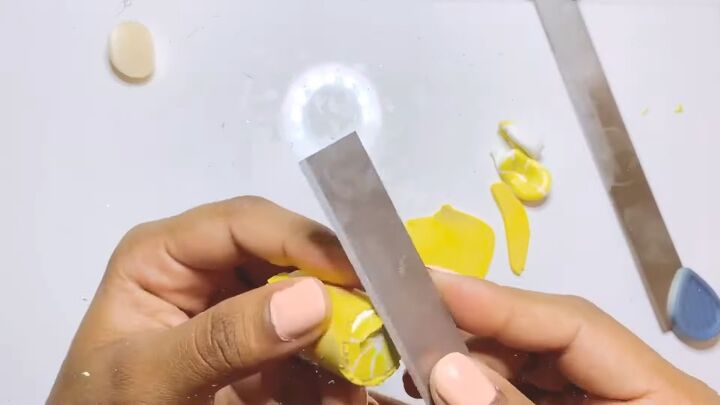
9. Reduce
Reduce the cane from the middle so you don’t mess up the lemon.
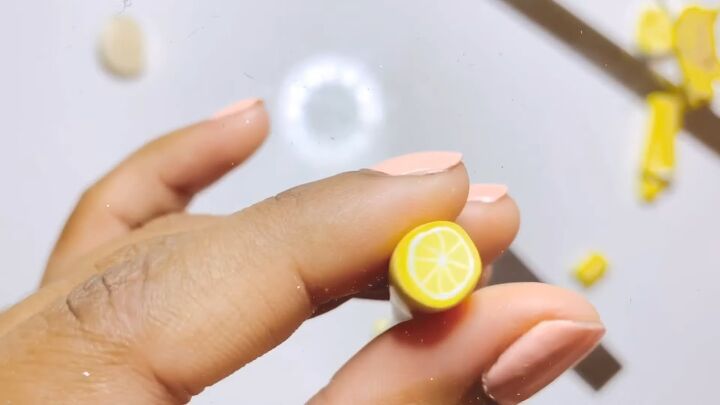
Here’s what your cane should look like!
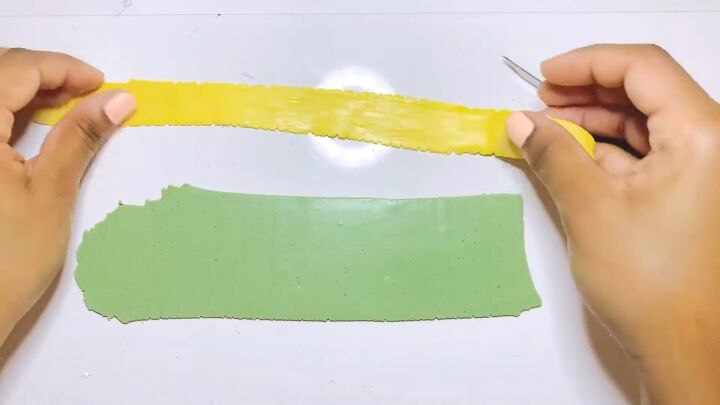
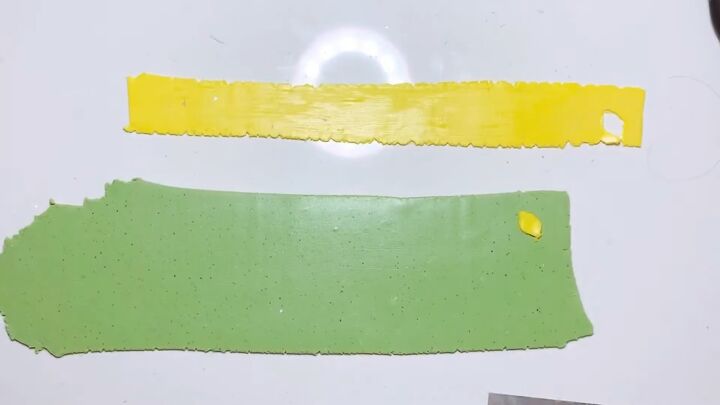
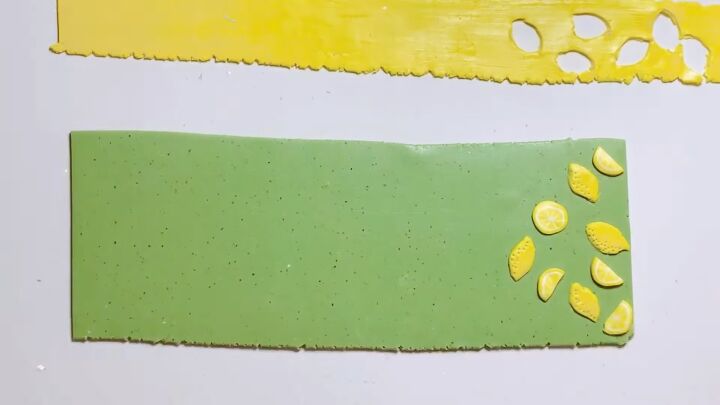
10. Roll the background clay
Roll the background color clay on the fifth setting, and more yellow clay on the thinnest setting.
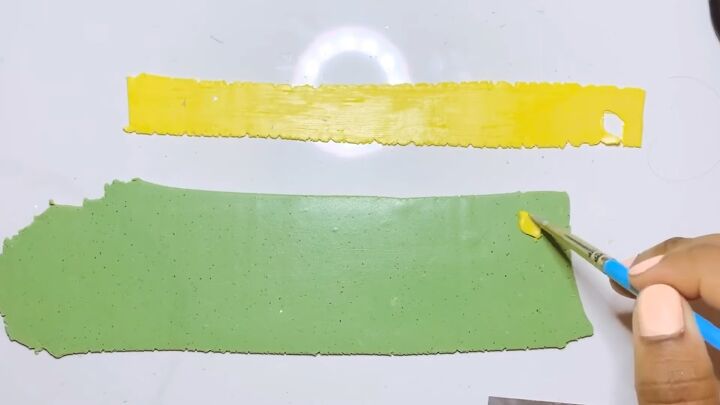
11. Add full lemons to the background
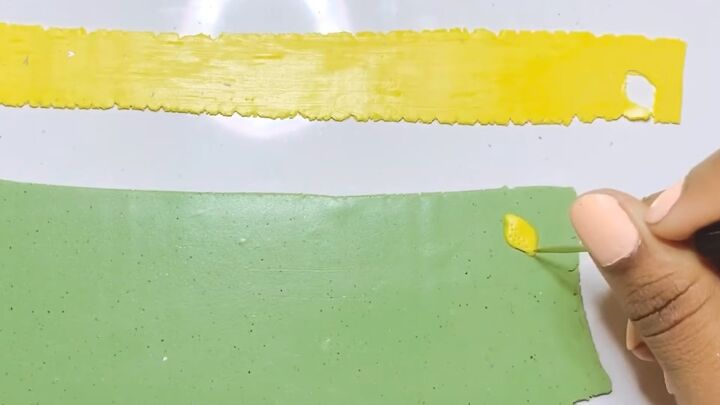
Cut out full lemons from the yellow clay and place them on the background.
Use your fingers and a silicone brush to blend and soften the sides of the lemons.
Add texture to the side of the lemon with a needle tool.
12. Add lemon slices to the background
To make it easier to slice, put your cane in the freezer for 20 minutes.
Place full and half lemon slices on the slab.

13. Add flowers to the background
You can make flowers using the same technique as my cherry blossom tutorial.
The only difference is I made the petals longer and didn’t indent the middle of the petals.
For the middle of the flower, I added a dot of yellow clay.
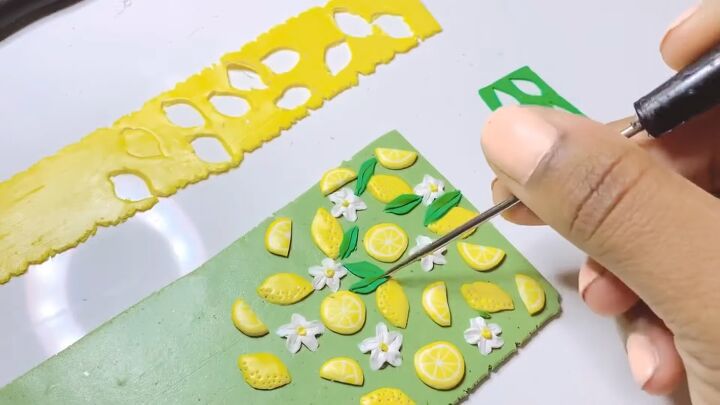
14. Add leaves to the background
Cut leaves out of green clay, and add lines to the middle.
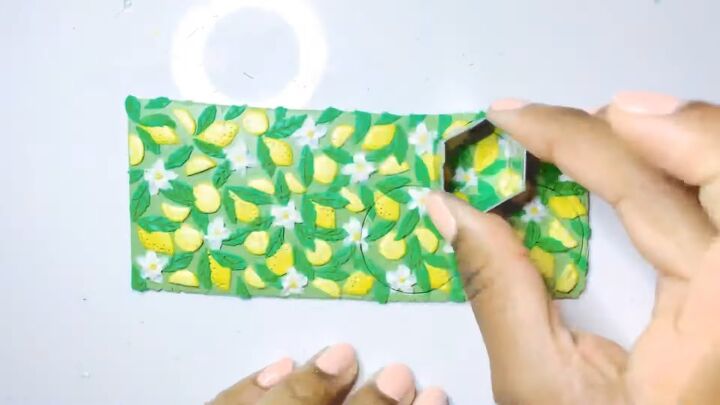
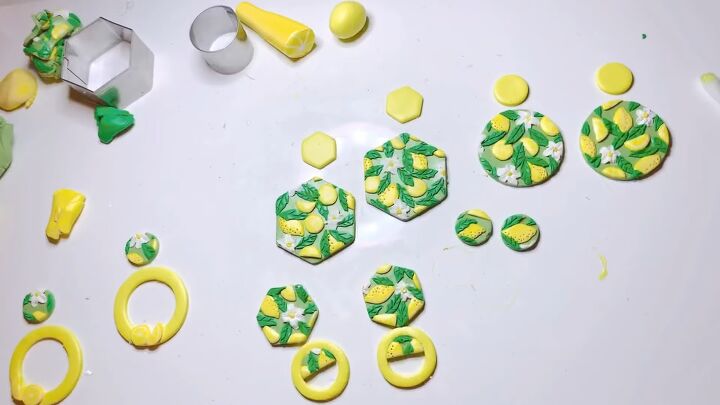
15. Cut out the earring shapes
Once the slab is full, cut out earring shapes using your favorite cookie cutters.
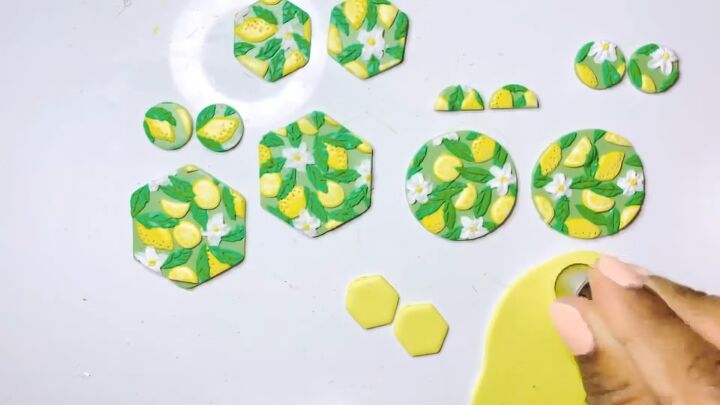
16. Cut out additional components
Cut out additional components from solid-colored clay.

17. Clean the pieces
Clean up the earring pieces with rubbing alcohol.
18. Bake
I baked my pieces for an hour at 225 degrees Fahrenheit.
I recommend you bake some samples to figure out your ideal temperature and time.
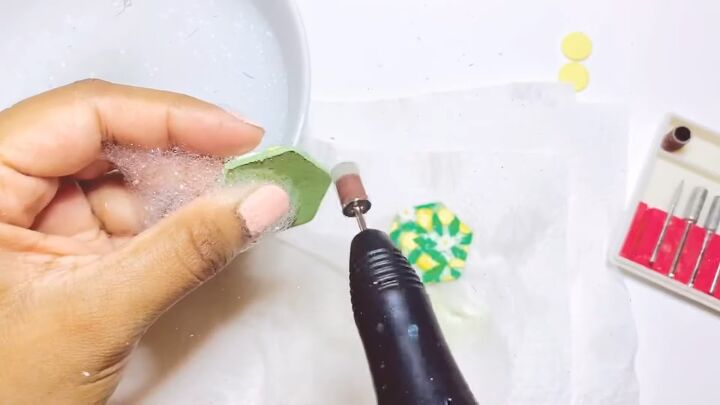
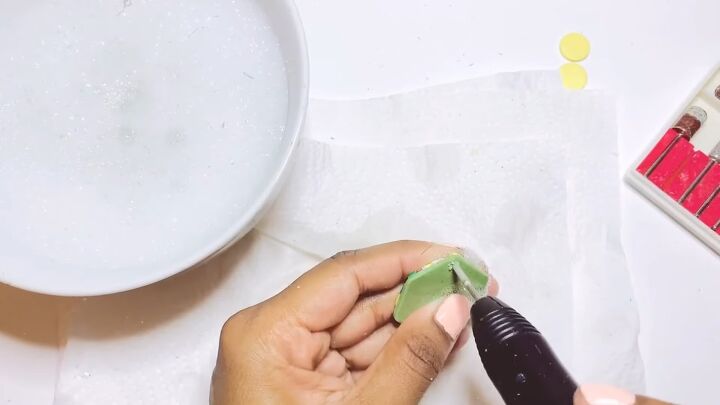
19. Sand
Once the pieces are cool, wet sand them. I’m using a nail sander as it works really well for polymer clay pieces.
20. Drill holes
Drill even and clean holes in the earrings. After cleaning, let them dry.
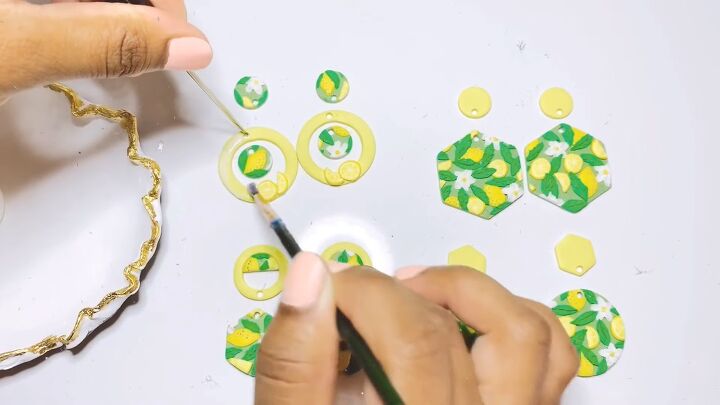
21. Apply a gloss glaze
Use a soft paintbrush to apply a gloss glaze to the dry pieces. You don’t have to seal polymer clay, but I prefer a gloss finish. Let them dry.
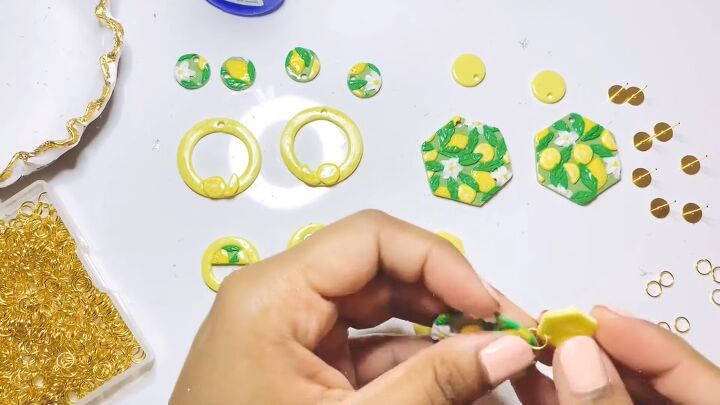
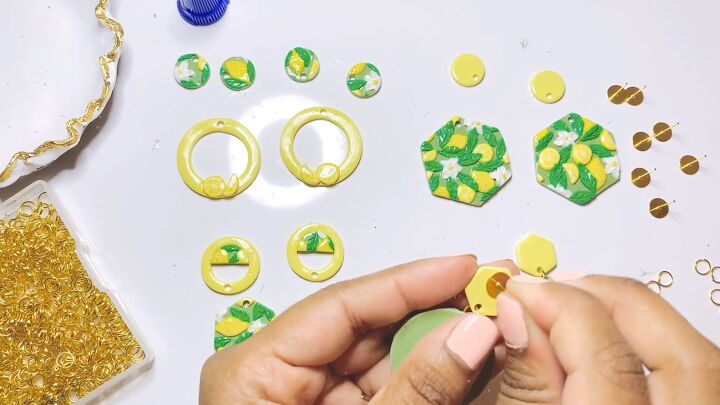
22. Add jump rings
Attach the main earring pieces and their components together with jump rings.
23. Attach the earring posts
Use super glue to attach the earring posts. You’ll need to let it dry for 24 hours without handling.
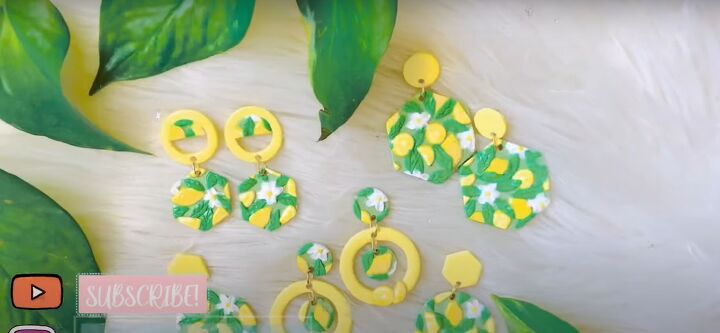
Lemon jewelry: How to make polymer clay earrings
Here are the results of our polymer clay earrings DIY.
What do you think about this lemon jewelry? If you like it as much as I do, let me know down below!
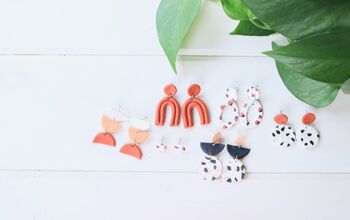
Next up, check out my post on How to DIY Monstera Leaf Earrings From Polymer Clay.
The author may collect a small share of sales from the links on this page.


Comments
Join the conversation